How to apply nail polish?
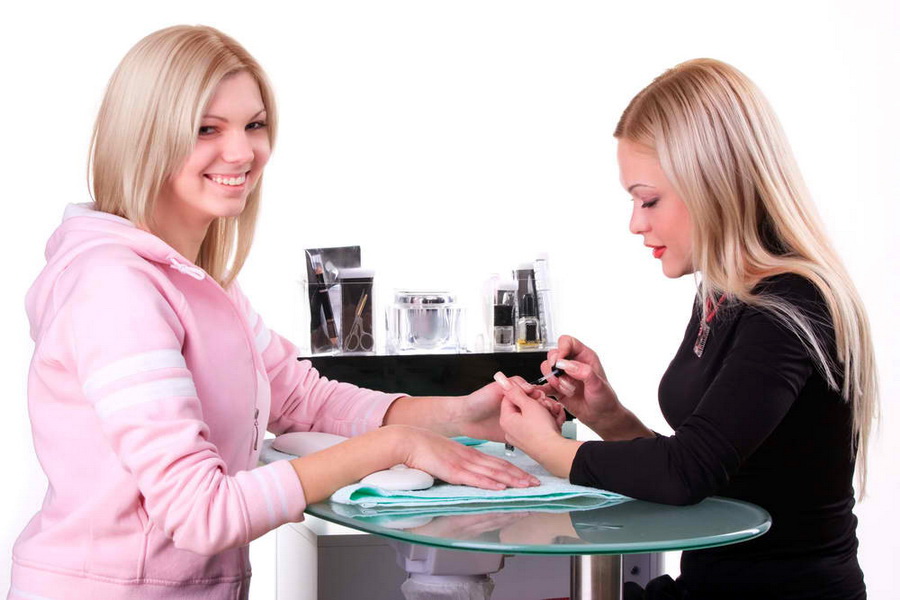
Woman's hands should always look perfect. According to him we can assume her status, age, occupation. Self-respecting woman should have well-groomed hands, a beautiful manicure. Some girls, having short or extended nails, make it in beauty salons, but you still need to know how to make up their hair without leaving home.
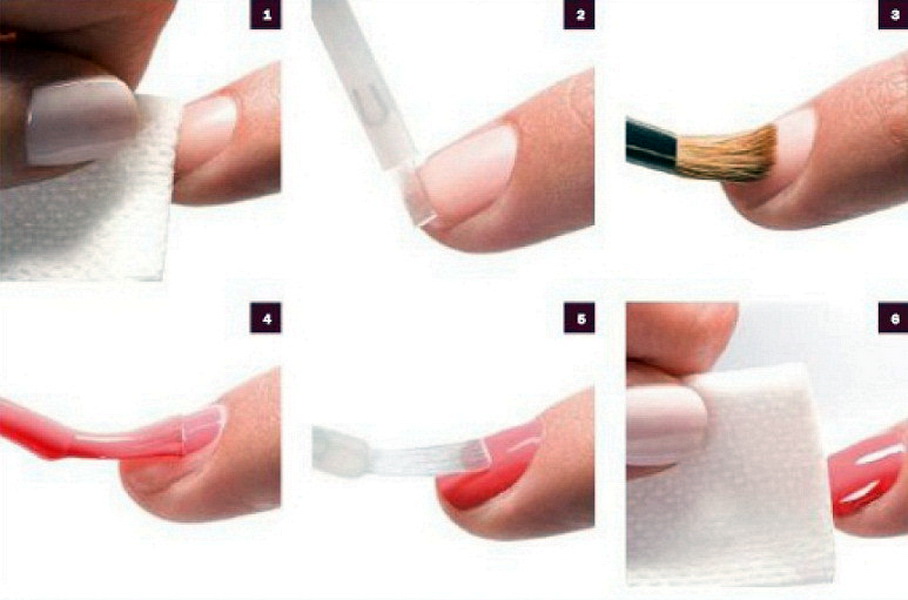
How to apply a coating smoothly
You must first prepare the marigolds. Wash your hands with detergent by wiping with a lint-free cloth. For degreasing, wipe the nails with a cleansing fluid without acetone, but better with alcohol or alcohol tincture. After drying, apply a transparent base, which will give the nail surface smoothness and evenness. You can instead apply a transparent top.
After some time, you can cover the plates with a basic layer. Varnish should not be thick, because it will not go exactly. But it should not be liquid, because it will spread on the nail surface. Therefore, you need to choose a quality oily product of medium consistency, which dries quickly and lasts for a long time.
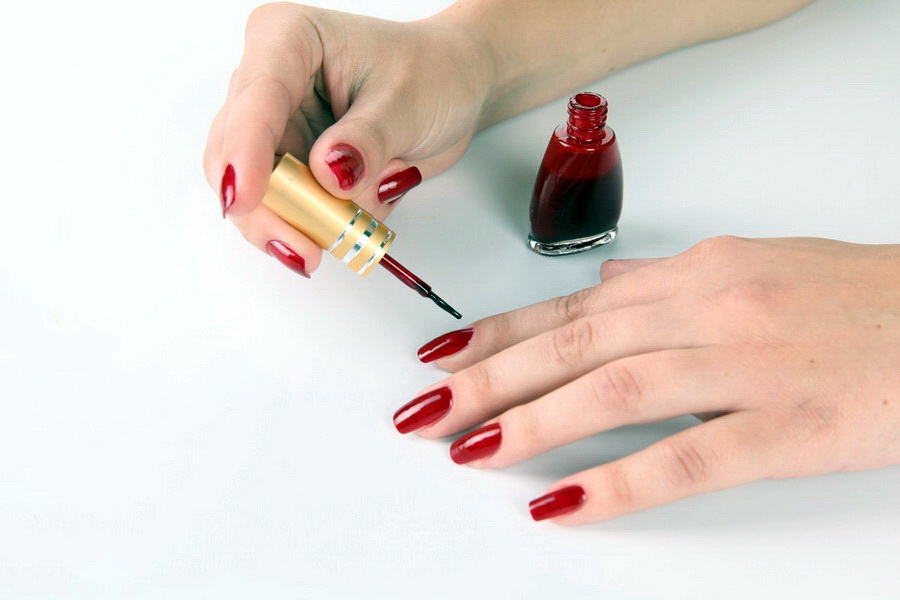
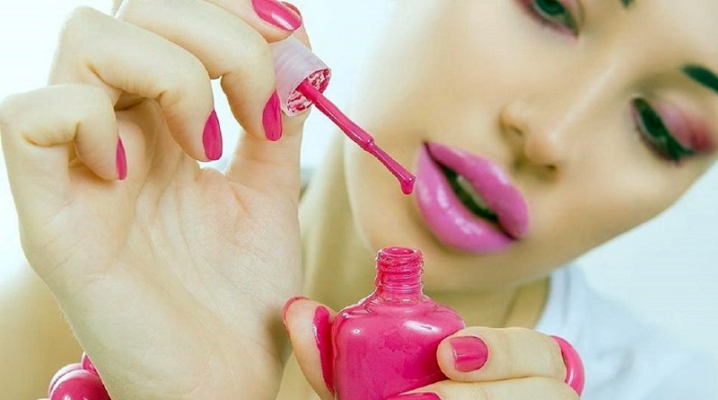
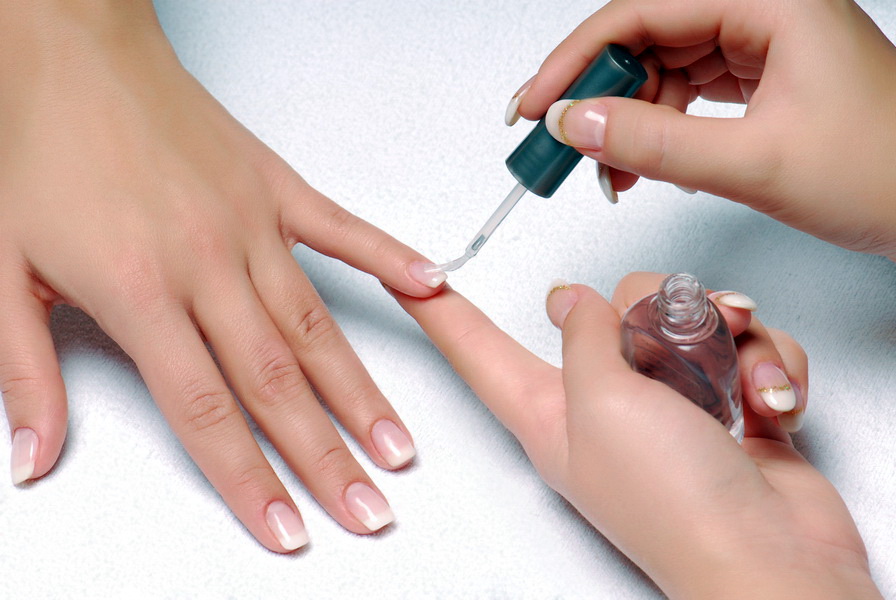
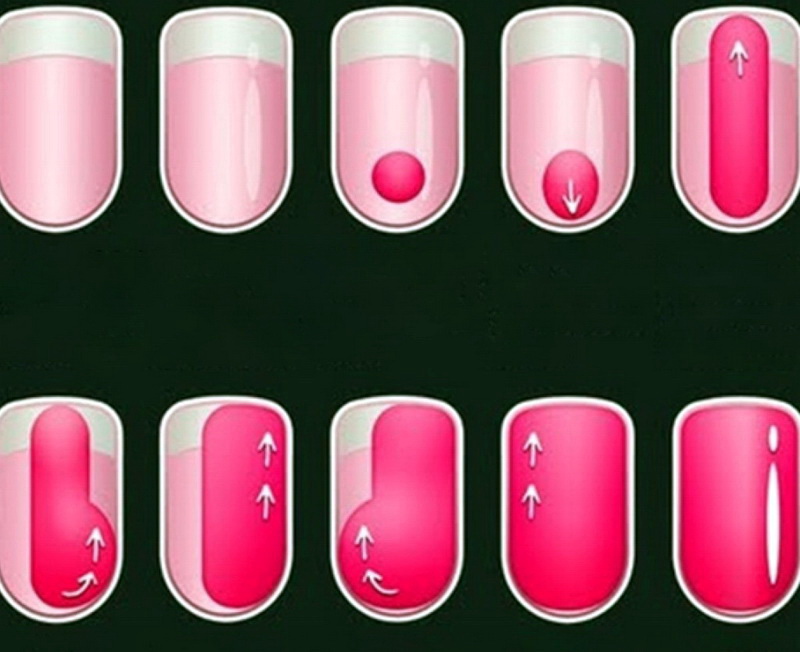
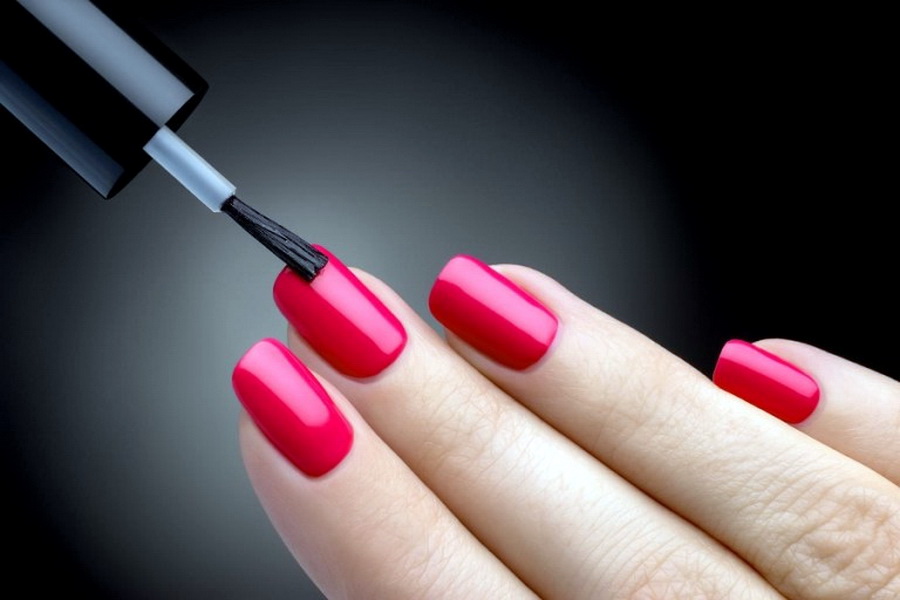
You need to hold the vial in your hand to warm it up, shake it. You need to start with the little finger of the right hand, holding his hand under the slope for the correct spreading of varnish. Do not take on the brush a lot. Start the cover from the middle, departing from the cuticle 5 centimeters. Spread a drop of the product to the cuticle, then paint over the center of the nail plate. Returning back, take the brush to the side surface. Repeat the same with the other side part. Paint over the end of the nail and dry this layer. After drying, apply the next thin layer. You can apply a special fixer.
To make the varnish look even and neat, you need to apply 2-3 thin layers, and not one thick. Need to dry in the air or hair dryer. To clean the lacquer from the skin of the hands, you can use the corrector or a cleansing agent without acetone, trying not to touch the painted nail plate.
Manicure ordinary varnish at home
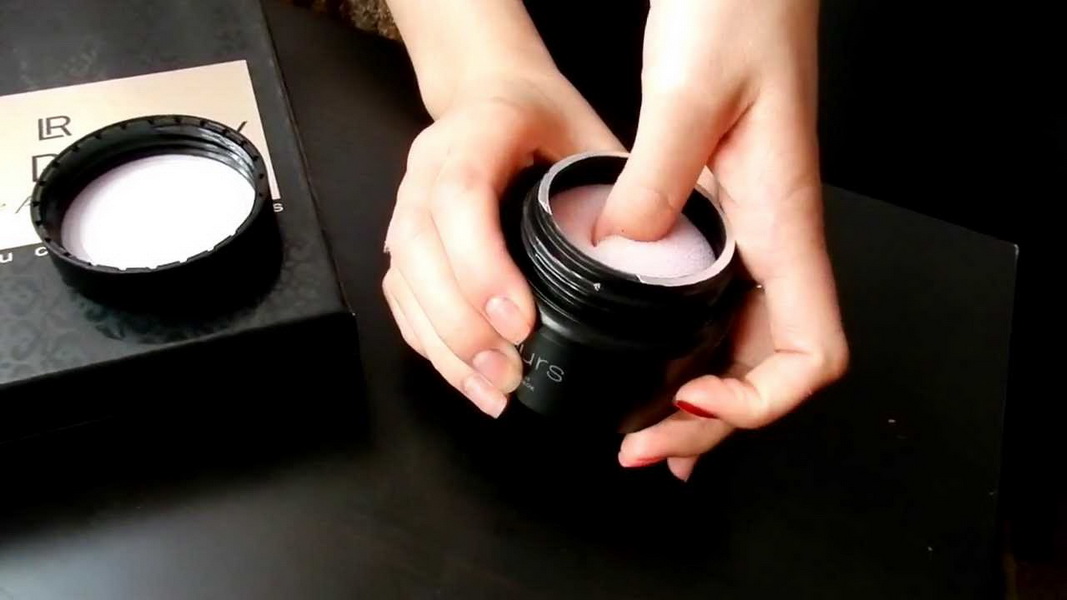
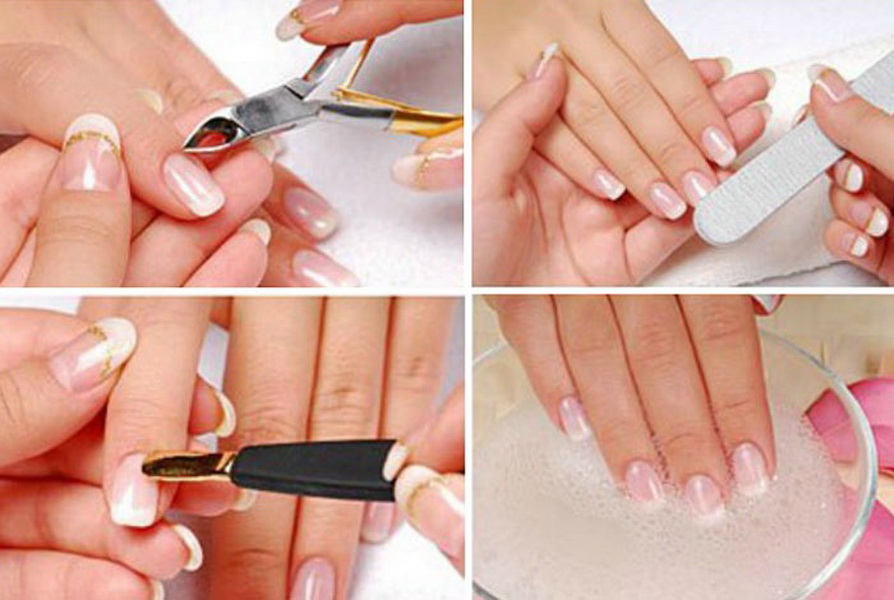
- To make your hands look neat, you must do a hygienic manicure in any way (trim, uncut or hard) before applying the varnish. First of all, it is necessary to clean the nails from the previous coating with a cleansing agent. If the nails were bright manicure, you need to treat the skin on the hands with a cream. Varnish can be dissolved with a sponge. Such bottles can be purchased in specialized departments, but you can make them yourself. Foam rubber soaked in a cleanser is placed in the bottle. Fingers are placed in a container with a sponge and are there for several minutes.
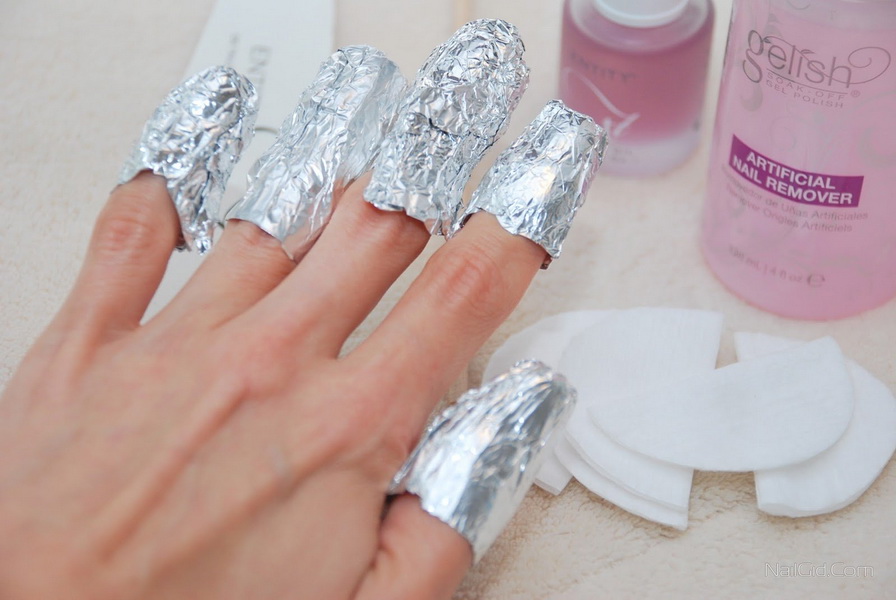
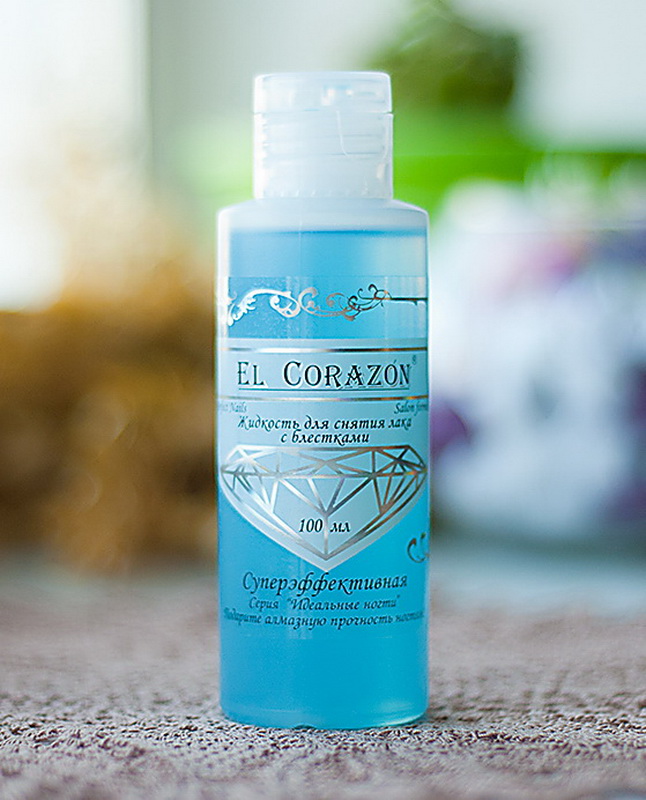
Nail polish is difficult to remove. They can be removed by wrapping your fingers with cotton wool disks moistened with cleaning fluid and wrapped in foil. After a certain time, both the decor and the sparkles will be removed.
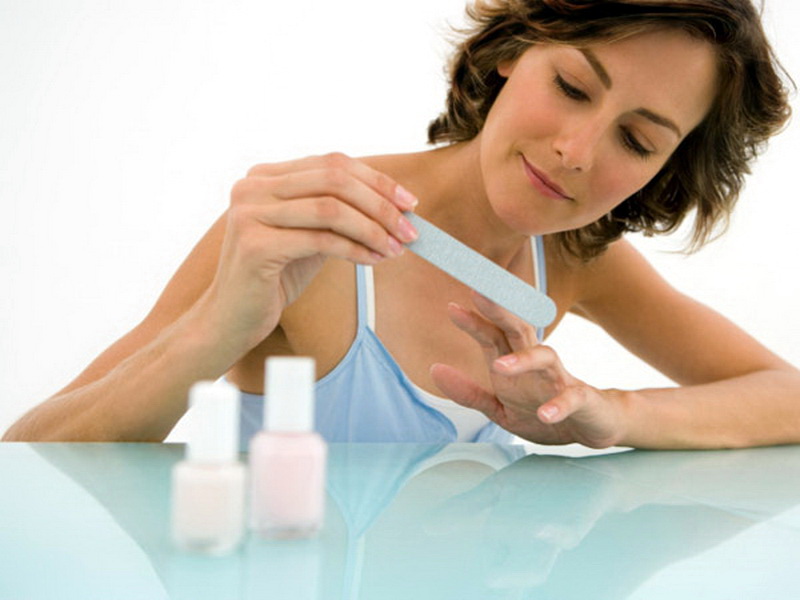
- The shape of the nails is polished with a nail file in one direction. You can soften the periungual skin with oil or hold your hands in a soap bath. Then the cuticle gently moves away to the edge of the plate. To lacquer coating kept a little longer, it is necessary to process the nails with a nail file for polishing, and then strengthen them with serum or cream.
Well-groomed female handles will give a classic cut manicure. Cutting the cuticle at home is done with special manicure tools.
- The technique of applying ordinary varnish at home is as follows: It is necessary to paint the nail plate transparent lacquer coating, it will serve as the foundation and strengthen them. Fragile and exfoliating marigolds need to be covered with a liquid with a healing effect.
- Beautiful decorative coating can be applied with a brush from the bottle or a long soft brush. The fastening layer allows the coating to be preserved when working with water and not peel off. For convenience, you can purchase the base and fixer together (two in one).
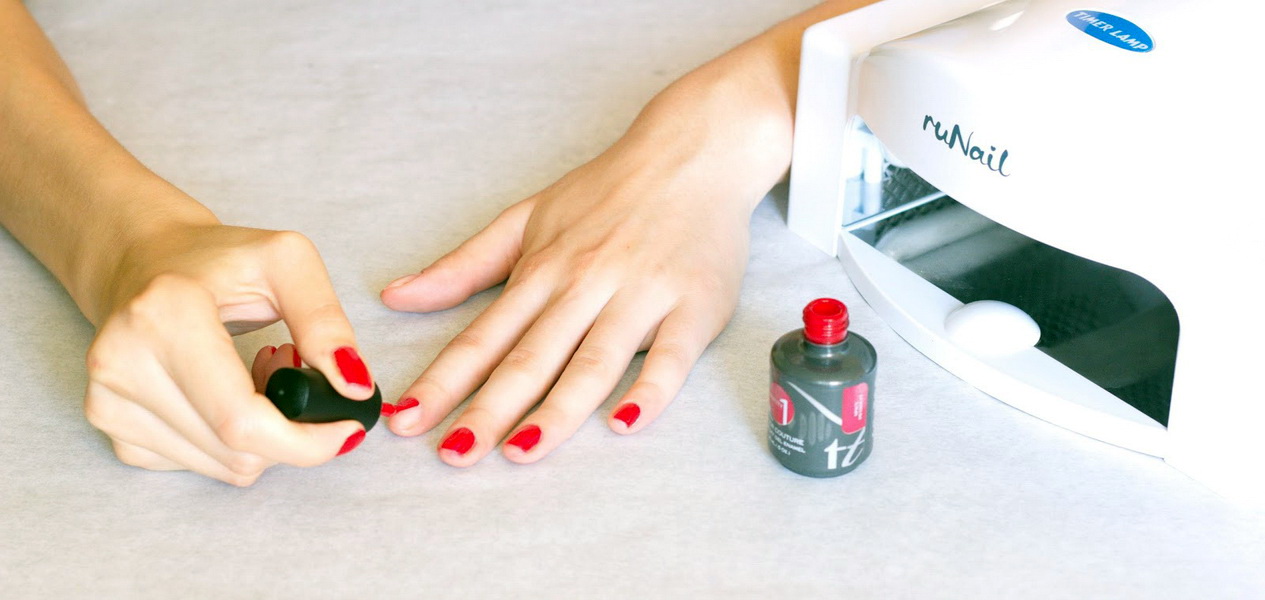
Applying gel polish makes nails stronger and stronger, but the wrong technology can contribute to the loss of shine nails. It is better, of course, to entrust this to a specialist, but you can learn and do it at home, observing the rules.
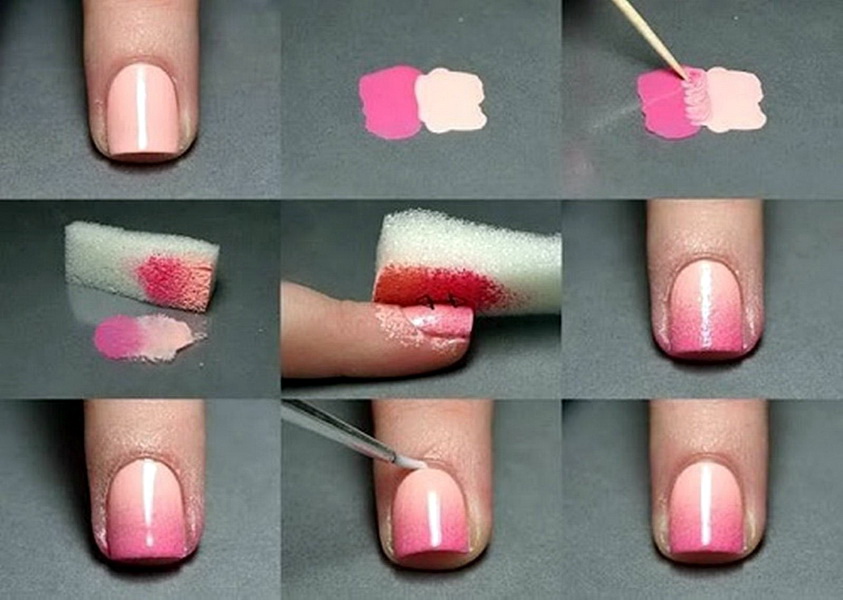
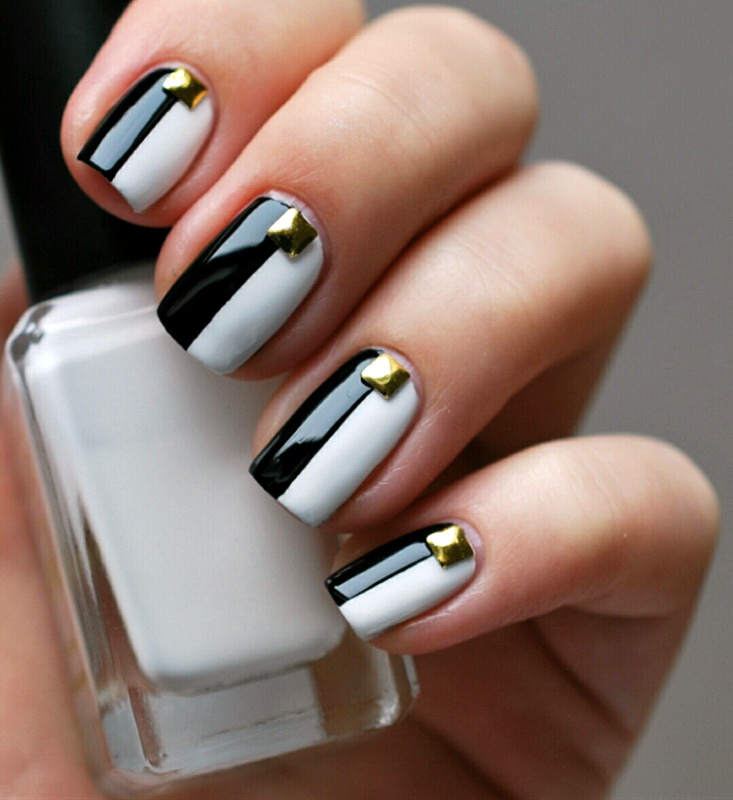
- A unique manicure can be done at home, having a sponge. This decor will look good with any clothes. First, the ideal application, most likely, will not work, but over time you get an original manicure, which cannot be confused with the classic one.
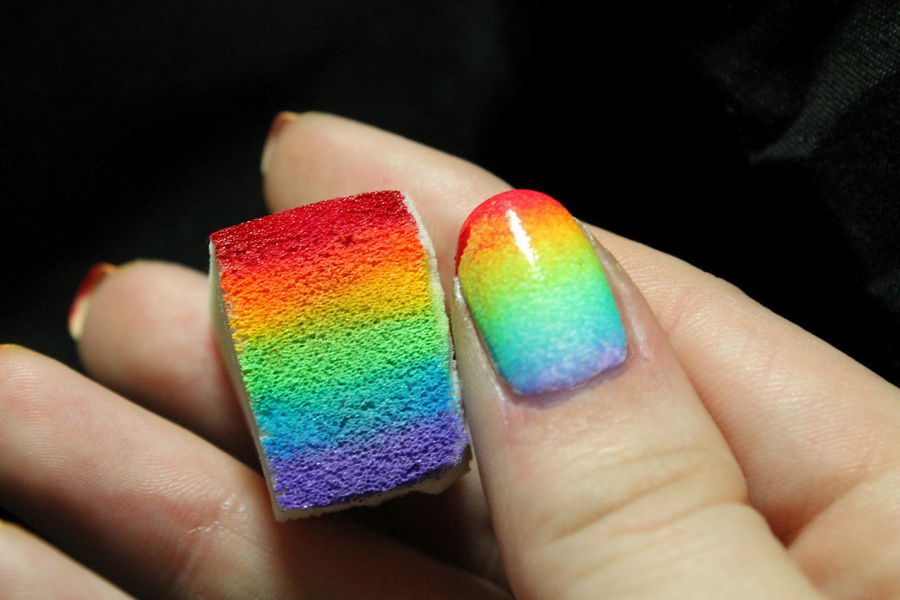
- To do this, you need several types of paint, varnish, sponge, palette and correction fluid. First you need to treat the nails with a manicure tool and apply a protective layer on the surface of the fingers. The technology of manicure is that the palette is painted with multicolored stripes of paint and is tinted with orange stick for a smooth transition. Nail plates are covered with base varnish, then paint is applied with a piece of foam rubber. After drying, all the nails are covered with a protective layer, and the excess from the skin is removed with a cleansing fluid. Such coverage can last 2-3 days.
Advantages and disadvantages
- Each type of manicure has its own characteristics. Regular varnish is applied to the nail surface easily, but lasts only 2-3 days. Application of the gel outside the cabin takes longer and requires a UV lamp to dry, but it lasts up to two weeks. Lac-gel can now be removed at home for ten minutes by placing your fingers in a special polish remover.
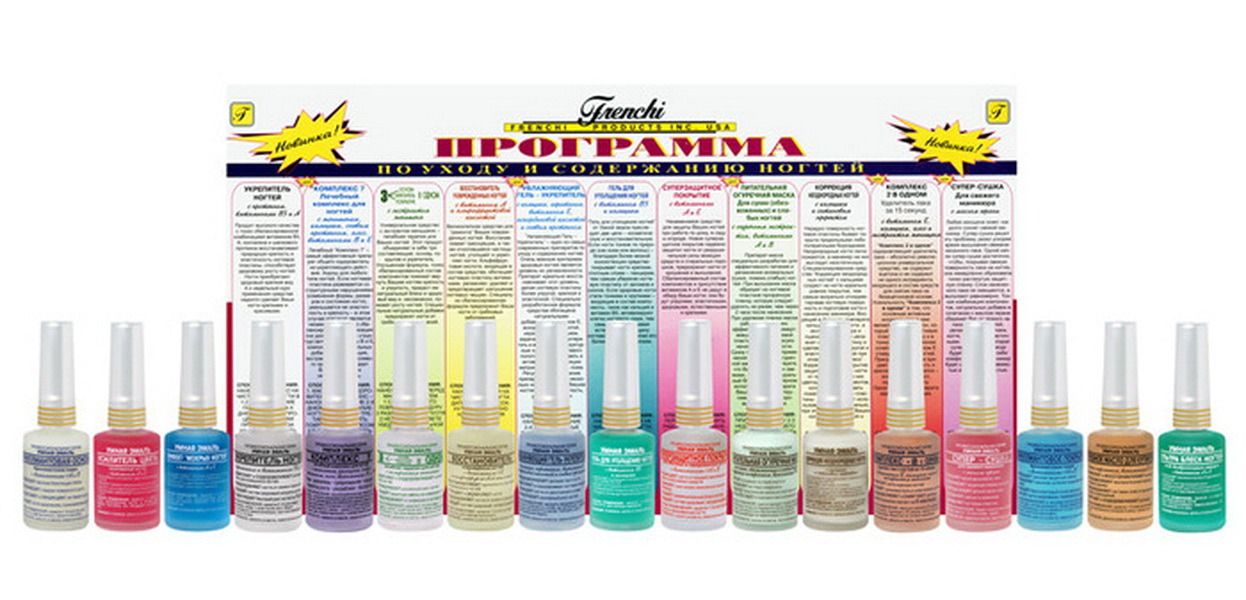
- Transparent varnishes with healing properties, which provide nutrition and strengthen the nails are popular. The acrylic varnish is harmless, supplemented with vitamins and minerals. It is used as a basis and as a strengthening tool, but it is not cheap. With it, you can treat the nails.
Painting nails with ordinary varnish and gel at home saves time and, most importantly, money. Design with a picture is also done quickly, especially without such experience.

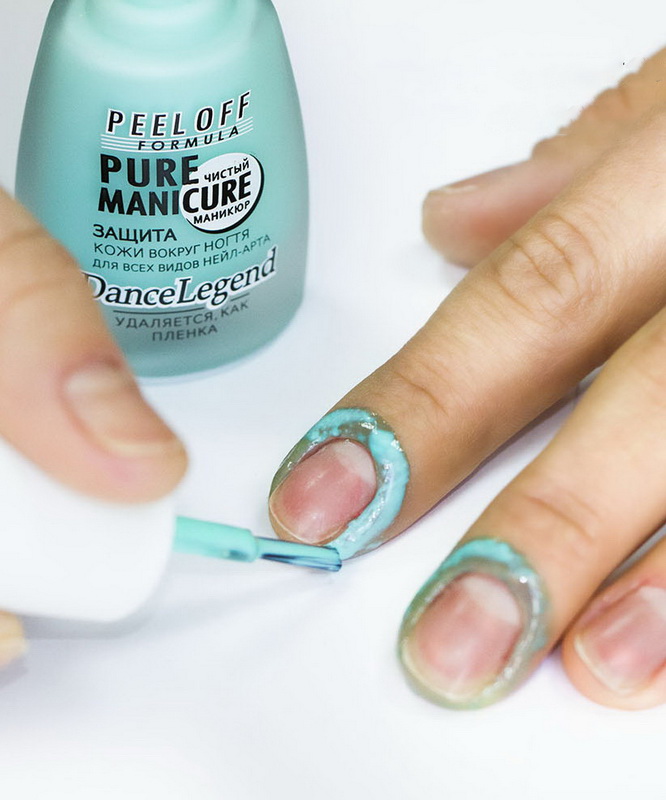
Skin protection around the nail
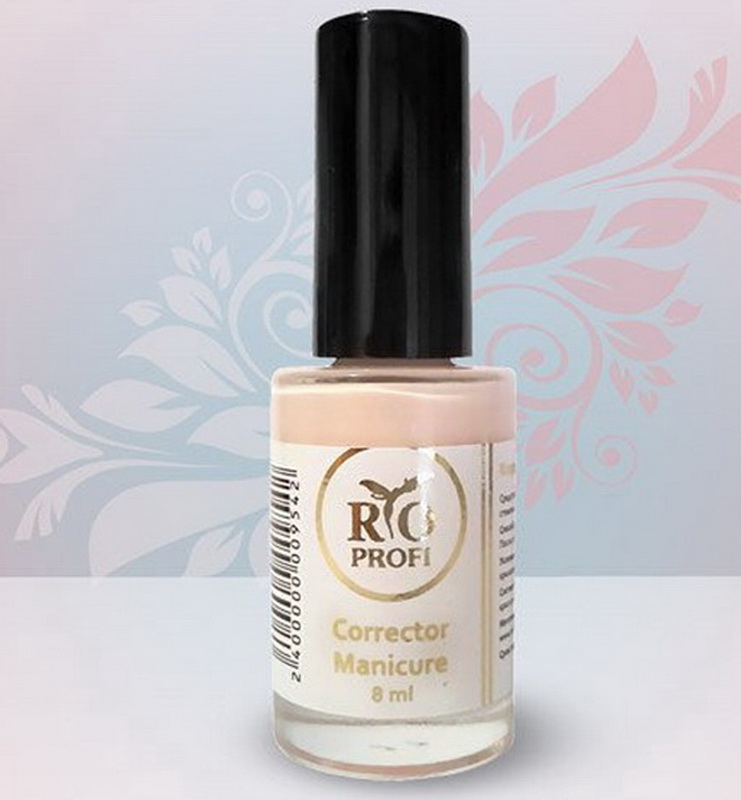
When applying a manicure with water or airbrushing it is very difficult to clean the remaining varnish from the surface of the fingers around the nail plate. To protect these places, before starting the painting it is necessary to apply the concealer “RIO Profi"Or liquid"EL Corazon". After completing the procedure for dyeing the nails, you need to pick up the dried edge of the tool with tweezers and remove it with excess varnish. When stemping, a new bactericidal agent is used."Skin defender"non-allergenic. The application technique is similar to the previous one.
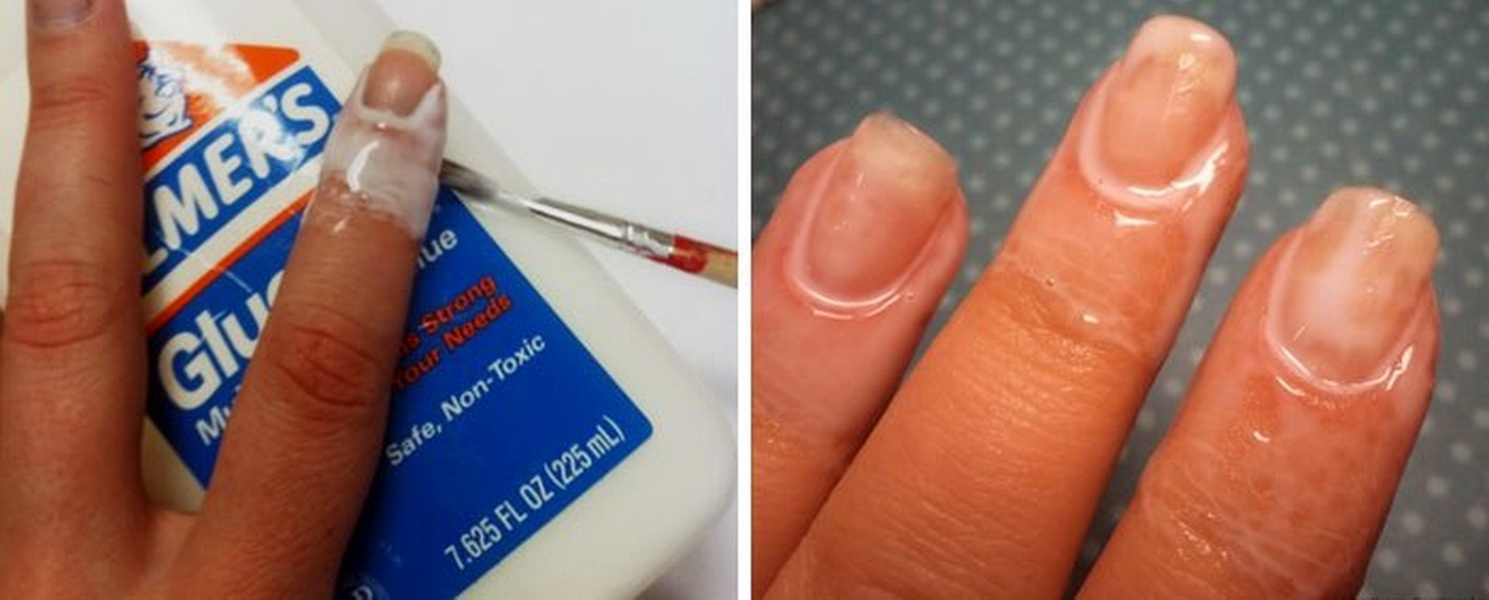
Protect the skin of the fingers can glue PVA. It is applied in a thick layer on the surface around the nail plate. After it becomes transparent, you can proceed to the main actions. At the end of the manicure, the adhesive film is removed with tweezers.
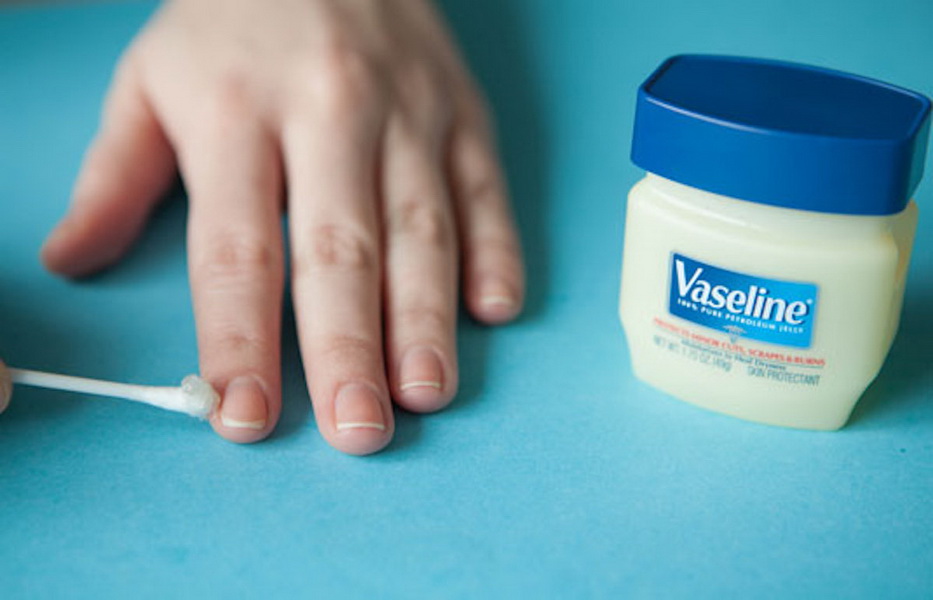
To protect the skin will help a simple remedy - petroleum jelly, which is easily removed from the nail with regular cotton wool.
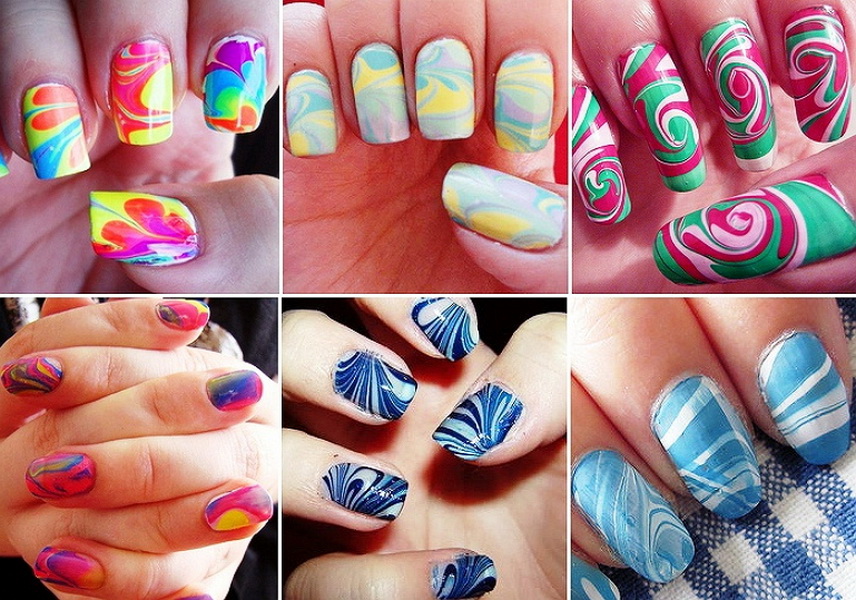
Manicure with water and varnish step by step
Beautiful manicure with water can be done at home using different schemes. Without proper experience, such a manicure will take a long time (about 2 hours), with experience - about an hour. Fashionable women and lovers of bright colors can pick up the contrasting tones of the coating, for lovers of discreet shades you can pick up the lacquers of the same color. Before starting a manicure with water, you need to tidy the marigold with one of the types of manicure (classical, European, Brazilian).
- It is necessary to protect the periungual surface by any known method.
- Apply a base coat of clear or white lacquer.
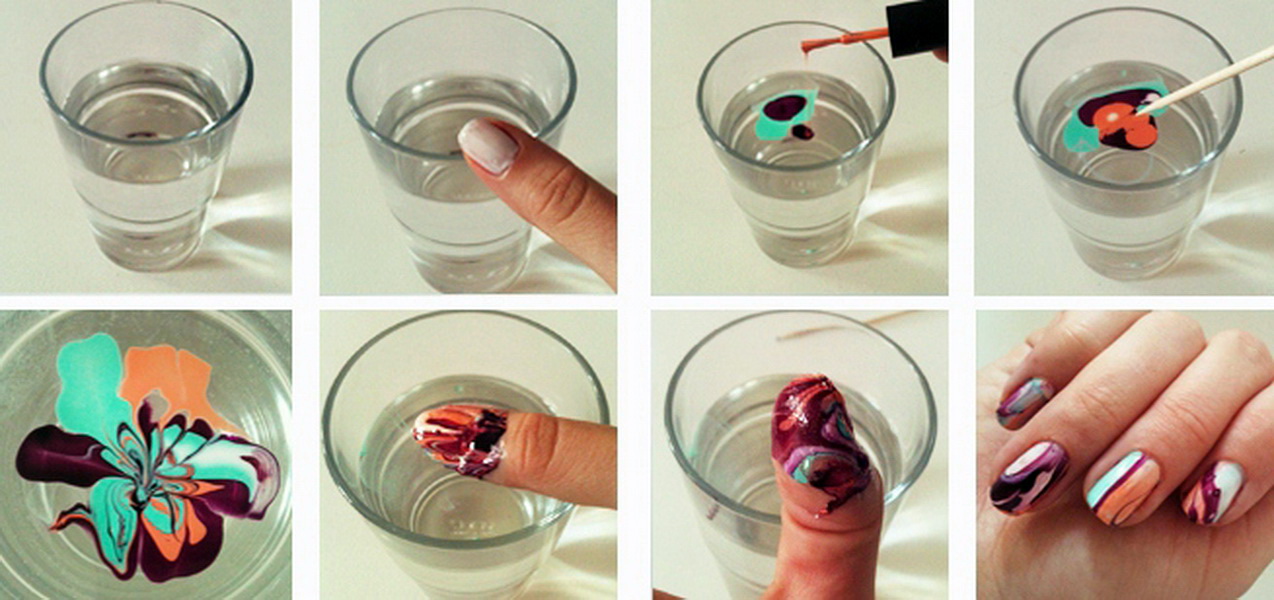
- Pour into a container of warm water (about 40 degrees), add one drop of varnish, wait until it mixes with water. Add in the middle a drop of another varnish, doing this action up to 10 times. If the varnish does not spread, but falls to the bottom, then the water is cold.It is difficult to draw in very warm water, and in cold lacquer dries quickly. In narrow dishes it is inconvenient to dip your fingers, and in a wide varnish consumption increases.
- With a stick or toothpick you need to create a pattern that you like. After each application, the wand must be cleaned. If it is bad to clean a toothpick, then fuzzy lines are obtained.
- Dip the nail plate parallel to the surface of the lacquer. It is necessary to take out the finger slowly, so that the picture is fixed evenly, to remove the excess with a toothpick still in the water. So cover all plates. It is necessary to use lacquers of the same brand, since they are unevenly distributed because of the different structure of different brands.
- After drying, remove the protective film from the skin and clean the surface of the fingers with nail polish remover.
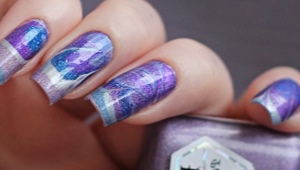
- You can add rhinestones, sequins and apply a layer of fixative.
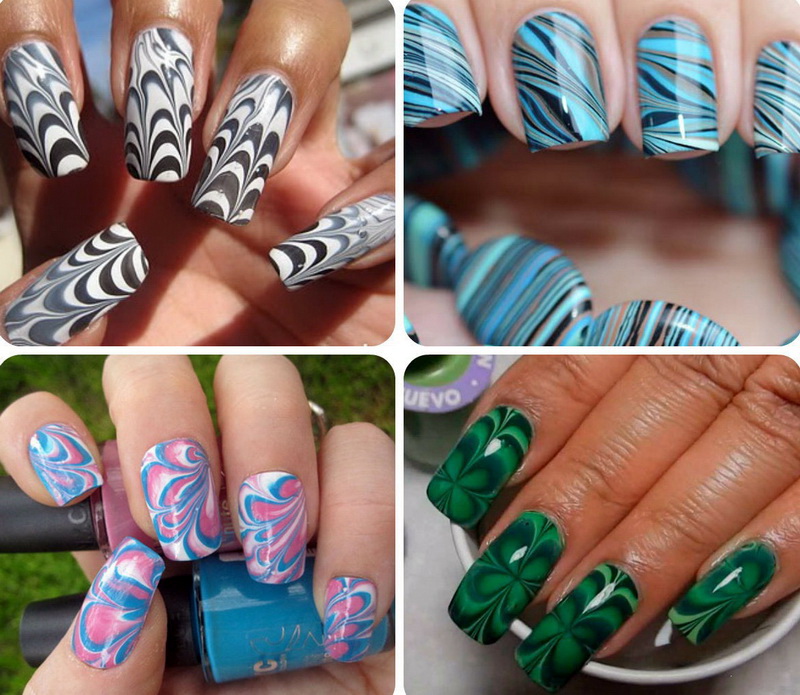
With the development of this technology, you can choose any option to get a unique manicure and surprise everyone with its design. It is necessary to use at least three colors of varnish.
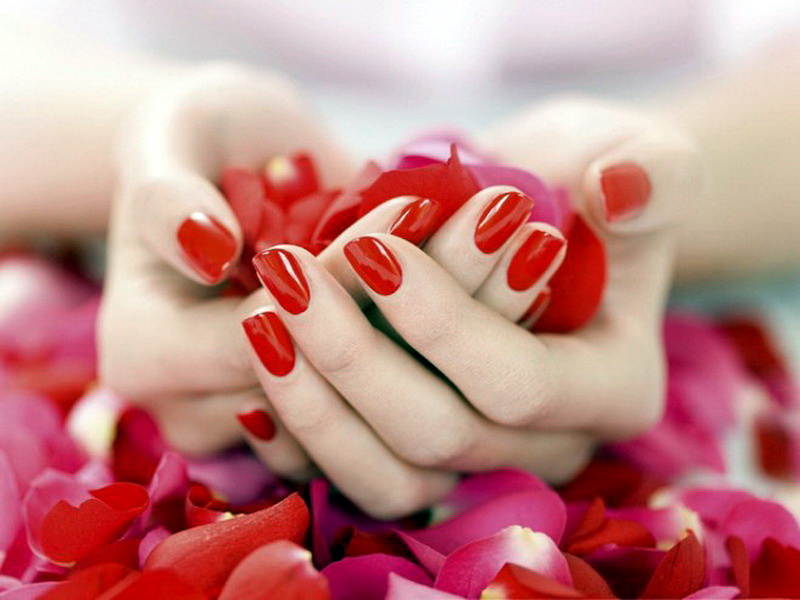
Bright shades (red, crimson, black, white) are suitable for a red dress. Under the green outfit fit manicure with water from the green, black and white colors of lacquer. Black, gray and silver look very original. The nail plates look unusual if the water manicure was made on several fingers on the entire surface, while the rest were partially covered with a stencil with a preliminary application of the base layer. If you use two colors of lacquer, but pick up a beautiful pattern, nails will look unusual. Gorgeous looks water manicure light blue tones, covered with a fixative with sparkles.
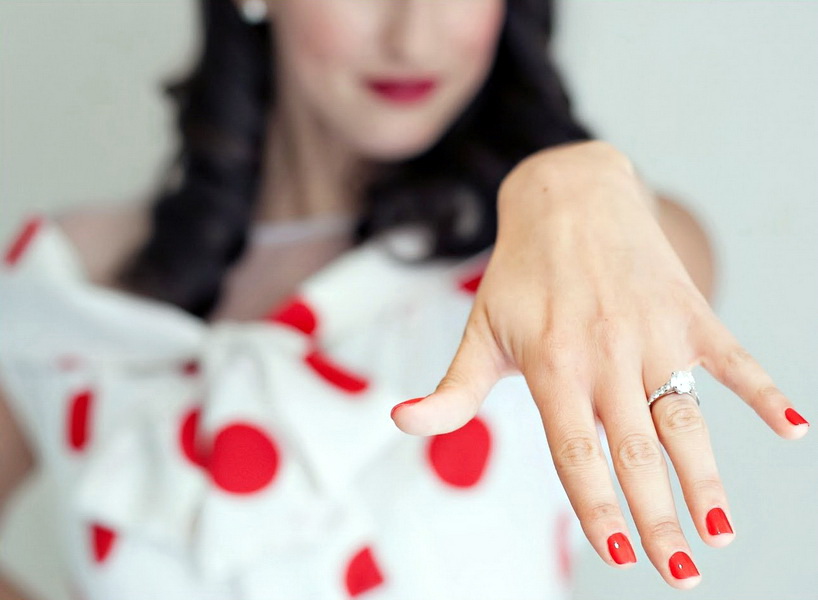
How to choose a color
The choice of varnish depends, of course, on fashion. But everyone has different tastes and not everything that is fashionable can be liked. It is necessary to take into account the skin tone, season, situation and structure of the lacquer coating. Therefore, the color in the bottle may be one, and when applied to the nail it may be different. Manicure should match clothing, makeup and hairstyle. It is necessary to take into account the condition of the nails, since dark shades emphasize all defects.
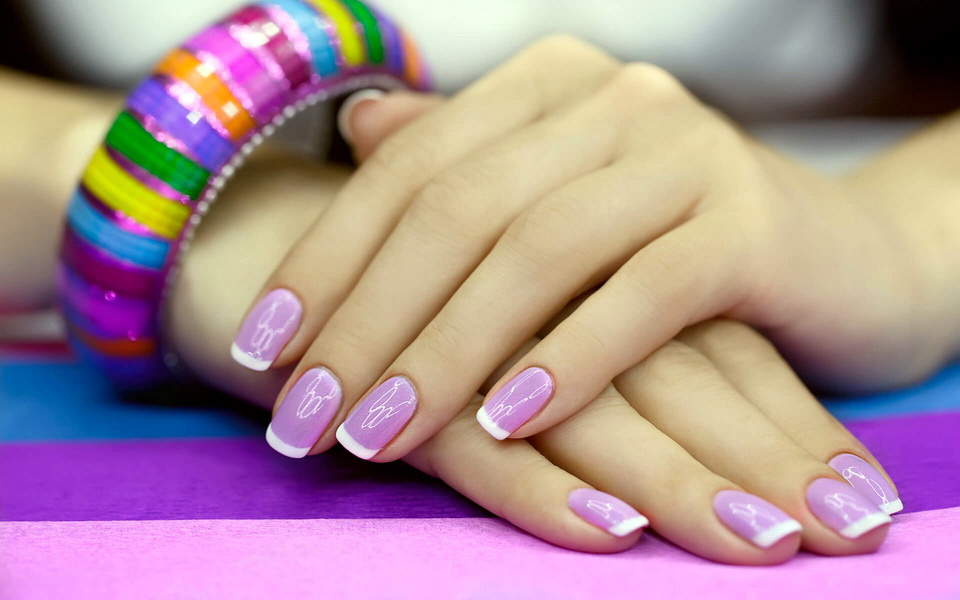
- For tanned skin, tones without yellow tint and pastel colors are suitable. Pink and gray shades are ideal for pale skin.
- Choosing color, you need to take into account the length of the nails. Shiny dark shades look good on short ones, as they immediately appear elongated.
- Glitter, holographic and sand varnishes are suitable for medium-length nails. It is only necessary to take into account that bright colors do not lengthen the nails, but vice versa.

- Low-key complex colors are suitable for every day, the best option is a classic French manicure. For the evening you can try the dark and bright colors. In the summer you can paint your nails with any unusual bright color, in the fall you can cover the nail plates with complex shades. In winter, you need to paint your nails with light and classic tones. Delicate tones can be tried in the spring.
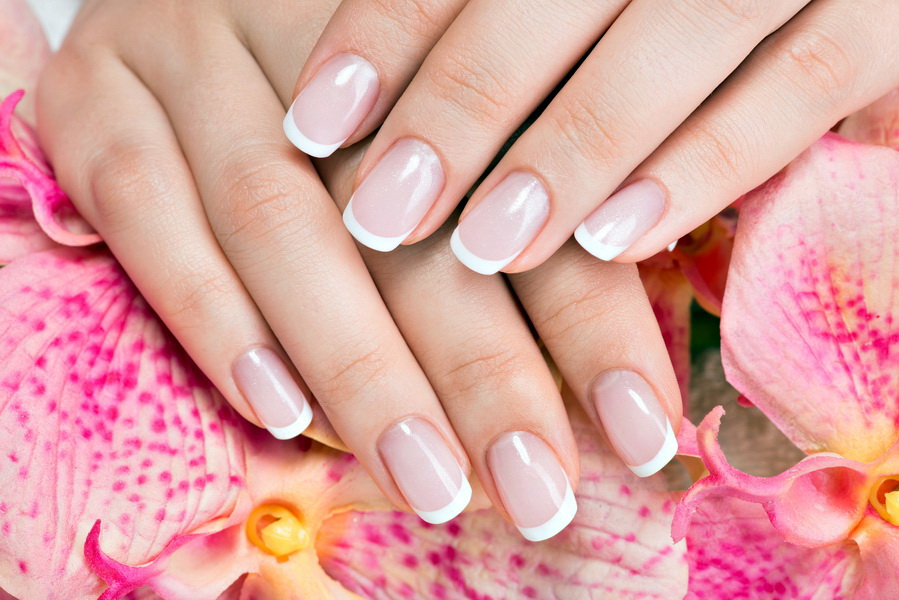
If you find it difficult to choose a color, choose classic red and pink colors, they always look relevant.
Master Classes
Not everyone has the time and finances to make a manicure gel in the salon. AtAbout complex technological process, but if you learn to do it at home, the result may not differ from the salon.
- To do this, you must first prepare the pens, taking a bath with the addition of iodine or sea salt for 3 hours before the start of nail coloring. Water temperature should be up to 60 degrees. After that, the nails are shaped using a nail file and the cuticle is trimmed. File movements are made at an angle of ninety degrees in one direction to avoid delamination of the plate. After that, the surface is polished with a quadrilateral buff. You also need to degrease them with alcohol or a special liquid.
- To level the plates, apply a thin layer of primer, dry for 20 seconds.
- The entire nail is painted with a thin layer of base gel, without smearing the skin of the finger. If the base layer is thick, there is a risk of incomplete drying.It is necessary to dry no more than a minute in the UV lamp to obtain a polymer film.
- Coat the selected color of varnish on top of the base gel.without reaching the cuticle and side rollers, then dry in a lamp for two to four minutes depending on the thickness of the gel. For a smooth coating is applied the second, and if necessary the third layer. Each layer is dried separately. If the varnish is applied in too thick layers, it may begin to bubble.
- The final layer of the gel covers the entire nail plate., including unpainted parts. This layer is dried for up to four minutes in an ultraviolet lamp. The decor is maintained up to two weeks, if you choose a top coating with a plastic composition.
- A lint-free cloth treated with a dispersion layer remover, gently remove the sticky layer from the nails. Then the cuticle needs nourishing oil, and apply cream to the hands.
In the next video - the secrets and techniques of a beautiful and neat manicure at home.