Stencils for gel polish
The use of stencils in manicure is a very popular, stylish and demanded direction of nail design.
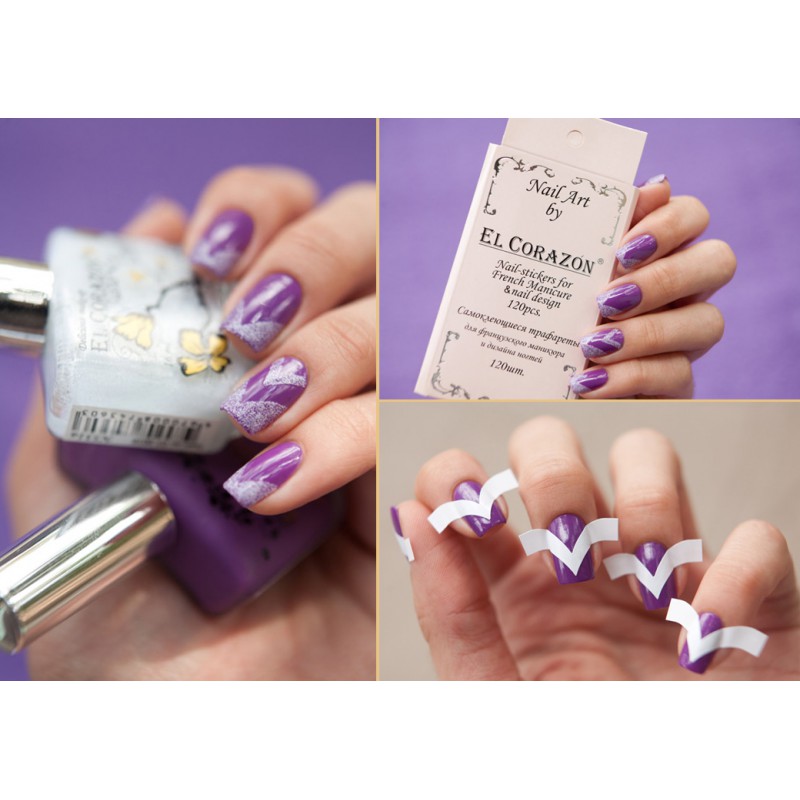
Invented and started using them in the nineties of the last century. These blanks gained their first wide popularity during the creation of the French manicure.
You will learn more about creating a manicure using stencils in the following video.
Today the variety of stencils is simply impressive!
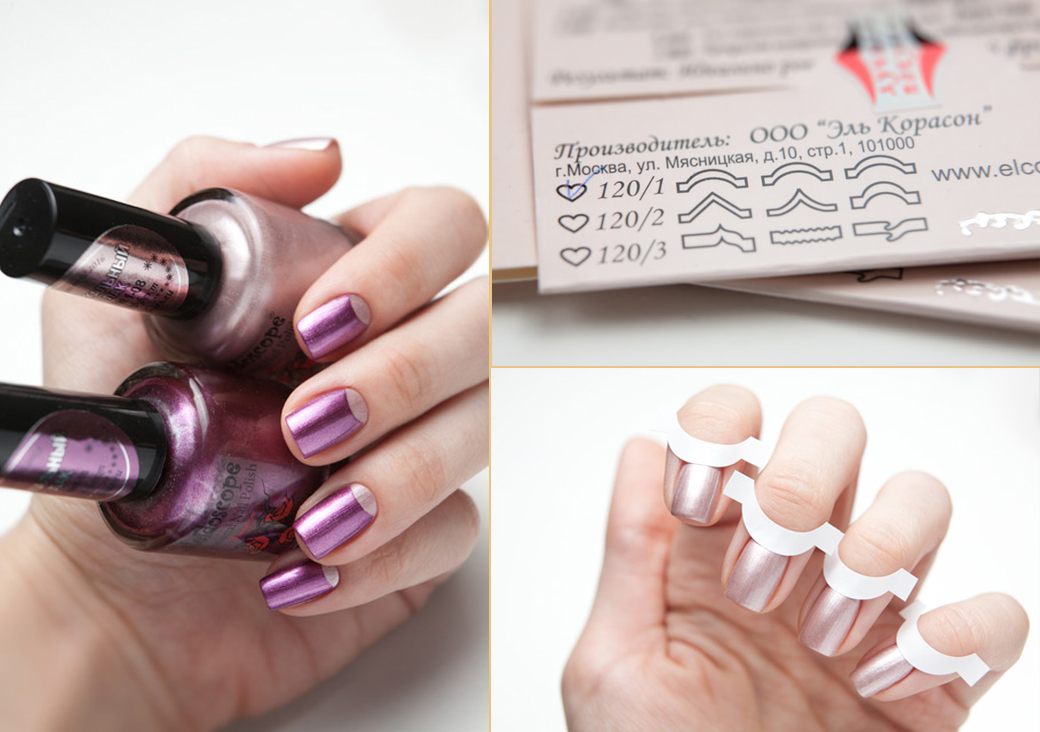
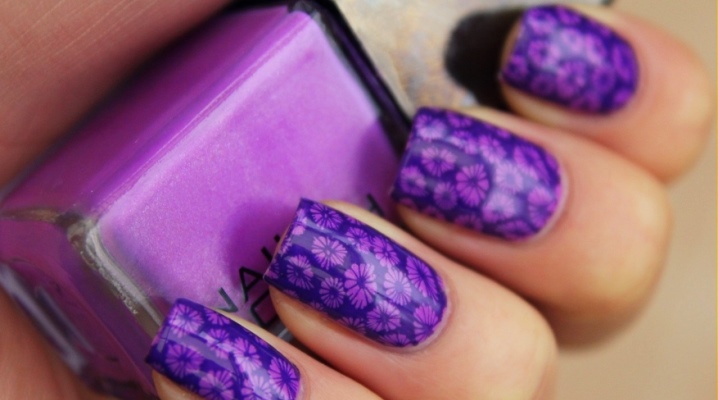
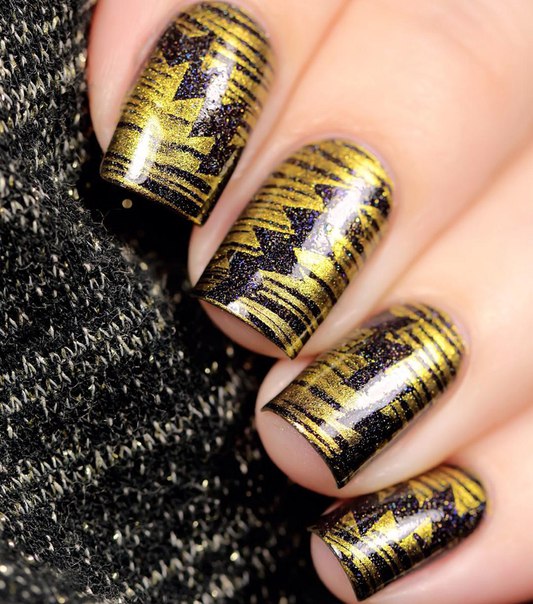
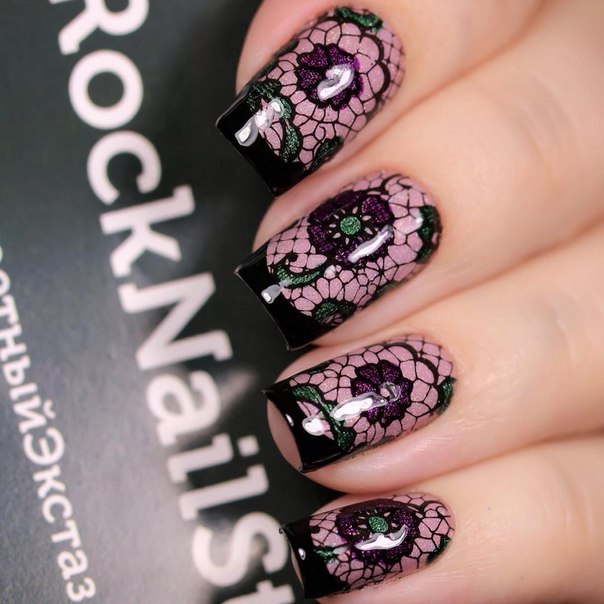
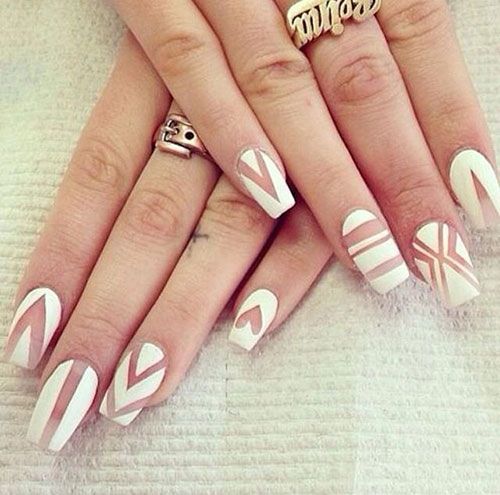
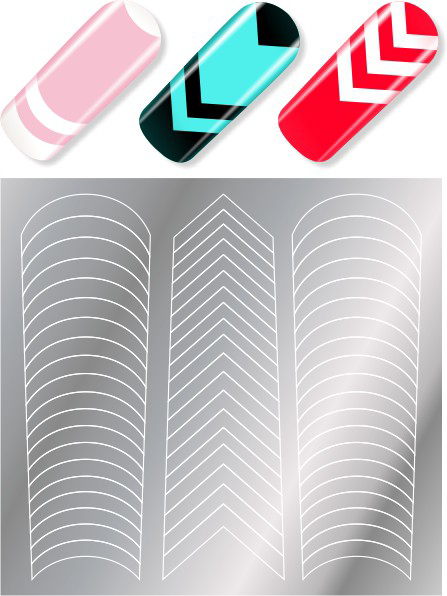
They are for lunar manicure and jacket, to create a variety of geometric patterns (spirals, corners, geometric shapes, etc.), for drawing hearts, all kinds of silhouettes and other patterns.
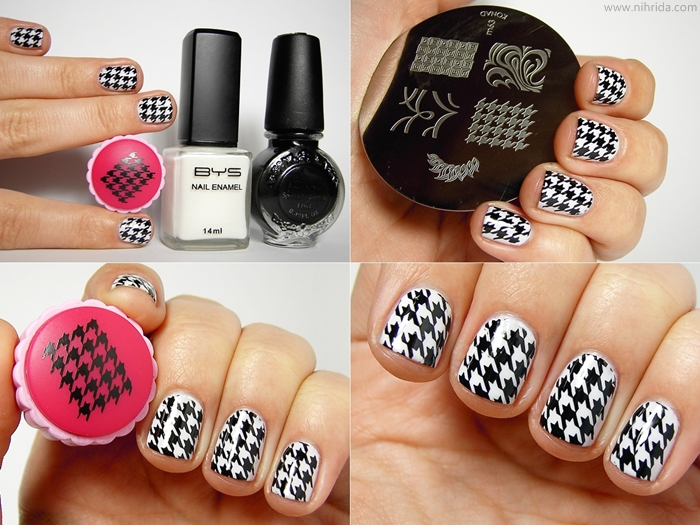
And most importantly - stencils for nail design are ideal for use not only with ordinary varnishes, but with gel polishes.
Terms of use
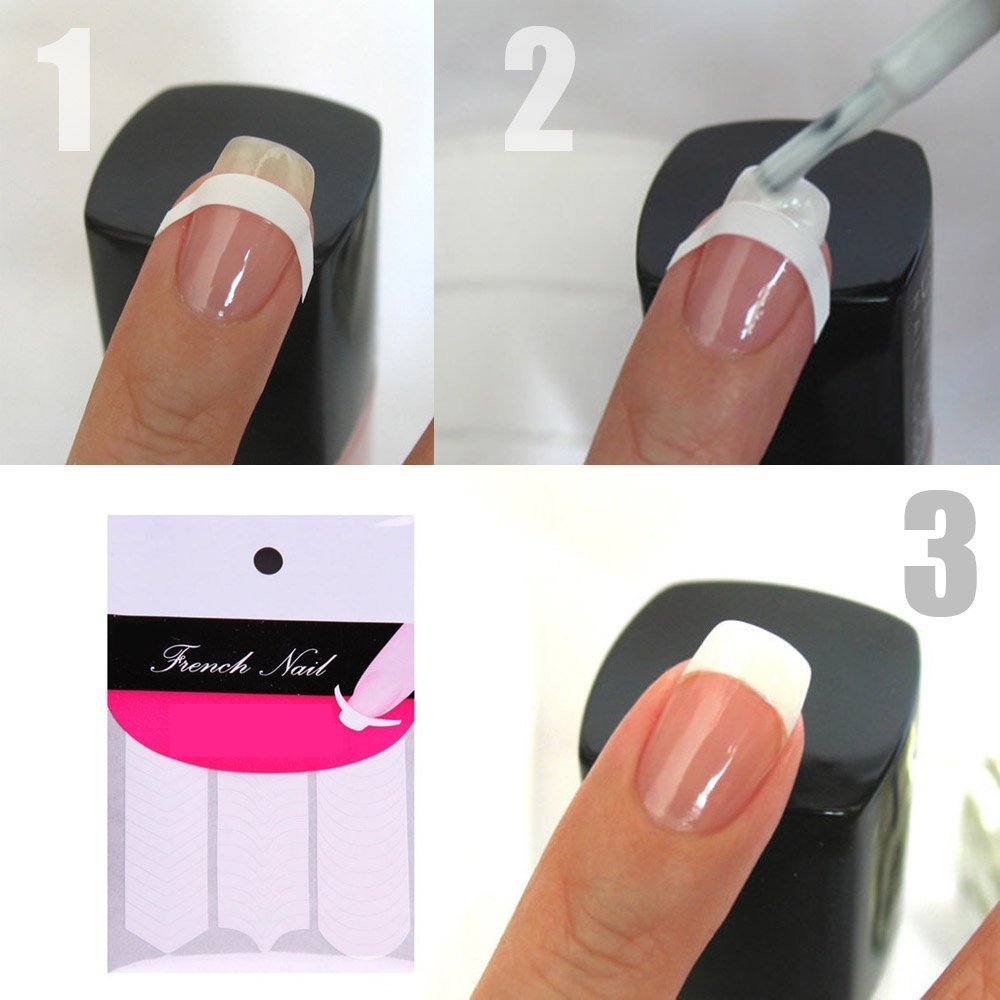
Using stencils for nails is a snap.
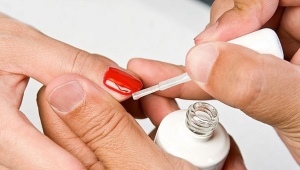
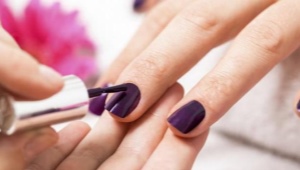
First of all, it is necessary to apply thin protective layers of the base and coat the gel varnish of the chosen color. After that, you need to separate the template from the leaflet and stick it as tightly as possible to the nail. This is a very important part of the job. It is necessary to glue the template carefully, since the covering under the sticker cannot be allowed to flow. The next step is to apply a second gel polish shade in one layer on top of the stencil. In the end it remains only to remove the stencil and dry the drawing in the UV lamp.
If the gel polish that you use to apply a pattern has a sufficiently liquid texture, it is best to literally dry it in the lamp for 5 seconds without removing the pattern, after which you need to remove it and dry the nails with the pattern.

Application features
Unlike simple varnishes, the consistency of gel polishes is much denser and does not create such shrinkage during drying.
It is for this reason that you should not completely coat your nails with gel varnish on top of the stencil, otherwise it will be difficult to remove it without damaging the design.
When working with stencils on gel polishes, you should remember the basic rules:
- While painting a pattern, pay attention to the gel polish layer: It should be applied as thinly as possible, it guarantees complete drying, it will be easier to remove the pattern from the nail, and as a result you will get a neat and beautiful pattern.
- Be sure to check how tightly the template is adjacent to the nail plate, especially at the edges. In order for the template to stick as tightly as possible, it is necessary to remove the sticky layer from the gel polish, for this you can use the buff. The elements of the template at the edges of the marigold are best painted over last, otherwise the gel polish may leak around the edges during the painting of the central patterns.
- Before using the stencil it is most convenient to cut it. Thus, it will be easier to separate from the substrate and more convenient to work on.
- The parts of the template that protrude beyond the edges of the claw will also be more convenient to gently trim with scissors.
- Remove the template is best with tweezers. It is necessary to pick it up as close as possible to the nail and peel off literally one millimeter. Movement should be parallel to the nail.
- Align the design best, while using self-leveling top.
- When applying simple patterns, you can use toothpicks or thin brushes.
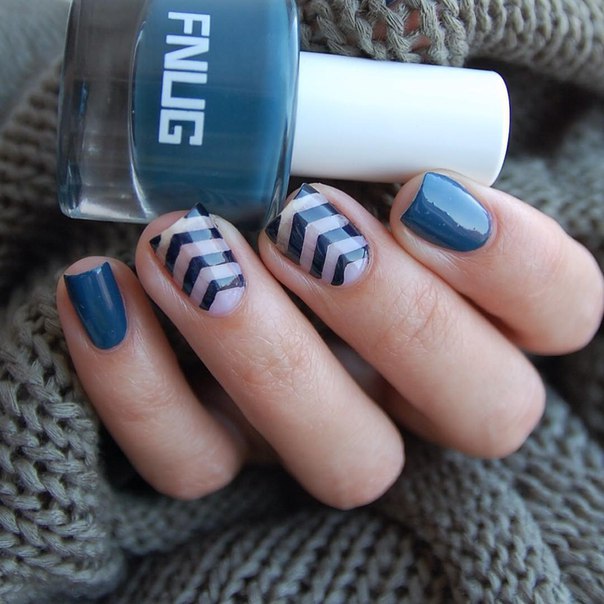
- Creating geometric designs, it is most convenient to use stripes for French manicure.and sometimes you can get by with even a simple tape.
- For easy and smooth application of ideal circles and points, you will definitely need a special brush, At the end of which the ball is located - such a brush is called a dots.
- By developing nail designs, opt for a single geometric shape, you should not mix different shapes in the same design.
- Geometrical figures look stylish and advantageous in nail design, staggered, broken curve, and also in the form of a mosaic.
Design Ideas
The wide color palette of gel polishes in combination with vinyl stencils work wonders, with their help everyone will be able to create unique and original nail designs. Consider several different techniques.
- Equipment "negative"- it uses only one color of the coating, and part of the nail is simply not painted, so you get patterns that can be compared with cutouts in clothing.
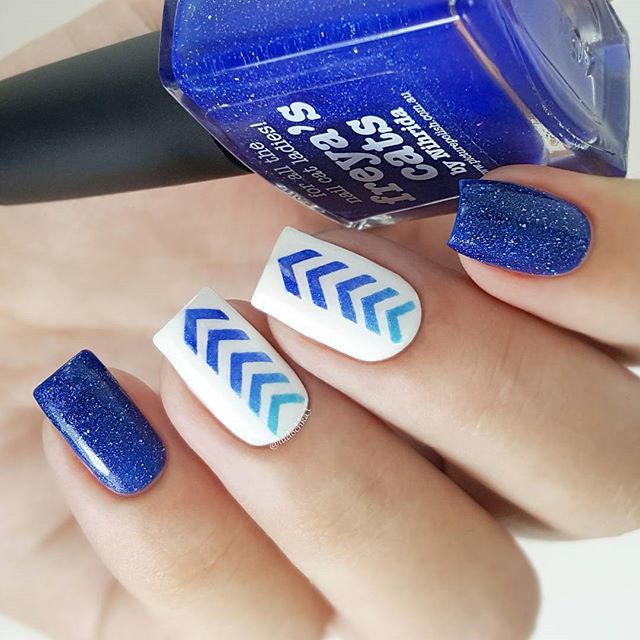
- When using in manicure of several flowers will look very impressive technique "ombre"(gradient) using a stencil.
- Restrictions on the number of colors used gel polish in manicure is not, most importantly, that they all harmoniously combined with each other.
- When creating a two-color manicure with stencils it is best to pick up gel polishes with different textures. This may be, for example, a cream color coating paired with a glitter and so on.
- Original solution There will be the creation of various patterns in the slider design (water-based stickers) or stamping (printing on nails).

Stencil templates for manicure make it possible to try to combine different patterns and colors of gel polishes.
Try different workshops and experiment, because the same pattern can look completely different on different shades of coverage.
In addition, stencils are also very economical to use. On each piece of paper with templates usually placed on average at least twenty stencil windows. Many you can even use twice, creating embossed and hollow patterns.
Prices and where to buy
Stencils for gel polish are sold in all stores of goods for nail service.

But it is even easier to make orders for manicure templates in numerous online stores.
The choice of templates is just impressive with its abundance - you can easily find the options you need.
The price of stencils for gel polish is quite low and averages from 50 to 150 rubles.