Gel polish
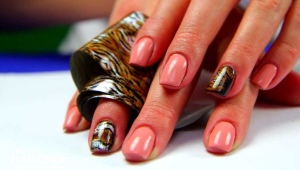
To preserve the beautiful appearance of the nails, they had to repaint them every two days. Now it is much easier to achieve a perfect manicure. Gel Polish for a long time retains its feather bed beauty and design idea of the master.
In order for the varnish to last longer, you need to properly seal the nail butt with a gel varnish. In this article you will find detailed instructions on sealing the free edge of the nail.
Coverage Benefits
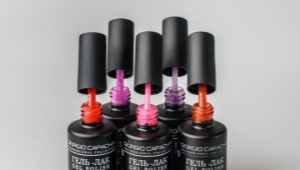
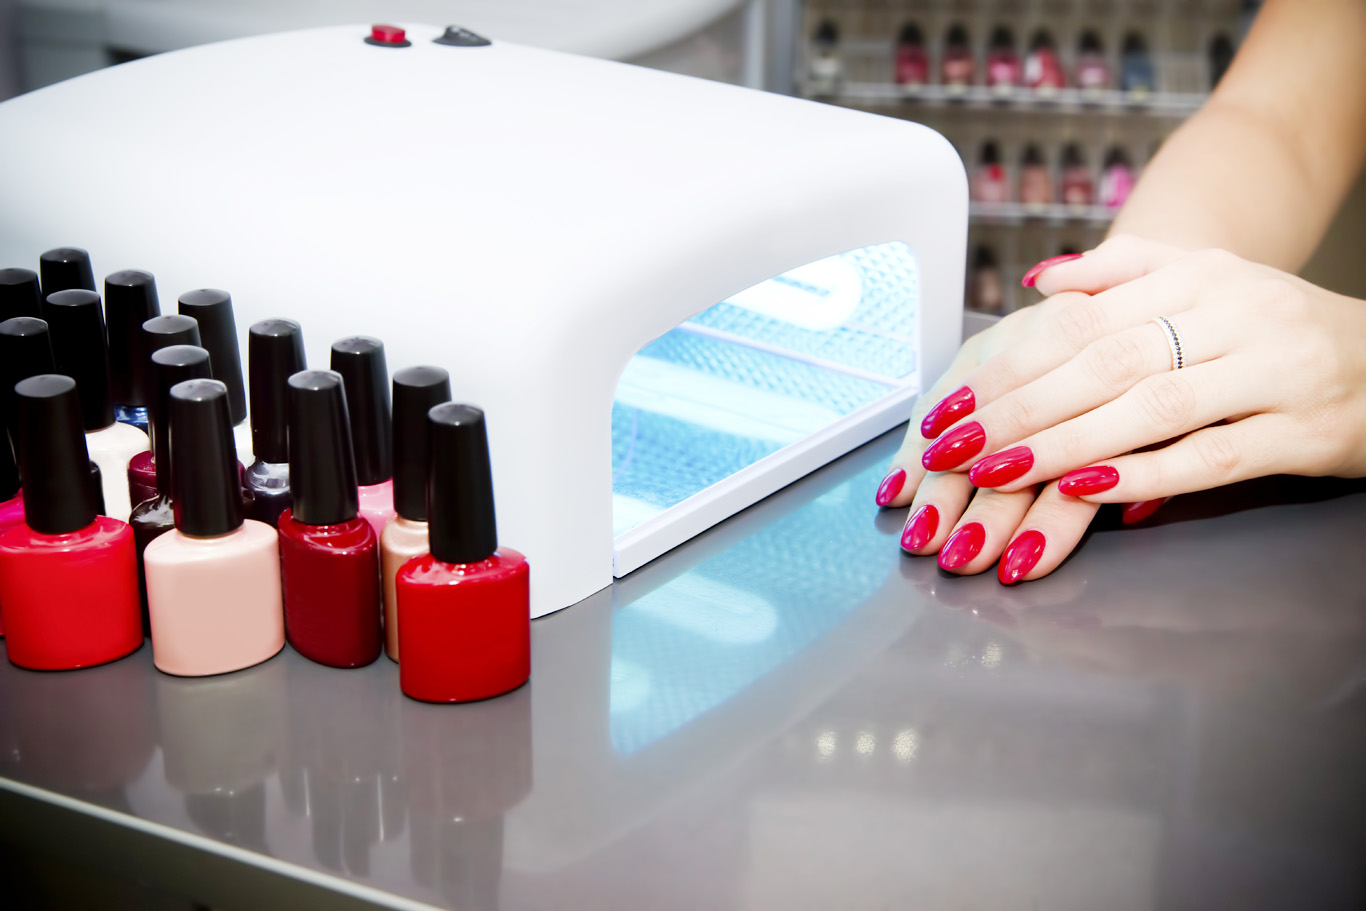
This product belongs to decorative cosmetics. Its name is due to the combination of two elements. It is a varnish and gel in one bottle. If the varnish itself can dry out, then a special lamp is used to dry the gel. They are different, and the duration of drying depends on their type.
It should be remembered that it is necessary to dry each applied layer. If you do this simultaneously for all applied layers, then there will be no result.
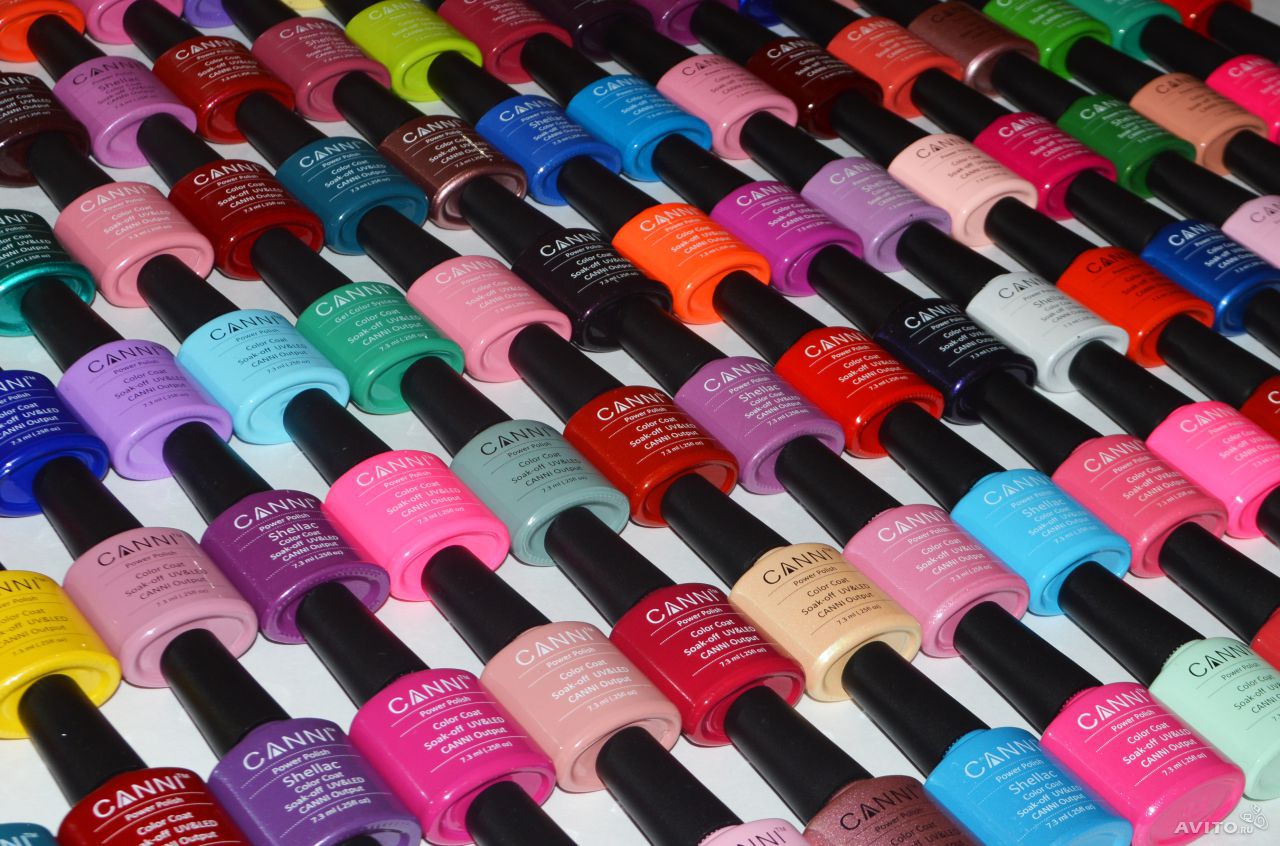
At the base of gel polish is a gel that is used to model nails and a coloring enzyme. On the market, these products are represented by many manufacturers. Moreover, each product will differ not only in color saturation, but also in the rate of drying.
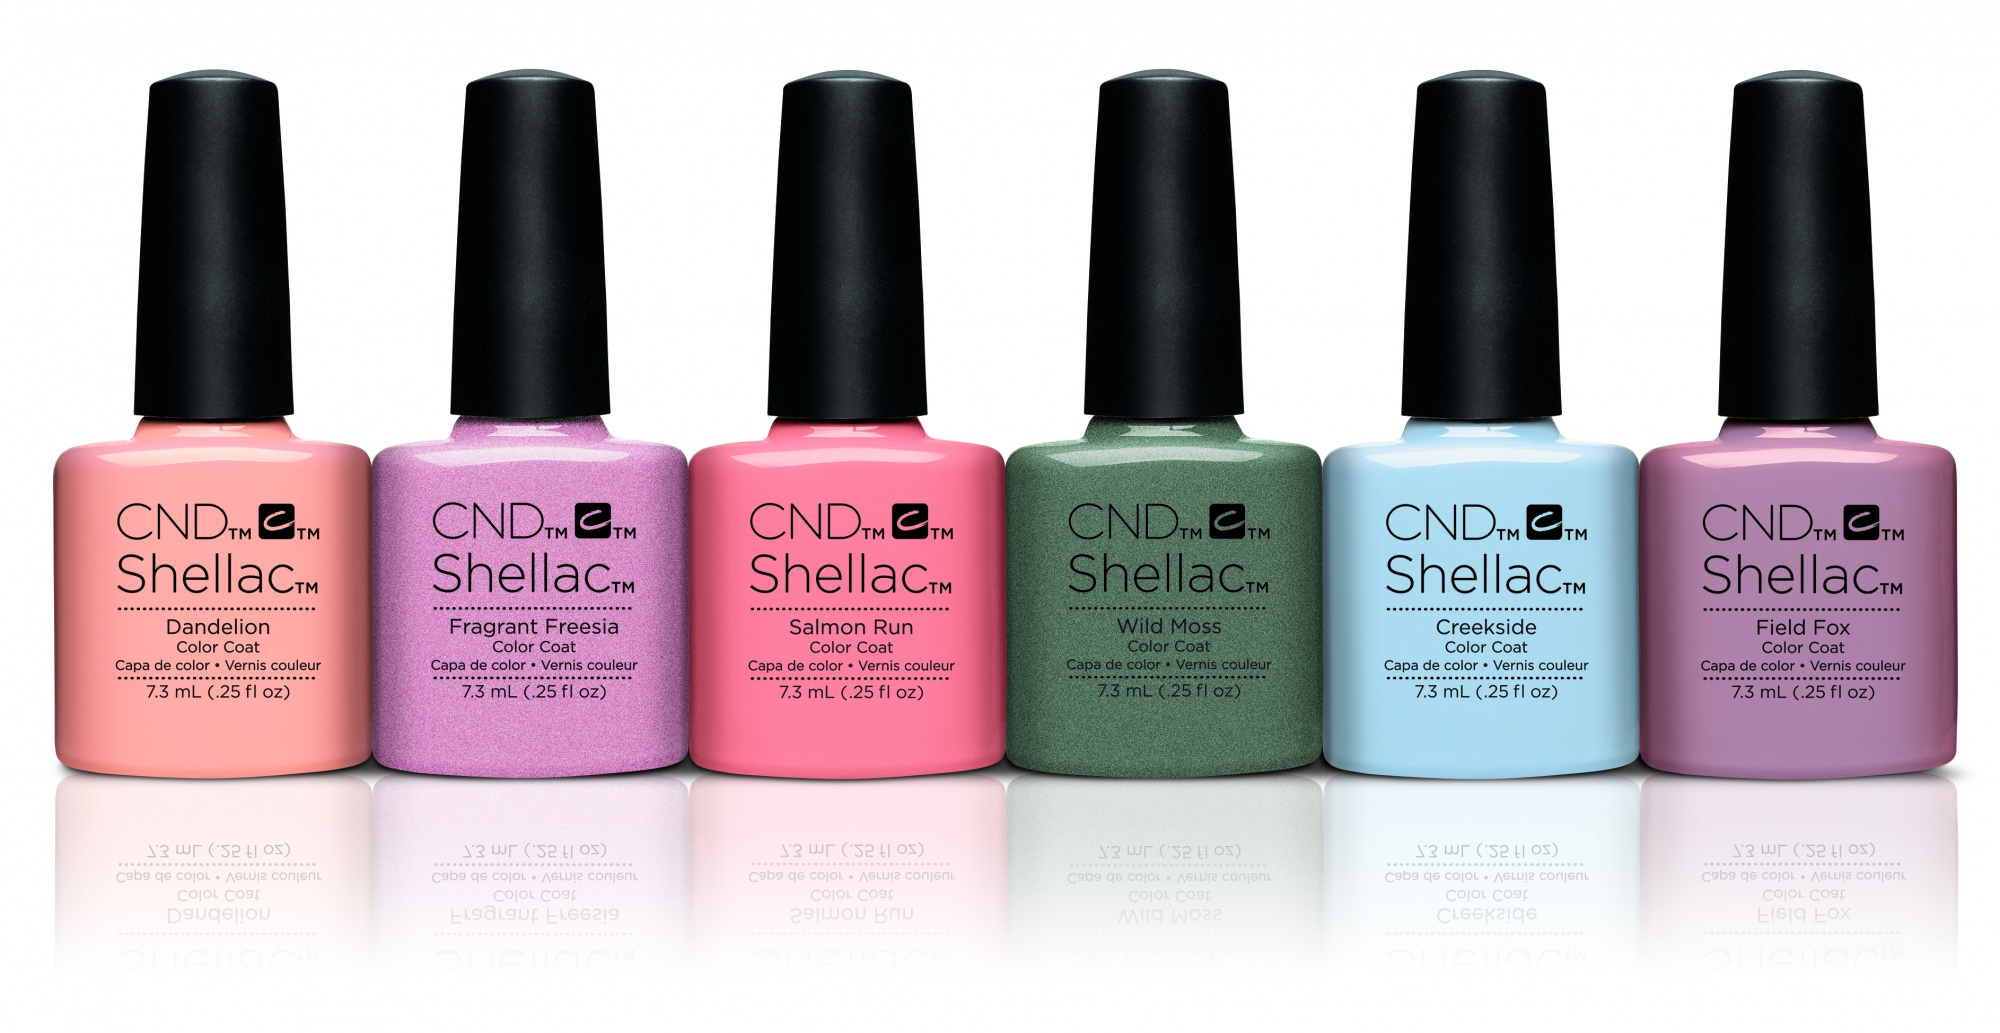
It is possible to wear a manicure made by shellac from two weeks to 30 days. It all depends on the quality of sealing and features of the nail plate.
Advantages of gel polish:
- To cover does not have to injure the nail plate, which can not be said when using the gel.
- Color, brightness and gloss of a varnish are not erased for a long time.
- Correctly sealed tip of the nail does not exfoliate.
- Cosmetic product is absolutely harmless.
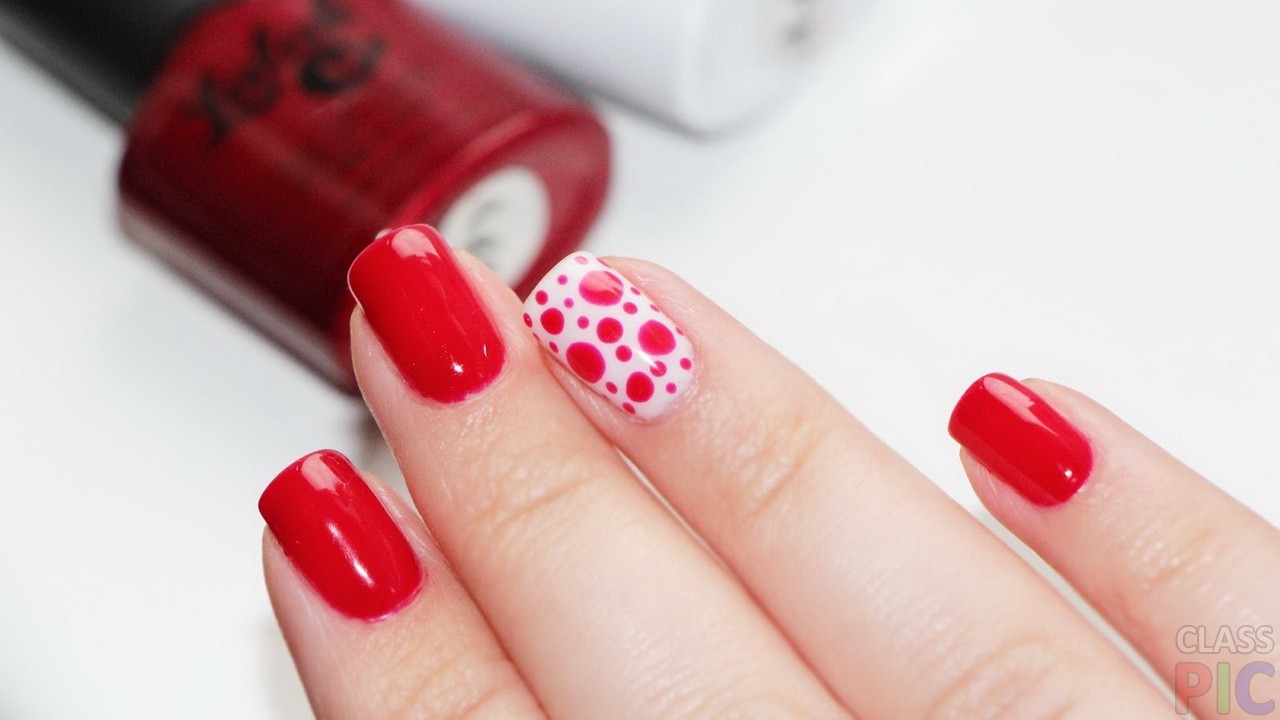
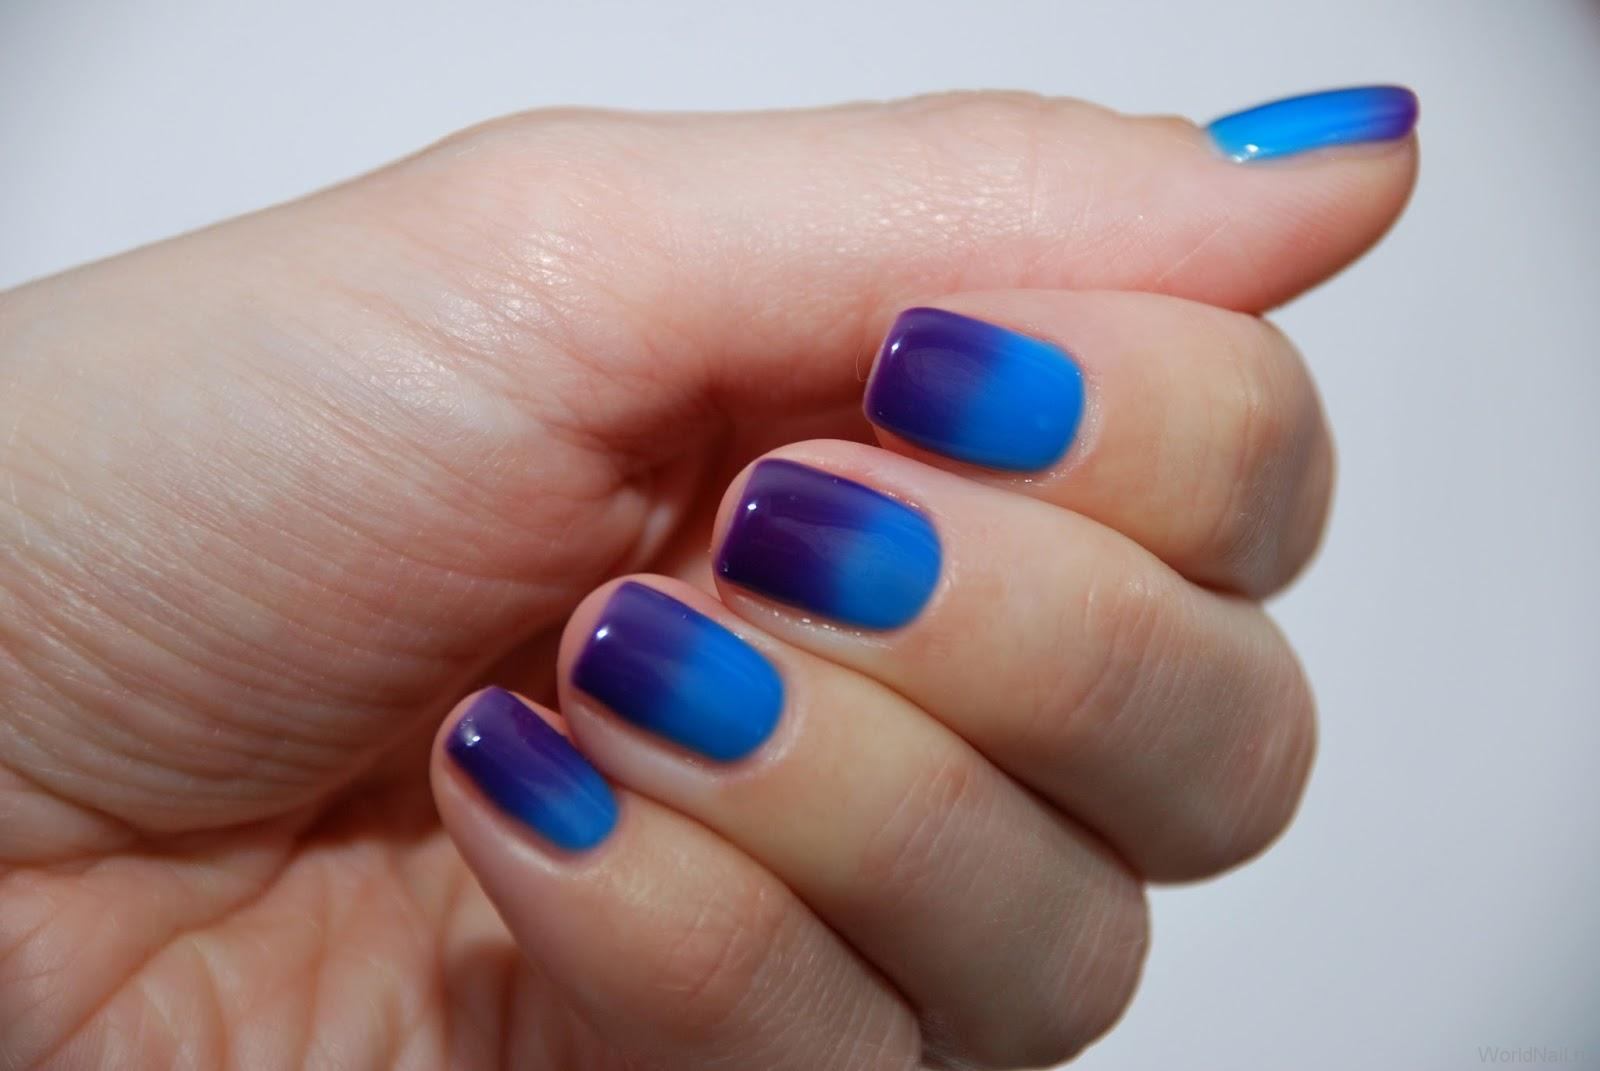
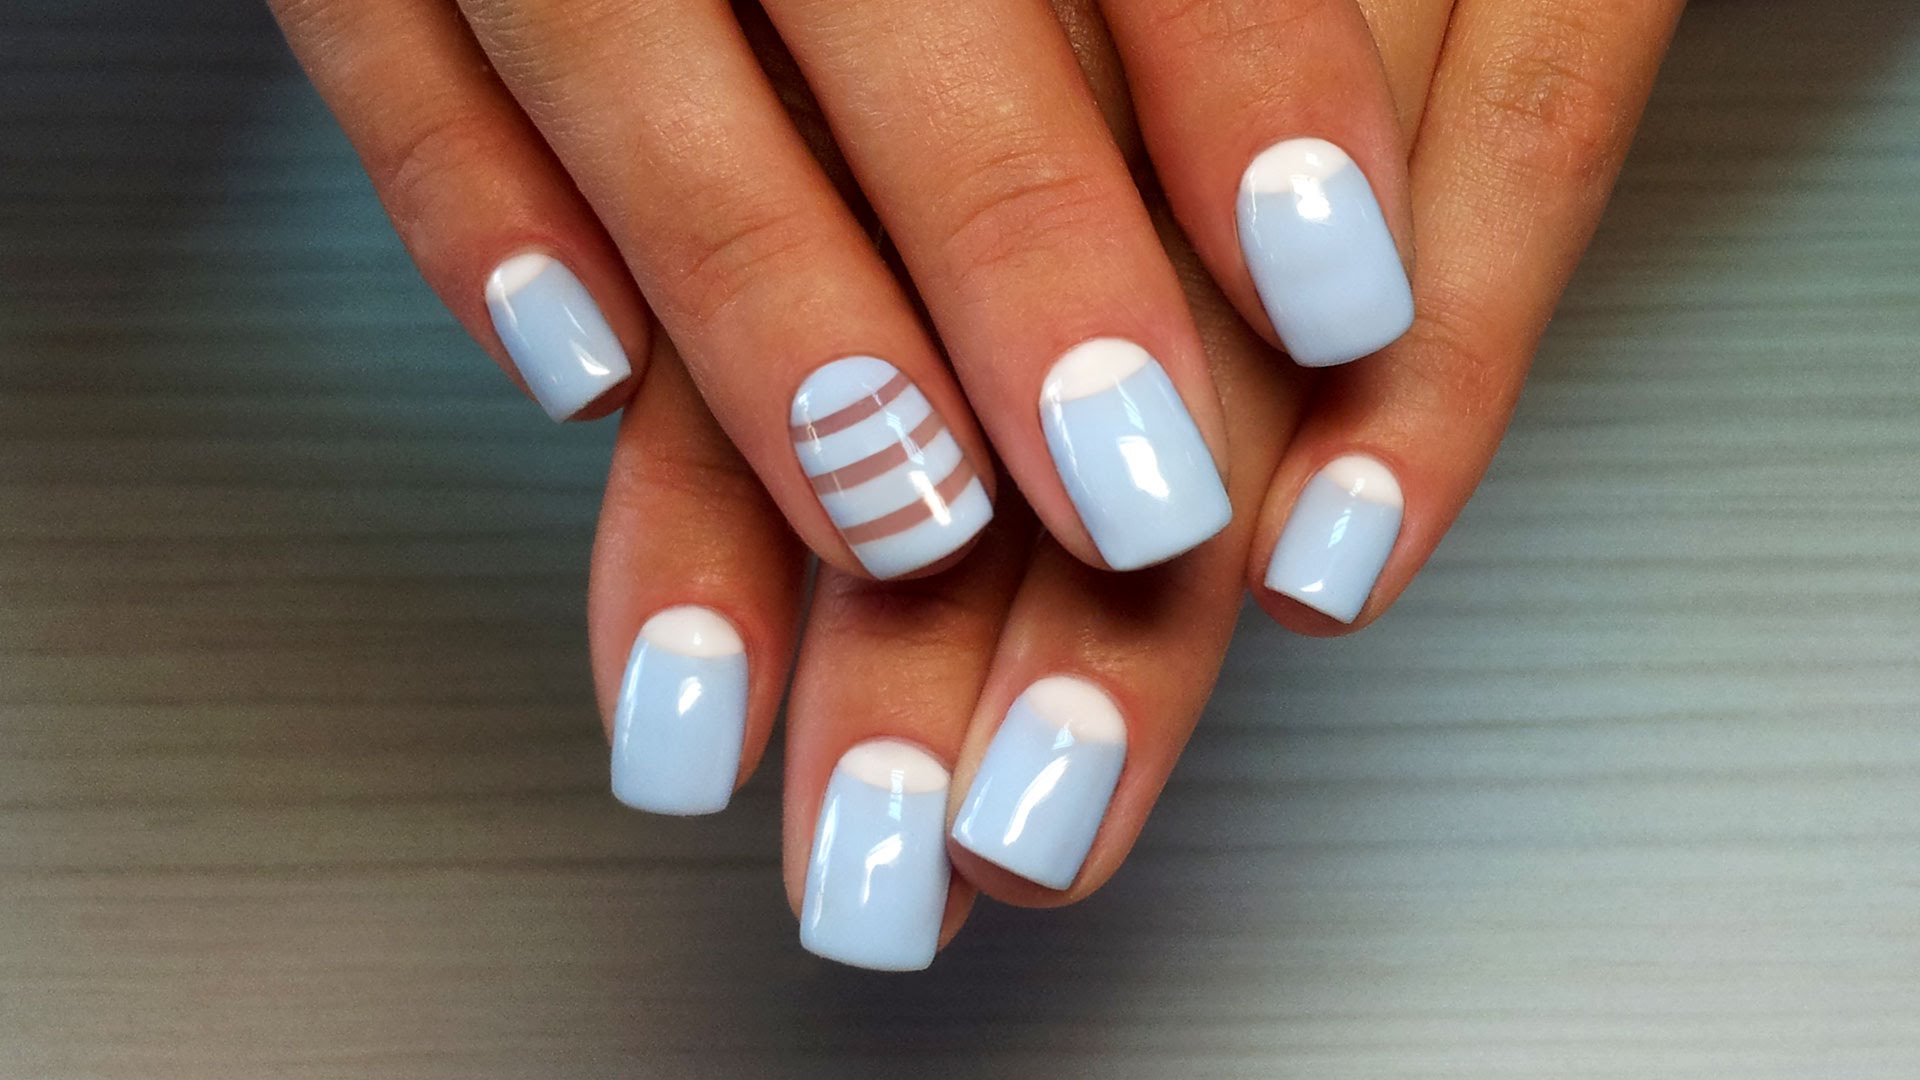
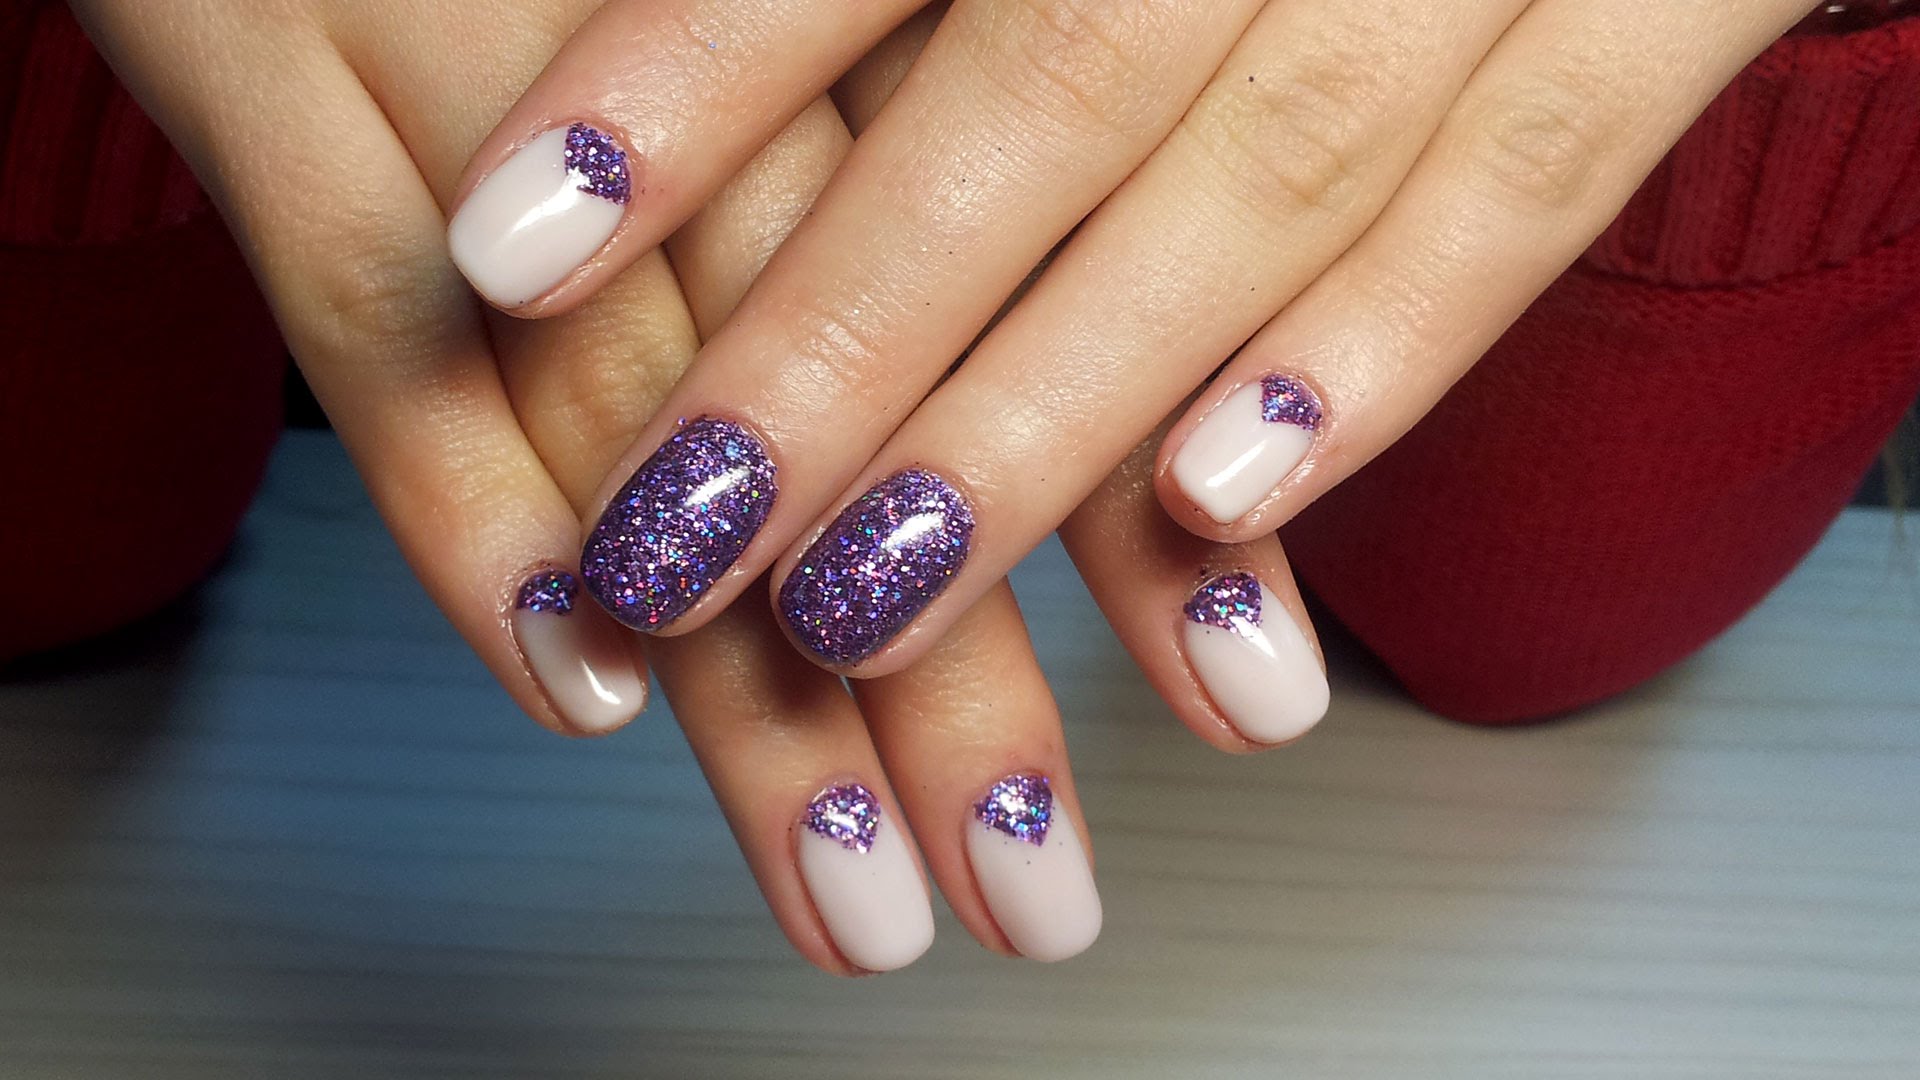
- Due to the wide range of colors you can create a variety of designs.
- Available for almost everyone.
With such a tool, even weak and brittle nails turn into rather dense and strong ones. This is not due to the beneficial effects of the tool, but to the many layers that cover the nail. All these qualities of varnish can be obtained in only one way - the correct application and strict adherence to the rules. The slightest deviation from the technique and the sequence of application will result in a poor-quality manicure, which after a few days will begin to exfoliate and form chips.
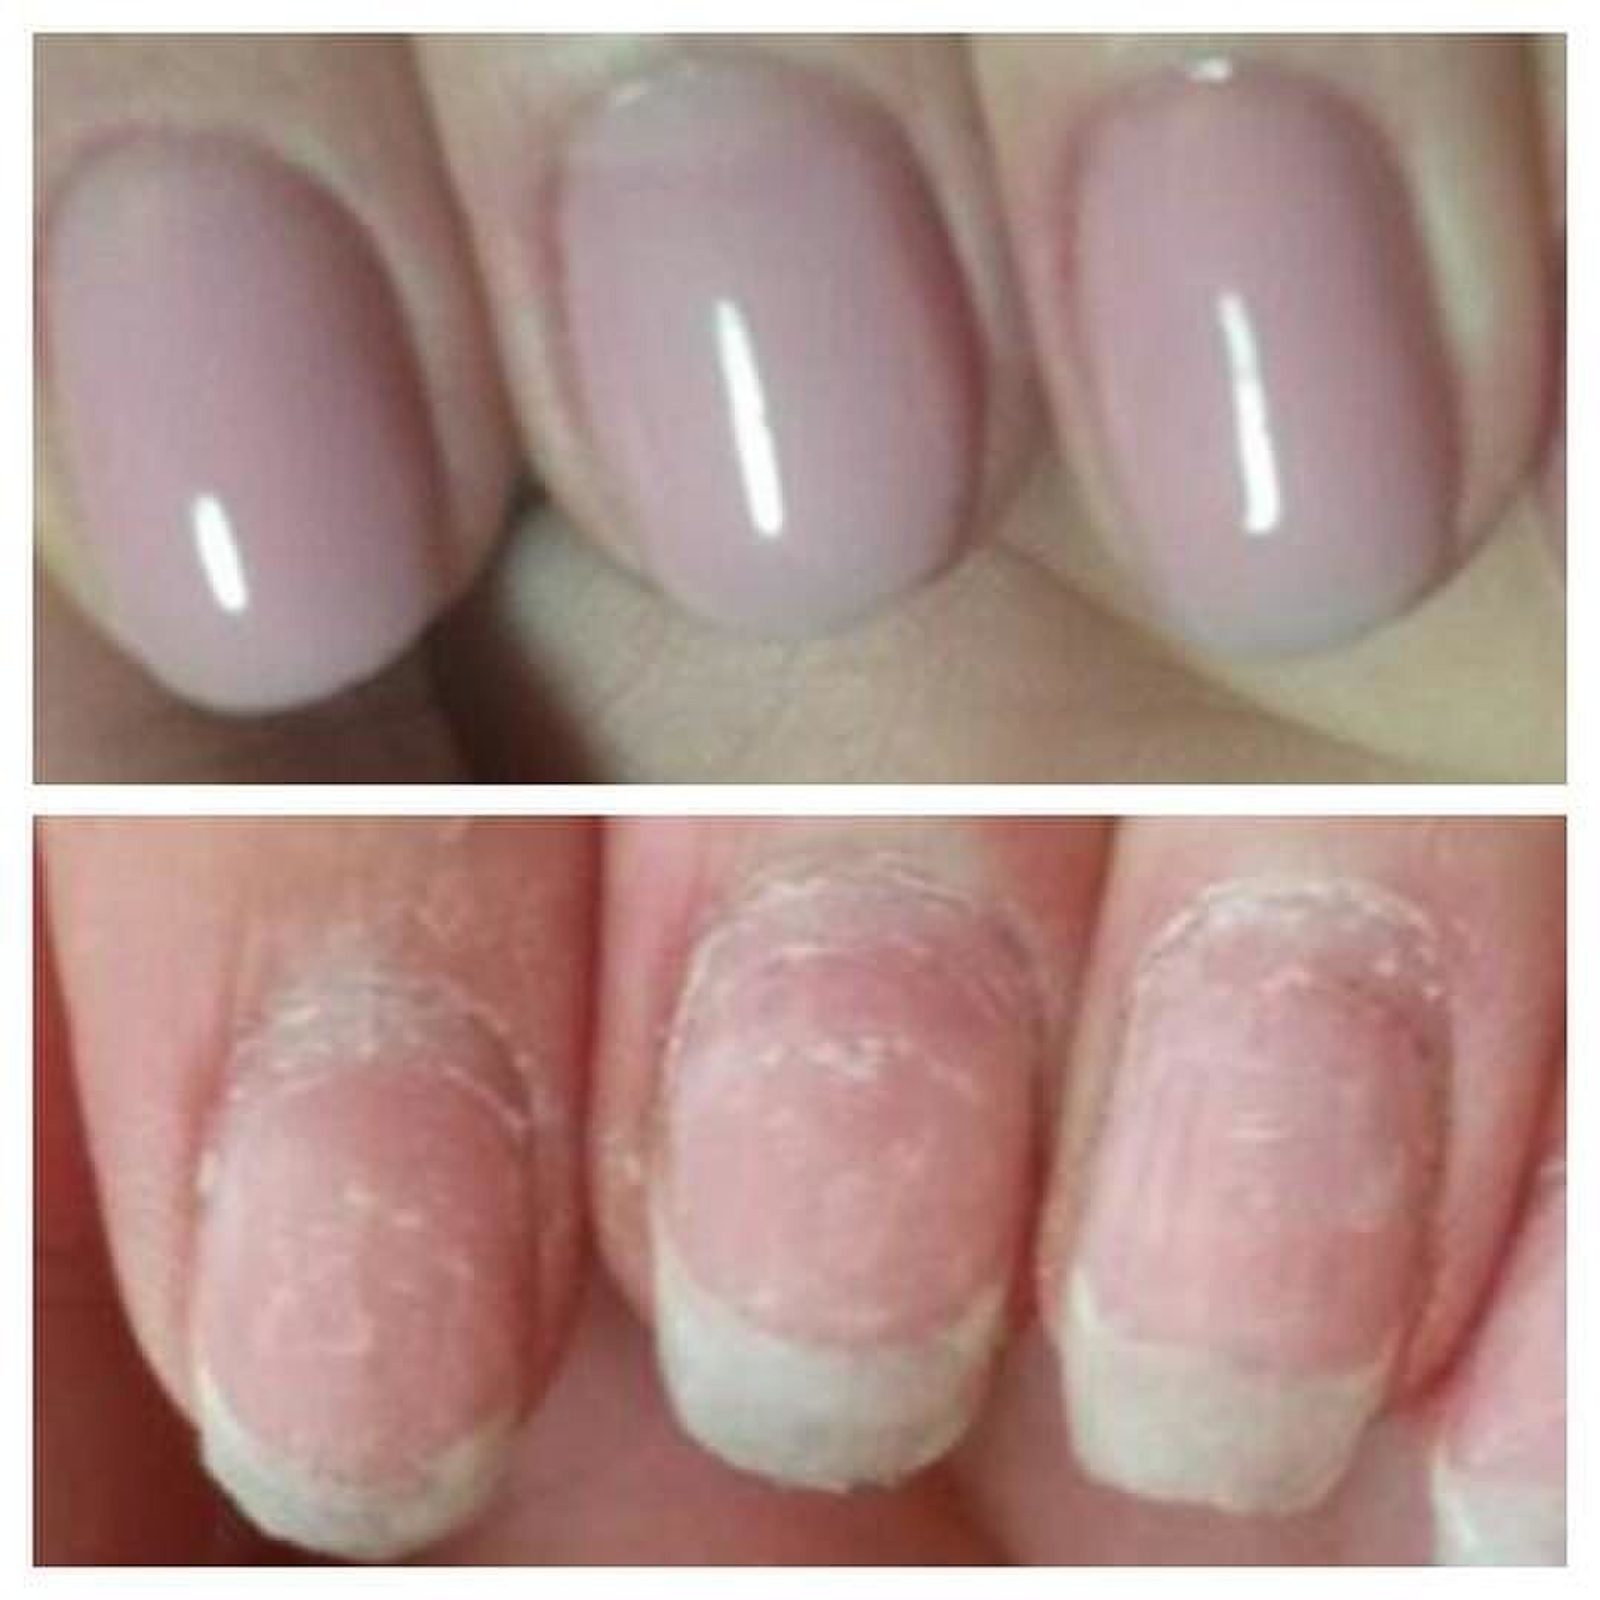
Why seal?
The nail butt, he cut - the weakest point of manicure. Since the manicure is applied in several layers, the unsealed tip simply provides access to all of them. It is much easier to chop open coating layers than closed ones.
Judging from the aesthetic side, the undrawn cut looks rather unattractive and too noticeable.
Application features
Proper sealing of gel polish is the last stage of the work, but the preceding ones are no less important. If preliminary preparation is not correct, the result will be short-lived. Consider the entire process of applying gel varnish step by step.
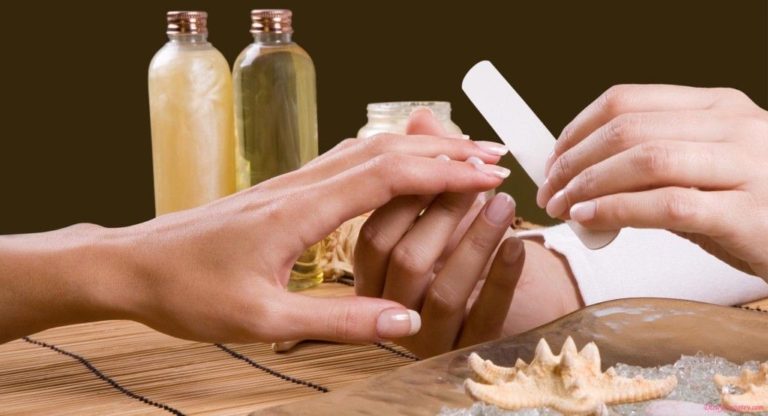
Hand preparation
No matter how trite it may sound, but before the procedure you should prepare your hands. It is good to wash them, make a nourishing mask or bath, treat with oil. If you are going to change the shape of the nail, then do it before applying the varnish.
Remember that immediately after the water procedures to apply varnish in any case impossible. The nails are steamed out, made porous and not able to withstand a tight fit of varnish to the plate. Wait at least half an hour. At this time, you can move and trim the cuticle or give the nails the desired shape.
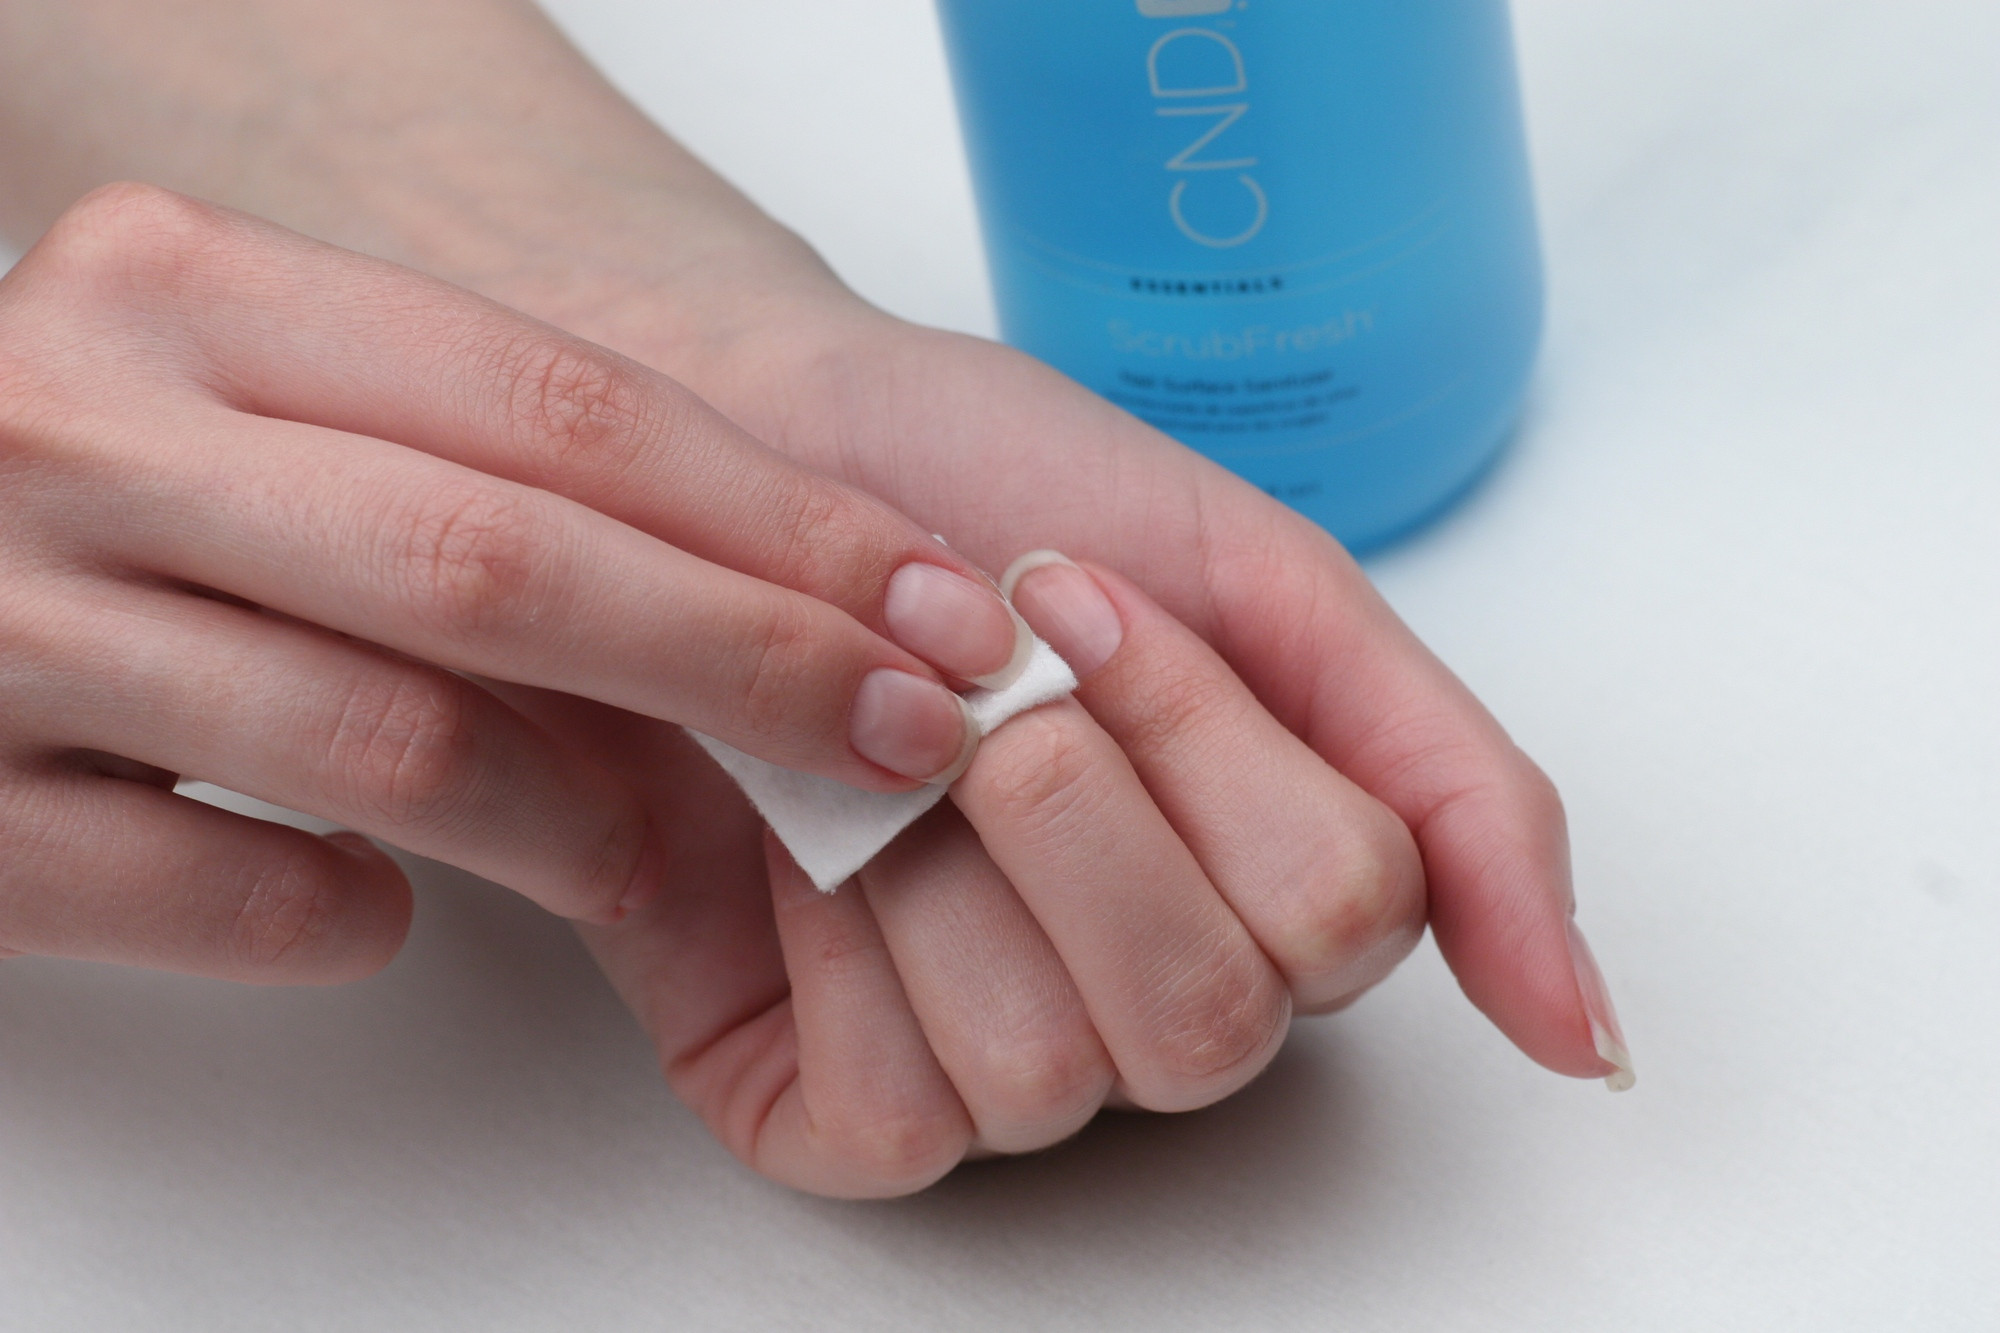
Processing of the nail plate
Before using the varnish it is not necessary to wash the nail with a buff. This should be done only in the case when the plate is too exfoliated.
In other cases, treat the plate with a soft file and degrease it. For polishing it is better to use a lint free cloth.Pay special attention to the tip of the nail, because it is from him begins exfoliation of lacquer.
Do not touch the processed nail plates with the nail plates and degrease them with a special agent.
Primer application
In order to avoid the fragility and brittleness of the nails, you can cover them with a primer. Dries means instantly. It provides better adhesion of the next layers with the nail plate.
The primer helps to degrease, dry and disinfect the nail plate. You can use both acid and acid-free agent, depending on the type of plate.

Apply primer carefully so that it does not get on the cuticle and skin near the nail.
Basis for lacquer
After carrying out all the above procedures should begin to apply the base. This transparent viscous substance helps not only to make a manicure stronger, but also saves the plate from yellowness and exhaustion. Choose a foundation with the included vitamins or caring ingredients.
Its layer should be as thin as possible. Dry base should be in a special lamp. The adhesive layer must be removed. The base prevents the penetration of colored enzyme in the nail plate.
Try each of the tools to get a little under the protruding tip of the nail. If the nails are cut too short and their length is not enough for sealing, then you should either grow the nail, or simply do not rely on the perfect quality of manicure.
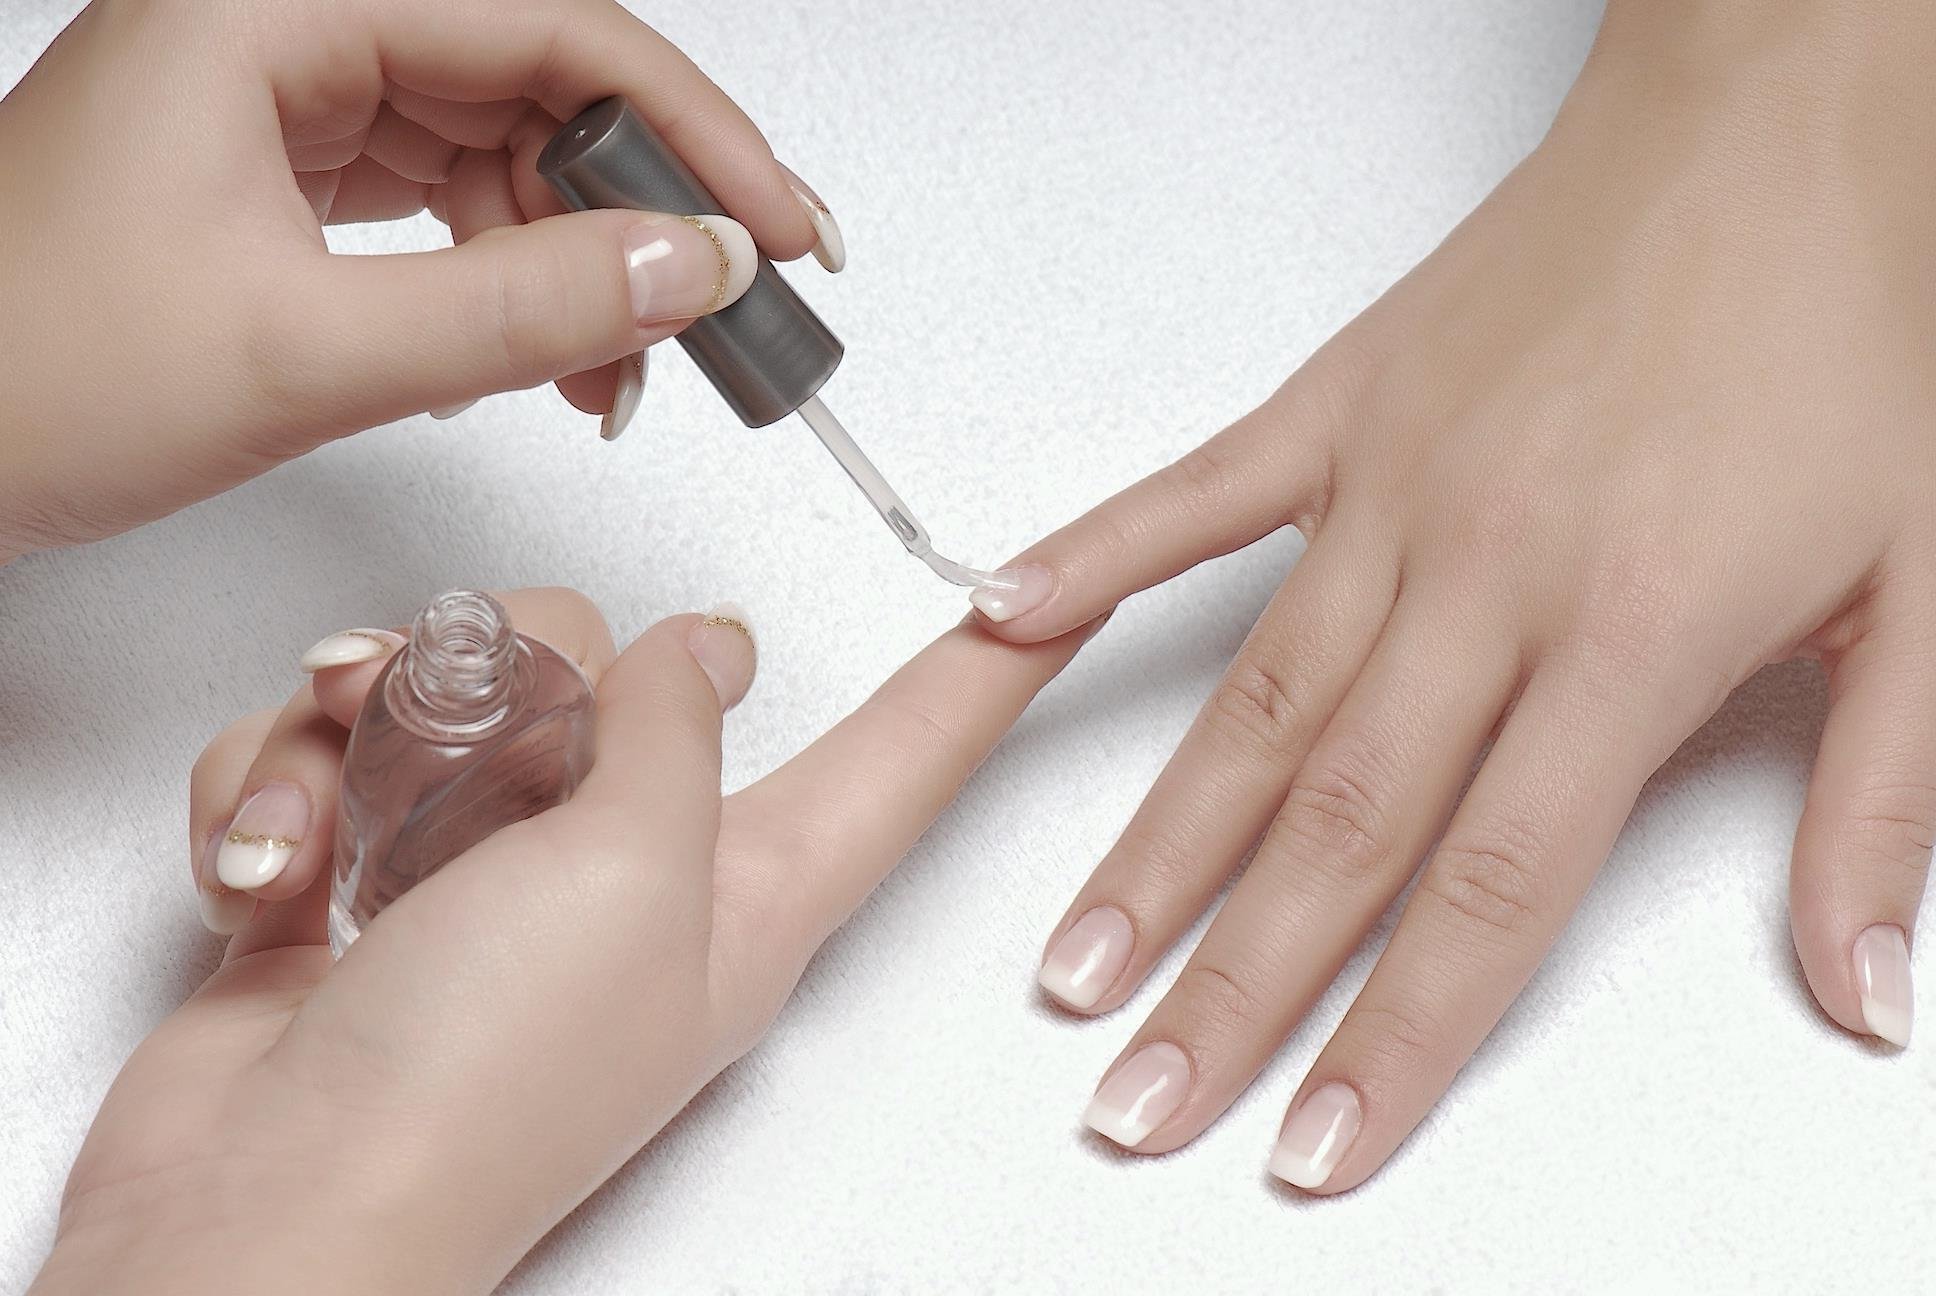
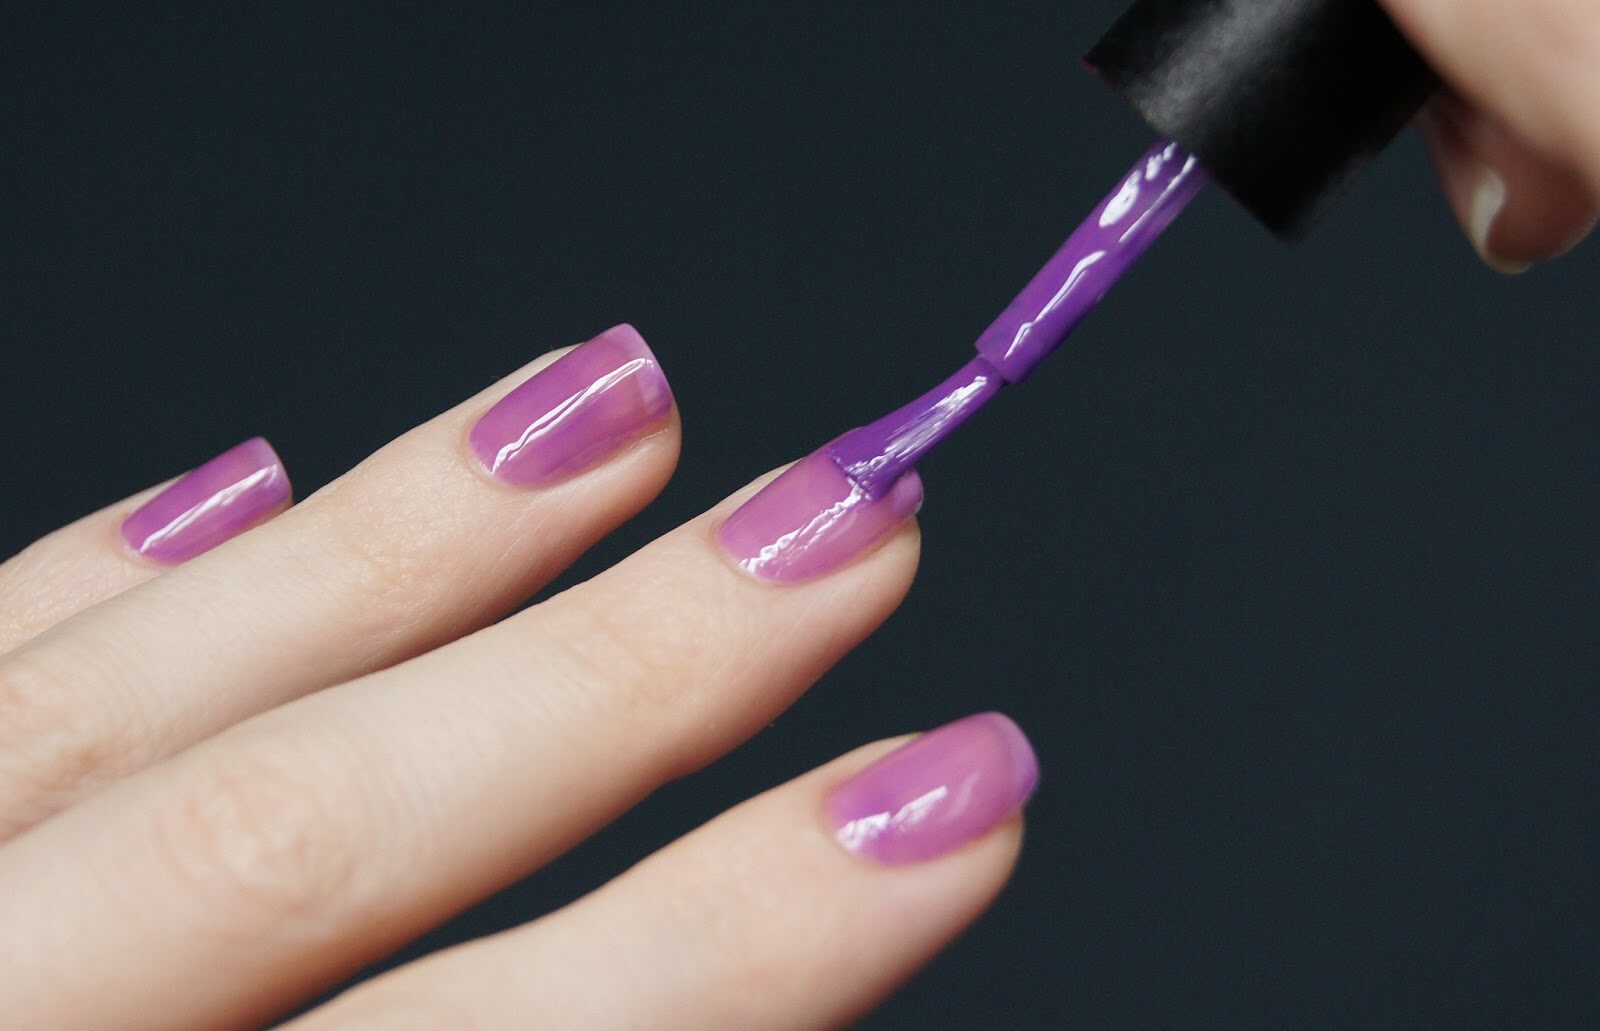
Gel polish
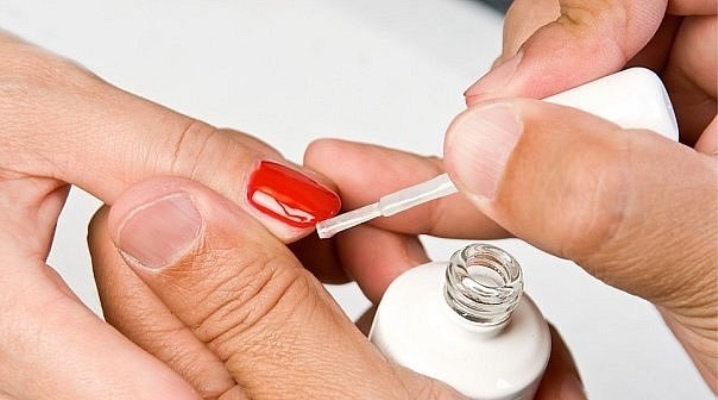
- Shake the varnish bottles well before starting.
- Apply a thin layer of gel polish. Align it with a dry brush. Dry your nails under the lamp. Set the timer for two minutes. If this is a LED device, then the time can be reduced to 30 seconds.
- Apply a second coat of varnish, dry it again. Experts recommend applying gel polish in thin layers, so it will not spread, bubble and form rollers. Each layer should be well dried.
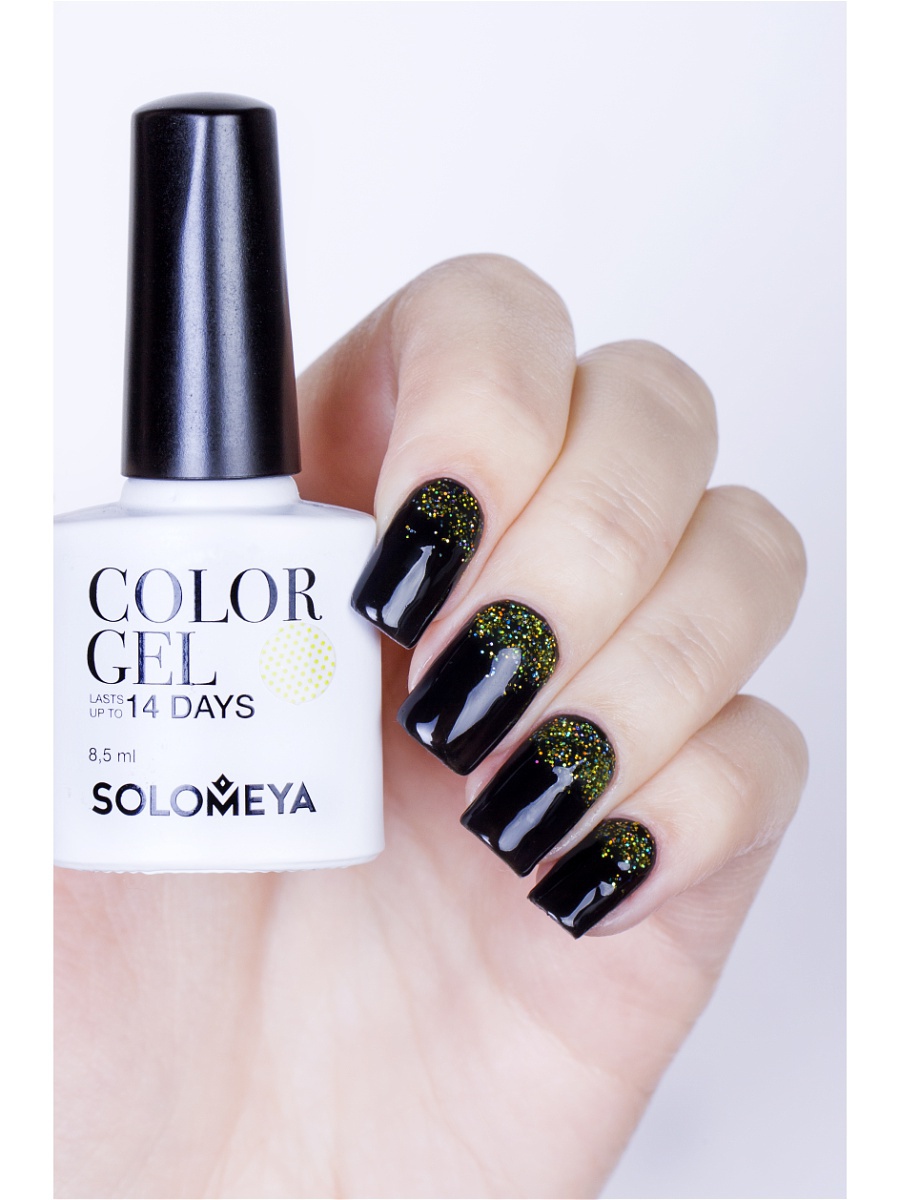
- If you plan to apply the picture, the sticky layer must be removed, otherwise the varnish will fall off. Be sure to handle varnish, especially dark shades, protruding edge of the nail. So a manicure in general will look much neater.
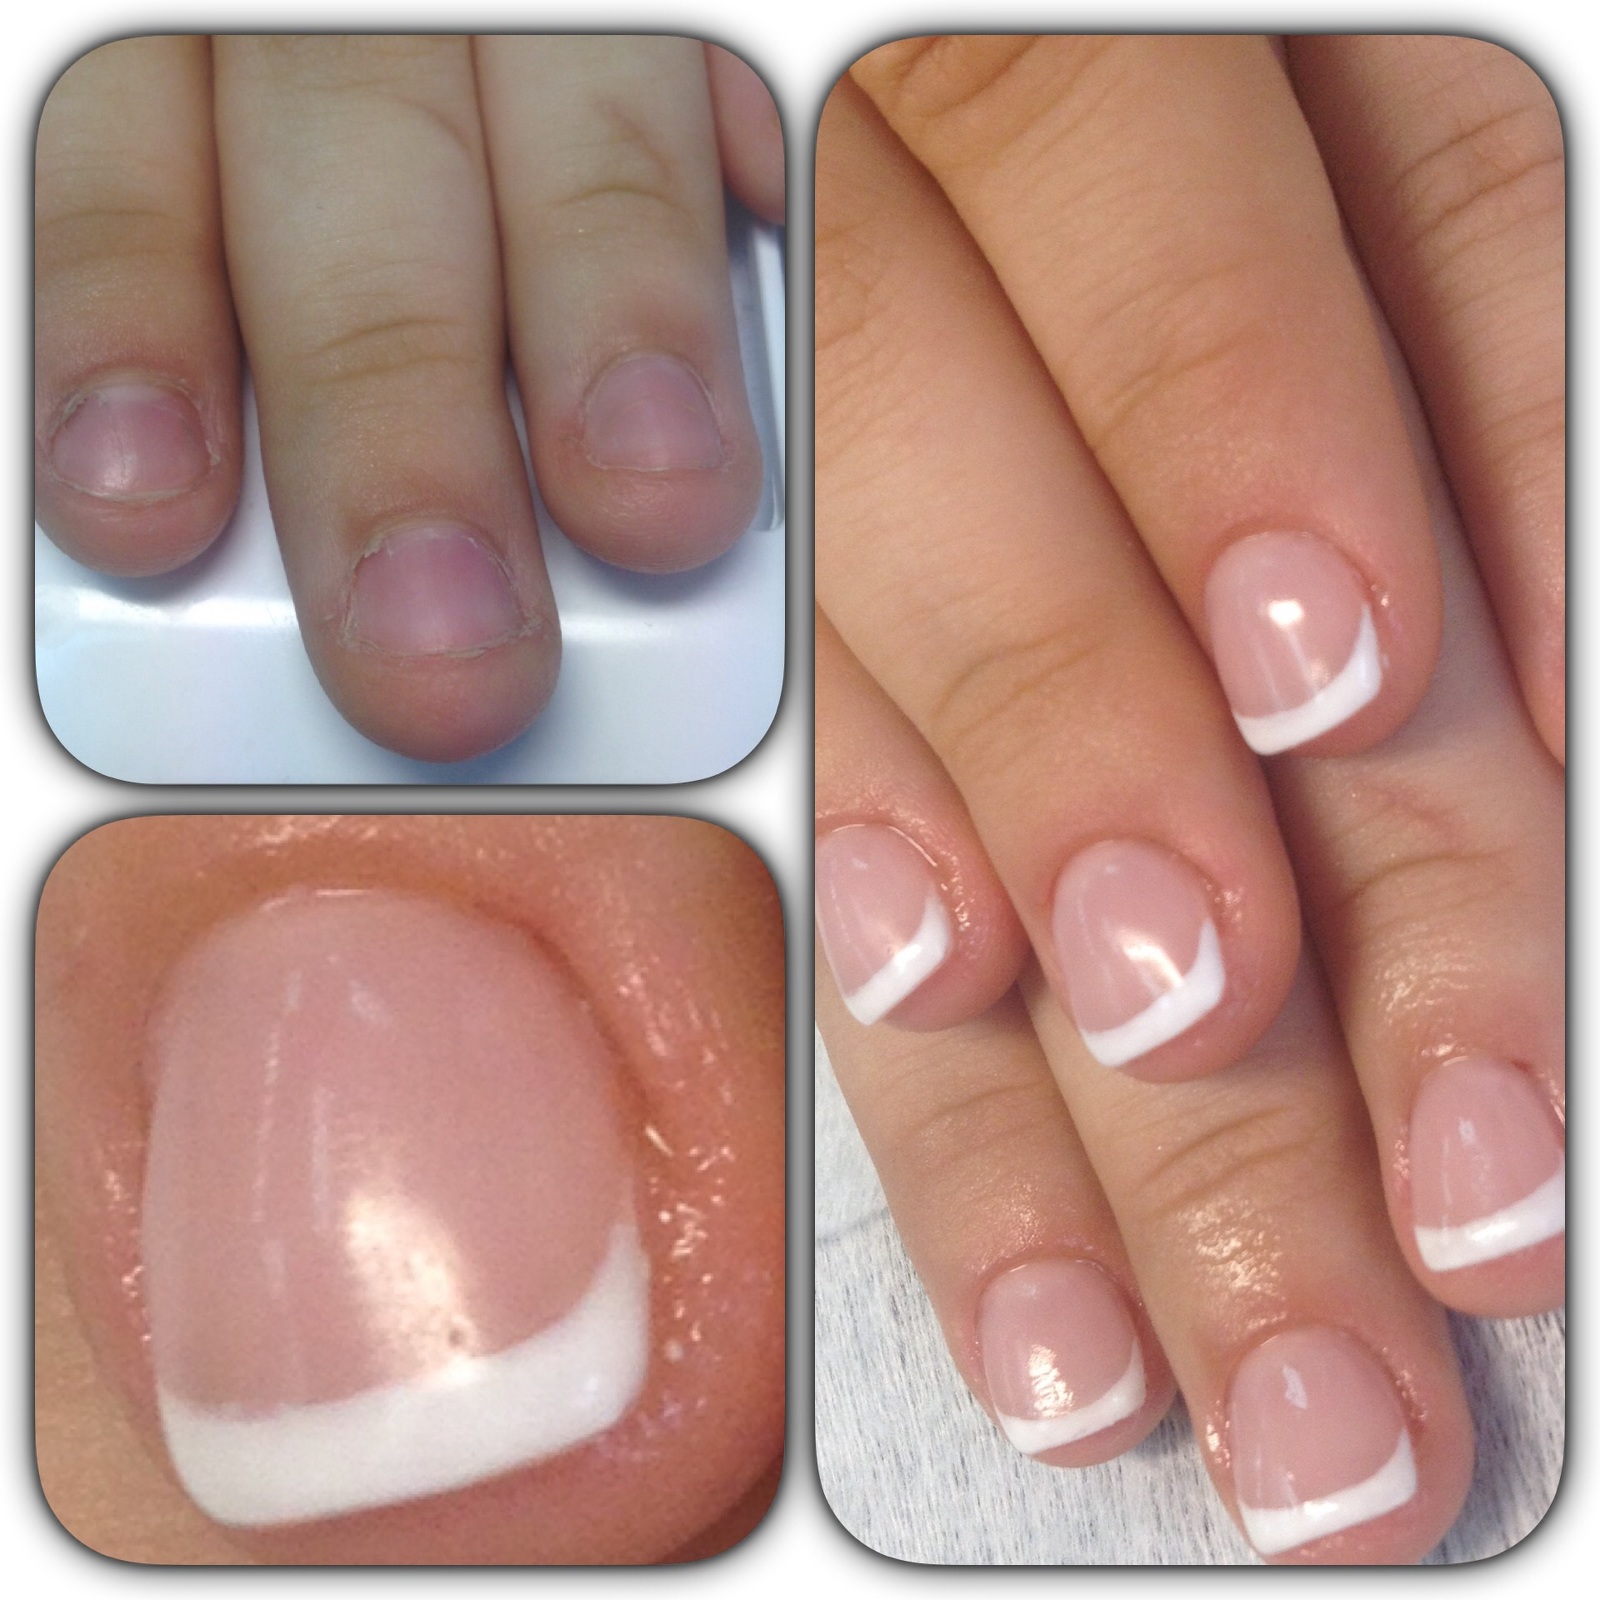
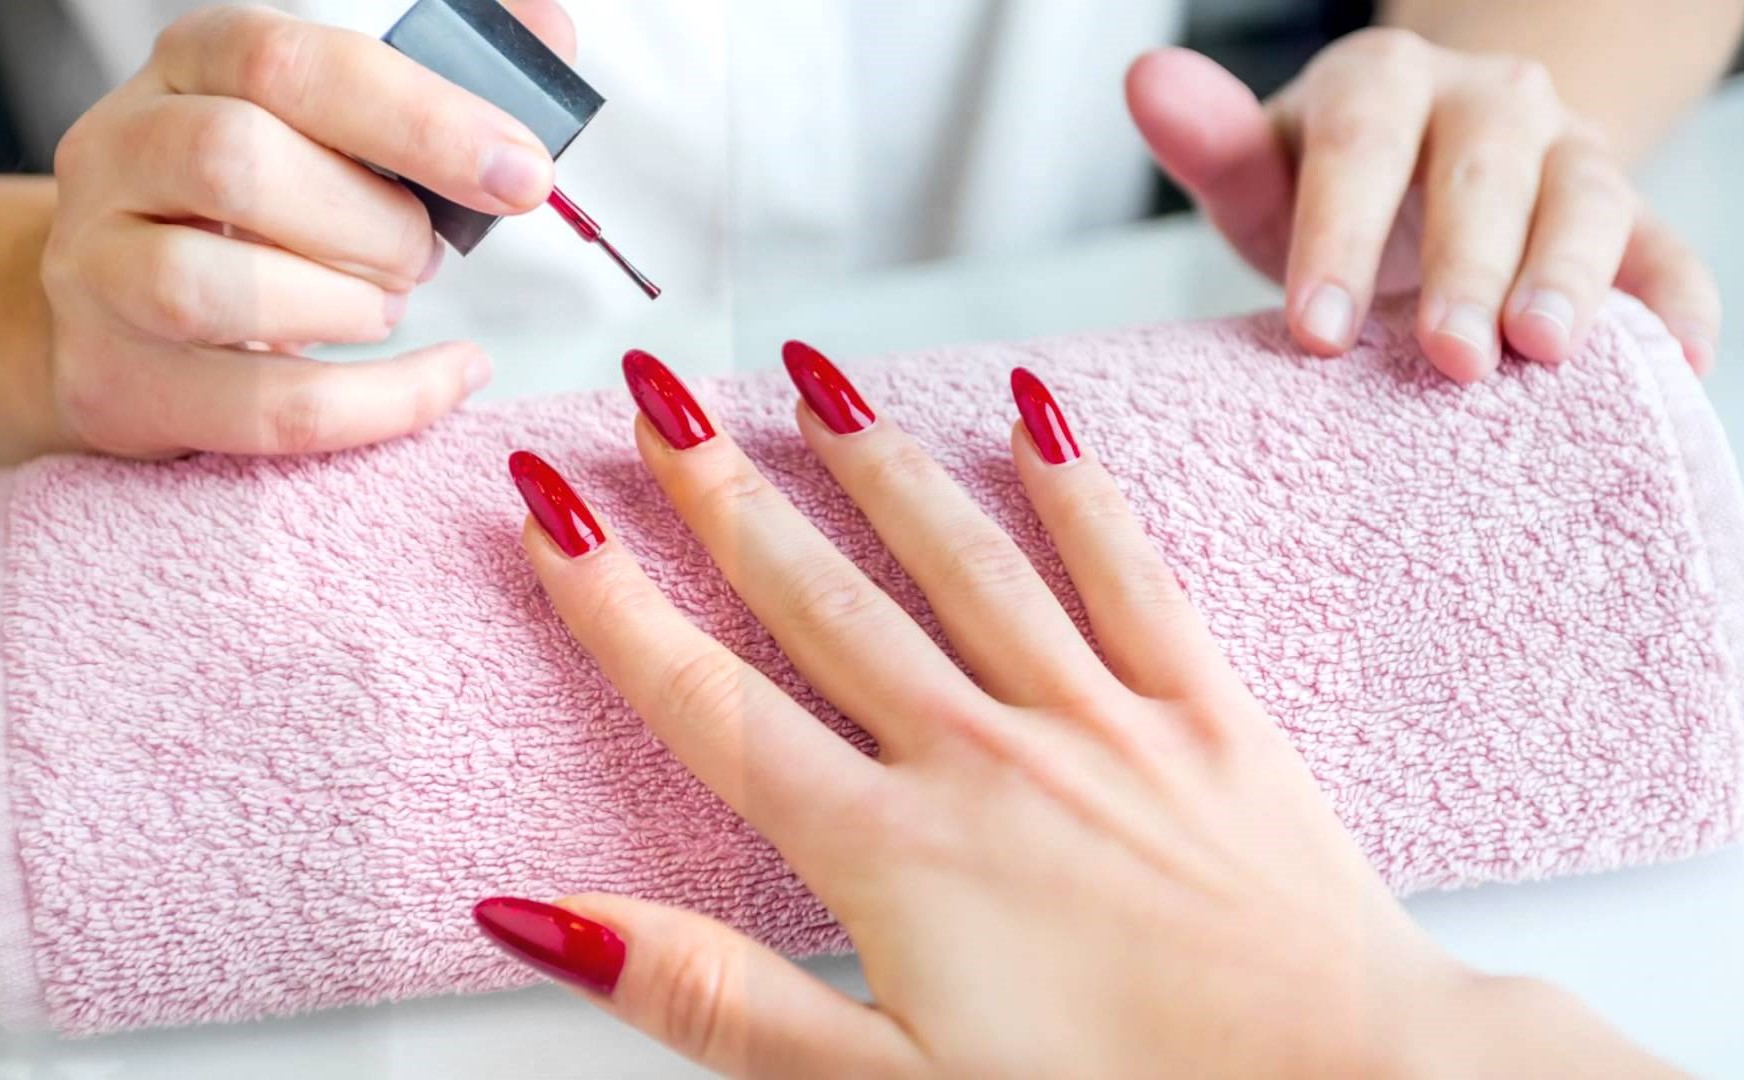
Sealing
For a start, let's see what is sealing the free edge of the nail. This is the staining of the free growing tip of the nail on both sides with the base, varnish and finish. That is, it is not one final procedure, but a set of actions at each stage.
For sealing, it is imperative to process both the inner and the cut part of the growing nail. At the same time try not to affect the skin. Too zealous with painting the inside is not worth it. For clarity, see the video on how to properly seal the end of the nail gel polish.
Learn more about how to seal the end of the nail, you will learn from the following video.
Proceed to sealing the edge of the nail. The sequence of work is as follows.
- Dip the brush in the gel.
- Get rid of excess funds by removing them from the neck.
- The brush with the tool should be perpendicular to the tip of the nail.
- Carefully apply the product to the edge. Be sure to step on the inside.
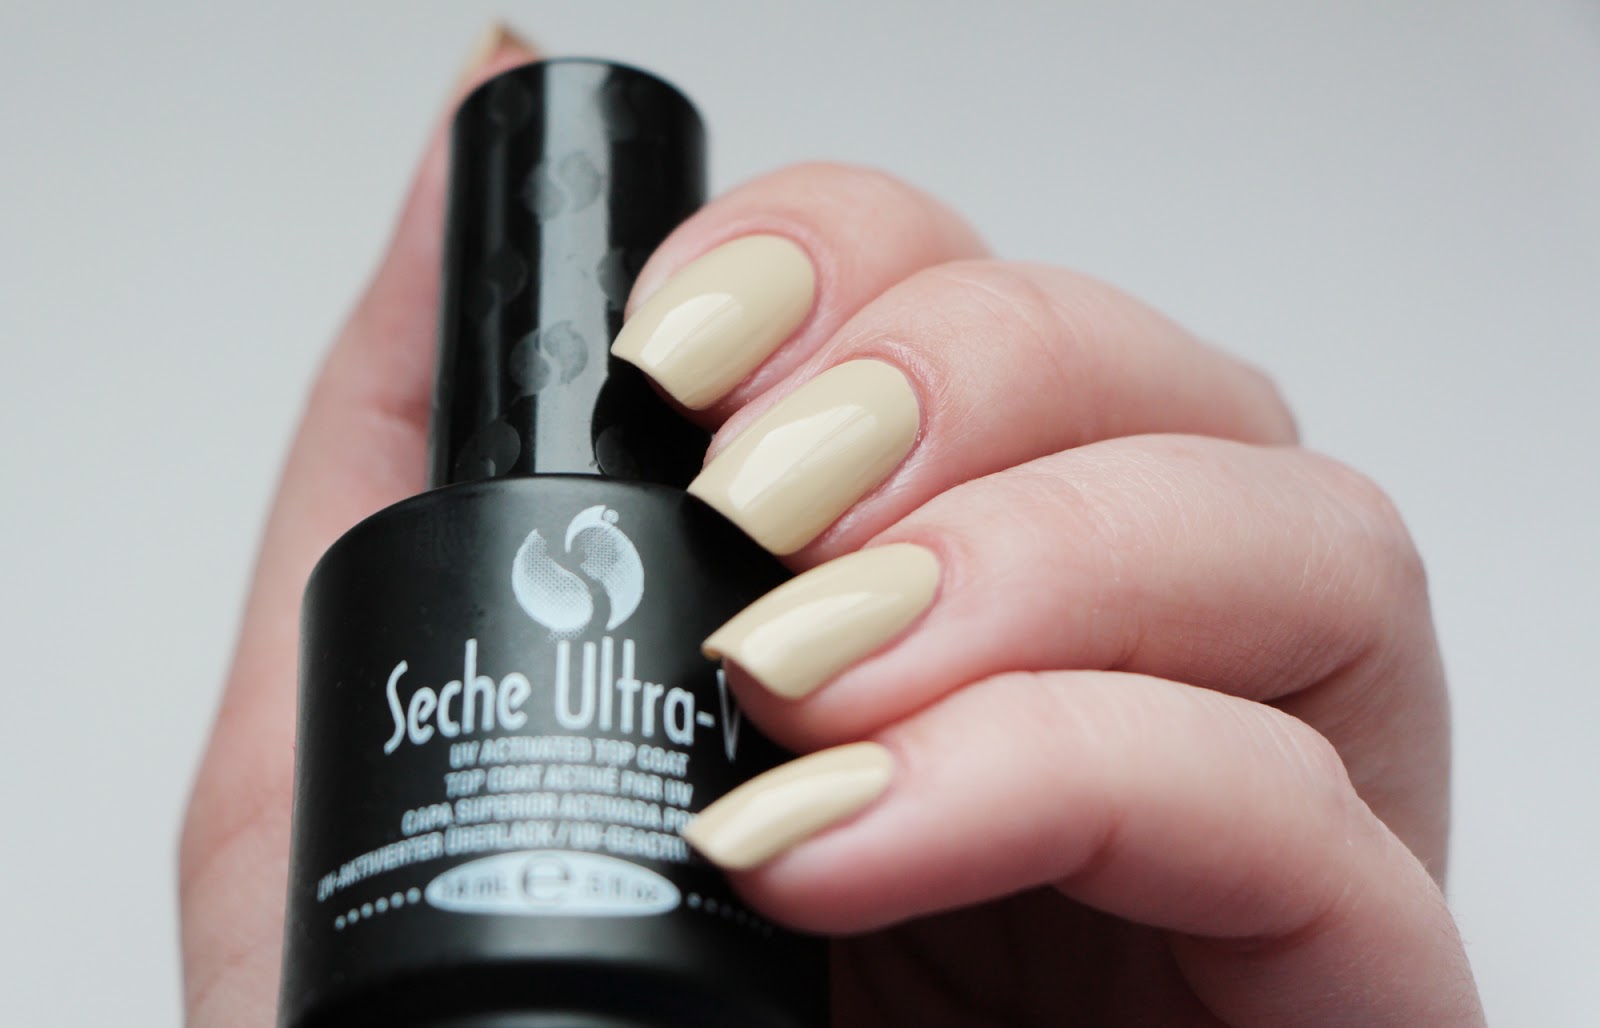
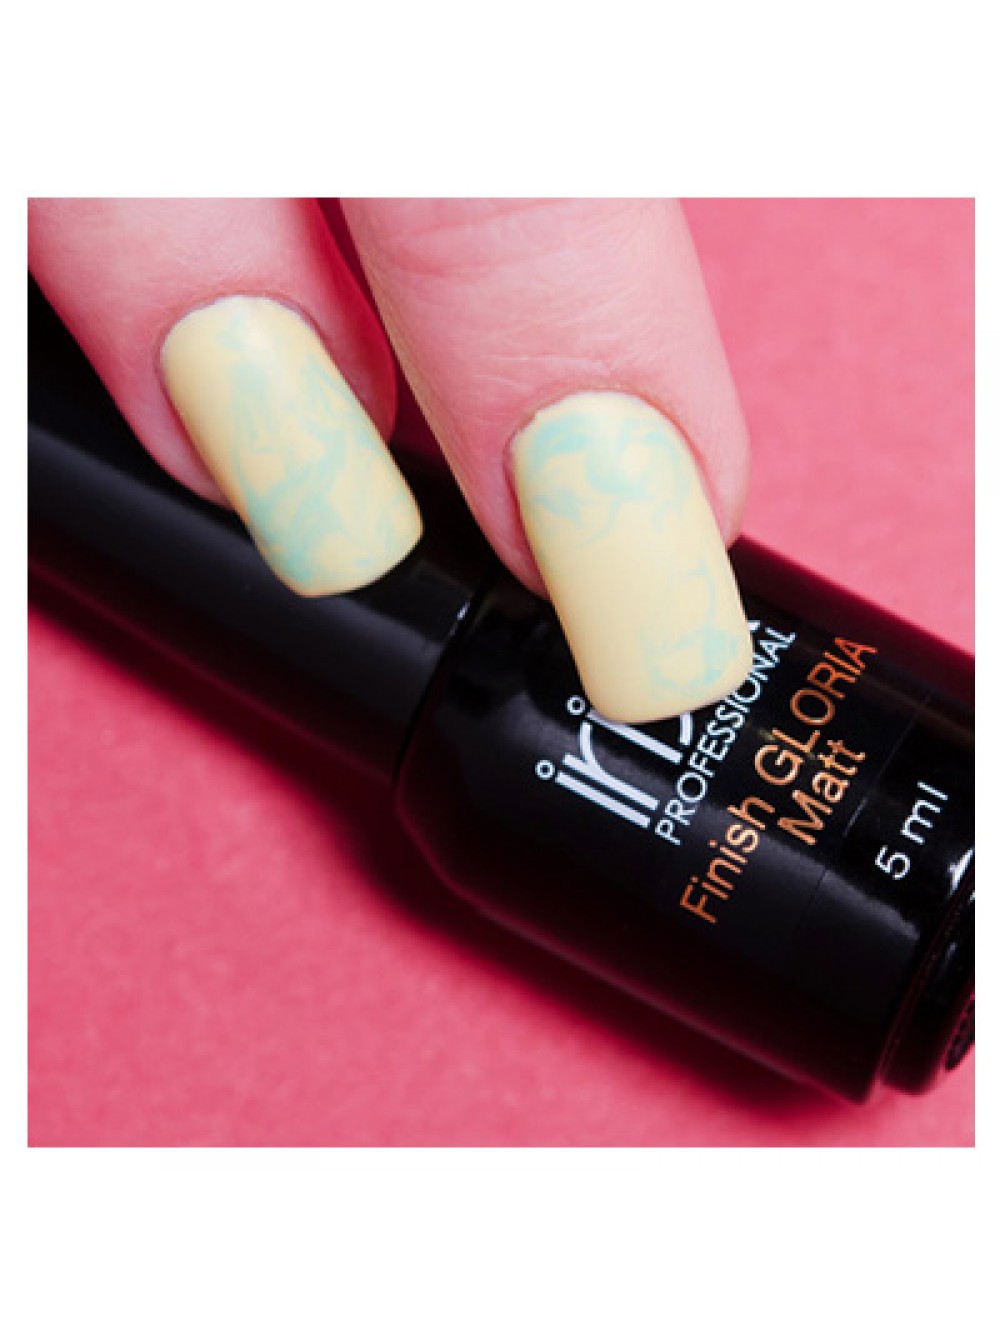
Finishing Gel
After applying and drying the gel should be covered with a finishing agent. Finish thickness should be slightly greater than the thickness of the main coating. The shine of the nails depends on the quality of the finish finish.
Manicurists claim that it is better to overdry, than not to dry this layer. If the coating is not dried, then along with the removal of the adhesive layer, the gloss will also disappear.
Top
Applying this thick means saves manicure from damage. Do not forget to handle the inside of the free nail, if length permits.
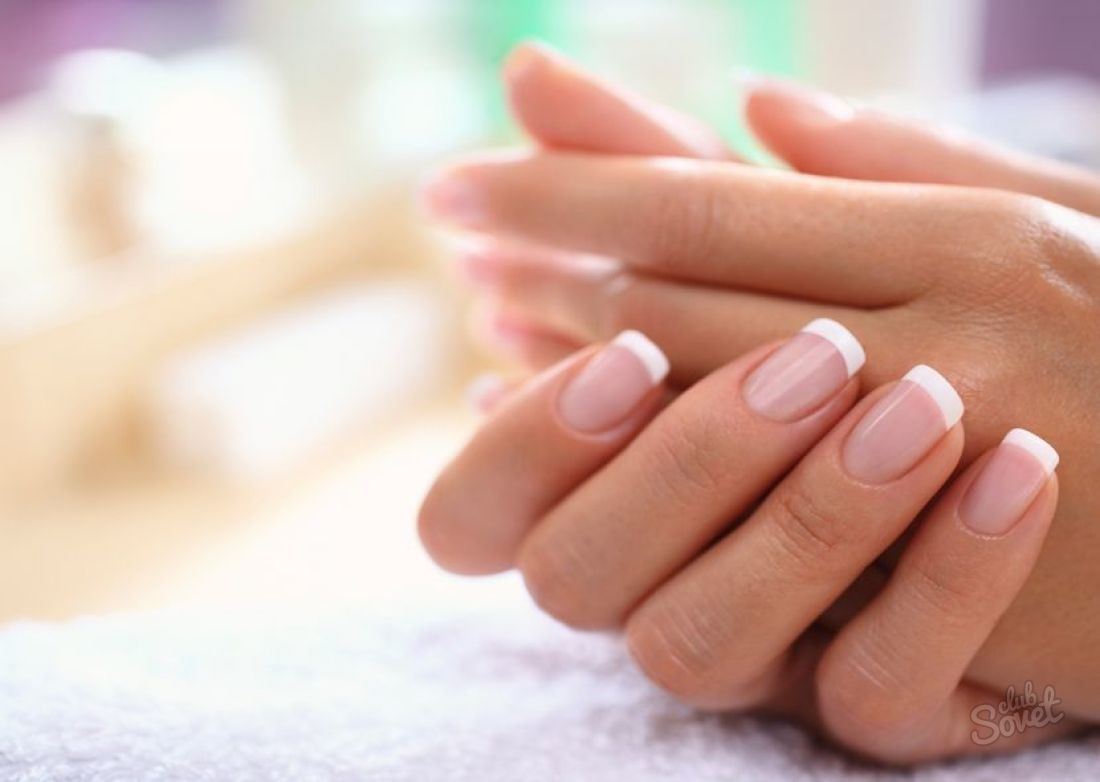
Care
After the procedure, a specialist manicure will give you good advice on the care of nails. By adhering to these simple rules, you keep the beauty on your nails for a long time.
- The first days do not expose the nails to thermal effects. Do not dip your hands in hot water, take a bath, go to the sauna or to the beach.
- Do not file your coated nails, even if you are not comfortable with the form. To do this, remove all layers and only then shape the nails.
- Keep hands away from active detergents. These include powders, cleaning products, bleaching soap. Get gloves for these kinds of activities. They also need to be used for work on the garden plot.
- Arrange nails pleasant procedures. Oil and paraffin masks, baths will preserve the integrity and health of your nails.
Some nuances
No matter how experienced and professional your master is, the manicure sometimes does not keep from the reasons beyond his control. Gel Polish can quickly peel off if:
- The body has elevated levels of acetone.
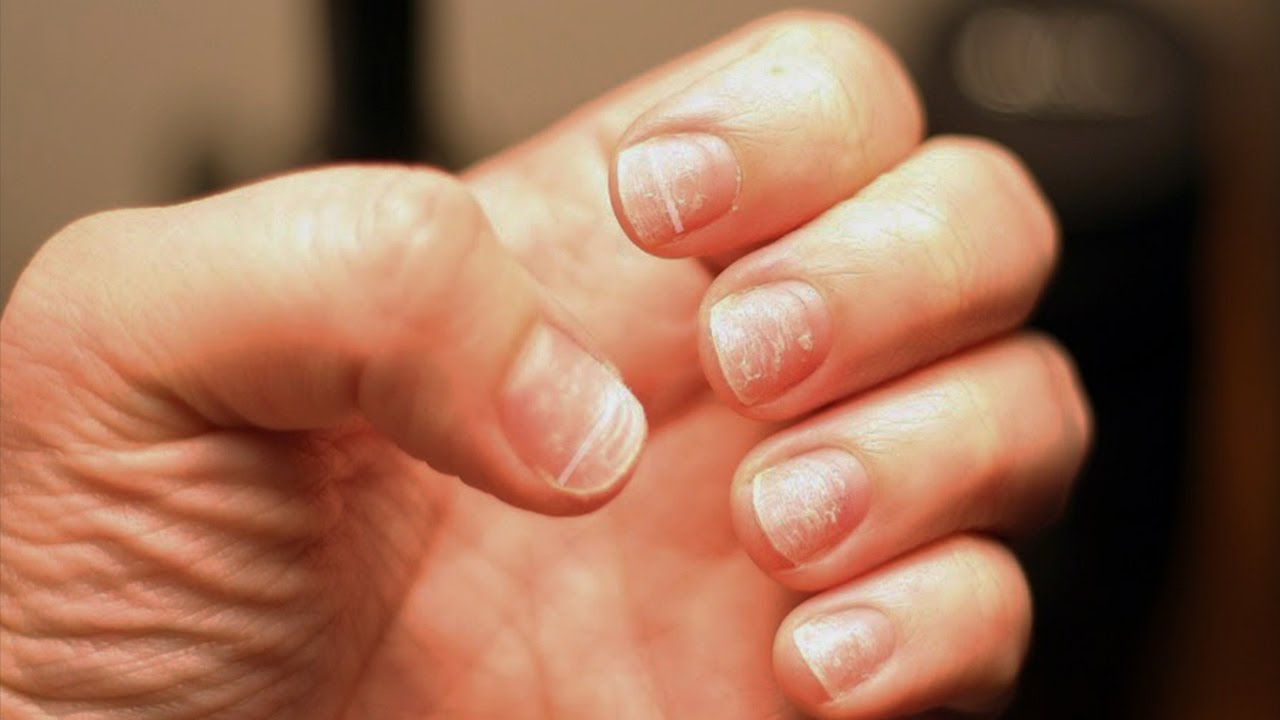
- Nails strongly exfoliate.
- You do not have a long edge and cannot be properly sealed.
- Loose nail plates.
- Recently, you have increased nails.
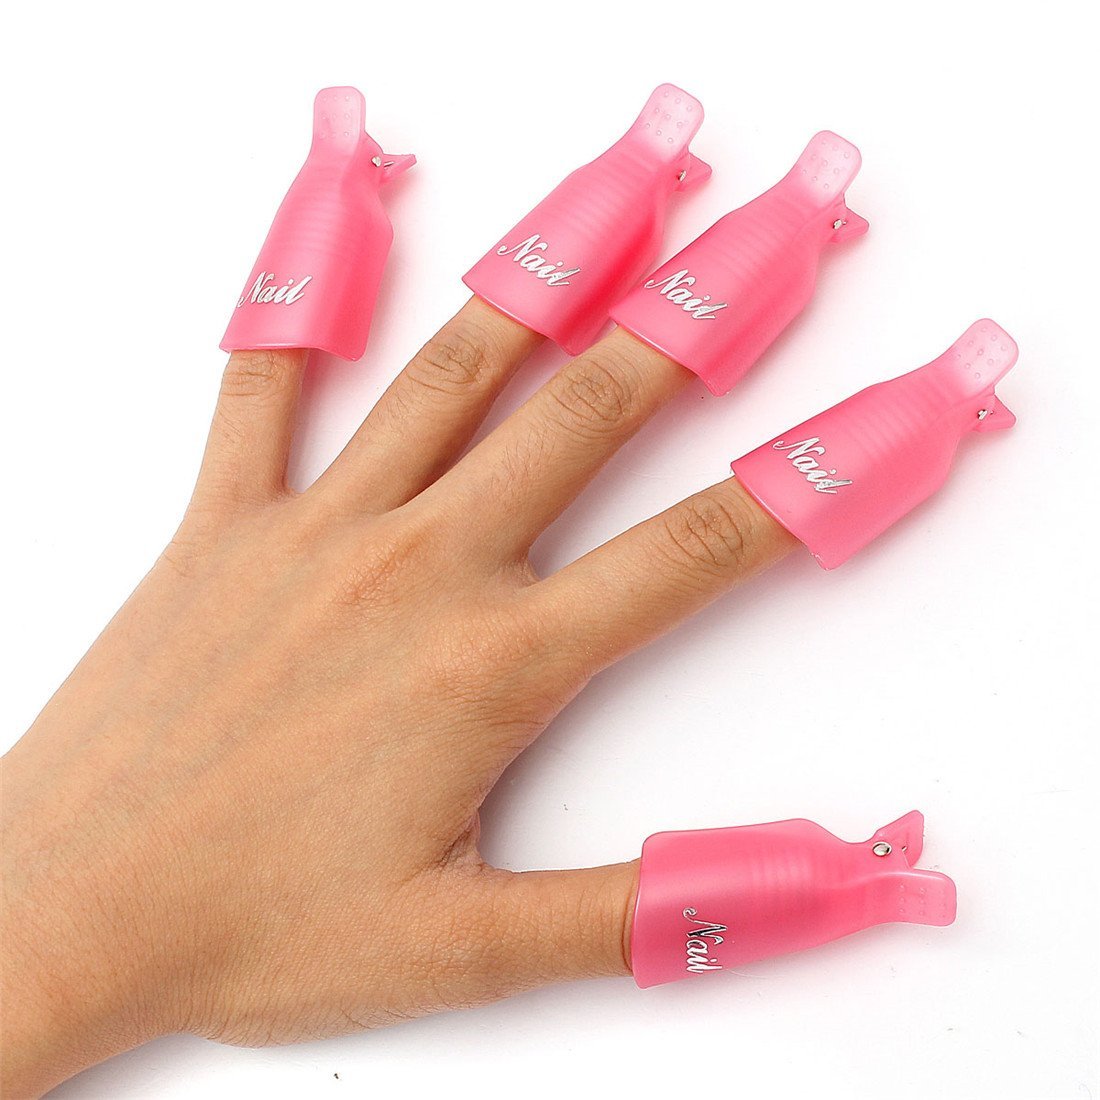
Deletion
Remember, shellac can not be removed with tools. So you are very injured plate. For this there are special tools.
Before removing the gel polish, the top layer is sawed, the cotton pads are impregnated with a polish remover and applied to the nails, wrapped in foil or put on special clips. After waiting 10 minutes, the remains of the coating can be easily removed with an orange stick.