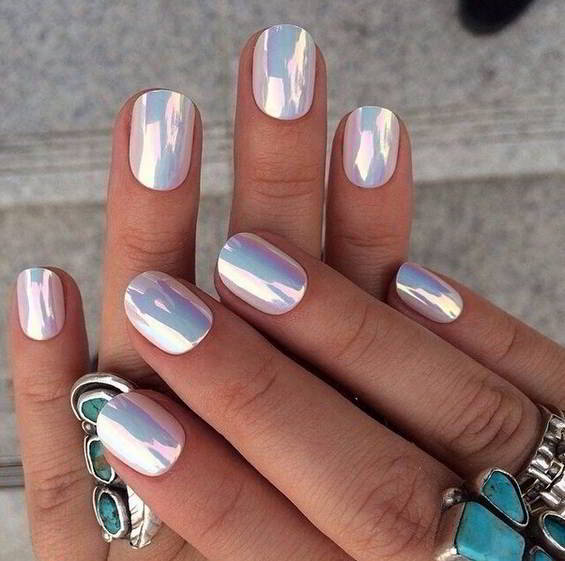
Gel polish manicure

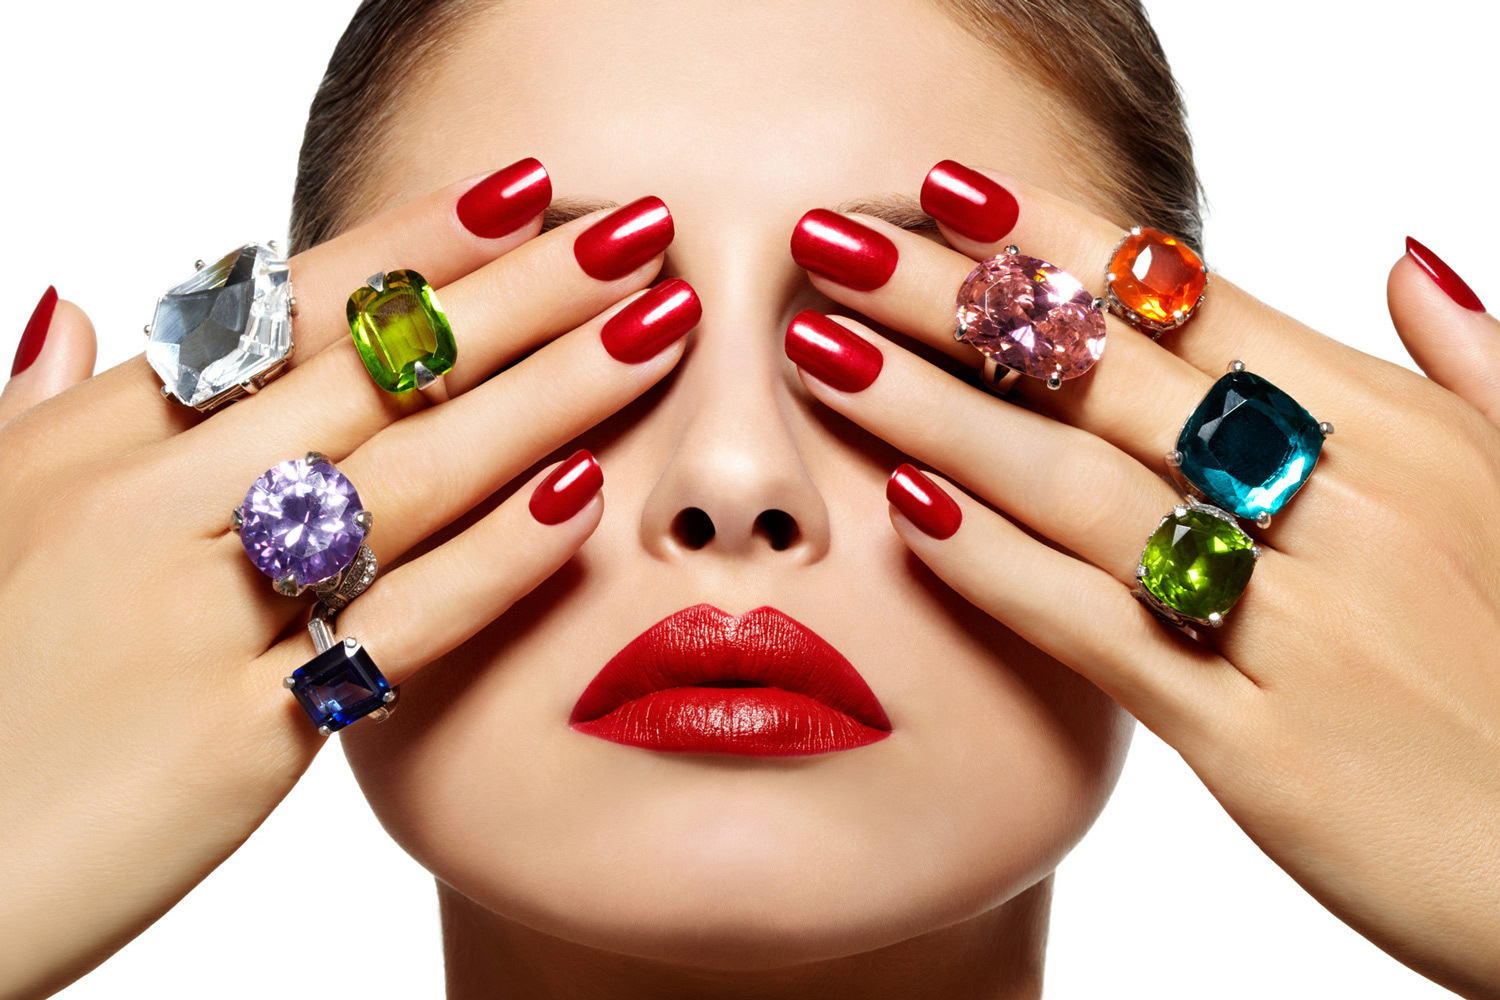
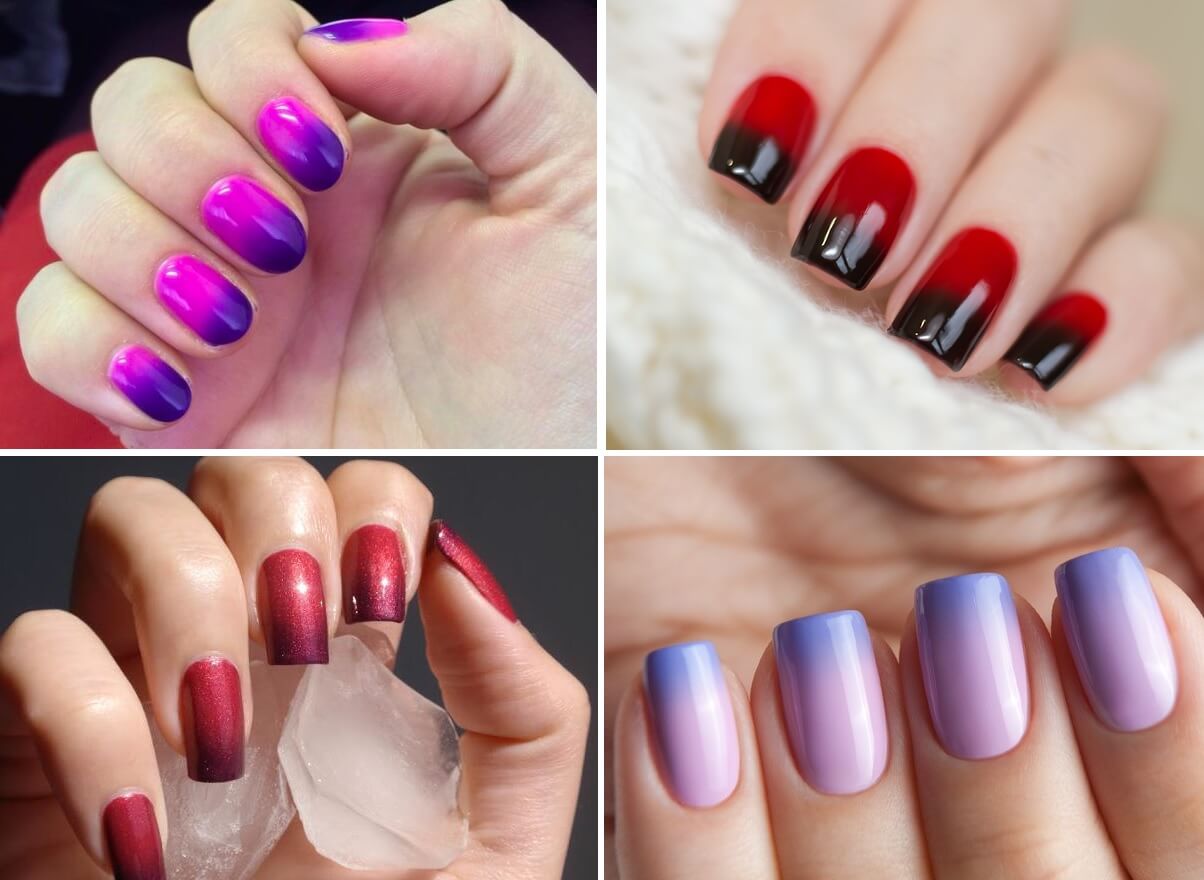
Beautiful, bright, and most importantly, persistent manicure - this is what many women dream of. But often the coating exfoliates from the nails within two or three days. But it was before. Now everyone has the opportunity to perform a gel polish manicure, which will allow you to create a bright, beautiful and very resistant nail art nails to your taste.


Coverage Features
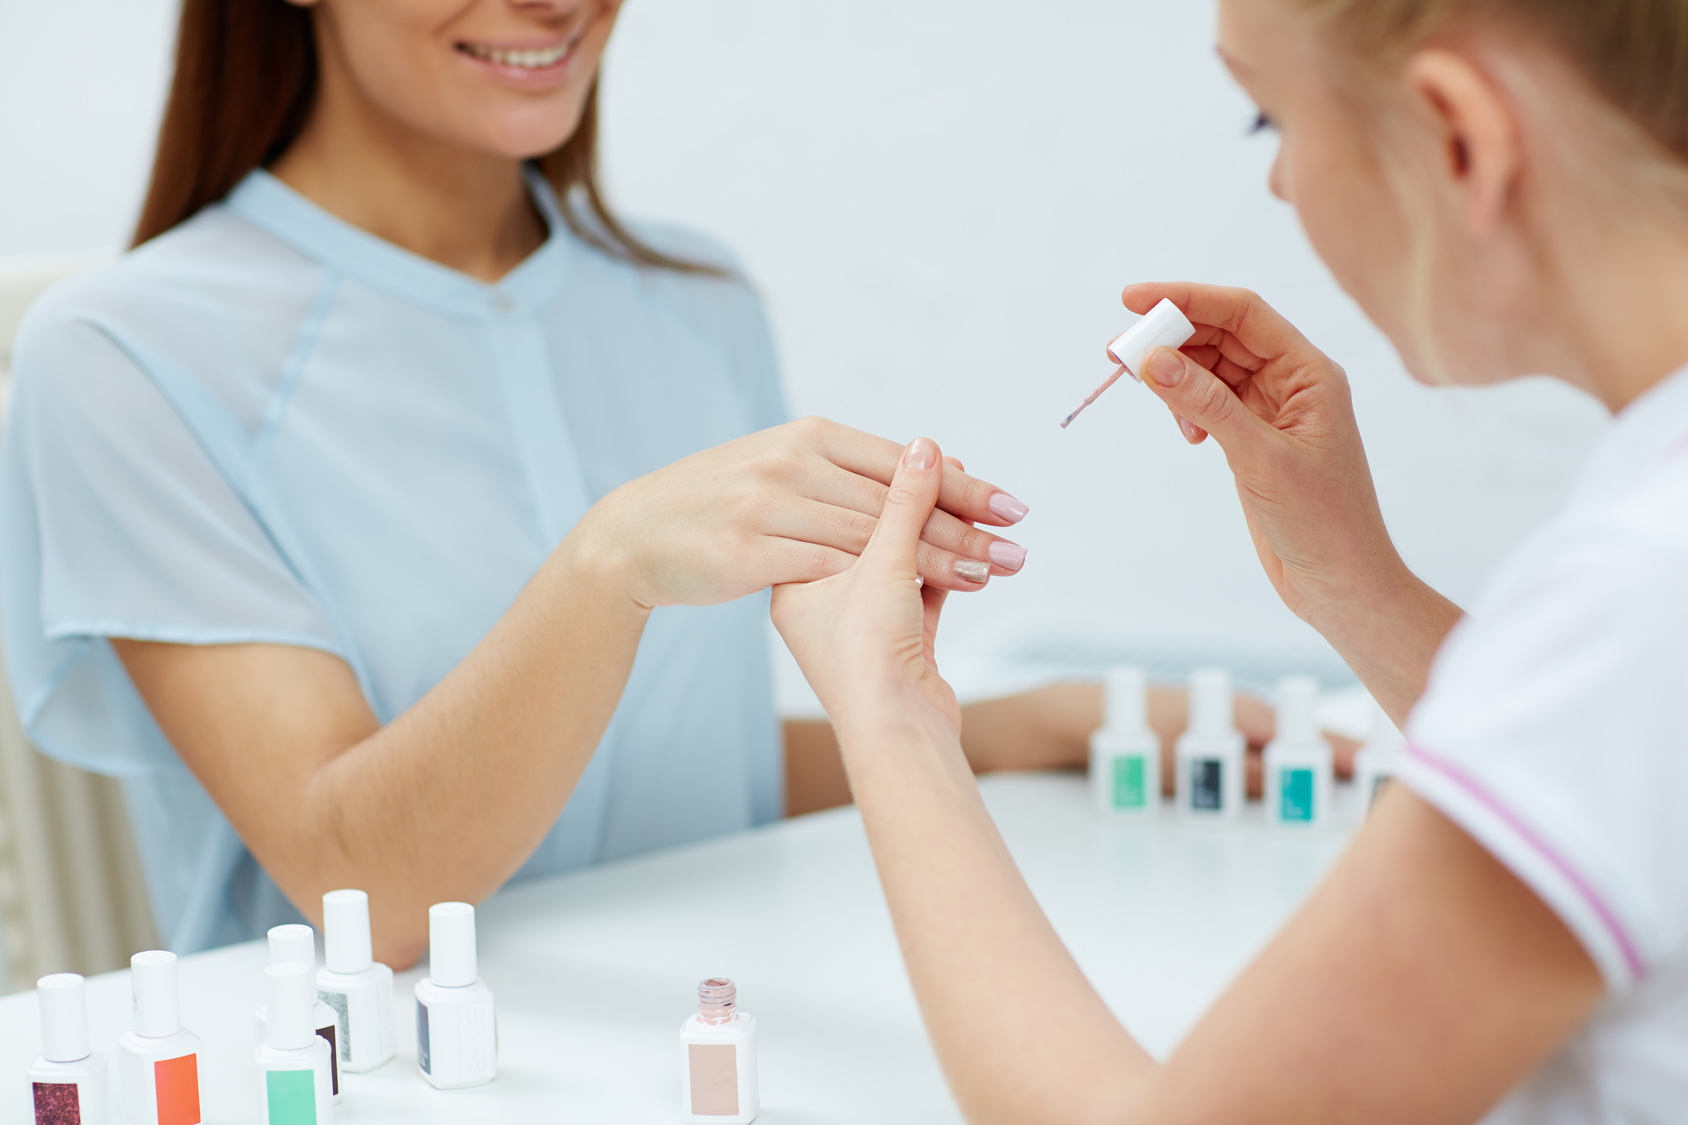
Manicure marigold using gel polish every day is becoming increasingly popular. It allows you to make a beautiful, lasting manicure, even on your own at home. Moreover, unlike nail extensions or acrylic coatings, gel polish is safer for the structure of marigolds. The variety of shades, the possibility of applying a pattern or rhinestone on top of this coating make it possible to create a manicure for every taste and occasion of life.
The main feature of gel polish is its durability and the absence of such a defect as cracking on the surface of the nail. Therefore, you can not be afraid for the safety of your manicure and feel free to do household chores such as washing, washing dishes and wet cleaning.


Being the opposite of standard varnishes and acrylic coatings, this tool not only does not hurt the nails, but also contributes to their strengthening and enhancing growth. Therefore, this type of nail art is ideal for women with thin and brittle nails.
Also, this coating will be the best choice for those who like a bright and beautiful manicure, but can not or do not want to do it every day. The unique formula of this tool allows it to preserve the brightness of colors, their brilliance and safety on the nails for more than 14 days. Therefore, this nail design is perfect for those who go on vacation or on a long trip.
But perhaps the most important feature of gel polish is the need to use specific equipment in its application.
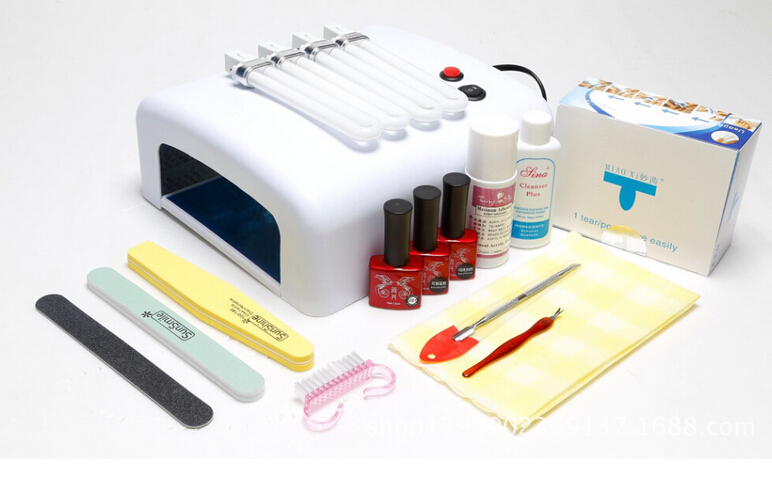
The process of covering their nails is not difficult, but it may become completely impossible due to the lack of the necessary tools. Therefore, before proceeding directly to the manicure, you should acquire all the necessary attributes in advance.
Tips for beginners
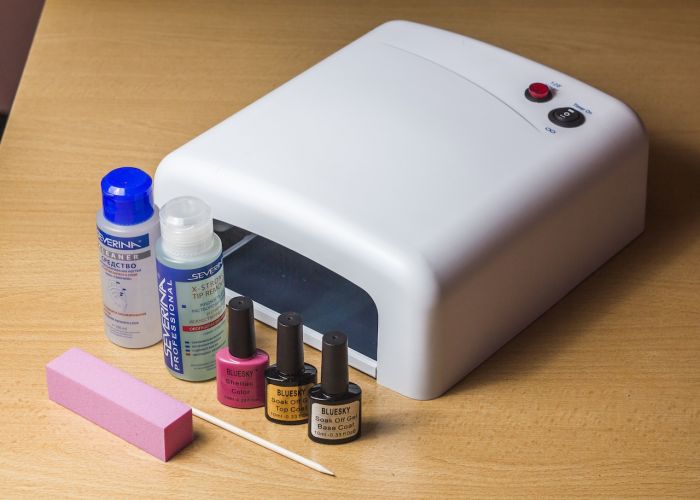
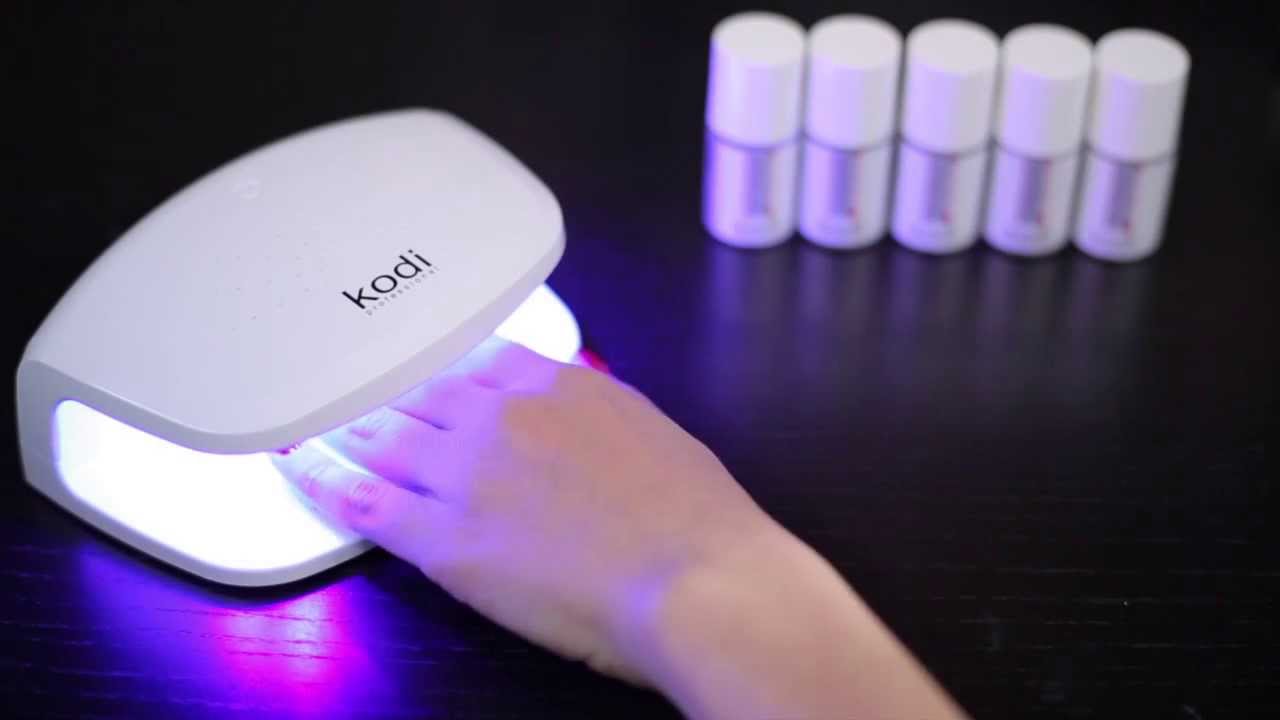
Those who decide to try to do their own manicure with gel polish, you must stock up with the necessary equipment, and first of all it concerns special UV lamps. On sale there are two types of such lamps - UV and LED. For beginners, it is best to give preference to the first option, since it has a lower cost and is more simple to use.
You will also need special files of various sizes and a special file for grinding the nail plate - baff. In addition to the gel polish of various shades, you will need a special base and fixer. Particular attention should be paid to the fact that these two tools were designed specifically for gel coating, those used for nail extension are not suitable. After using them, gel polish begins to crack within a few hours. In extreme cases, it is possible to coat the gel with an ordinary colorless varnish, but in this case it is not necessary to count on the long-lasting manicure resistance.
And you will also need components such as special lint-free cotton pads or napkins, degreasers, orange tree sticks and an emollient cream or cuticle oil. But it is not enough to acquire all the necessary tools, it is necessary to learn how to use them correctly.
First of all, you need to undergo special training. It is the preparation for further work that plays an important role.Not only its appearance and durability depends on how well a manicure is performed, but also the opinion of you as a specialist.
This can be done both in specialized courses and by asking a good specialist to show you a master class. It is even better to take private lessons from time to time, so you can avoid many problems in work and, if necessary, immediately receive competent assistance. By itself, the instruction on working with gel polish is very simple, all stages are available, understandable and detailed, but it’s better to see once than to read or hear it several times.
An important role in the work is played by the tidiness of both the master himself and his work area. Therefore, it is very important that there is always a perfect order on your desktop. The first impression is the most important, even if you plan to do a manicure only for yourself and your friends.
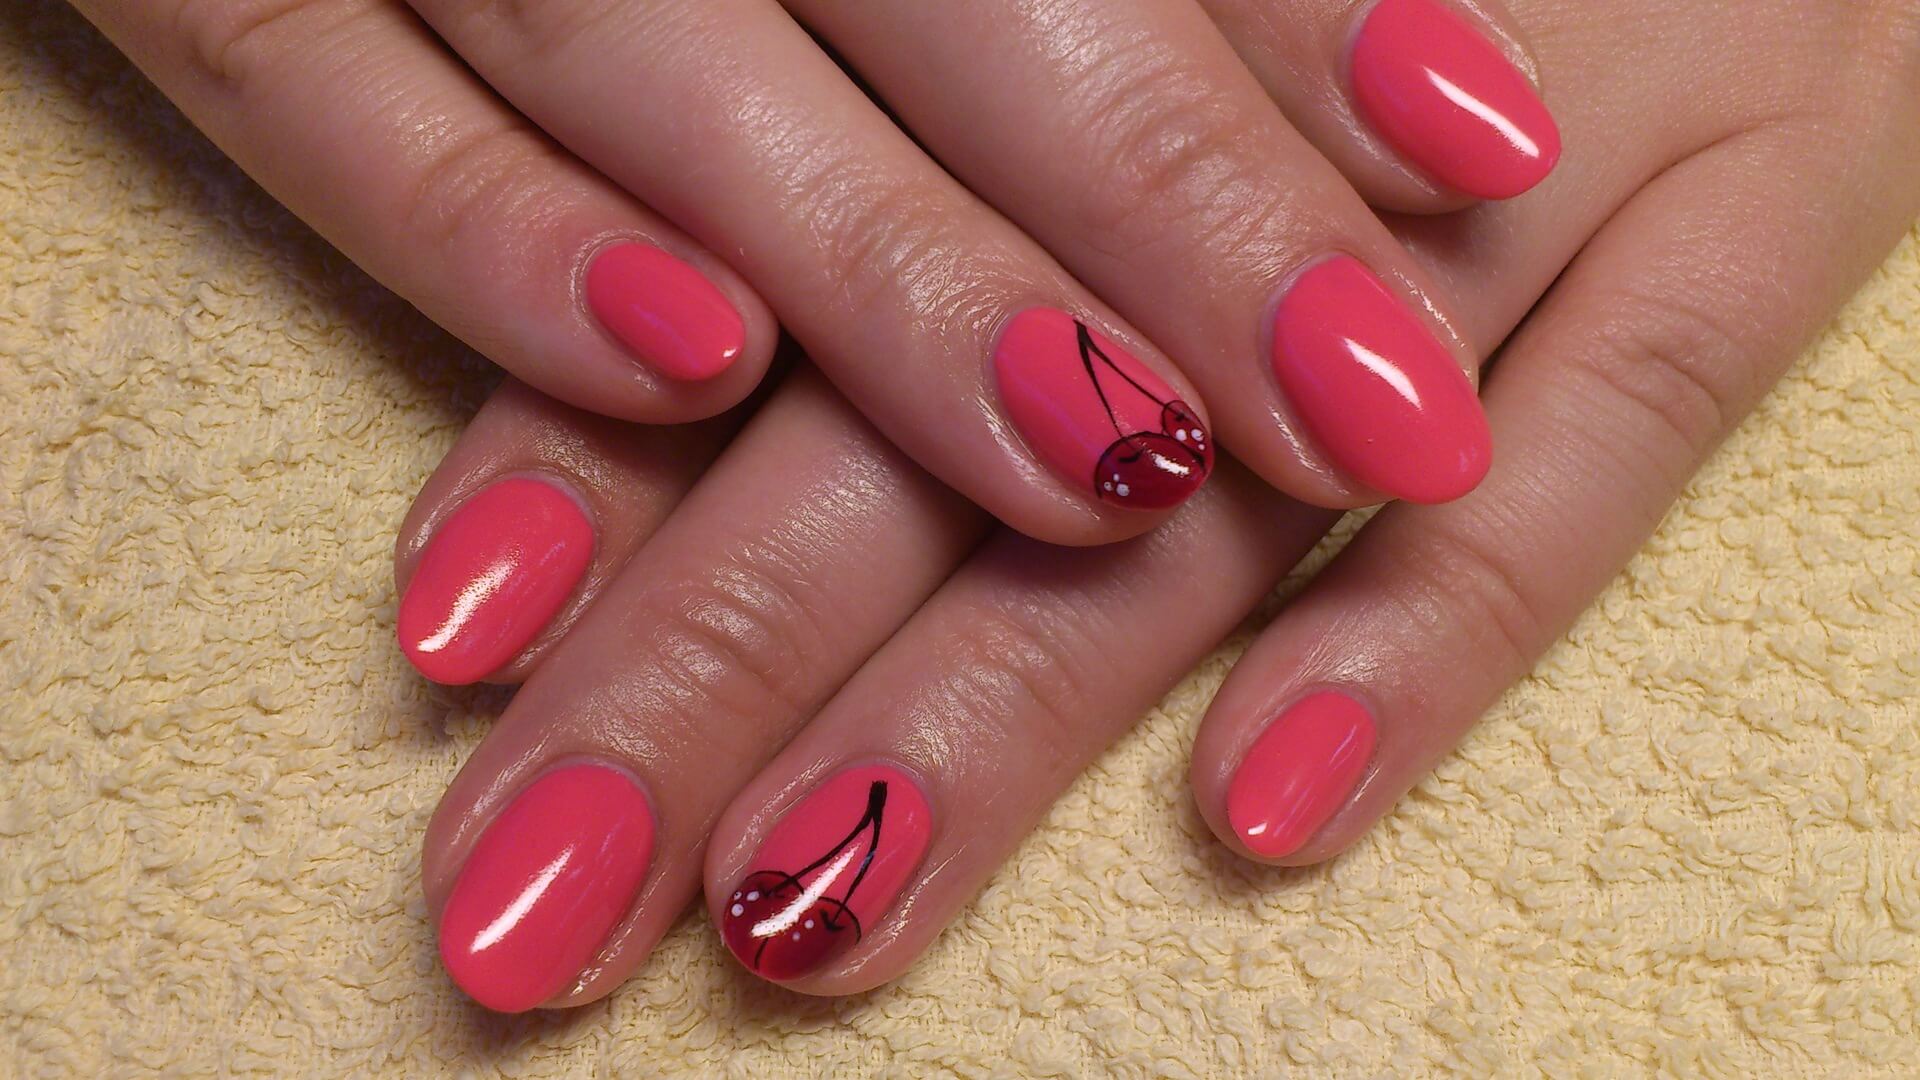
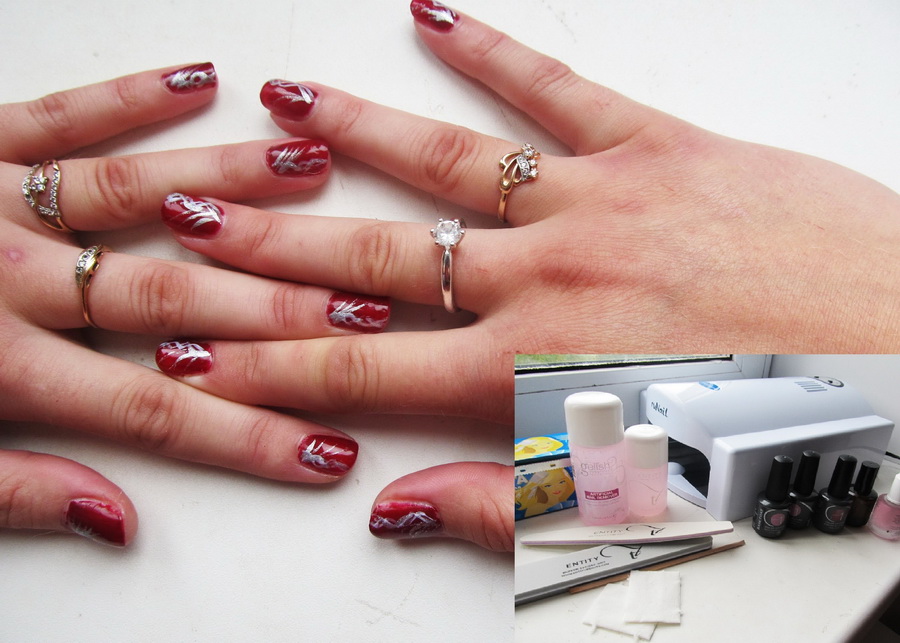
A simple gel nail polish coating of one color quickly becomes boring. Therefore, it is recommended to constantly improve your professionalism. The easiest way is to purchase special stickers, rhinestones and stencils for creating drawings and patterns.
Experienced manicurists strongly recommend all beginners, even those who plan to do gel-polish exclusively for themselves, to create a portfolio of their work. This will allow you to visually see the progress of your activities or see some errors.
In addition, in the future, this will allow the client to provide a clear choice of a possible nail design.
How to apply at home
But you can learn how to qualitatively, beautifully, correctly and gently coat your nails with gel polish only by regularly practicing. Therefore, the first step is to thoroughly understand how to properly paint your nails with gel varnish at home on your own.
Manicure with your own hands, without leaving the walls of the house, in two ways. They differ in the materials used and the type of lamp. In the first case, to perform the manicure, you will need a file, a buff, a base and a top coat, a UV llama, a gel polish of the desired shade, a degreaser and a disinfector. In the second case, similar tools are used, but a primer is also added to them, and the UV lamp is replaced with an LED lamp.
The instruction of the first method contains the following steps:
- Ripping the edge of the nail to give it the necessary smooth shape and removing the keratin layer from its surface with the help of a regular file and file. Use the buff must be done with caution, it is enough to make only a few movements with this tool to remove shine from the surface of the nails. This is necessary for better bonding of the coating with the nail.
- Then you need to cut the cuticle, using special tweezers.
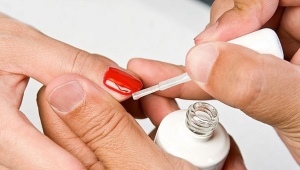
- Degreasing of the nail bed It is an obligatory step in manicure with gel varnish.
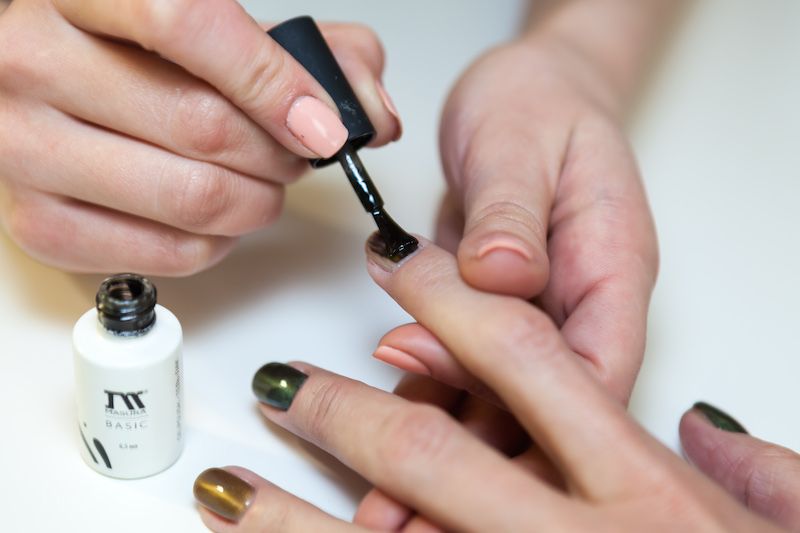
- After that, the surface of the nail bed is covered with a special helium base. It is best to apply it on each finger and dry it in the lamp. In UV, the drying time is two minutes.
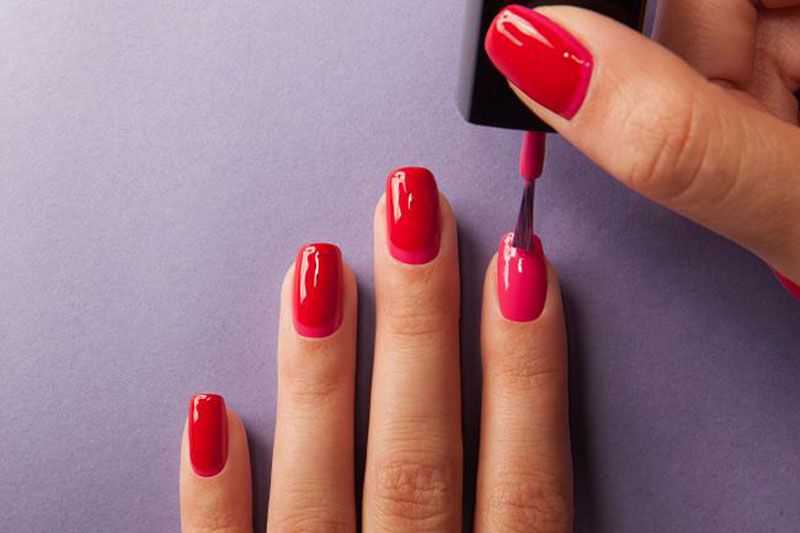
- After that, on the dried nails is applied a thin layer of the selected shade gel polish. Pay special attention that the first layer should be translucent. We also recommend applying on each finger one by one, and each next one should be painted after the previous one dries.
- Apply a second layer of gel polish, which should be much thicker than the first. Also dry the tips of the fingers in the UV lamp.
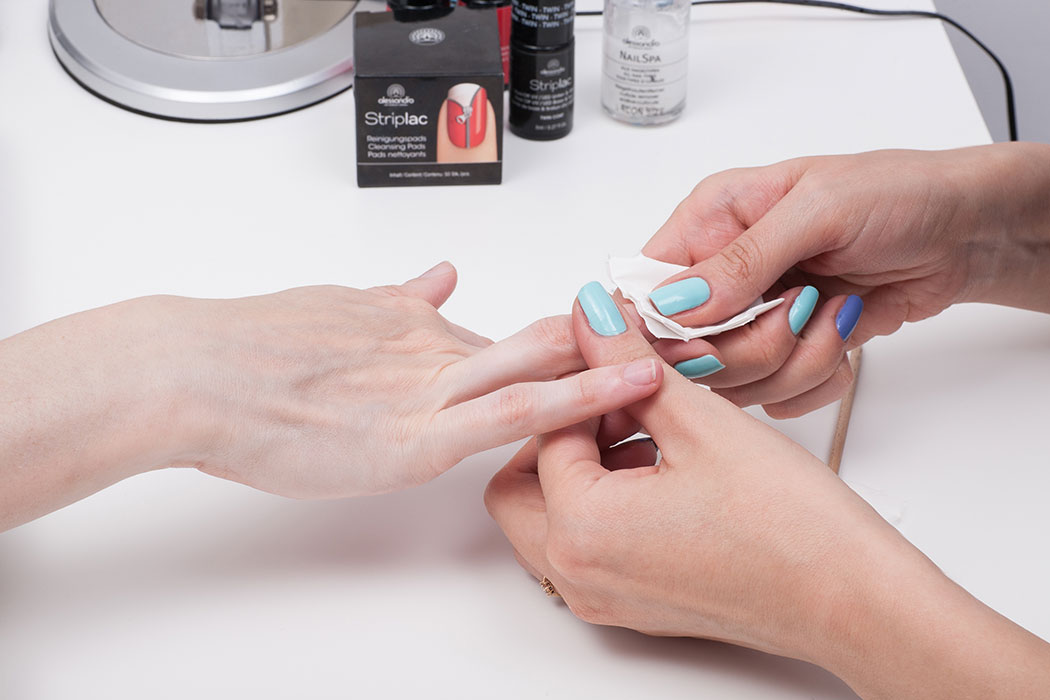
- In conclusion, all the marigolds must be applied top coating, which should cover and the end of the marigold. It should also dry completely under ultraviolet light. At the end of time, the sticky layer is removed from the nail using a disinfector.


If we talk about the second method of performing manicure at home, the sequence of actions is similar to the above method. The difference lies in two things:
- After degreasing the nail bed, a primer is first applied to it, which is dried in the lamp, and only after that the base is applied under the gel polish. Further manicure technique is also performed step by step, as in the first method.
- Unlike the ultraviolet lamp, the LED lamp allows you to dry the coating not in two minutes, but in just 15-20 seconds, which allows to significantly reduce the time of the procedure.
Although the first embodiment of the manicure can be used and the lamp LED. It all depends on the material possibilities and personal preferences. The technology of manicure with gel varnish does not imply the obligatory use of a primer. But experienced masters say that this tool allows you to extend the life of a manicure and a positive effect on the nails.
Performing a manicure step by step, you can add some of your changes. For example, before applying a top coat, you can decorate your marigold with colored threads, rhinestones, or any pattern. At the same time, it must be remembered that additional decorations can be applied only after the gel polish has dried in the lamp.
After decorating the nails, they should be especially carefully covered with a fixative in order to fix the elements on the nails and dry them in the lamp for about three minutes or 30 seconds, here everything depends on its type.

When doing a manicure gel polish, you need to pay special attention to the accuracy of applying all types of coating on the nails. It should be carefully monitored so that the gel polish or fixative does not get on the skin rollers around the nails and the cuticle. Firstly, they will be able to provoke the appearance of irritation or an allergic reaction, and secondly, such a manicure will look untidy and careless.
How to make a manicure gel polish at home, see the video below.
But making a nail art using this tool is only half the battle. Sooner or later it will need to be removed from the nail plate.
Withdrawal rules
This type of coating for nails can not be removed just like regular nail polish. Some masters remove it from the nails with a nail file, that is, they cut it off, as does an acrylic coating or extended nails. But this is absolutely wrong. First, it is a waste of time, and secondly, such a procedure can significantly damage the nails.
To remove gel polish from the surface of the nails, you can use a special cleansing solution, which can be purchased immediately complete with gel. And you can use the usual nail polish remover, but on condition that it contains acetone in its composition.
In addition to the liquid itself, you will also need cotton wool or balls, orange wood sticks, as well as ordinary kitchen foil.
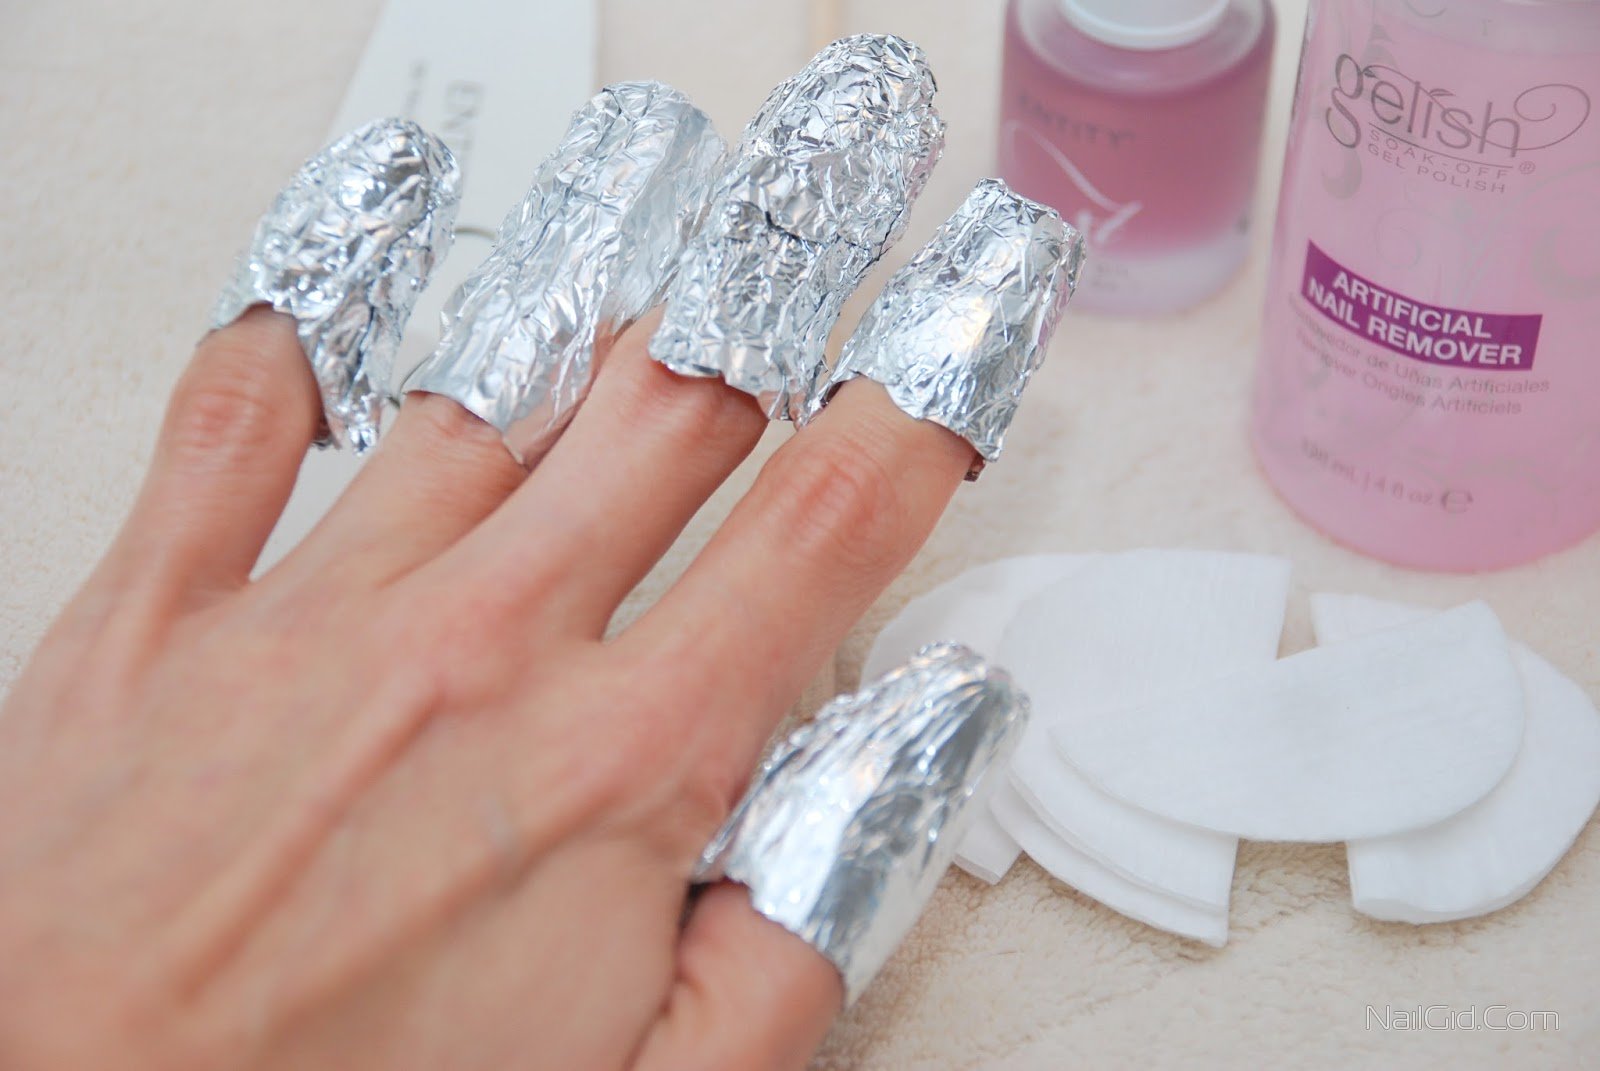
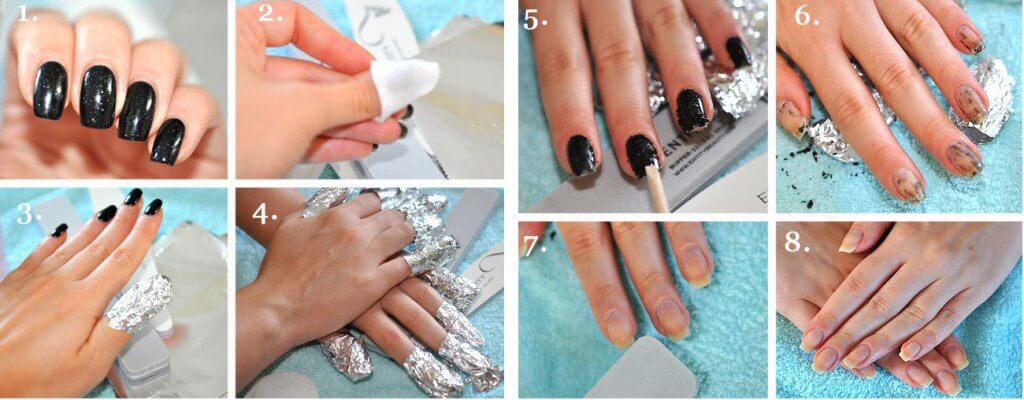
The disks are plentifully wetted in the selected solution and are tightly applied to the fingertips, and wrapped with foil on top. In this position, the hands are on average 20 minutes. If a special tool was used, the time of its impact on the gel Polish is 15 minutes. If you used the usual nail polish remover, then it must be left on the nails for half an hour.
Then the foil with the fleece is removed from the fingertips. The nail covering, which is under them, should be strongly inflated and rise above the surface of the nail. With the help of an orange stick, gently lift it to the end and push it to the edge of the nail, then completely remove it. Under the influence of the liquid, the lacquer turns into a thin film, which is easily and simply removed from the surface of the nail without injuring it.
Of course, it should be understood that the longer this tool has been on the surface of the marigold, the more difficult it will be to remove, and the procedure may take much longer. Therefore, the optimal time interval between the application of this coating and its removal is 14 days.
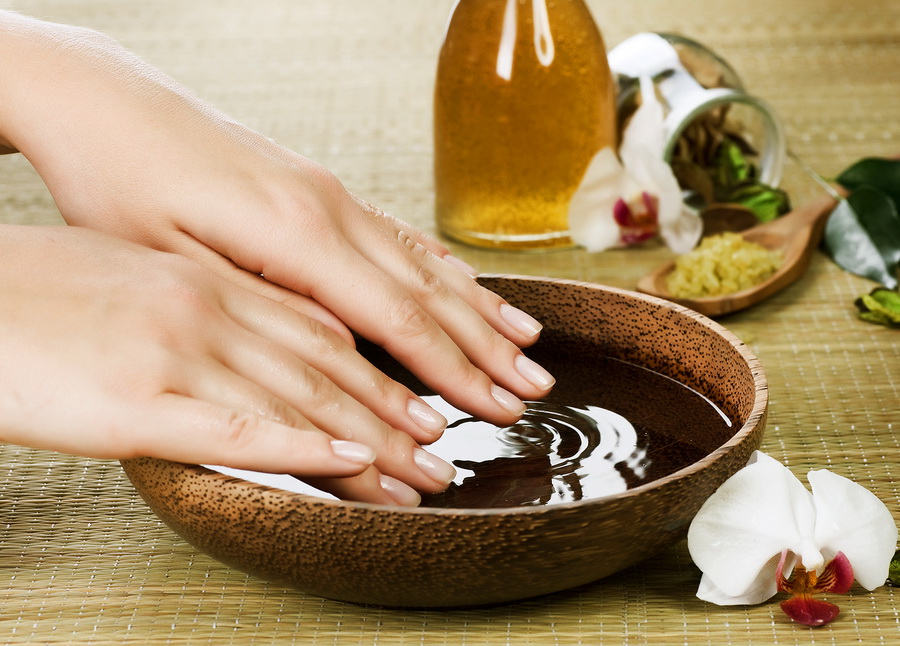
After removing the gel polish, you must give your nails a rest for at least a couple of days.It is best to make special herbal baths or baths with sea salt, this will help them recover faster after the procedure.
Master Classes
Using gel polish, you can create a manicure in any style and color. And in order not to have to wrestle with and look for the most suitable options, we have prepared for you 3 master classes in nail design with gel polish. Among them, you can definitely choose for yourself the most suitable option.
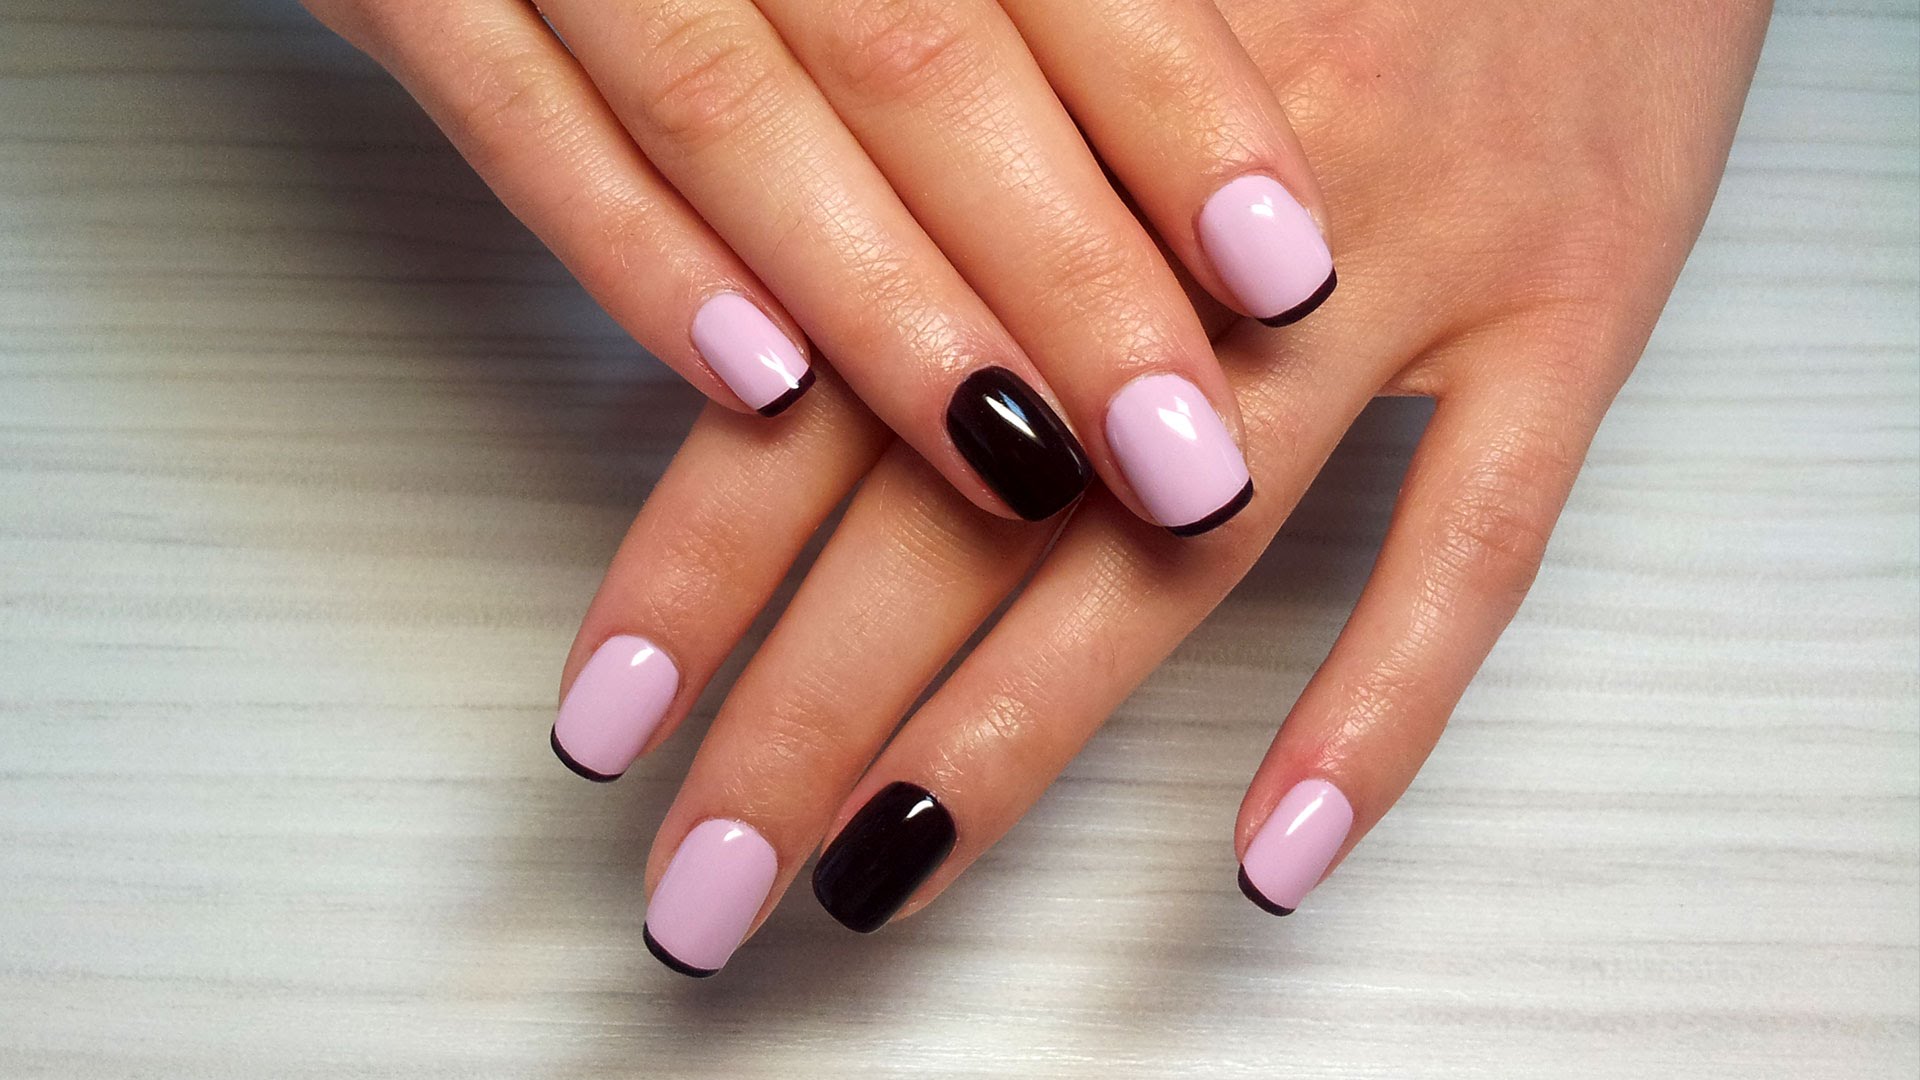
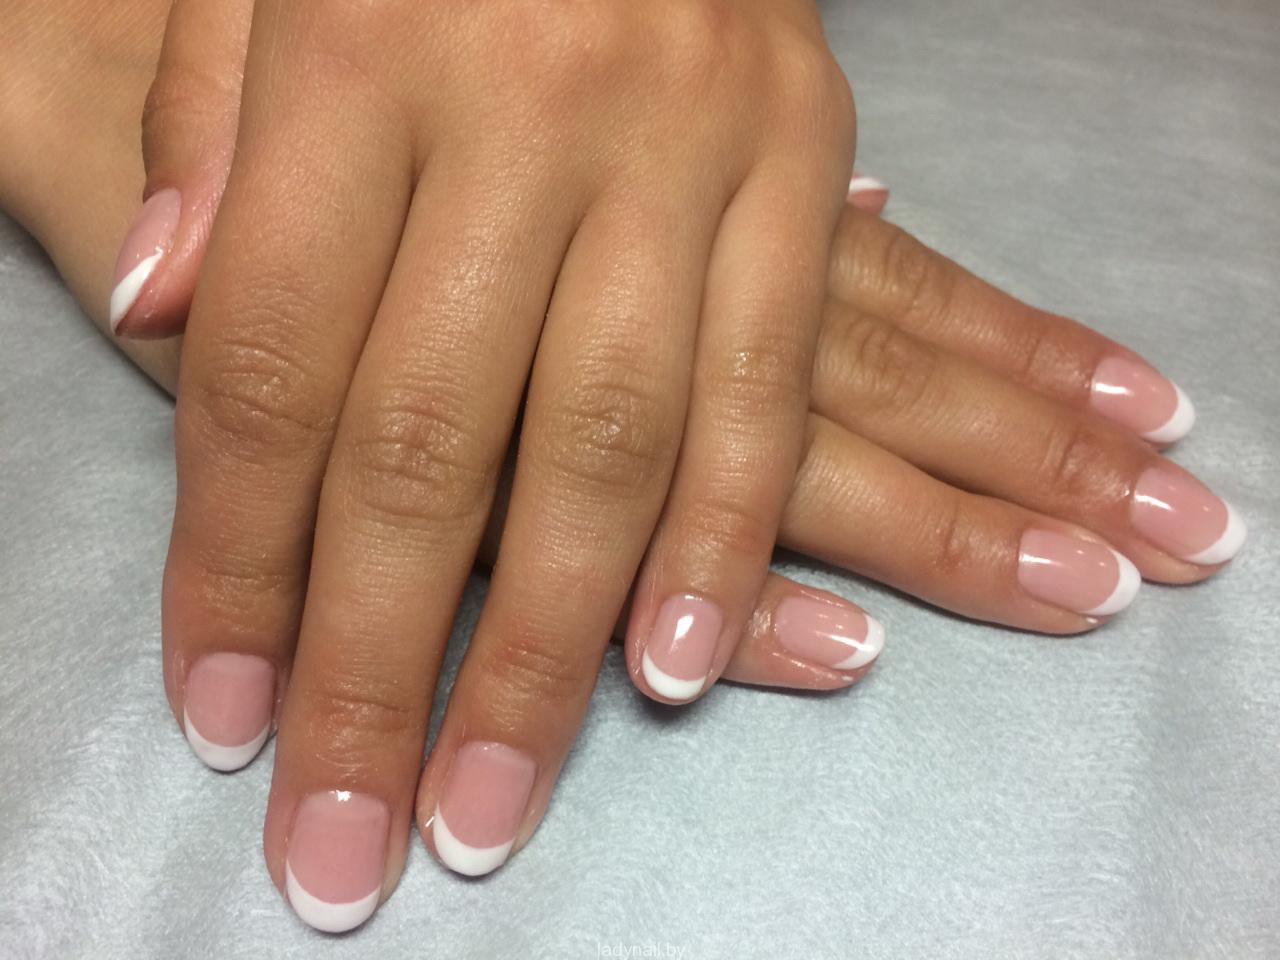
The first workshop will help you create the most elegant and popular at all times French manicure. You can choose not only classic colors for this design, but also any others to your liking.
- Prepare a lamp, buff, nail file, primer, primer, base, gel polish of two selected shades, a fixative, a disinfector, cotton pads and special strips for French manicure.
- We saw off the edges of the nails and process their surface with a buff.
- Apply the primer in one layer and send the nails to the lamp for 2 minutes or 10 secondsIt all depends on its type.
- We cover the entire surface of the marigold, including the butt, the base under the gel polish, and a primer is applied to the tips of the marigold with a thin layer. We send the nails in turn into the lamp for the same period of time.
- Apply the entire length of the nails of gel polish in a basic shade in two layers. Do not forget that the second layer can be applied only after the first one has dried.
- Glue to the nails special stripes, which limit the color zone to the second shade. We paint over the tips of the nails with a second, darker color, again in two layers, sending our hands to the lamp each time.
- In conclusion, we cover all the nails with a fixer, dry them in the lamp and remove the sticky layer with a disinfector.
Your French manicure, done personally in your own home and in your favorite colors, is ready.
3 methods of applying French manicure gel varnish, see the video below.
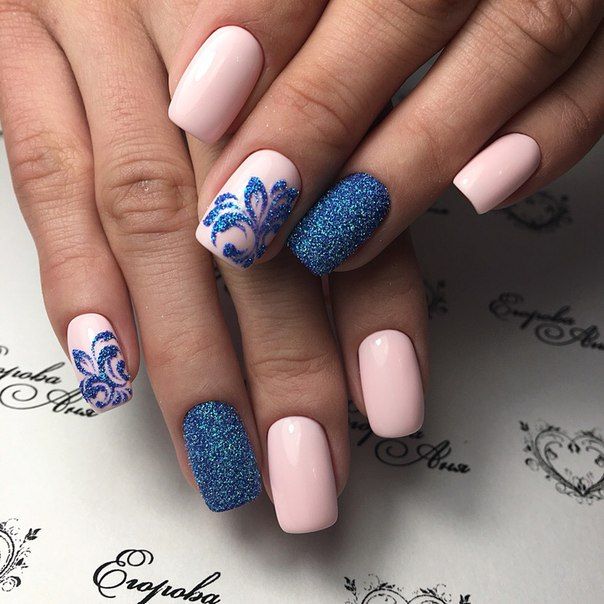
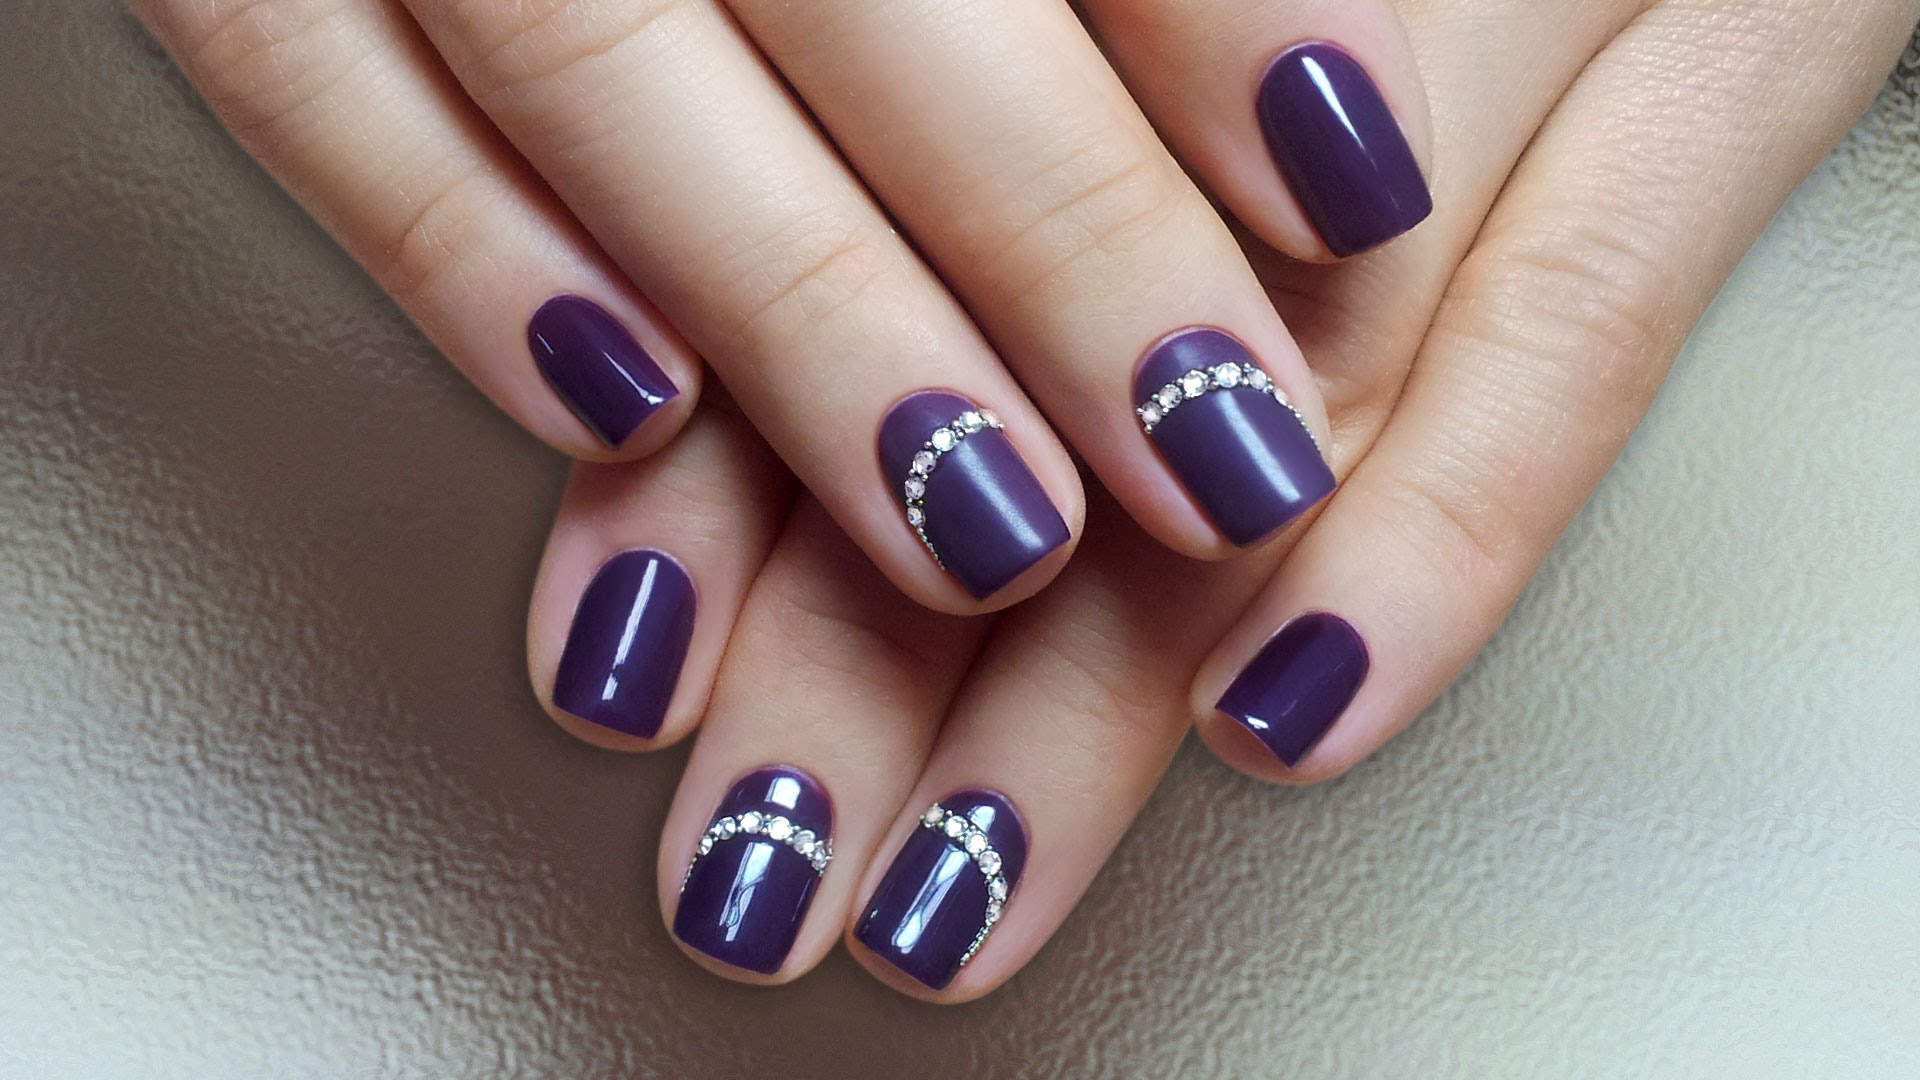
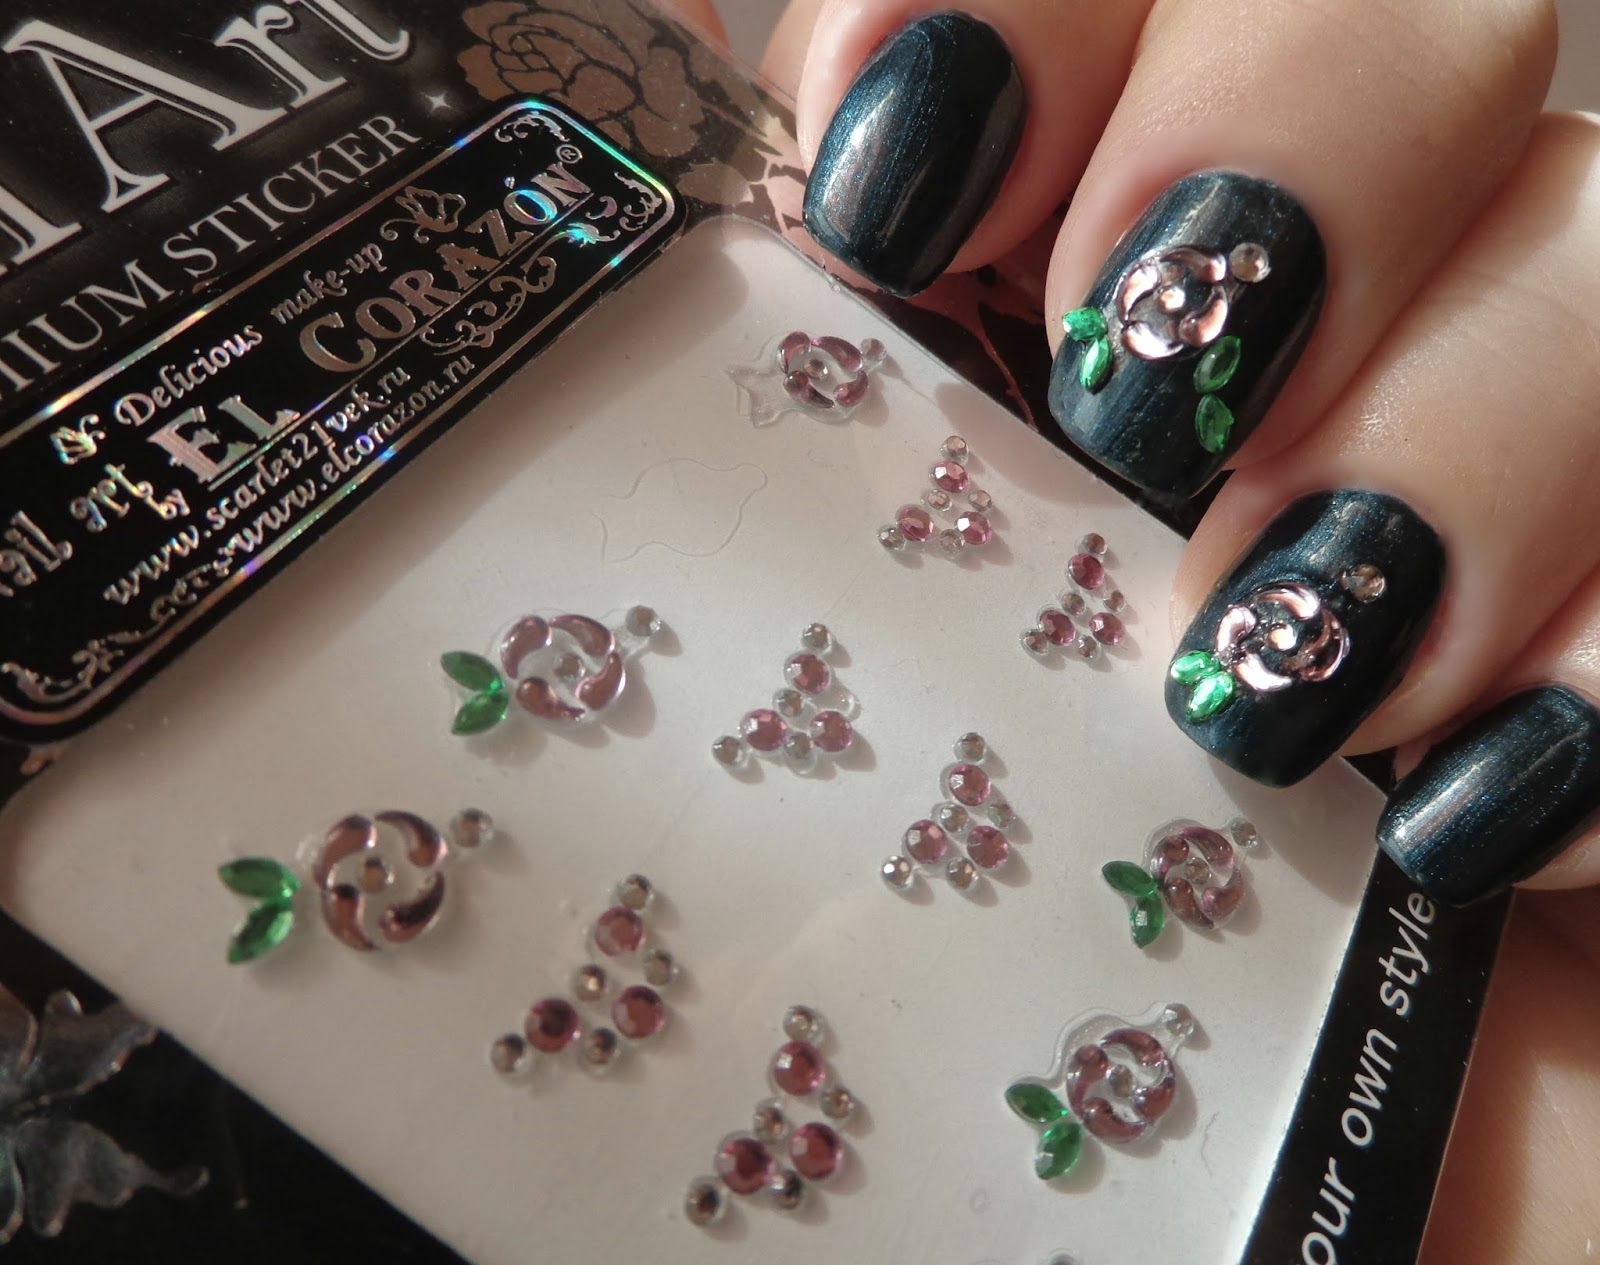
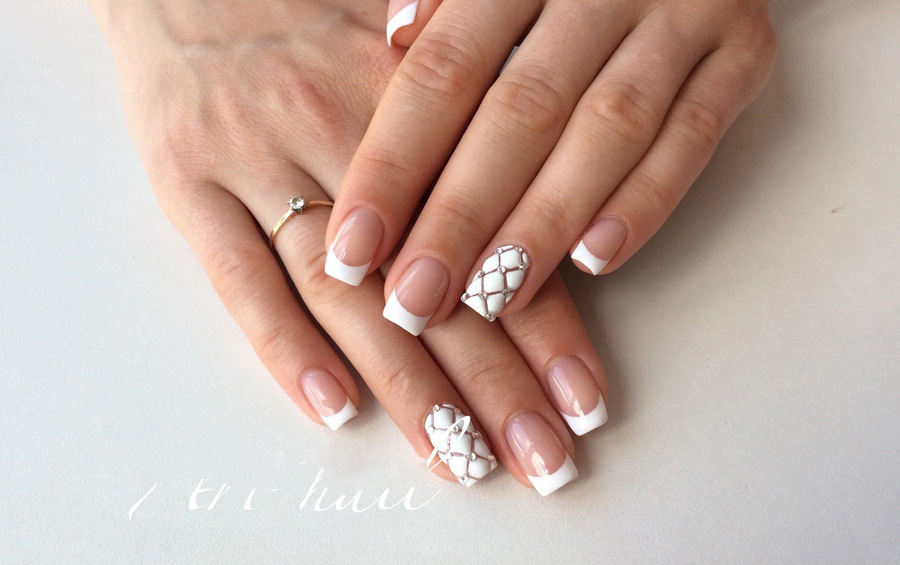
Lovers of rhinestones and sparkles should definitely like quilted manicure. And how to do it yourself, you will tell the following master class:
- Prepare rhinestones, special super-glue, light-colored gel polish, degreaser, base, fixer, lamp, nail thread, nail file and buff.
- Prepare toenails with the same tools., as in the previous master class.
- Apply a layer of base on the nails and send to the lamp for 30 seconds or one minute.
- Remove the sticky layer and lay the manicure thread over the entire surface of the nails in the desired order.
- On the entire surface of the nail, apply successively two layers of the selected gel polish. Drying each of them for two minutes or 30 seconds in the lamp.
- We remove the threads from the nail and apply small drops of glue on its surface where it is planned to apply the rhinestones.
- We put decorations on super-glue, slightly pressing them.
- In conclusion, apply a fixative and send nails to dry for another two minutes.
Beautiful iridescent quilted manicure ready. You can apply glitter not on every nail, but only on a few. The same applies to the application of the pattern with the help of threads.
How to make a quilted manicure gel varnish, see the video below.
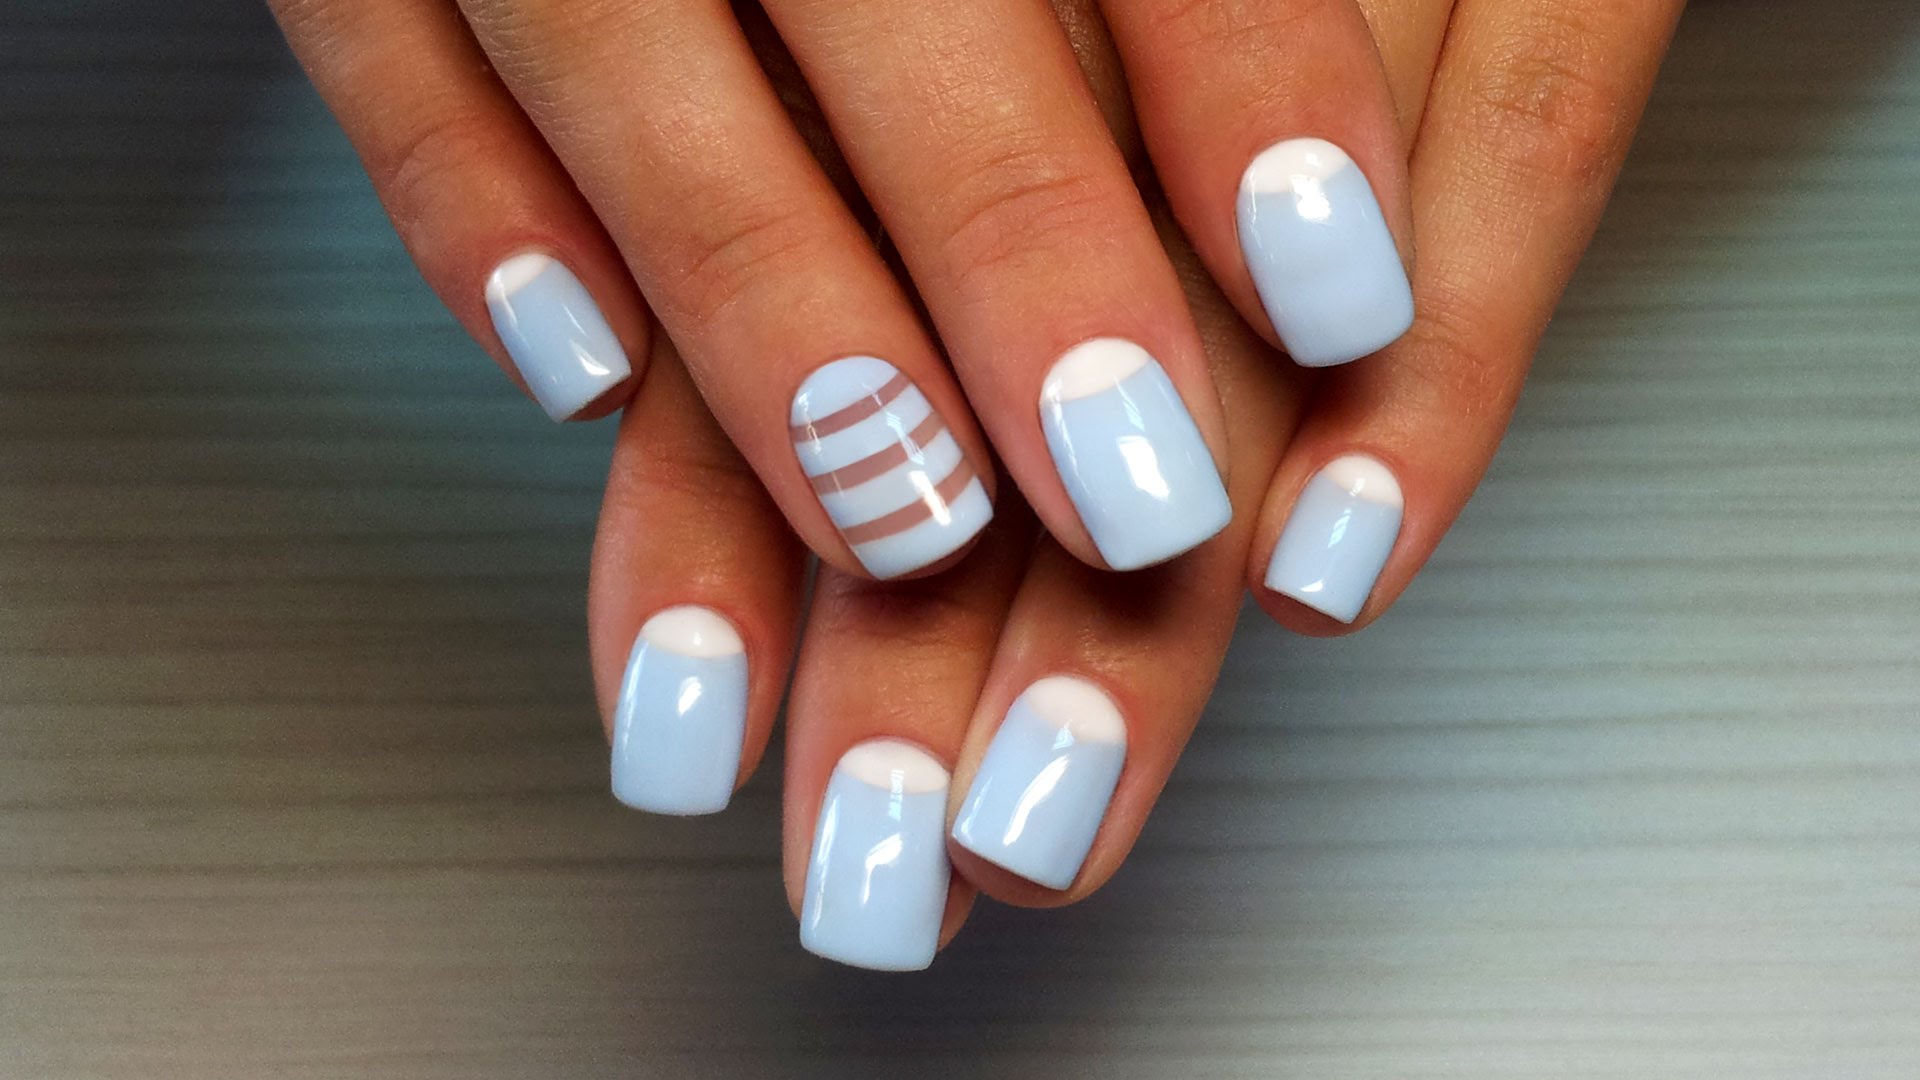
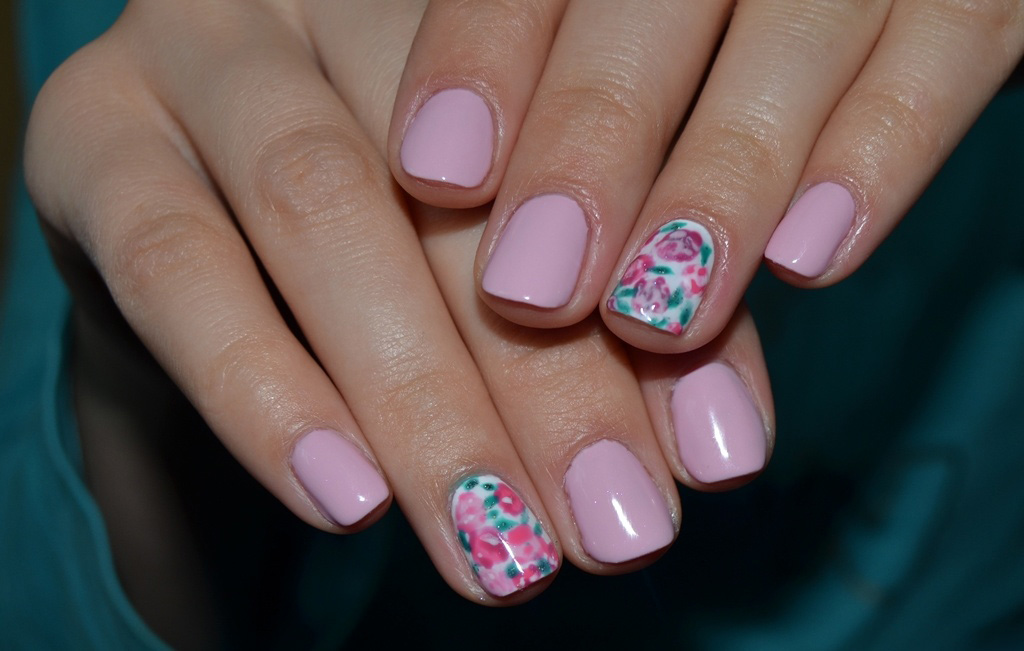
The so-called partial manicure is also very popular. It lies in the fact that 3-4 nails on the hand are stained with gel lacquer of one tone, and the rest are decorated at will - you can use stickers, you can create any pattern or borrow elements of quilted manicure. Make such a nail art is very easy.
- Prepare a lamp, nail file, baff, degreaser, fixer, base, primer, gel polish, patterned stickers, disifector.
- Prepare the nails for the procedure, as in the two previous cases.
- After degreasing the marigolds, apply a primer on them and send them to the lamp for 2 minutes. When performing this manicure, each layer of the product should be dried for two minutes or 30 seconds in the lamp.
- Apply a base for gel polish on all nails and dry.
- Next, apply gel polish on all nails, except for the ring finger on one hand, as well as the little finger and middle finger on the other hand. Dried in the lamp.
- Glue the prepared stickers to not made up nails. They can be colored, black and white, with the image of flowers and so on. It all depends on your taste. We cover all the nails with a fixer and send it to the lamp.
- Remove the sticky layer with a desifector.
Your bright and individual manicure is ready. If you have the proper skills and patience, you can replace the stickers with any personal pattern or rhinestones. Such a manicure always attracts attention to itself, and depending on the chosen shade is suitable for any occasion and image.
Technique of applying the slider in manicure gel varnish - in the video below.
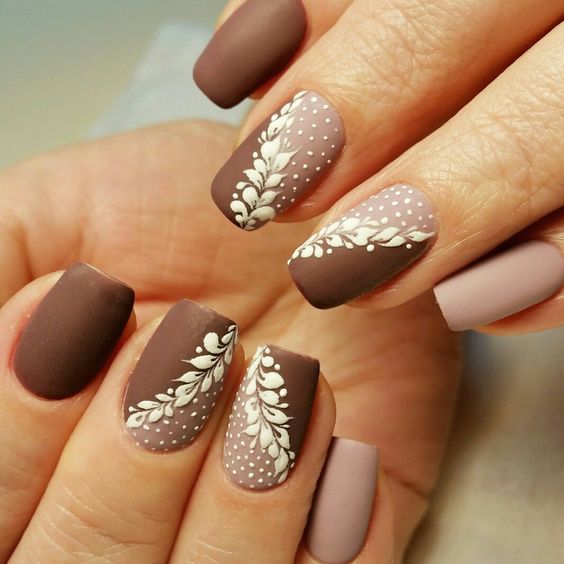
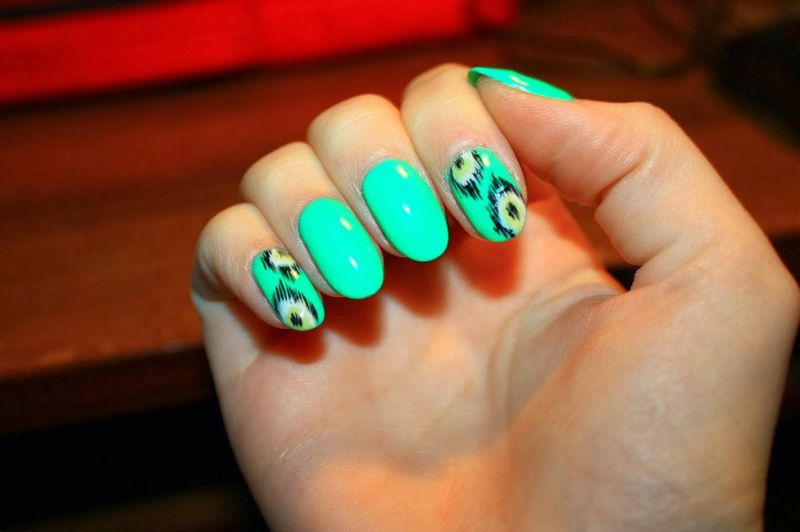
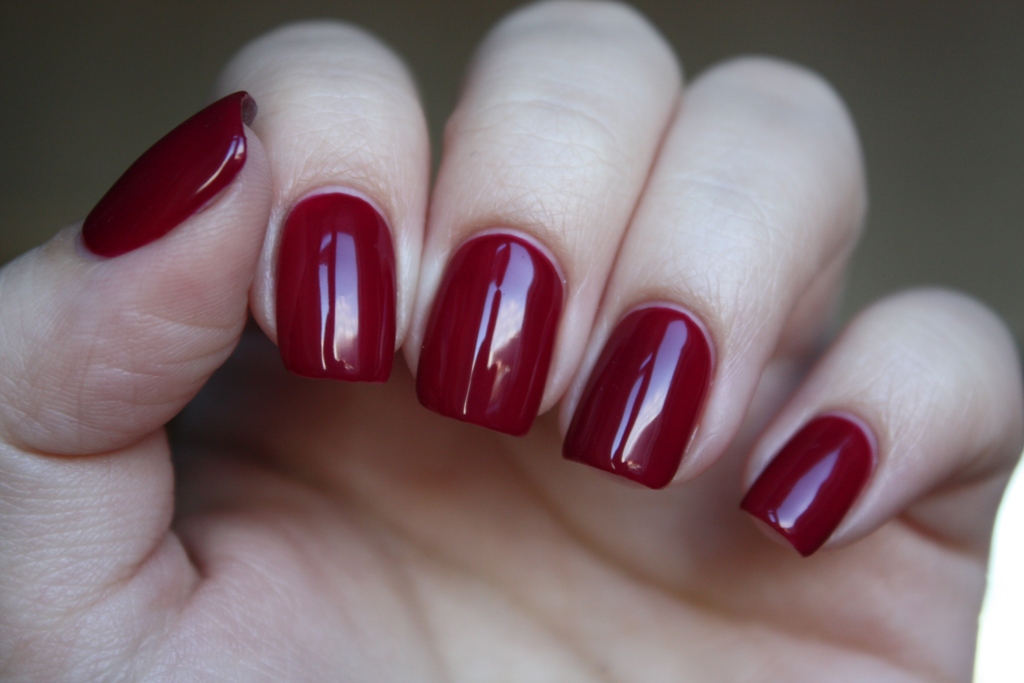
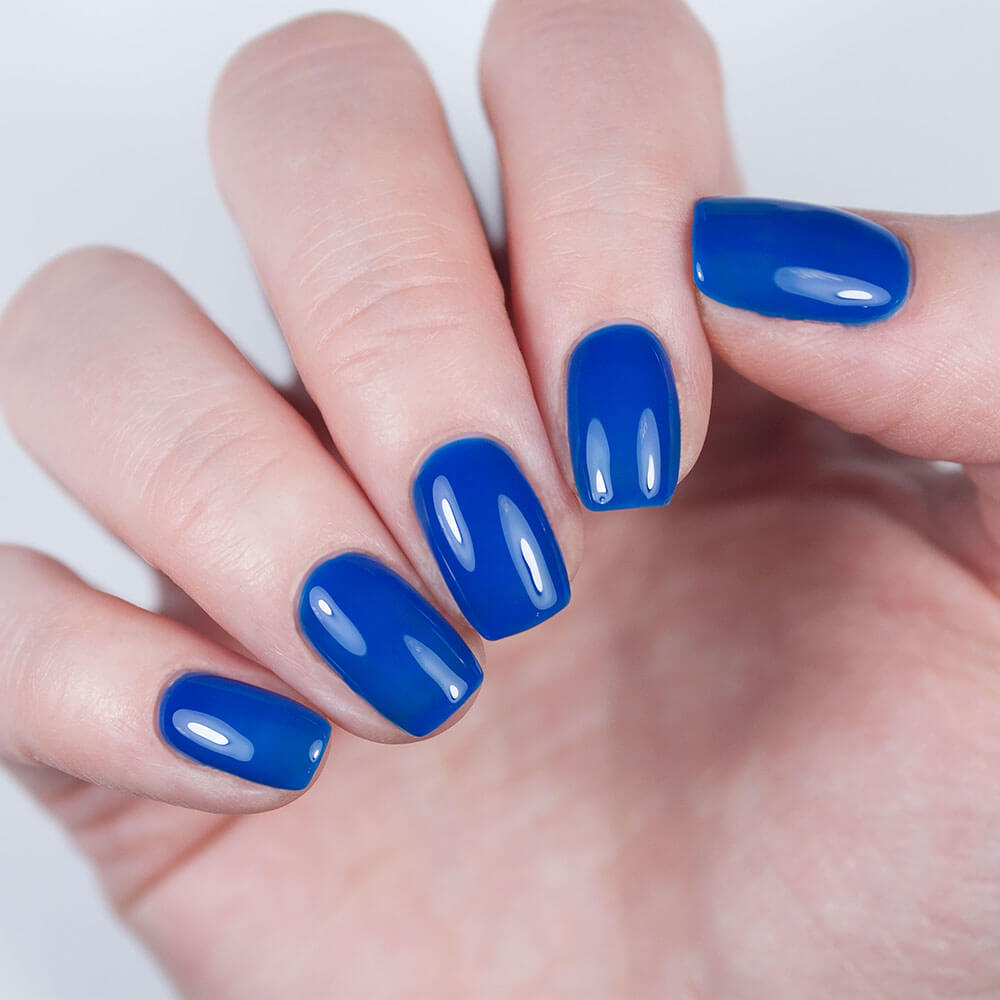
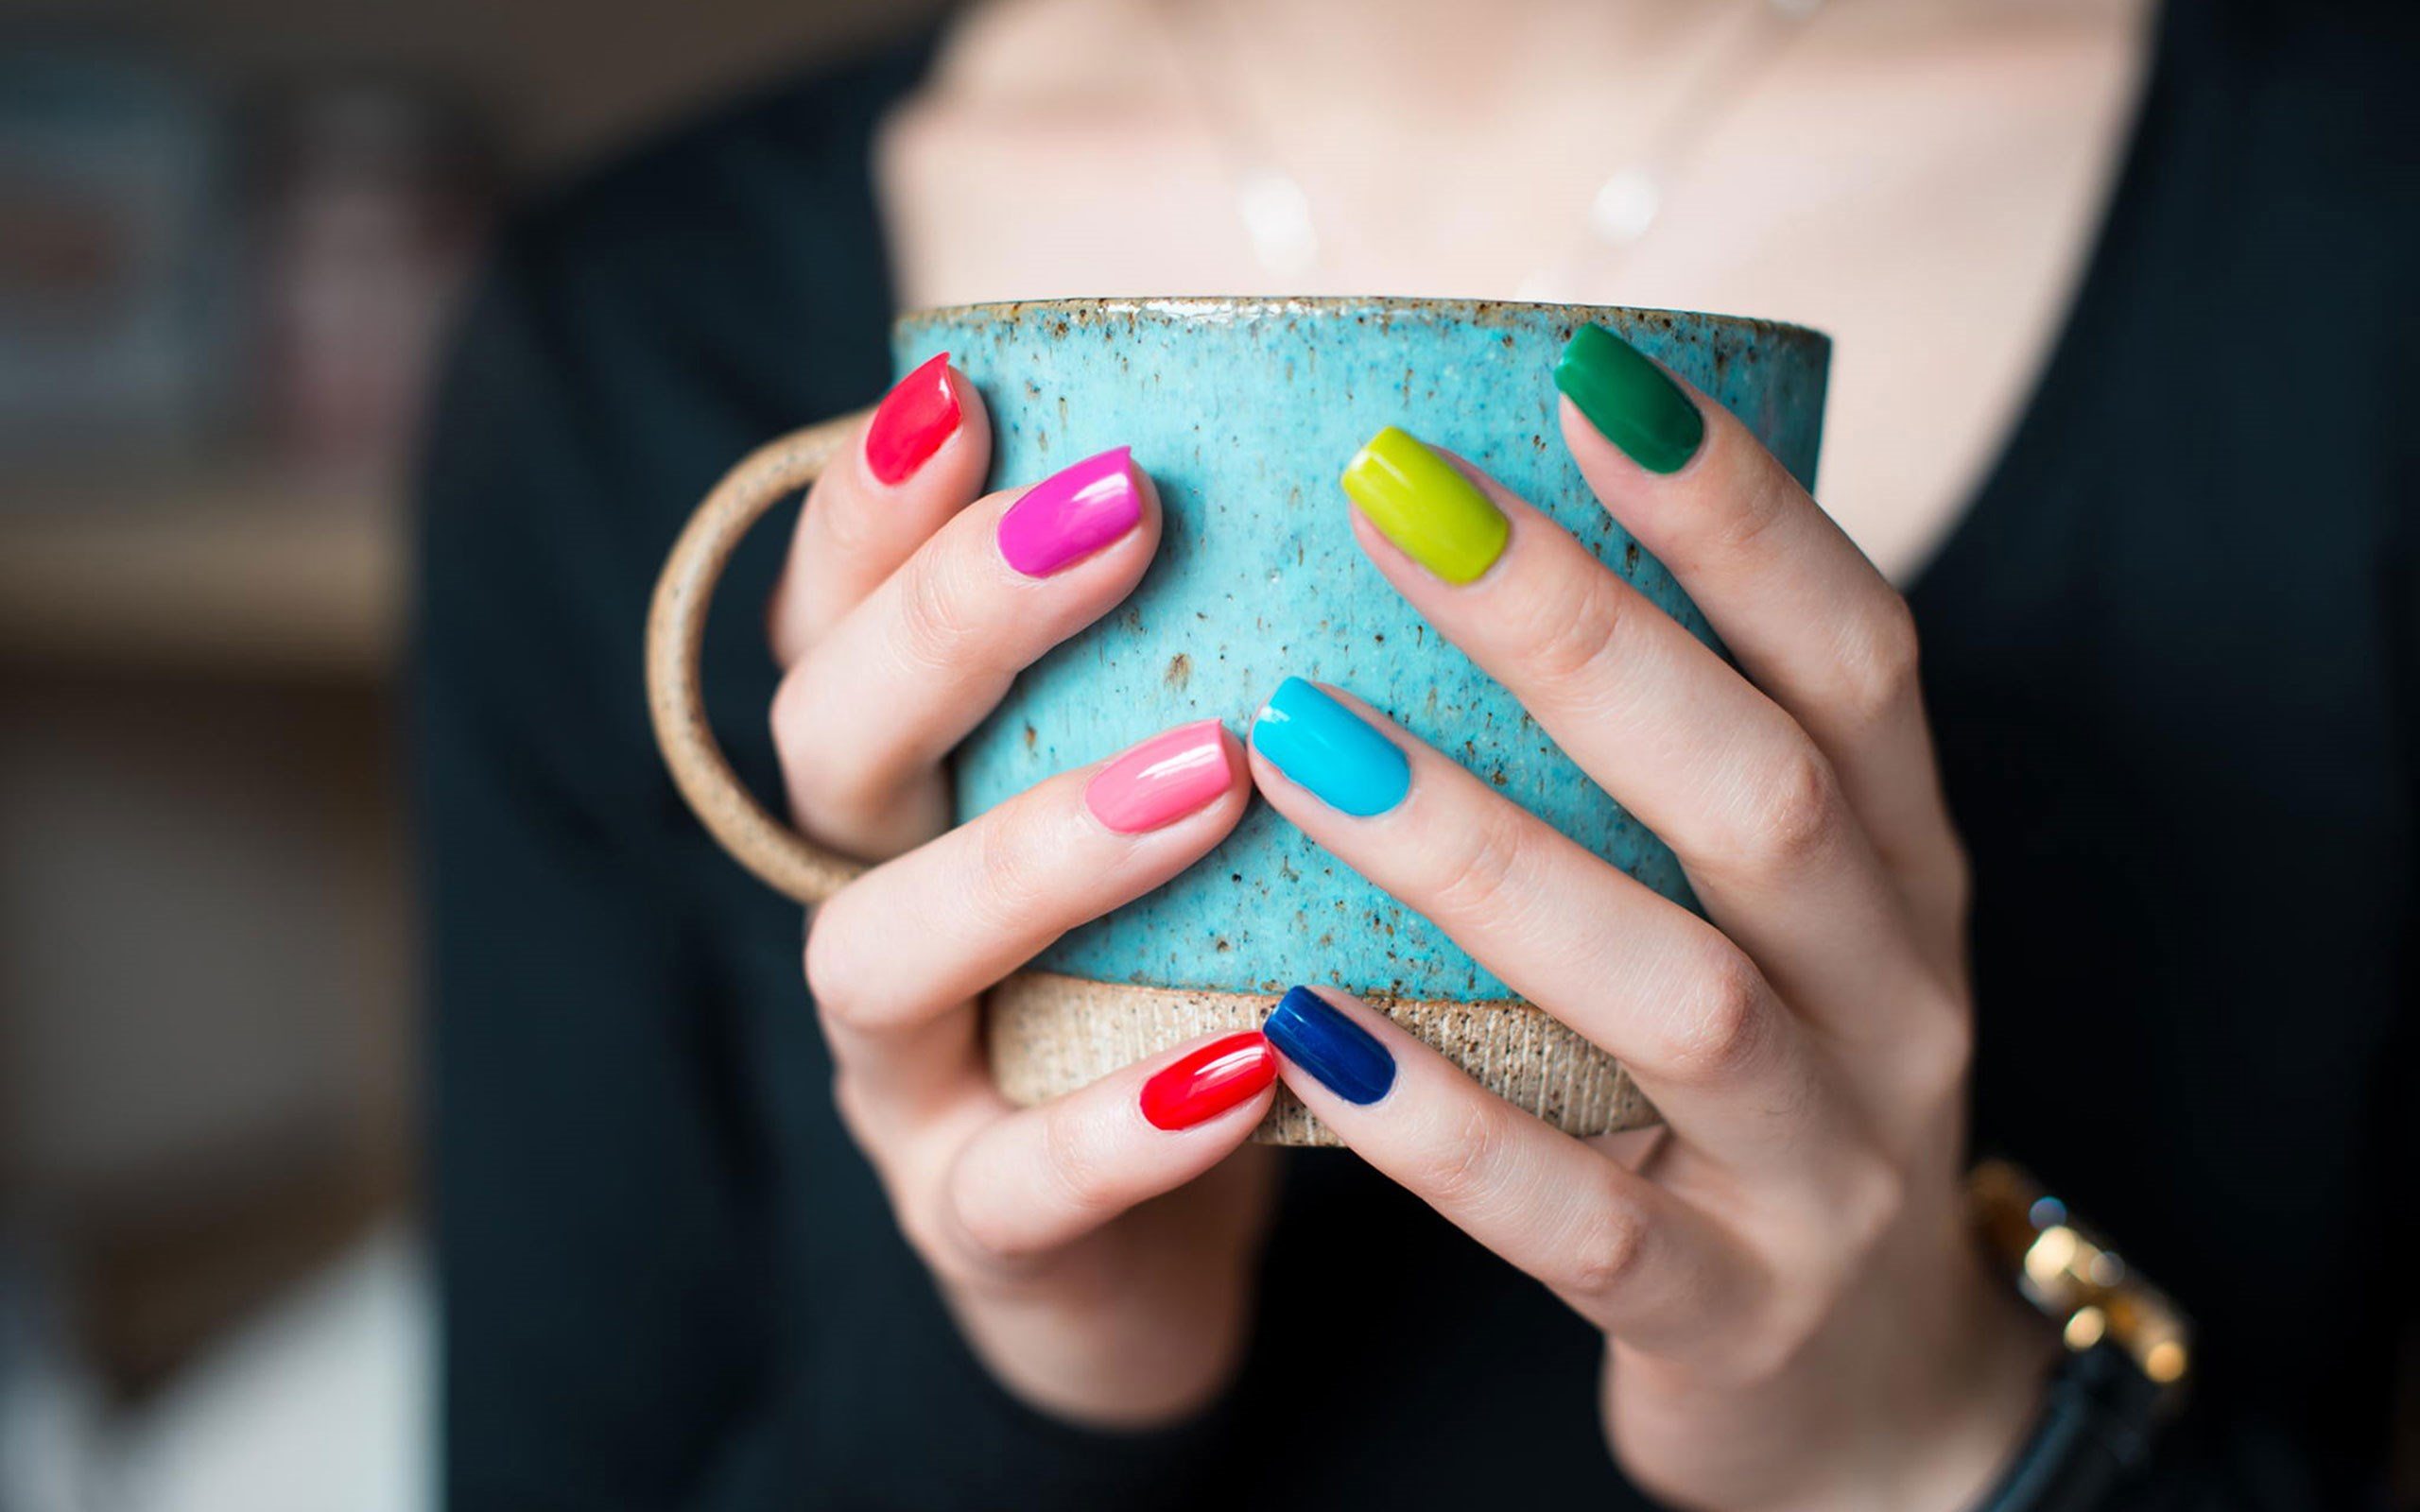
Manicure using gel polish can be any: bright and inconspicuous, classic and rebellious, but one does not take away from him - it is durability, brightness of color and ease of execution.