Simple gel nail polish for beginners
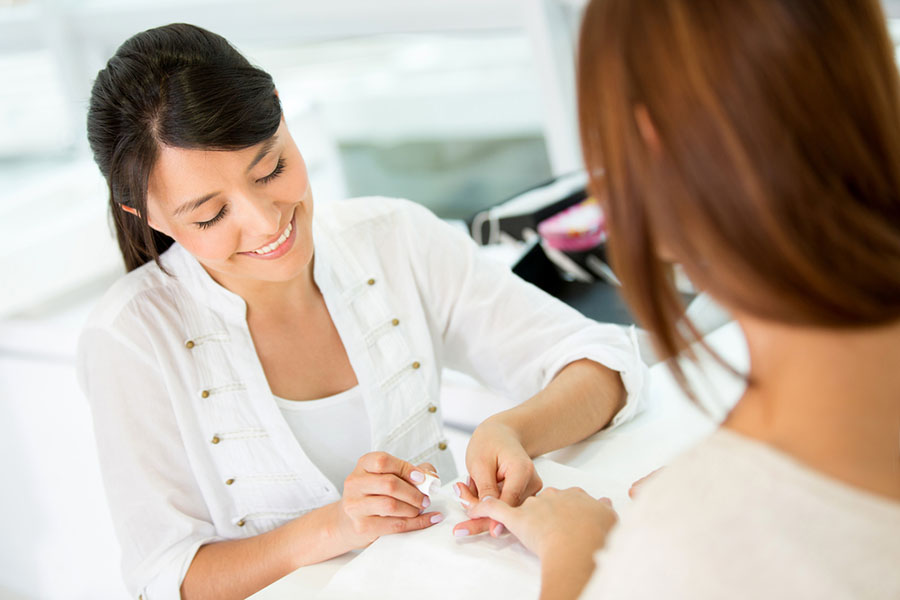
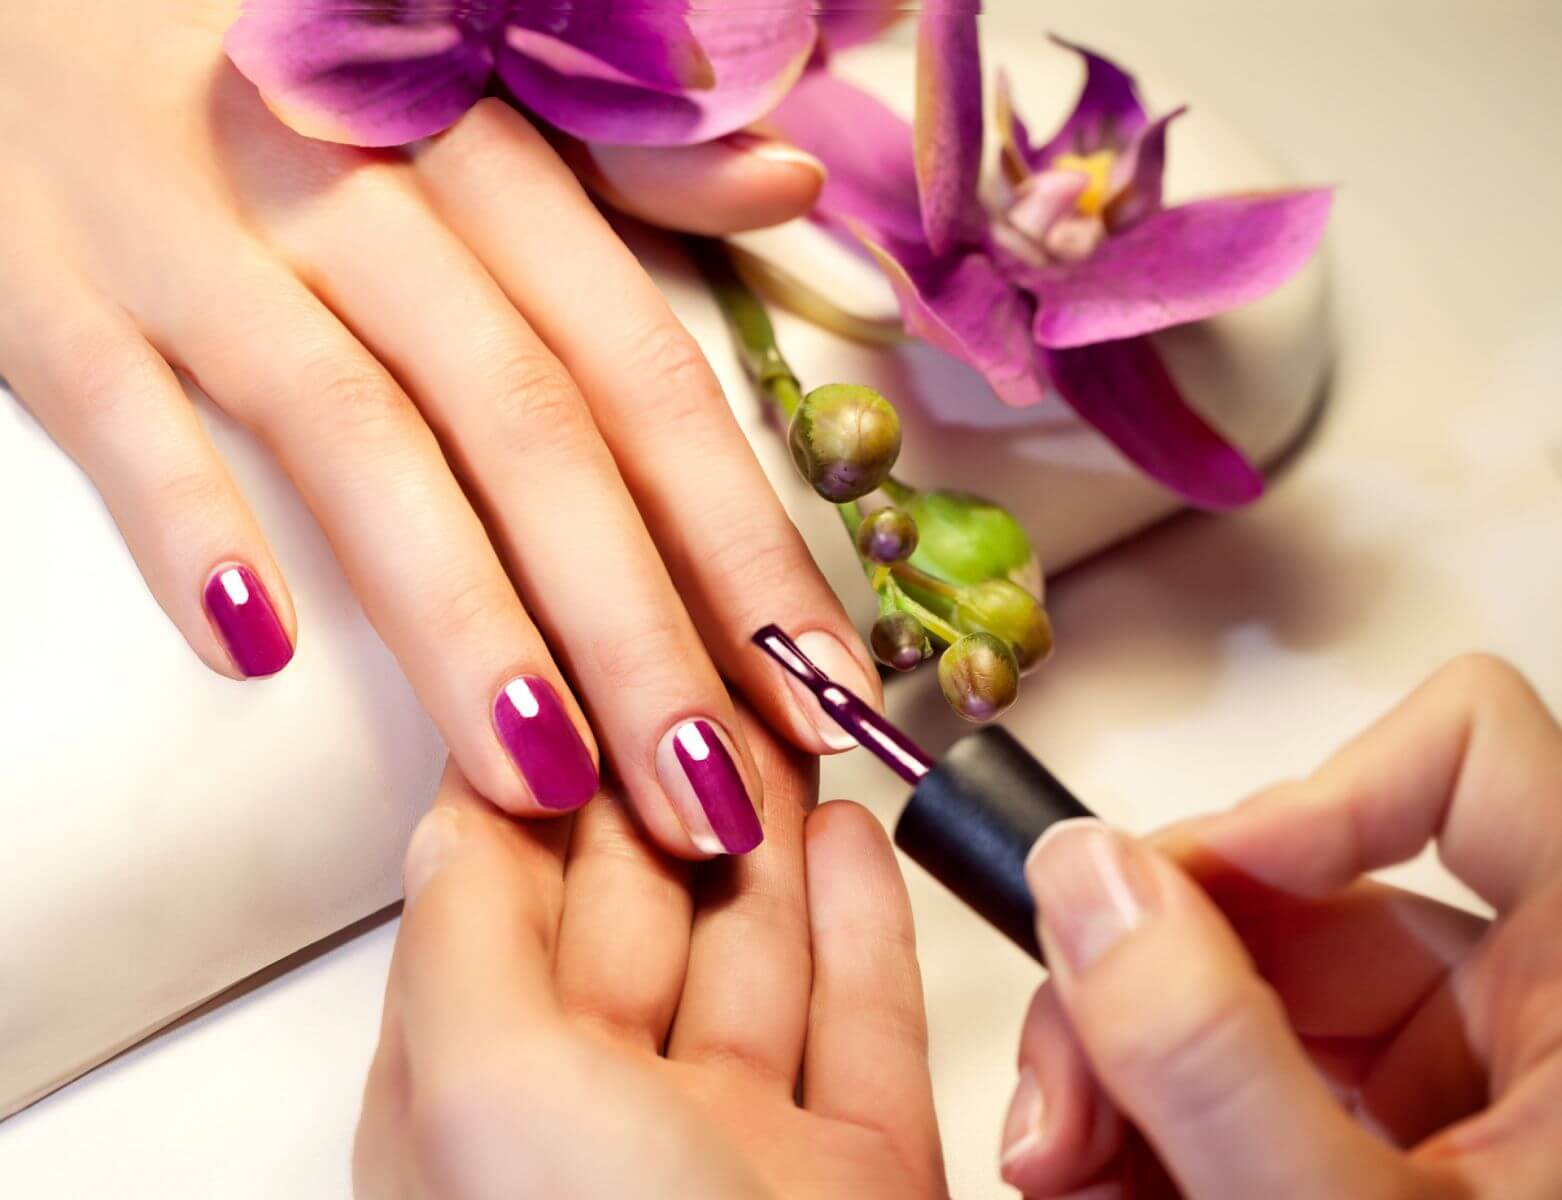
The main components of female beauty is not only high-quality makeup, but also well-groomed hands with a beautiful manicure. Among the successful options with which you can decorate your image, as well as to cheer up, is a beautiful nail design. It can be done in a specialized beauty salon or created at home. The practice and the availability of related tools will allow you to create beautiful patterns on the nails with gel polish at home. Most of the patterns are accompanied by simplicity and efficiency, which makes them accessible even to beginners.

Nuts and bolts of manicure
Most beginners believe that creating patterns on the nails is difficult. However, regular training will help you to master the technique of applying beautiful patterns with a brush and needle, and after a while you will become an experienced specialist in the field of nail art. You no longer need to use the training books as a cheat sheet, because only fantasy will be enough.

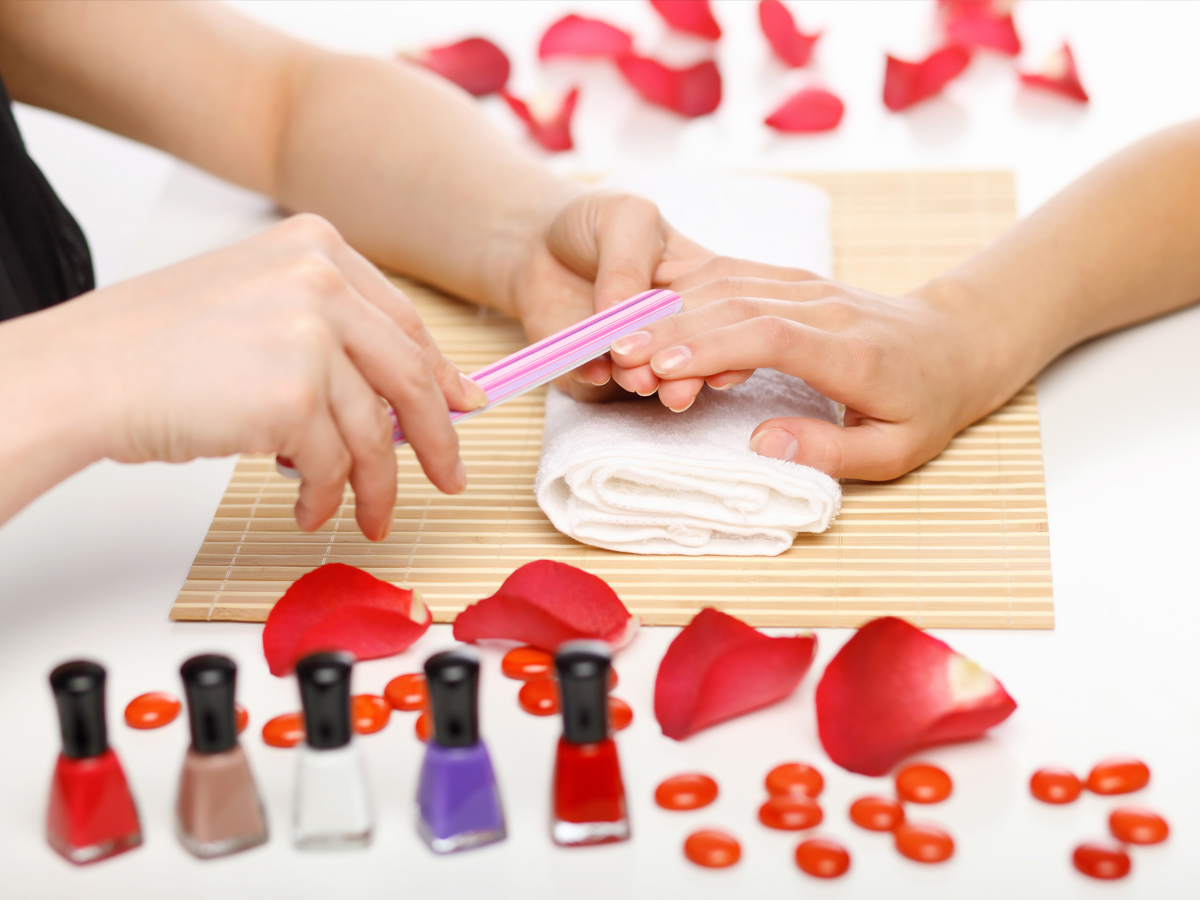
Before you start creating drawings on the nails, bring them to the proper form. To do this, you will need to process the cuticle, give the nail plate the desired shape, and also get rid of burrs.
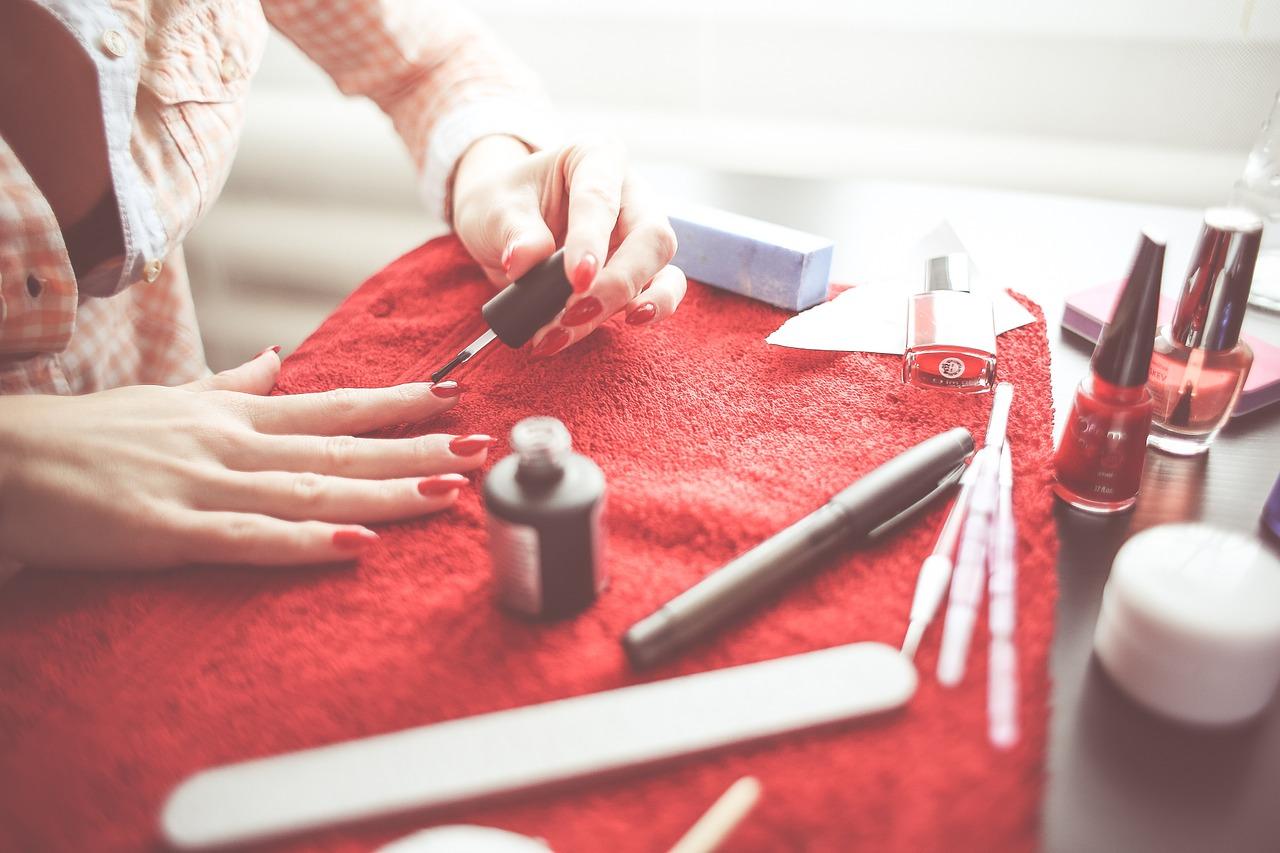
Then you should come up with a design for the future drawing. For beginners, this case will be quite laborious, accompanied by perseverance. For this reason, experts advise to pre-prepare all the tools and tools for the job.
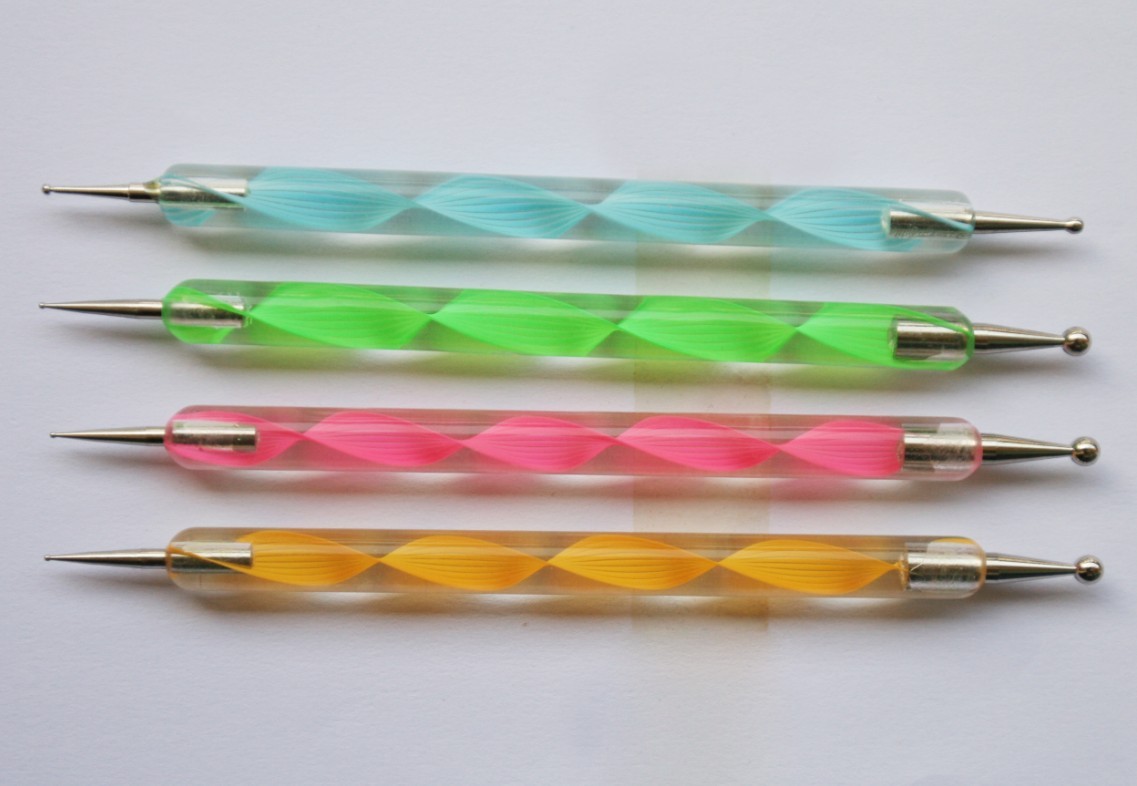
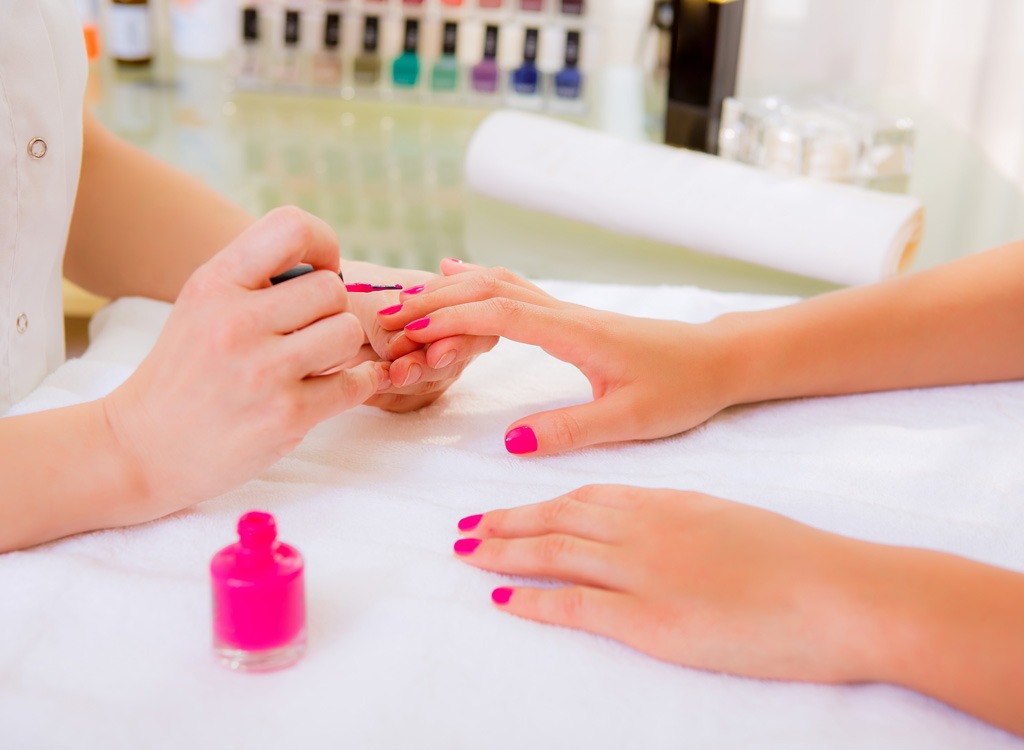
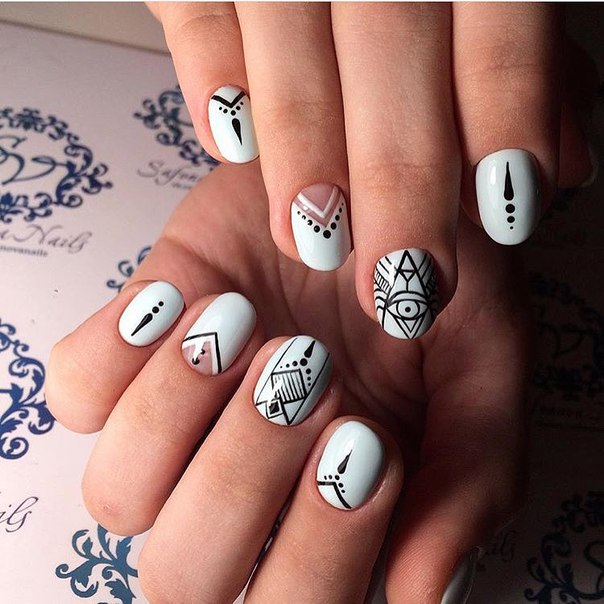
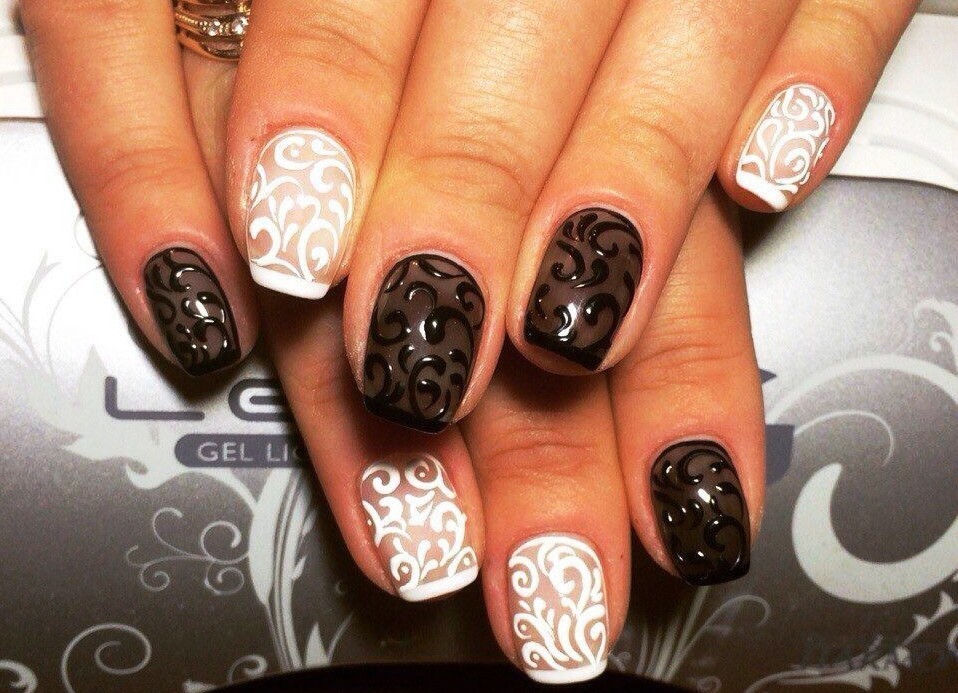
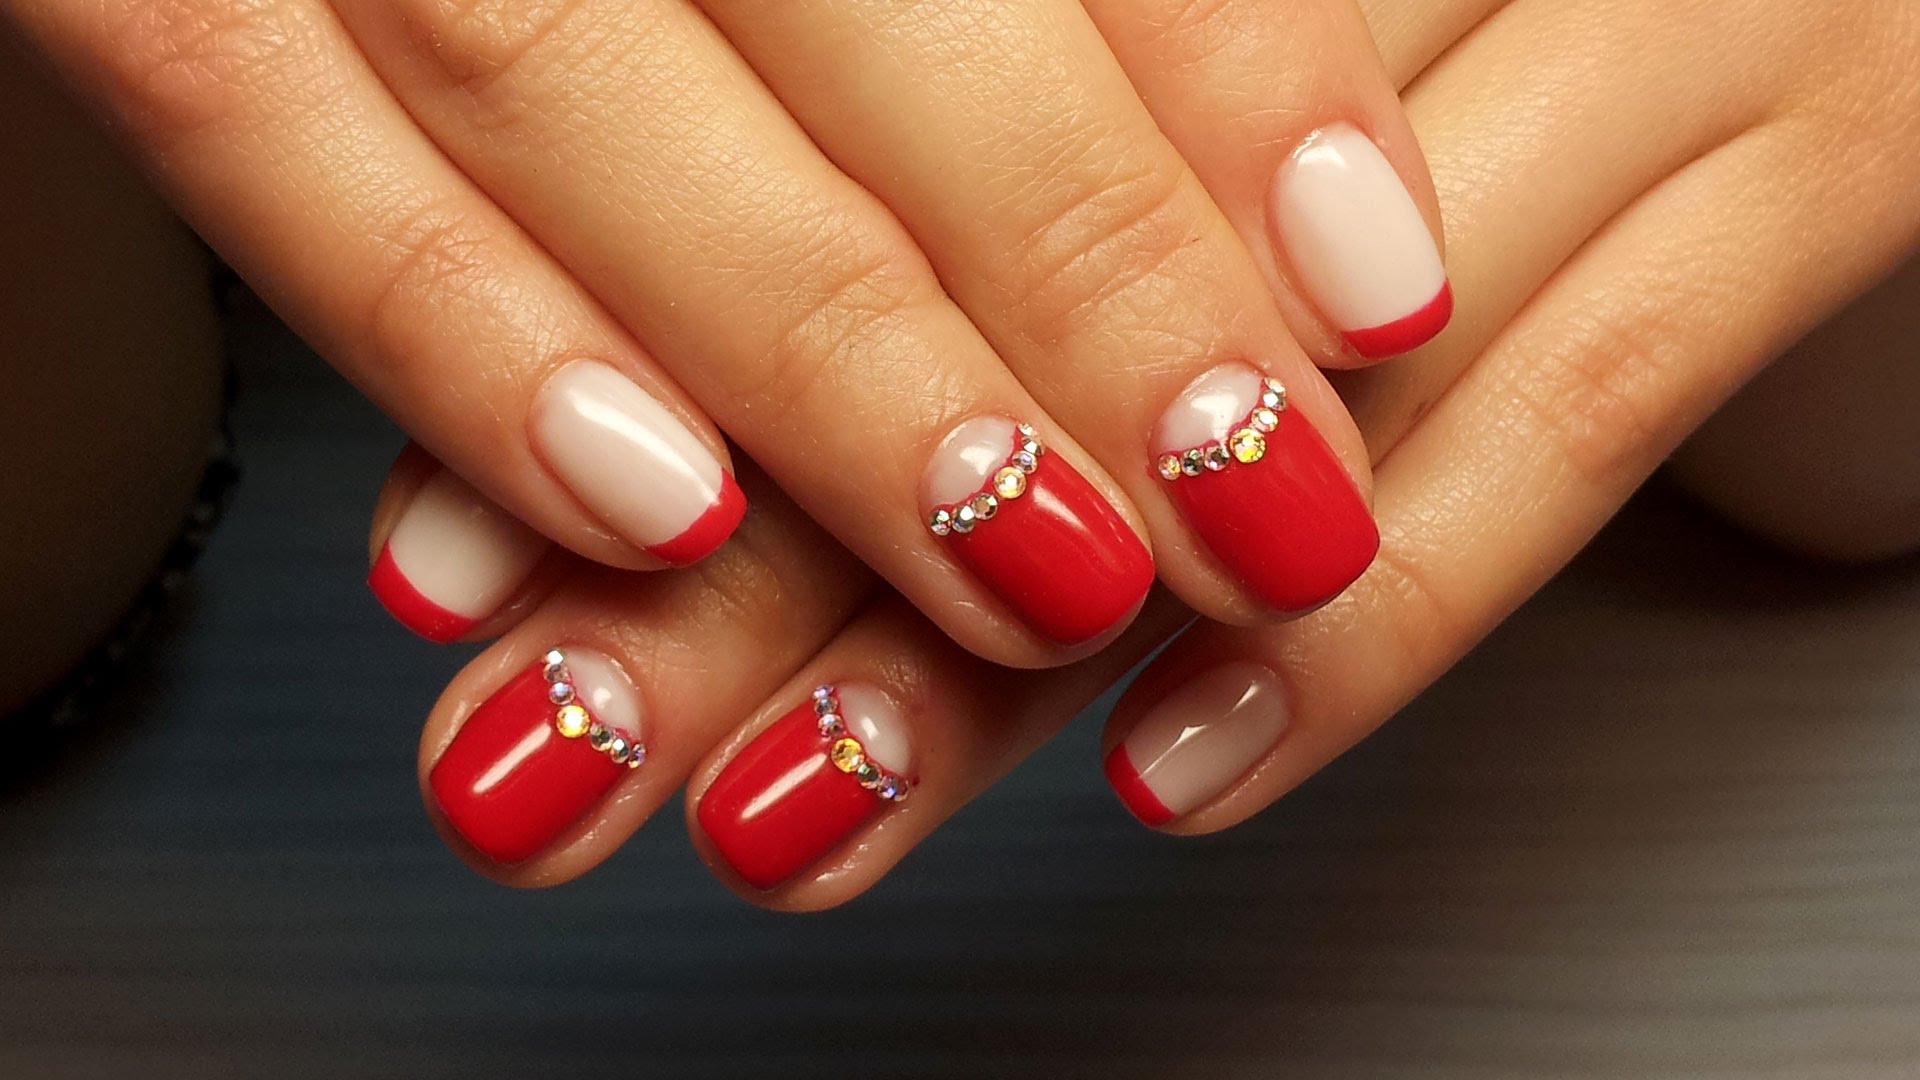
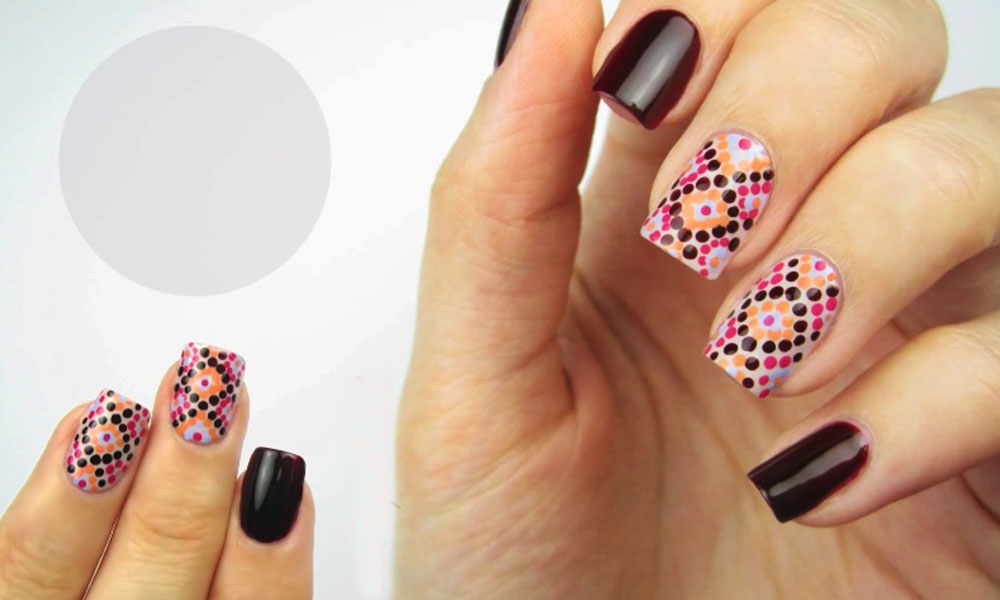
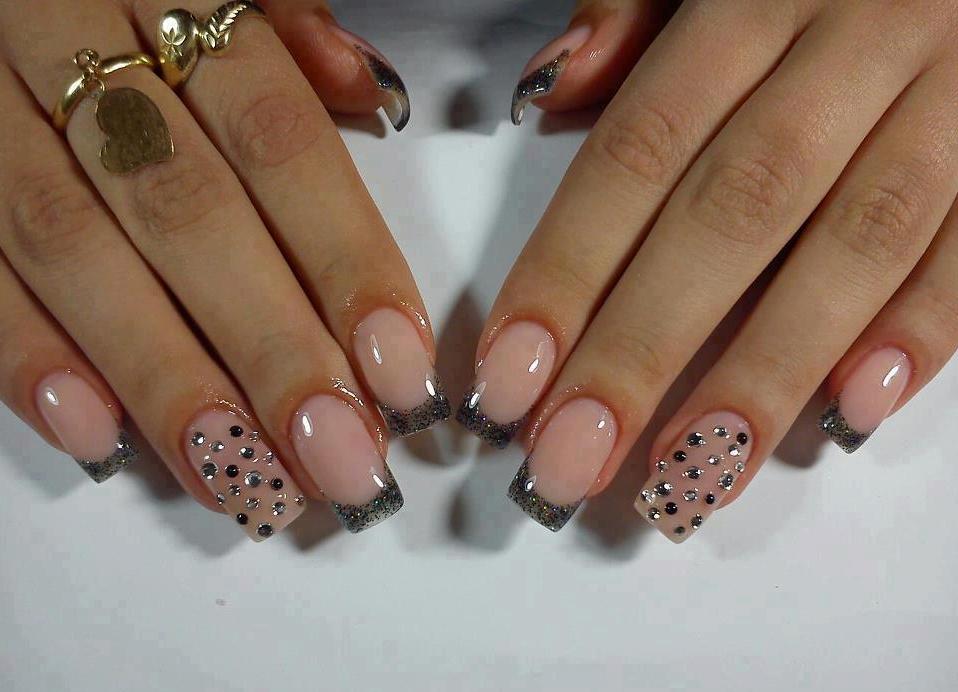
Those who master the basics of manicure, suitable light pattern, which will look spectacular. In this case, the pattern is quickly drawn and does not require special skills and skills. To create it, you need a dots with a small ball, gel polish in a contrasting color.
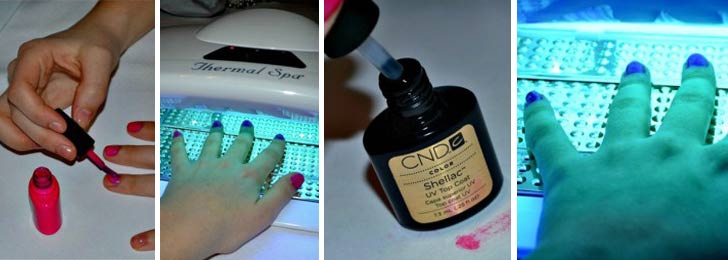
You can draw on any finger, depending on their preferences. It should start with a white layer, which is covered with bright color. The nails are dried using a UV lamp, after which the sticky layer is removed. This action prevents the pattern from spreading.
Now you need to put dots of black and pink. They are put in a chaotic order, depending on the pattern that you plan to depict. You can draw points of different sizes. Experts advise you to make thick spots to get a more effective picture. Dry the first layer with the pattern, then draw extra small dots in the gaps. Work ends drawing top.
You can also get a simple drawing with a needle. Work differs in ease and a wide variety of options. Starting with simple designs, in the future you will be able to draw professional patterns.

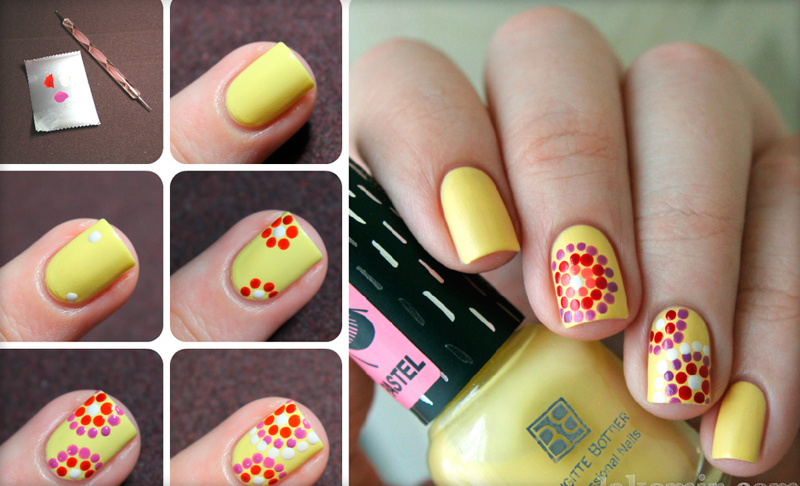
Before putting patterns on nails, it is recommended to sketch a sketch on paper. With this method, it will be easier for beginners to realize their planned fantasies. There are many variants of drawings that can be drawn with the help of an ordinary needle. As an example, you can disassemble the technique of applying a floral pattern on a white background.
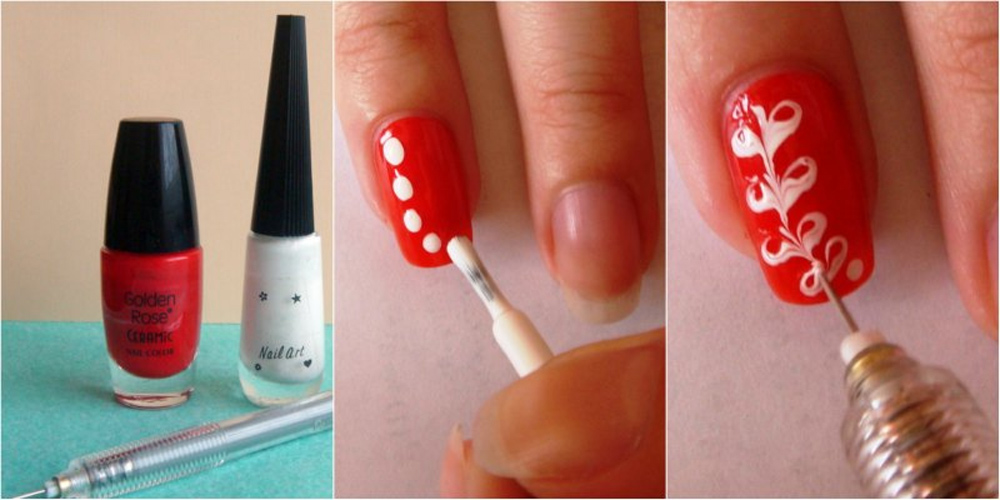
To work you need to prepare:
- base tone;
- top coating;
- gel polishes in different colors;
- ordinary needle;
- tassel.
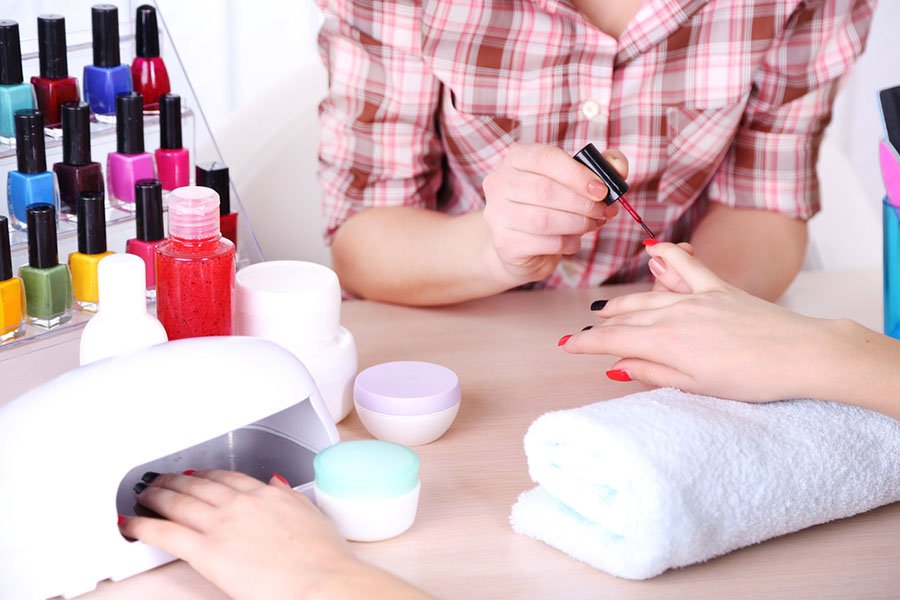
Initially, the base is covered with nails. This layer helps to protect the surface of the nail plate from the needle. While the base surface dries, you can do the placement of colored varnishes. Put funds in the order in which you will use them.
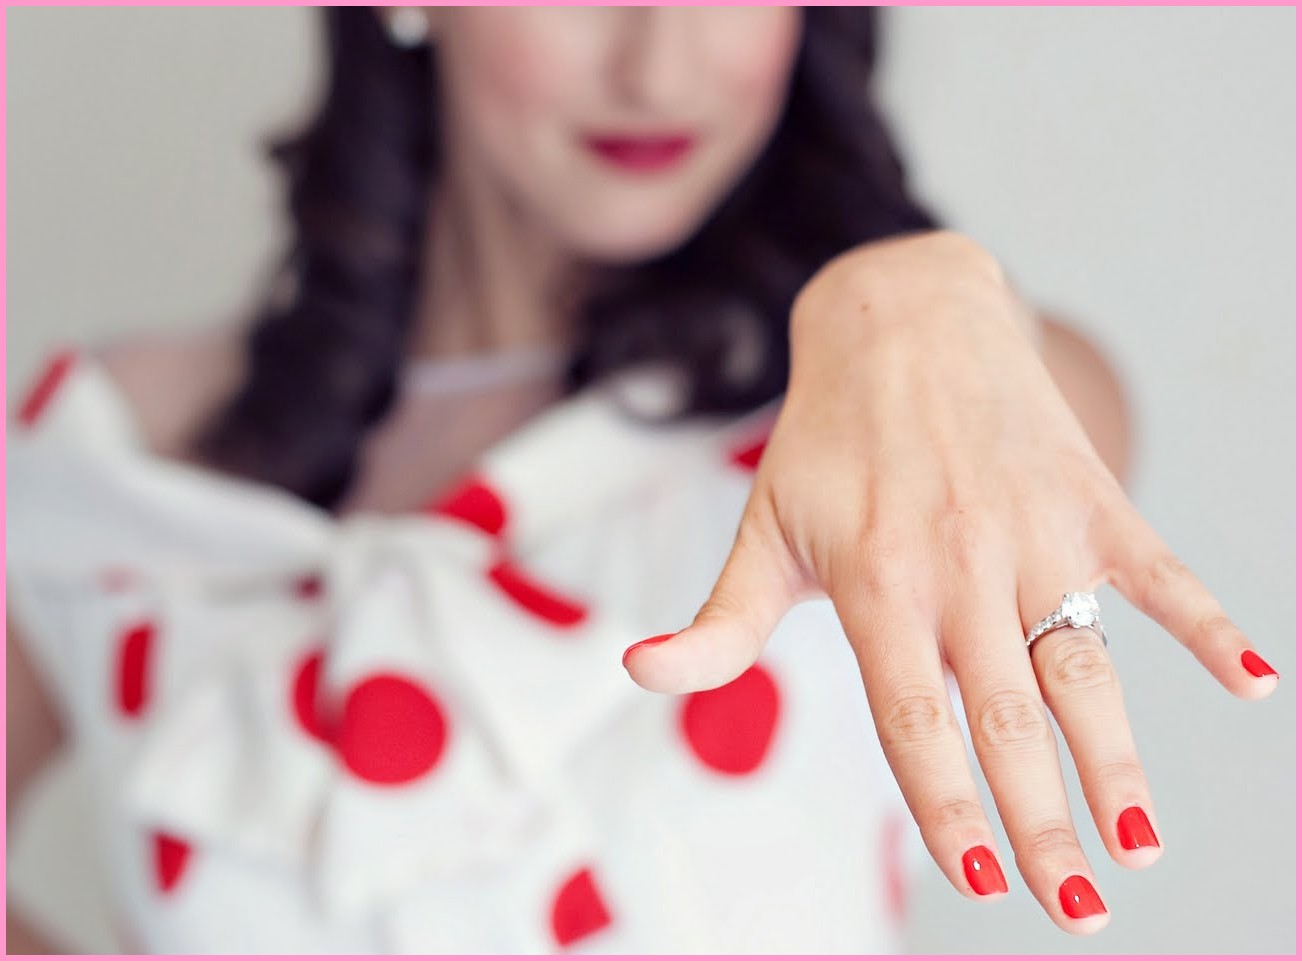
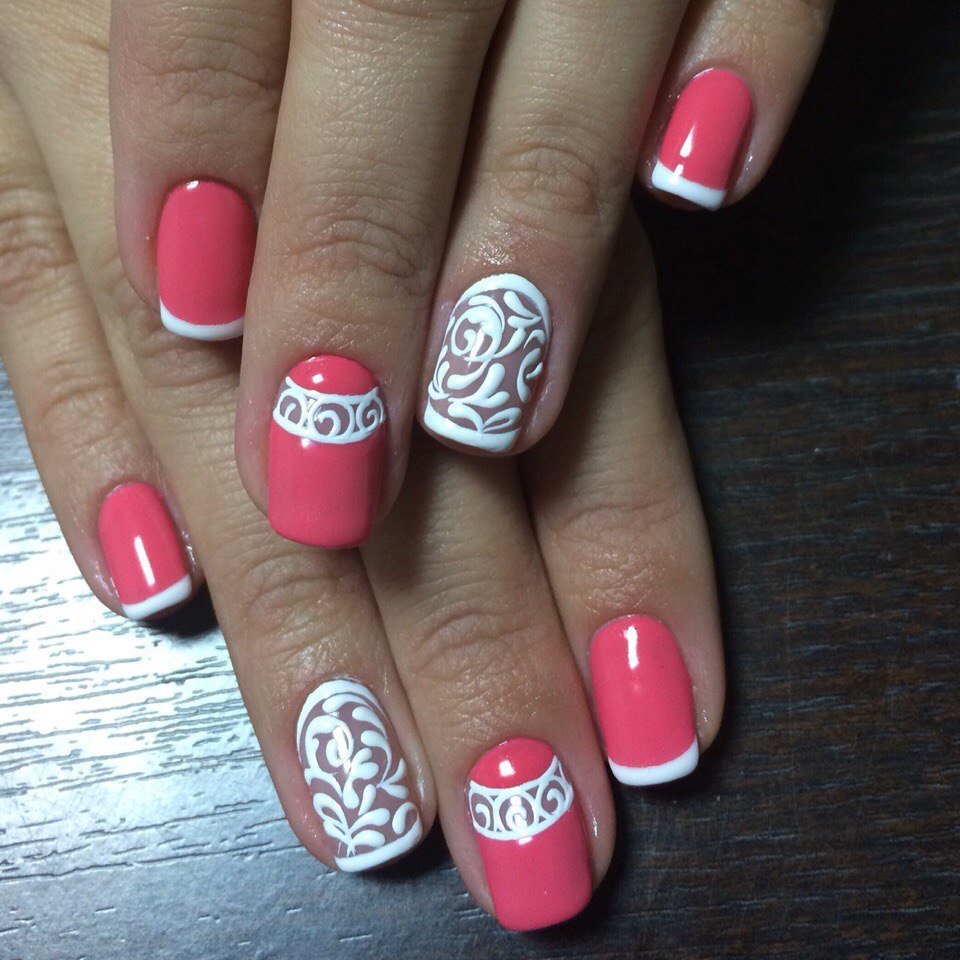
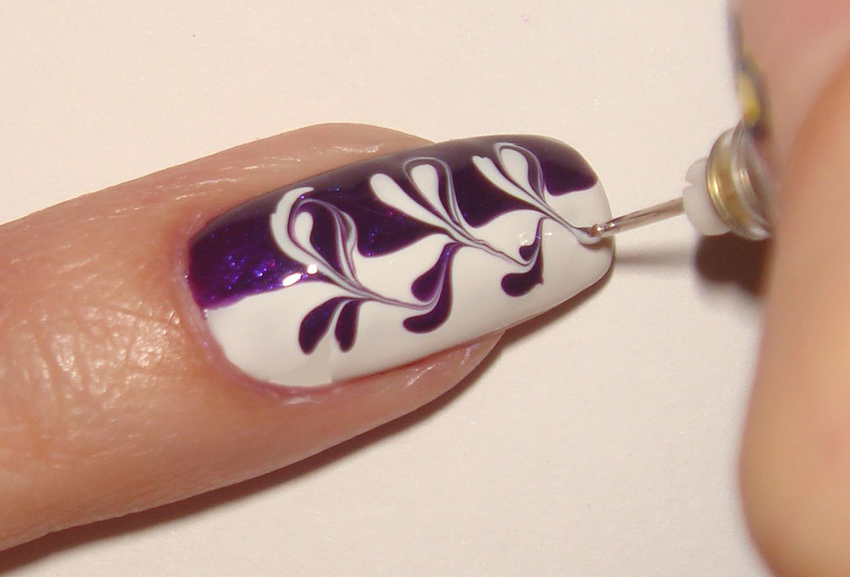
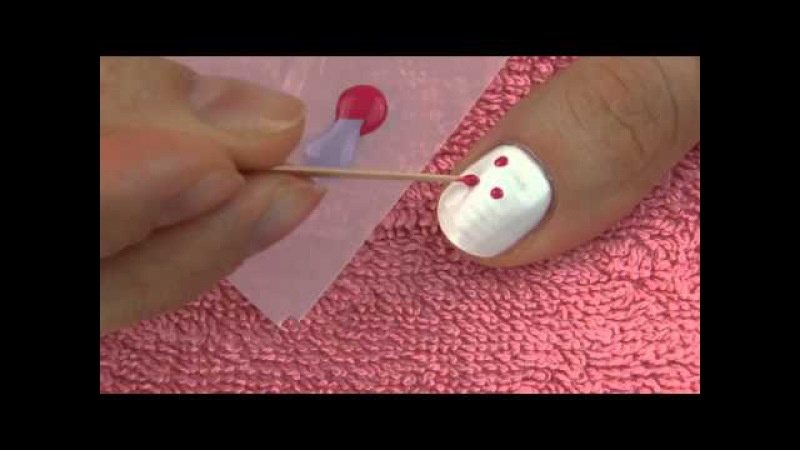
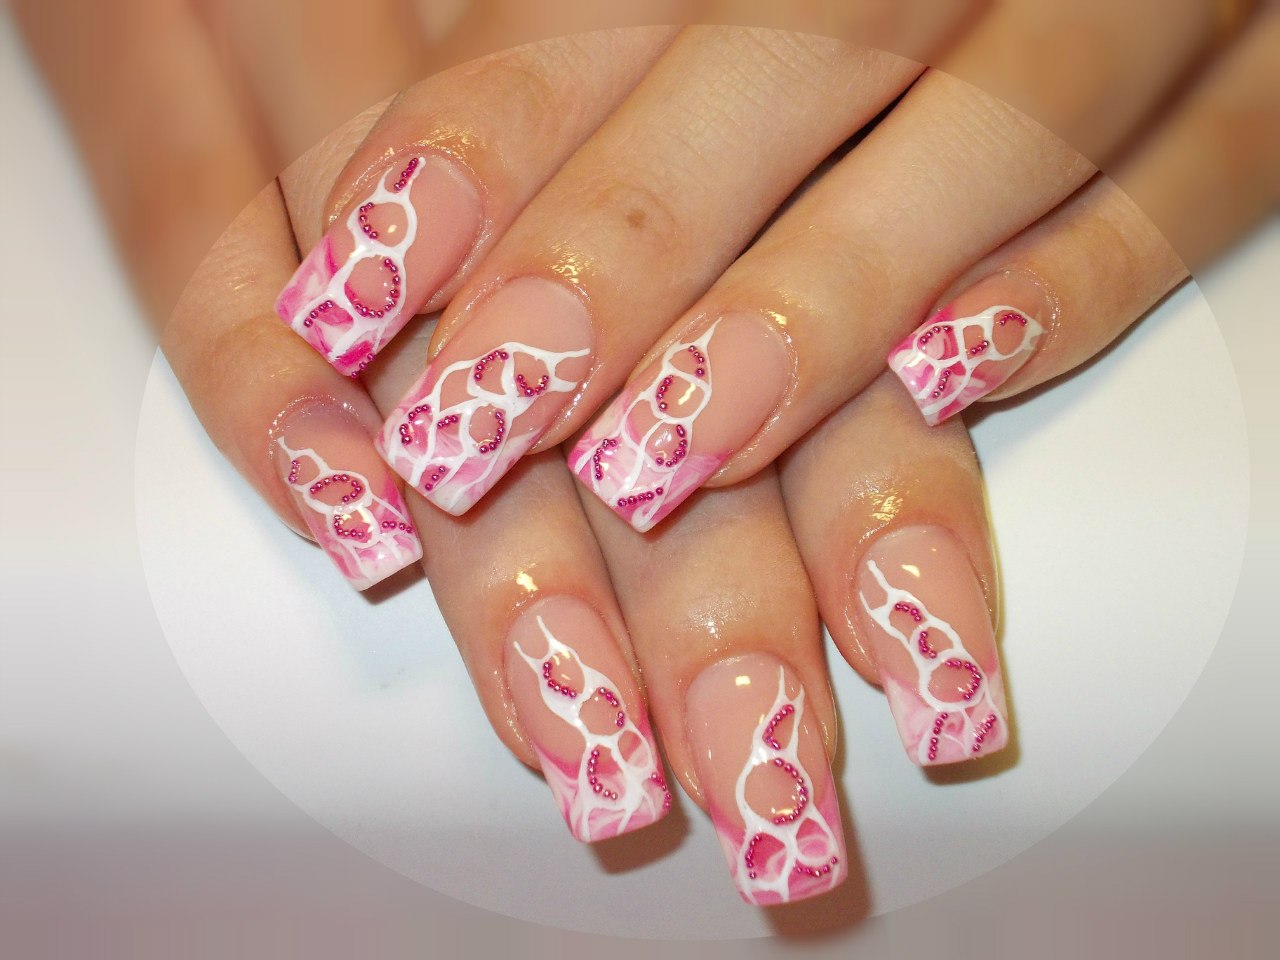
When the “base” is dry, apply a white lacquer on it. Use a brush for this action. On the dried surface should be applied three small red spots.Put a dot of white color in the middle of each drop. After that, you should start creating a picture.
With the help of needles you need to start making streaks, lines, curls with ovals. They are created by dipping a needle into dots, stretching them along the nail plate in different directions. After your idea is completed, leave the varnish to dry and apply the top. The top base extends the life of the pattern.
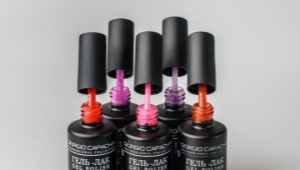
What is the difference between gel and ordinary varnish?
Traditional nail polishes are colored coating that can hold on the nail plate for a short time. As a rule, it is 3-5 days. Every woman used this varnish, so you shouldn’t say how to apply the product. There is a wide range of lacquers in which there is a therapeutic component, products with different effects (magnet, matte, sand, etc.).
Gel polish is different from the usual varnish in that it is the middle option between simple polish and gel for building. For this reason, he received such a name. When it was created, the goal was set, which was to combine the best characteristics of both means - durability and color. The developers managed to achieve the objectives and the created lacquer combines the best qualities, for which it is very popular.
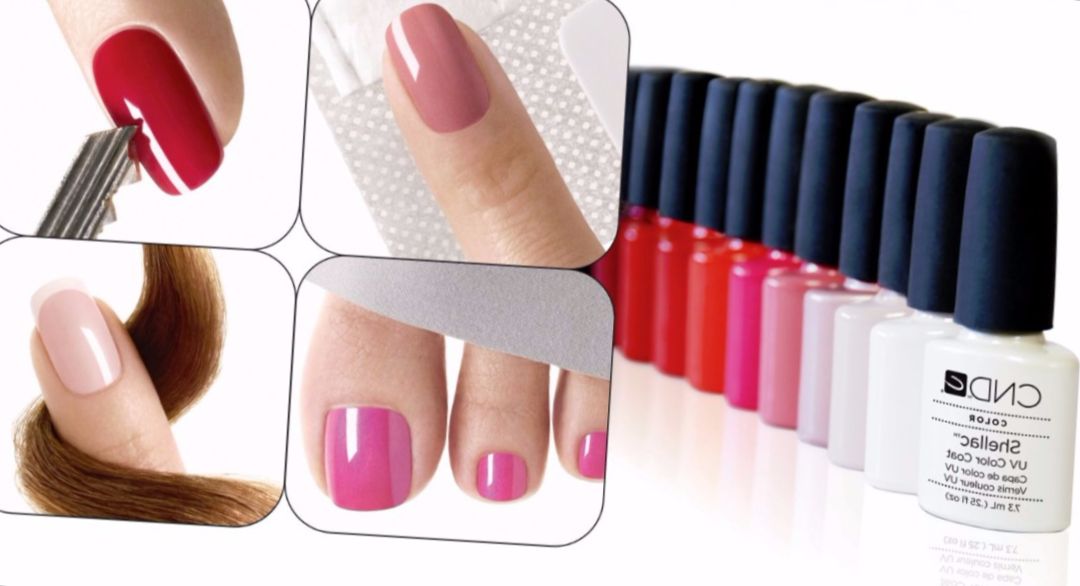
There are no external differences between the two varnishes. The gel is implemented in the same tube with a brush, the application takes place in the same way as with ordinary varnishes. However, in order for gel polish to freeze, it needs to stay under a UV lamp for 3 minutes. The period of wearing the cover is three weeks. In addition to the advantages, the tool has disadvantages: a long application process, high price, limited color palette. Removal of the gel is made using special tools. This means that ordinary nail polish remover is not suitable for such purposes.
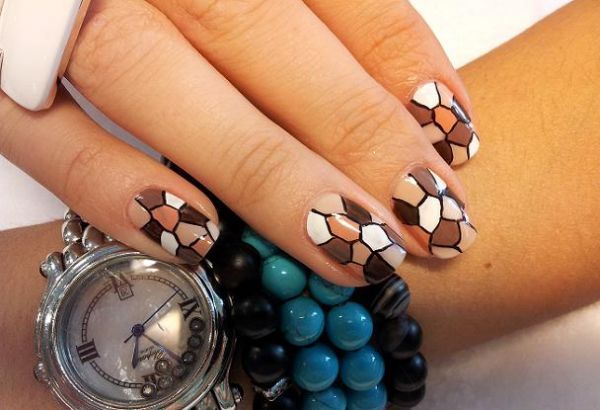
Patterns
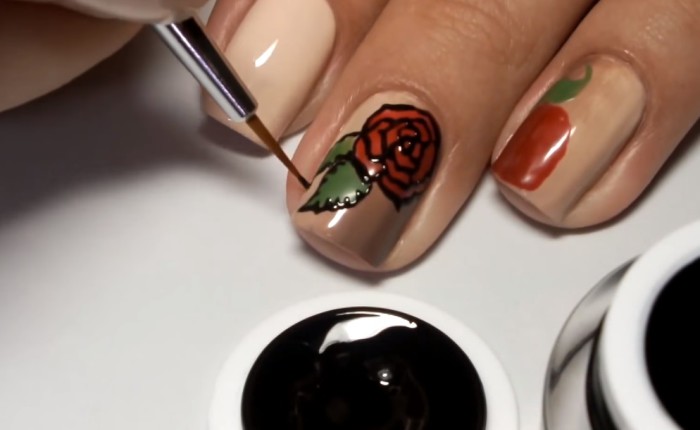
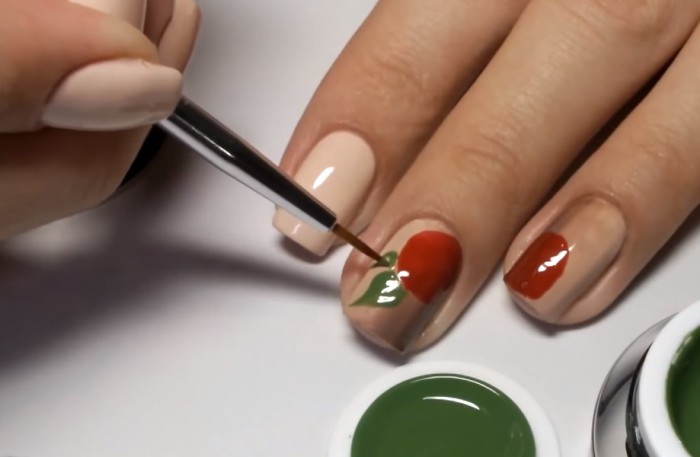
Many girls want to learn how to draw patterns with gel polishes. This will help you a thin brush that will help create a simple and original drawing.
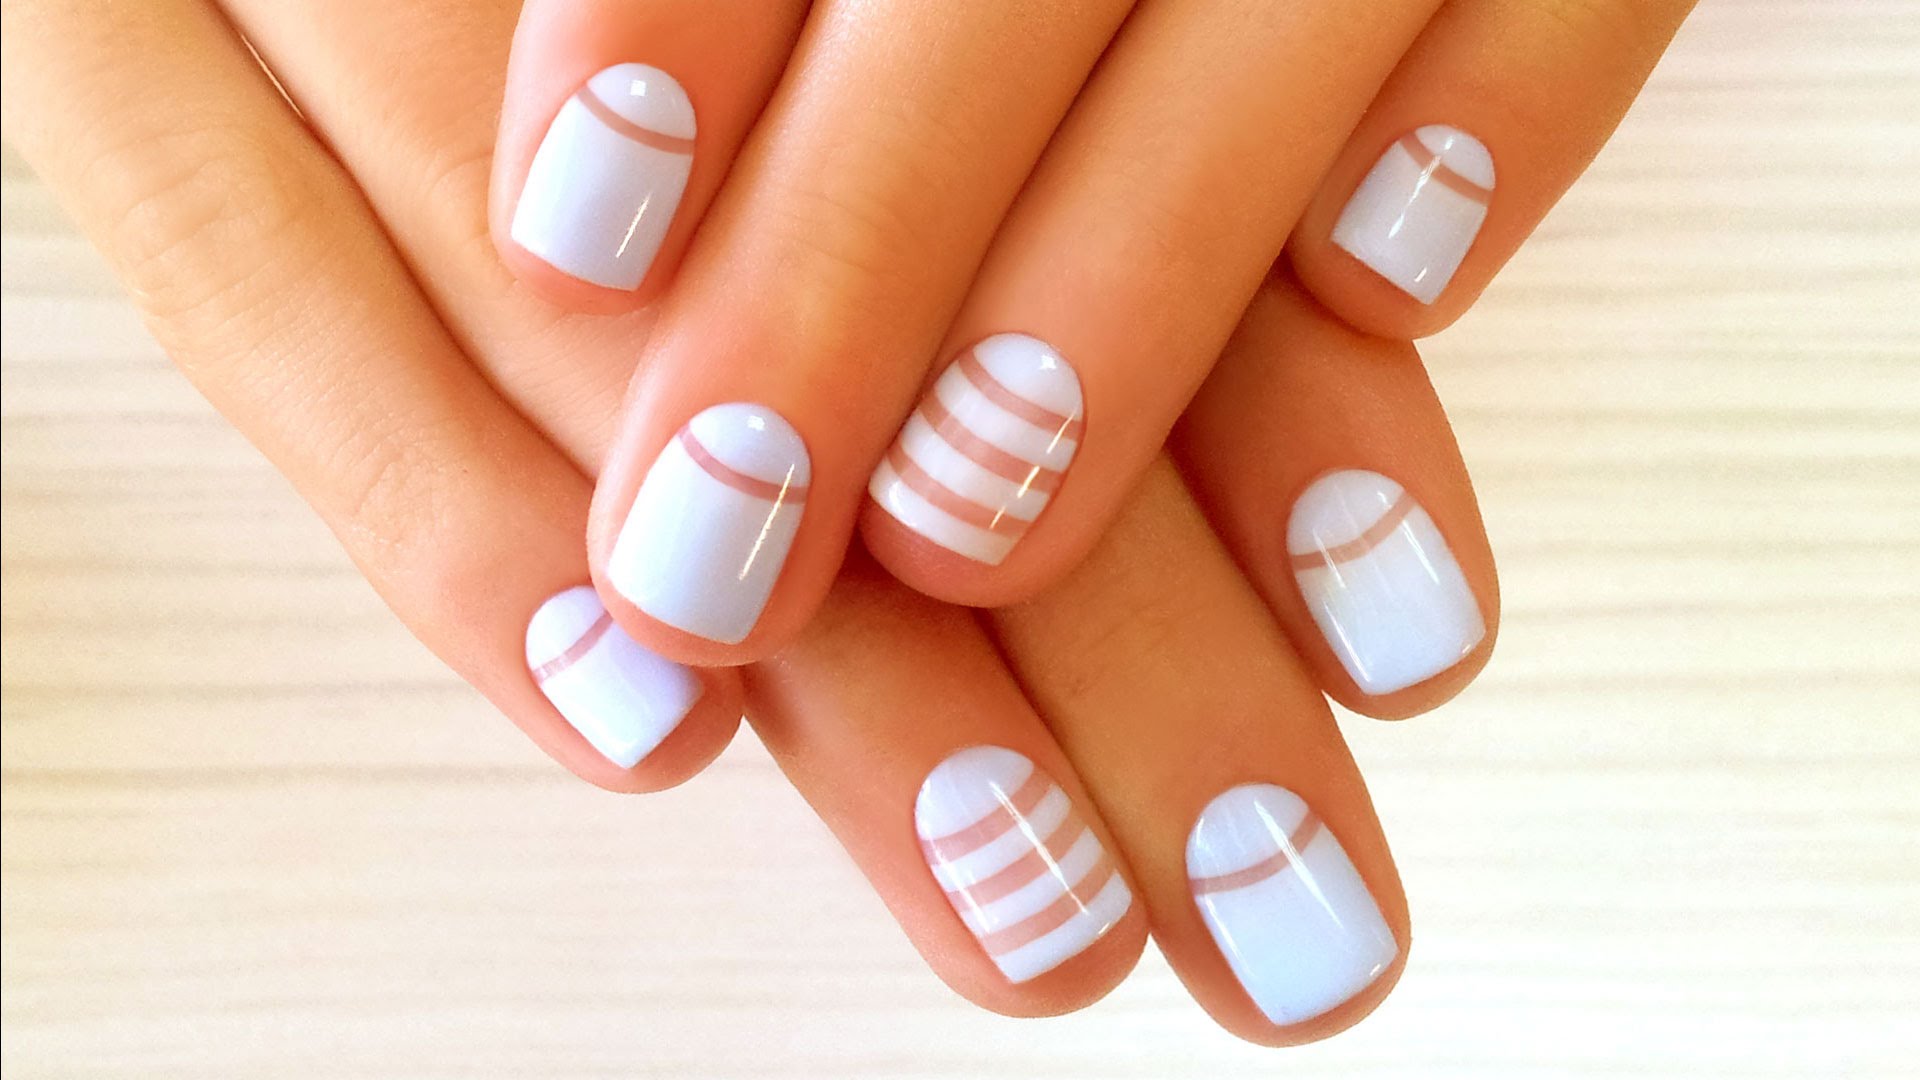
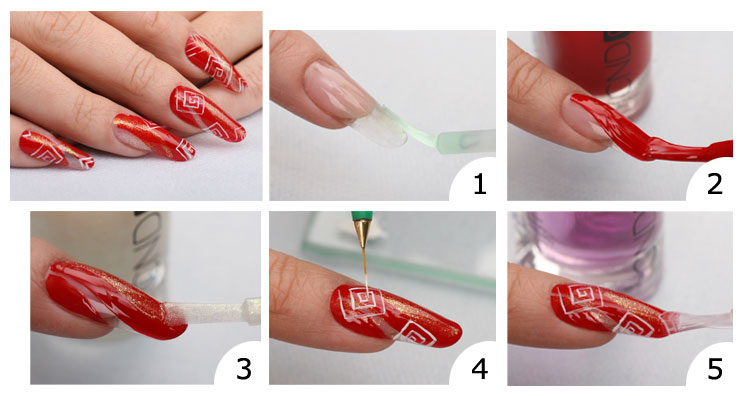
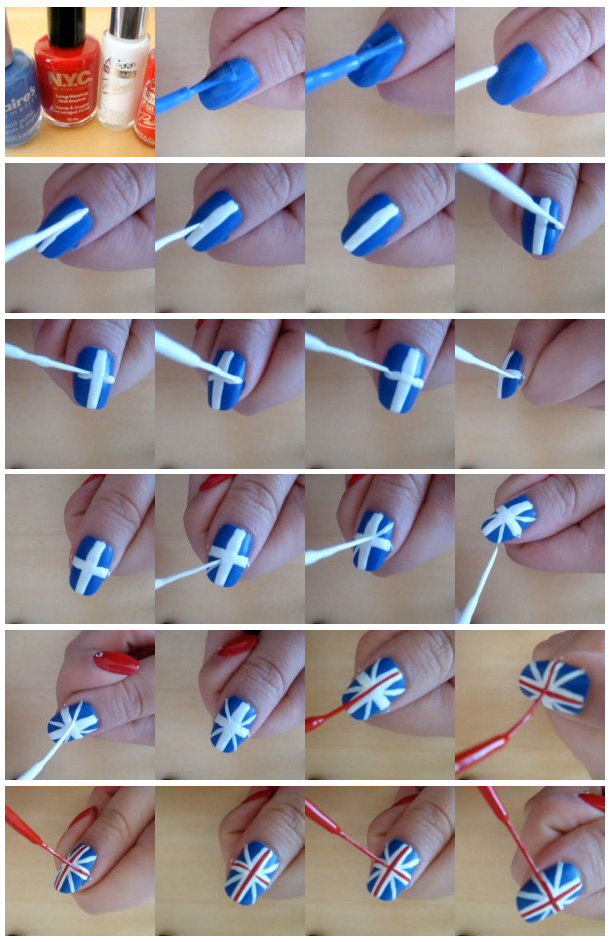
Working with a brush is as easy as with a needle, so each newcomer can quickly master a new activity. If your marigolds have the necessary shape and length, you will need to paint their surface with a base coat. This procedure is mandatory and is performed using a conventional brush.
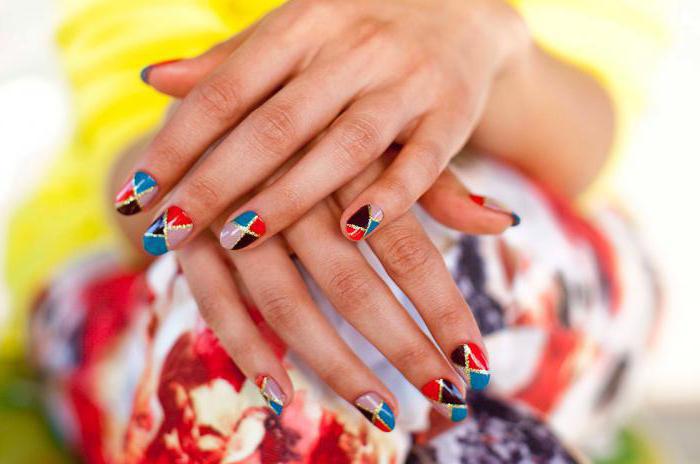
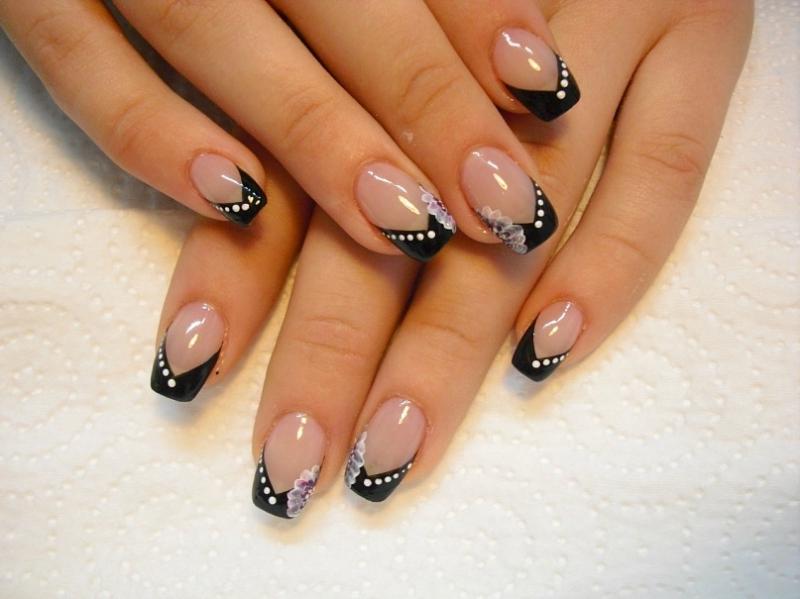
After that, you need to mentally divide the nail into two parts lengthwise and apply blue varnish on one of the halves. Wait until the layer dries, and draw a black line in the place where the joint between the blue and transparent part occurs. The overgrown end of the nail plate will also need to be painted over with black. Optionally, you can create a black outline around the transparent half.
The transparent part of the nail plate can be supplemented with straight lines of different lengths. Make sure that the width of the bands is the same. This action will help you get triangles or rectangles, which can also be painted over with a blue gel. The finished drawing is covered with top and dries.
This simple work will help you learn the basics of applying patterns using gel polish. Having mastered simple actions, you will be able to proceed to more complex drawings. Drawing gel varnish is convenient because there are no restrictions on drawing, because everything depends on the personal fantasies and abilities of each.
Professional coverage at home
If you want to get a professional manicure at home, use the recommendations of experts:
- Initially you will need to do a manicure. Using a nail file, create the desired shape, remove the cuticle from the plate. To make a good nail polish adhesion, go through the nail file on the surface of the plate, giving it a roughness;
- Now you can begin to degrease the surface. In this matter you will be helped by a lint-free napkin;
- The next step is to apply the bond and primer.Each of the steps is required in the process of gel nail polish. Deviation from one of the stages can lead to the fact that the tool will not last long;
- after you have completed the preparatory phase, you can apply a transparent base. It can be combined with a top, which leads to convenience and economy;
- Gel polish should be applied in the same way as conventional lacquers with a brush;
- make sure that the gel does not go beyond the plate and does not fall on the cuticle. Otherwise, you will experience inconvenience and the varnish will peel off faster;
- After you have applied the varnish, do not touch the nails and place them under the UV lamp for 30 seconds. Many lamps have a timer for 120 seconds, which is considered the standard period of drying varnish. However, a shorter period should be used for the base;
- when polymerization has occurred, two color coatings can be applied. Use thin layers to avoid peeling paint;
- no need to feel sorry for the varnish to avoid strips and uneven application. If you accidentally touched the nail and spoiled its coverage, the situation can be corrected. If it has just been applied, it should be leveled until the nail is placed in the UV lamp;
- The first layer should be dried under the lamp for two minutes. The next layer also dries. After polymerization, do not touch your nails, because they have a sticky surface, which leads to the application of dust and lint on it;
- You can decorate a manicure with an application in the shape of a fimo butterfly. It is a cold porcelain wand, on the cut of which a figure with an image is formed;
- You can also independently carry out cutting Fima. Finished figures are sold in stores that sell equipment and materials for the hairdressing salon, as well as in the online store;
- In order for the appli cation to adhere to the nail plate, you will need a drop of a transparent base. It is applied to the nail, after which a butterfly should be attached to it and left to dry under the lamp. This manipulation allows you to firmly fix the application on the nail;
- Now you can apply the top and seal the end. Sealing is done by applying varnish not only on the platinum itself, but also on its cut. Then it should be dried and remove the sticky surface with a lint-free cloth, which is wetted in a degreaser;
- The last step is to moisten the cuticle with a special oil. This step is not necessarily a necessary procedure, it is optional. It is worth noting that the action is accompanied by pleasant sensations and carries additional benefits.
Ideas for self-taught masters
There are many ideas for creating a beautiful manicure. You can use various decorations, which are represented by sparkles, rhinestones, shiny stickers and even broken glass. You can apply different designs for each nail, highlighting one or two fingers with separate drawings.
Many masters recommend using casting techniques. Lessons to create such a design are simple, and your nails will be poured with gold and precious stones. Style can be applied as decoration. It is done through the use of gel polish, along with translated gilded foil.

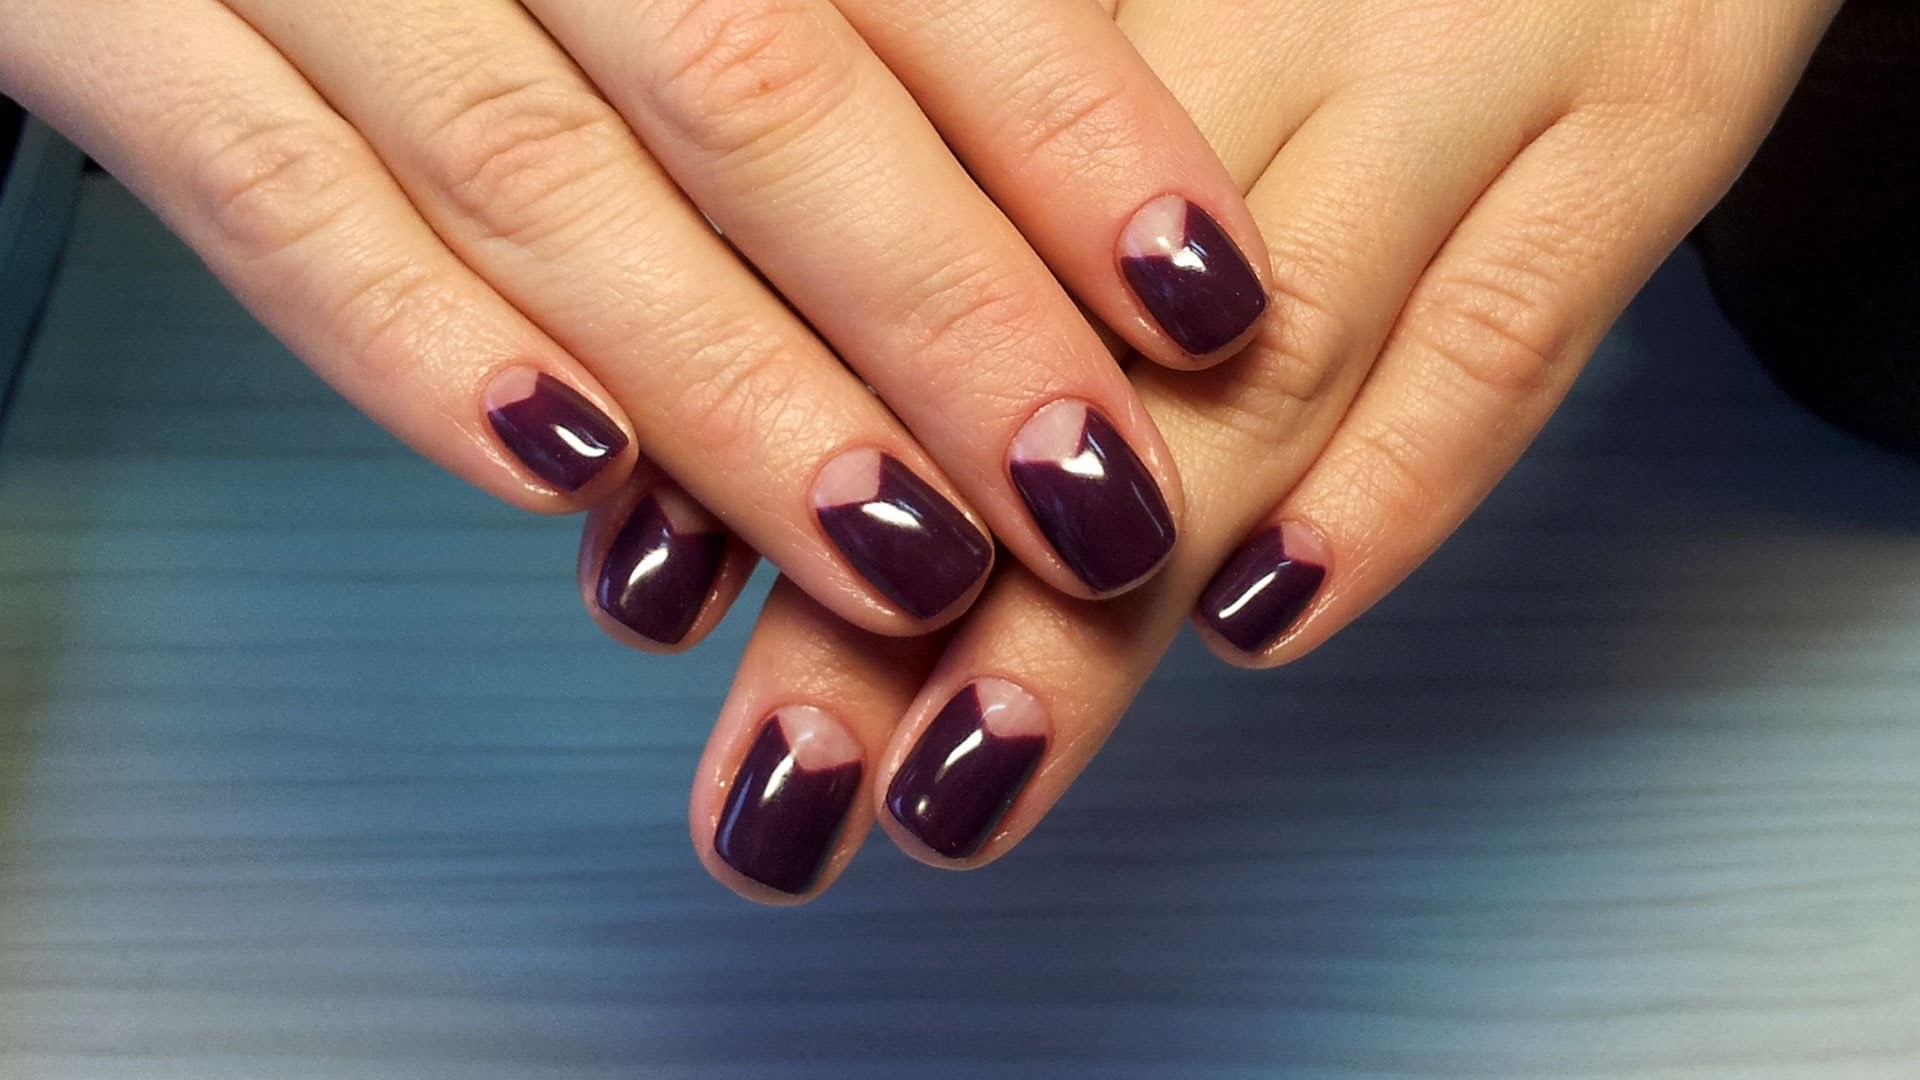
You can also use an inverted manicure, reverse french. Drawing a reverse french concluded that colored lacquer does not paint the end of the nail plate, but its hole. Use harmonious tones to make manicure appropriate.
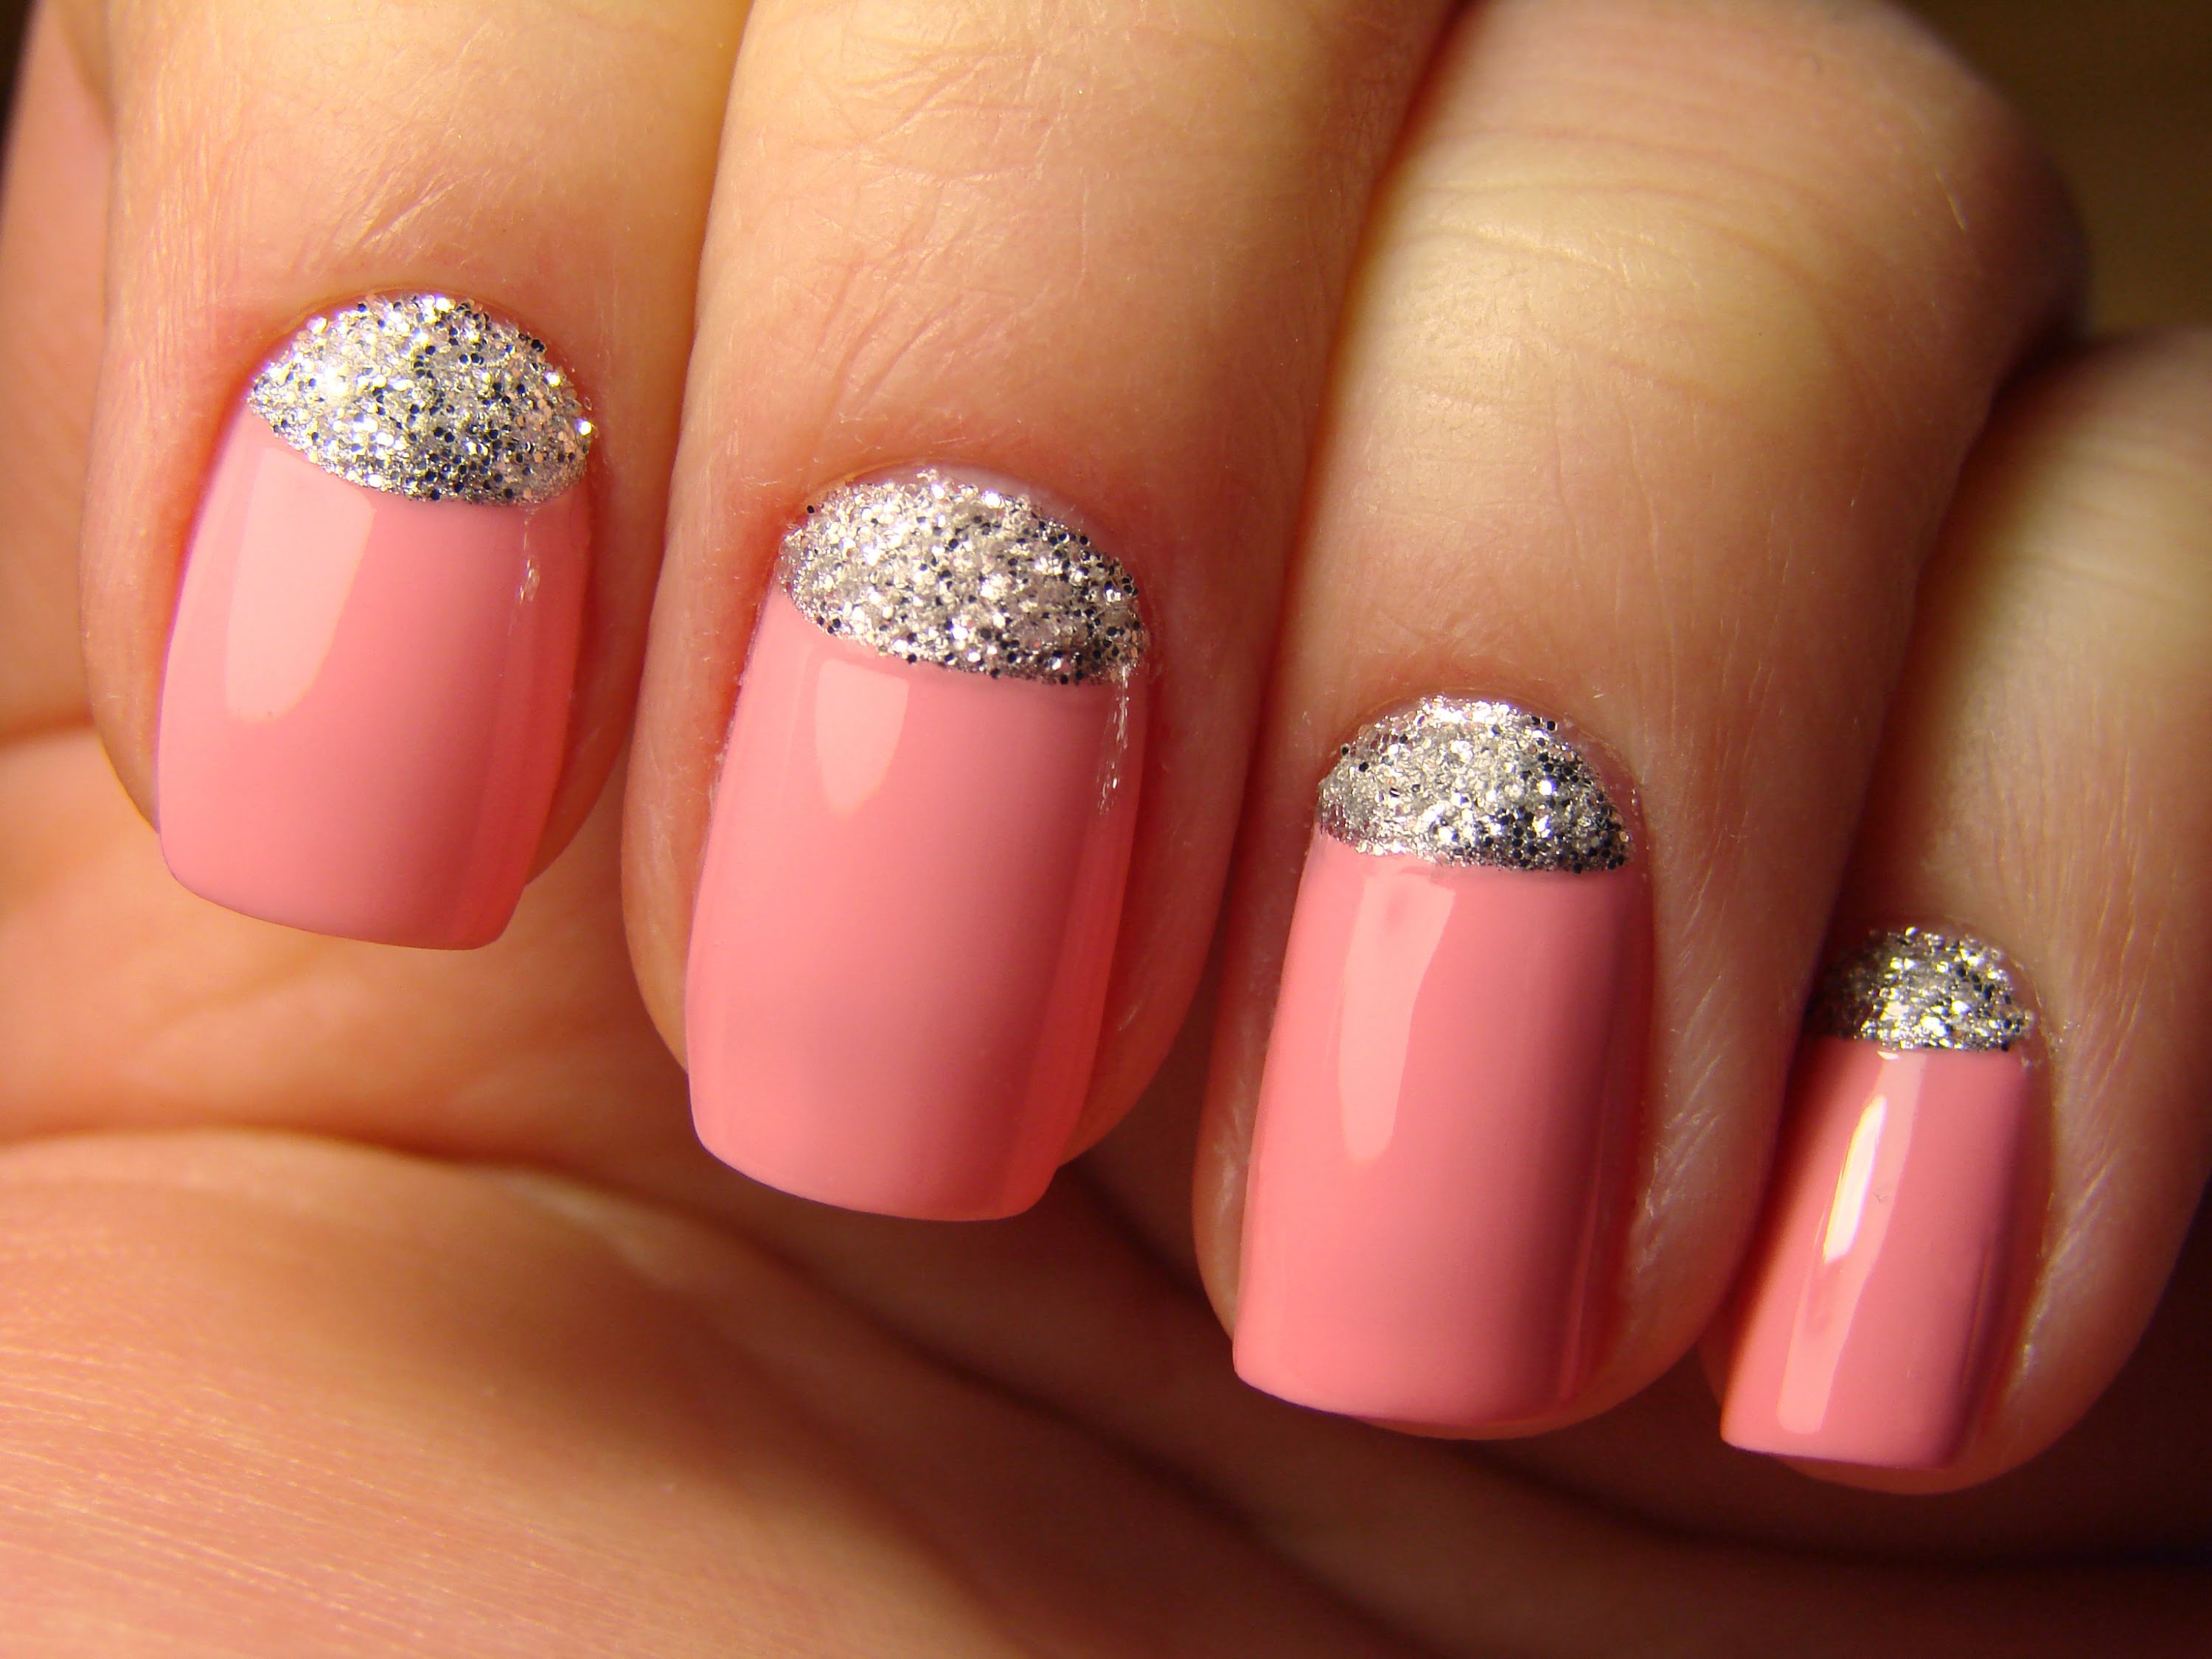
When the base surface and the colored layer are applied, you can stick a large glitter in the form of a mosaic. They are applied on a sticky surface, then covered with top and dried. If you want to use large pieces in your work, they are also glued with a drop of a stamp or a special glue, after which they are dried and outlined along the contour and dried again.It should be noted that the top can not be applied over the figures.
If you like a manicure in the form of a large mosaic, use the step-by-step instruction from the experts:
- Work is done with a brush. To create such a stylistic design, you need to apply several colors to the nail and dry the surface under the lamp;
- now you can circle each tone in black;
- fine drawing is applied with a thin brush or stencil. If you wish, you can resort to acrylic paints;
- fixed work top-coated.
A simple tool, called dots, makes it possible to create many drawings, which are based on circles. If you do not have such a tool, you can use an orange manicure stick, a hairpin, a ballpoint pen or a toothpick.
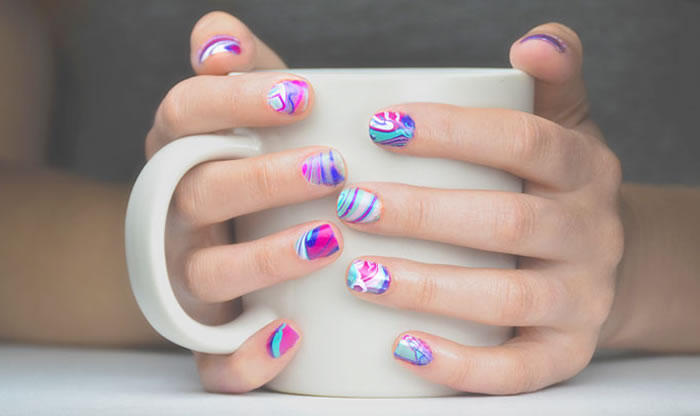
It is very easy to make a mosaic of circles. Make a selection of several colors and apply them to the nail plate with a brush. After the layers have dried under the UV lamp, circle the outline with contrasting colors. On the sticky surface, you can print the transfer foil. This manipulation helps to create a casting effect.
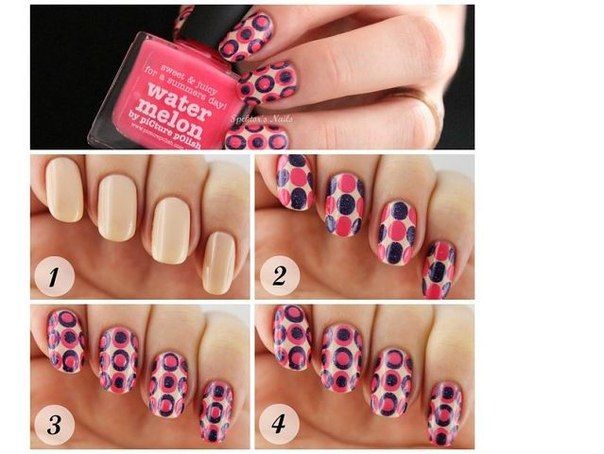
Also, a toothpick can serve as an excellent tool to create an original pattern. As in the case of a needle, you need to stretch each drop. After you finish painting the pattern, the surface is dried under ultraviolet light.
If you are already tired of the classic jacket, you can resort to experiment with different colors. As a complement to french, use peas, flowers and straziki. The most popular was the moon jacket. It can be obtained by mixing white and blue tones. Mixing varnishes produced on the palette. As it can be used foil, cardboard or plastic.
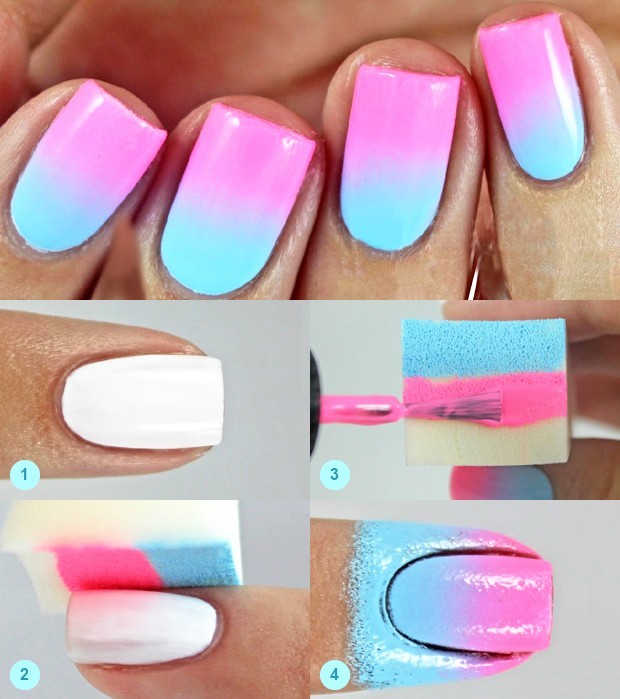
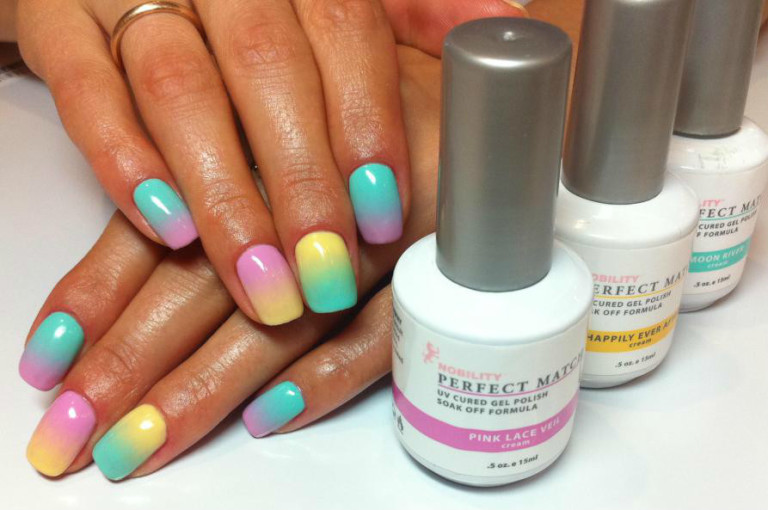
Pay attention to the color stretching, which will help to create a stylish manicure. It is created by mixing colors with the subsequent coloring of each nail in a lighter tone.
If you create a matte top cover, it allows you to create an original design. Experts advise to do a jacket, in which the tip will be dull, and the main surface is glossy.
These recommendations will help you in creating fresh ideas for manicure, as well as complement your design with interesting solutions. The active use of additional accessories in the form of stickers, rhinestones and figurines will allow you to become the owner of an exquisite manicure made at home.
You will learn more about how to create interesting manicure in the following video.