Ombre gel polish
Modern girls know that a neat and relevant manicure is a very important attribute of appearance. Gel Polish is a quality coating, a manicure with him will last on the nails for about 3-4 weeks. The material allows you to make many designs. Especially popular manicure with a banner, in other words - gradient. Such a design looks like a smooth transition from one color to another. Make such a miracle is quite simple, you just need to follow the instructions.
What it is?
Gradient manicure is especially popular for several seasons in a row. There are several alternative names for such a design: ombra, degrade, dip dye, gradient. All of them tell us that a manicure will look like a soft and smooth change in colors or tones. Versatility of design attracts girls of different ages and different styles. Due to the large selection of colors and types of transition manicure is notable for its adaptability to any image.
The effect of a smooth transition can be achieved even at home. For this you need to have a brush or a sponge. The application technique will depend on the selected tool.
Beginners should follow the instructions of professionals. After you gain experience, the work goes on with incredible ease.
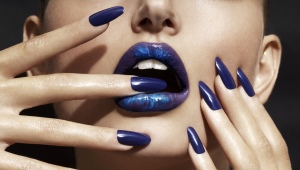
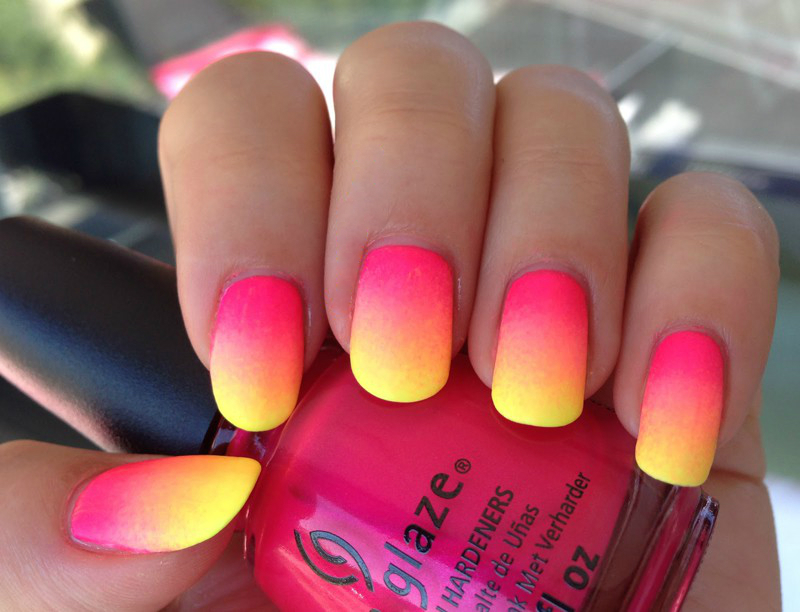
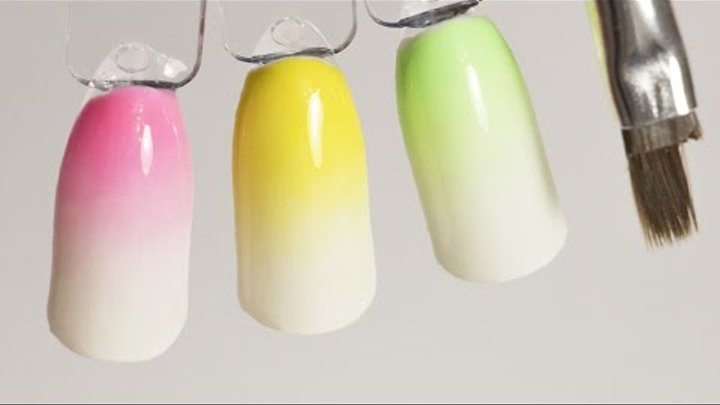
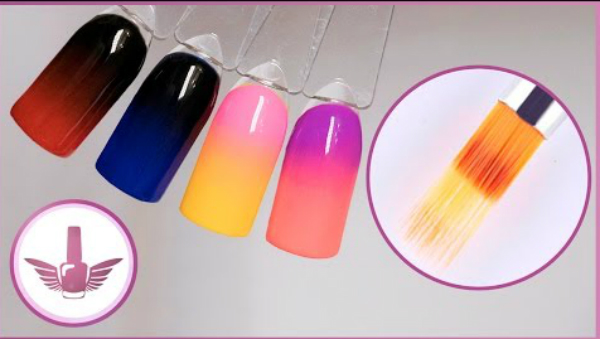
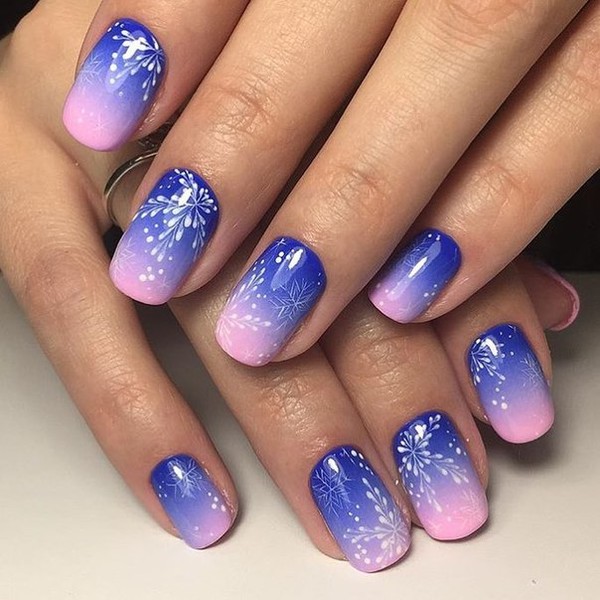
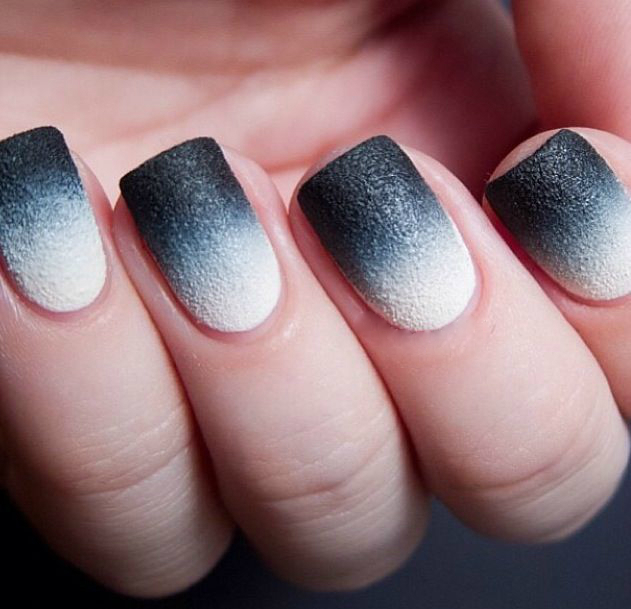
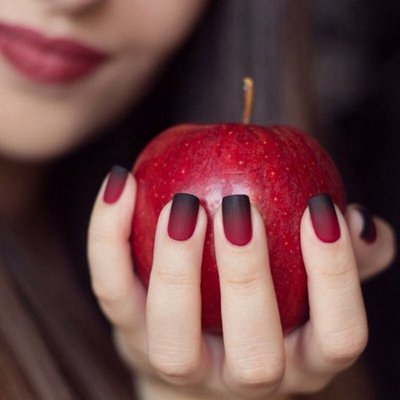
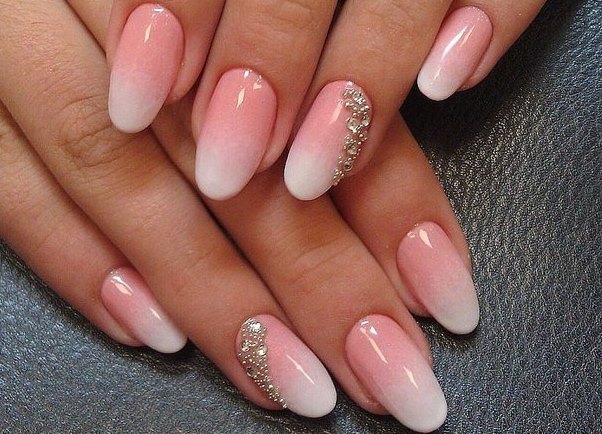
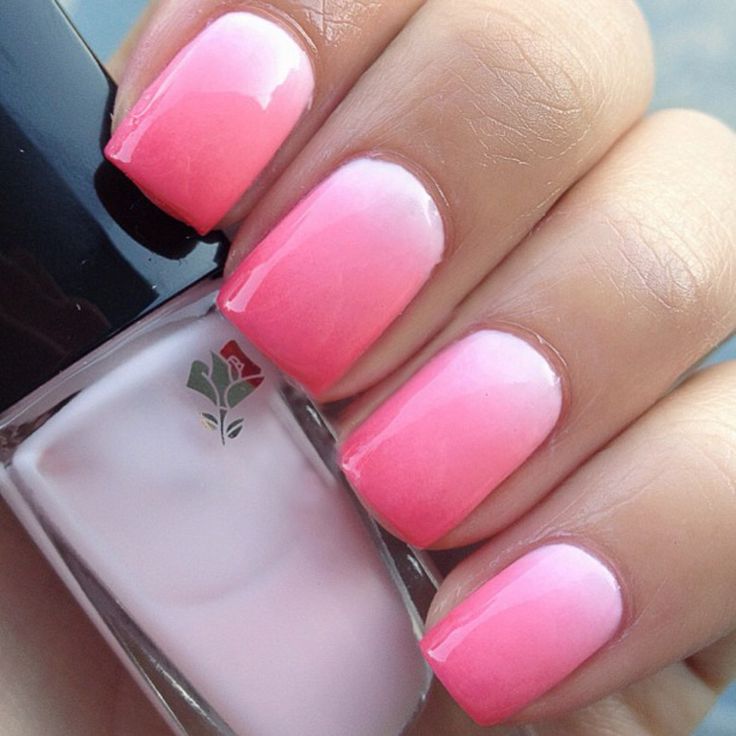
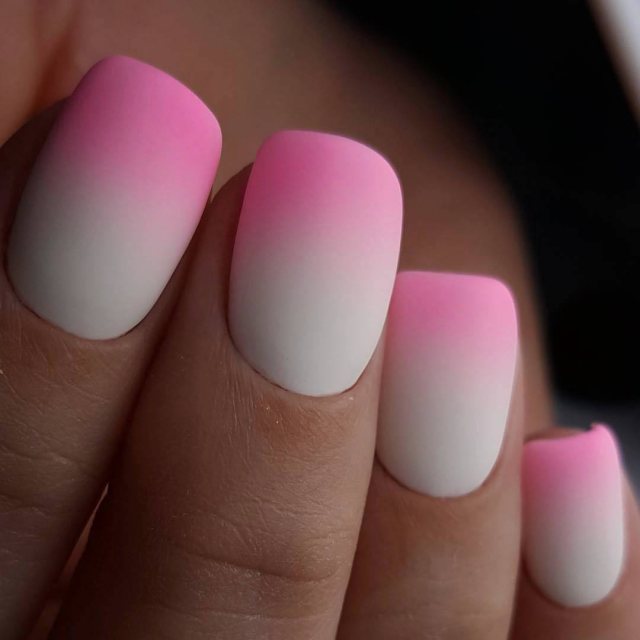
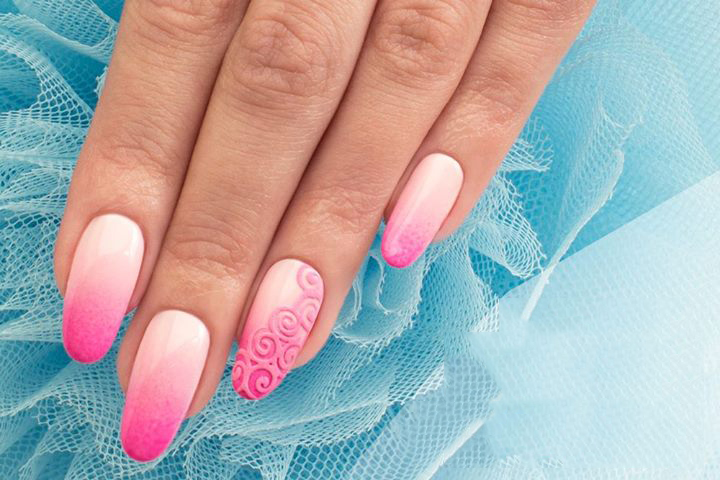
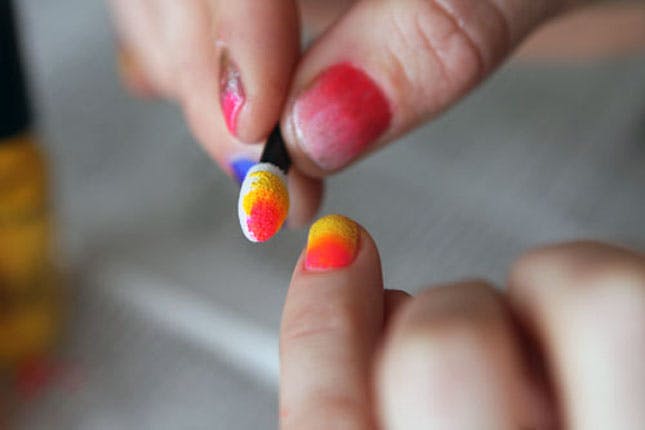
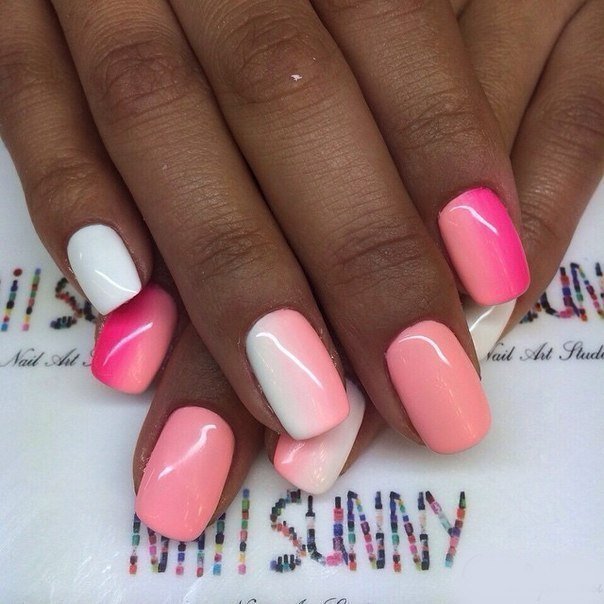
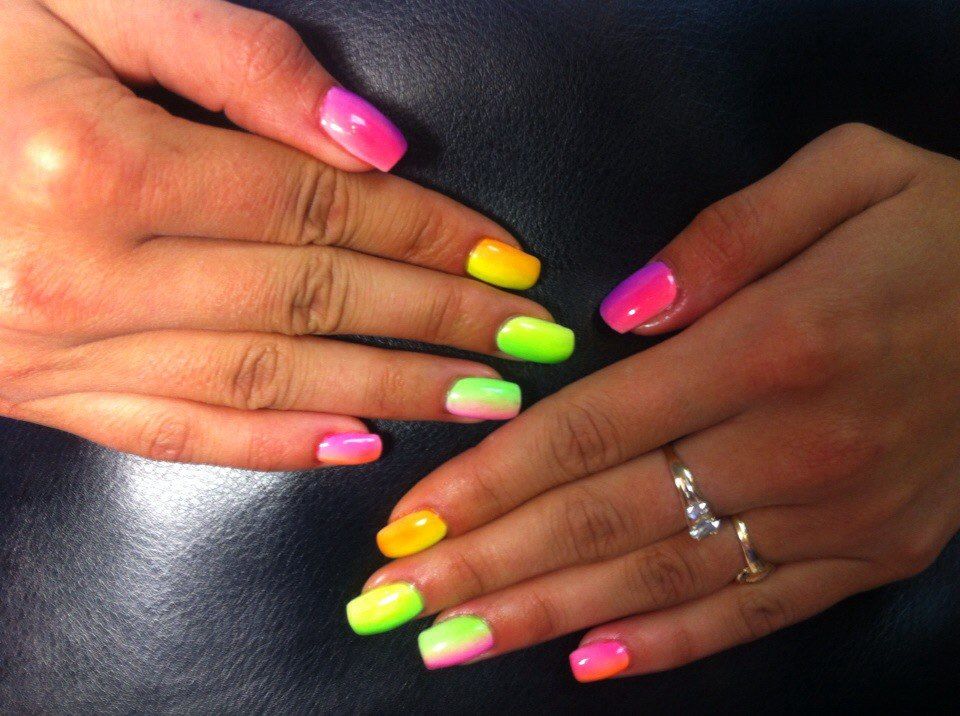
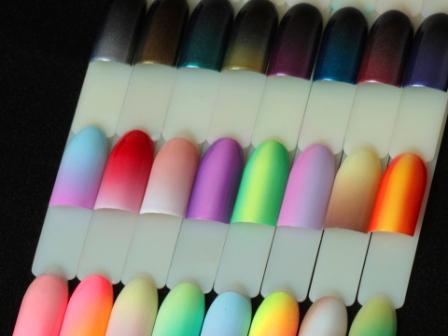
The traditional ombre is performed using 3 similar tones. For example, from pale pink to fuchsia with bright pink in the center or from white to black through gray in the center. Acceptable and combinations of different colors. For example, from pink to yellow through orange in the center. In addition, the transition can go from one finger to another, for each nail horizontally or vertically. The basic design principle is a smooth transition, lack of contrast.
The design is allowed to use from 2 to 5 colors. Choose their number should be based on the size of the nail plate. There must be enough space to form a transition. Experts believe that 3 colors is the optimal solution.
The gradient can be combined with other designs: French manicure, ornamental painting, rhinestones, sequins, etc. Be prepared for the fact that any equipment takes a large amount of time and requires care and accuracy.
The main advantages of gradient design:
- Looks good on nails of any length.
- Suitable for the fair sex any age.
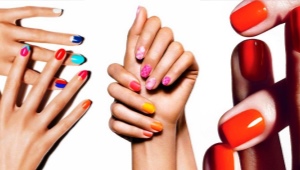
- freedom choice of colors.
- Combination capability all favorite colors in one manicure.
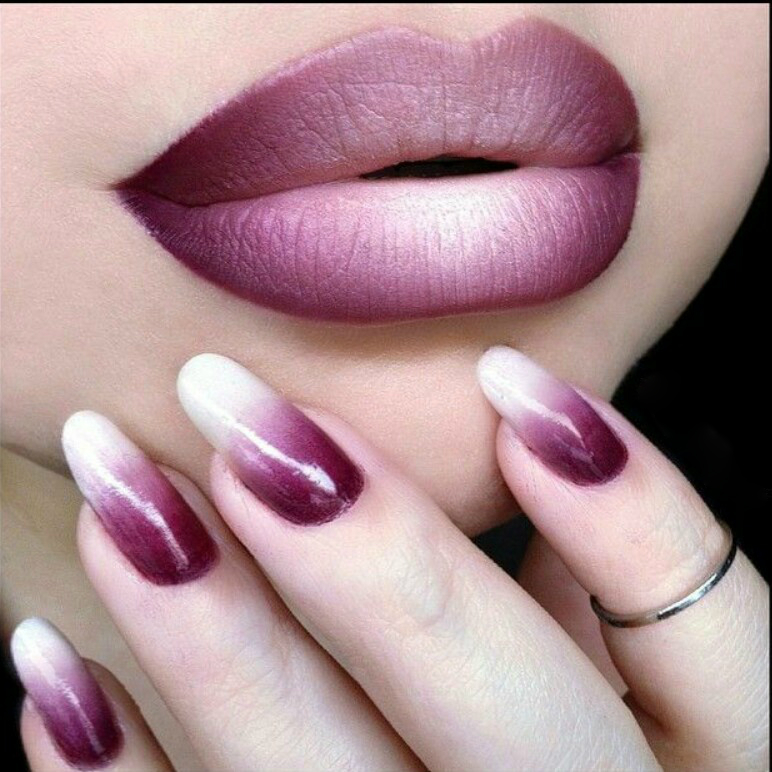
- Using ombre You can visually lengthen the nail.
- Combines with all kinds of decor.
- Design is relevant both on working days and on holidays.
Features
In order to make an exquisite manicure with a gradient, you should pay attention to certain features:
- The manicure in the named style draws special attention. That is why everything should look perfect. Be prepared for the fact that the coating on some nails will have to be adjusted, perhaps more than once.
- Ombre looks more impressive when using 3 tones of the same color, but different saturation. These can be bright, pale or nude tones. So you can create a juicy and attractive design.
- The most difficult stage - drawing and mixing colors. Experts recommend practice before you begin to "clean" work. When applied with a brush, you may experience unwanted streaks. When using the sponge may appear roughness - air bubbles.
- If you choose the technique of application with a sponge or sponge, then think in advance about the method of cleansing the cuticle and skin around the nail. Gel polish remover can damage the coating itself. If the gel polish remains outside of the nail plate (even in small quantities), then you will not be able to completely seal the floor with the top. In this case, you risk quickly spoil the manicure.
- To regrown the nail does not spoil the overall picture, you can apply a color coating on only 1/2 of the nail. The colorless bottom can be corrected with a simple colorless varnish.
- Be aware that a gradient manicure may not work out on the first try. Only rare lucky people cope with this task. Skilled craftsmen offer to start with 2 colors, so you will learn how to smooth the transition.
Given the features described, you can easily cope with the application of the gradient on the nails at home. Such a manicure on the nails looks elegant and interesting. It is also versatile and adaptive, like the usual French manicure. It is worth a little practice to experiment with colors and shades to your taste.
Design
The new season completely erases all patterns and borders. Fashionable women have a unique opportunity to stand out among others thanks to the upgraded versions of ombre manicure. New:
Combined design
This design is suitable for any occasion. It looks interesting and concise. In this embodiment, not only colors are combined, but also textures.
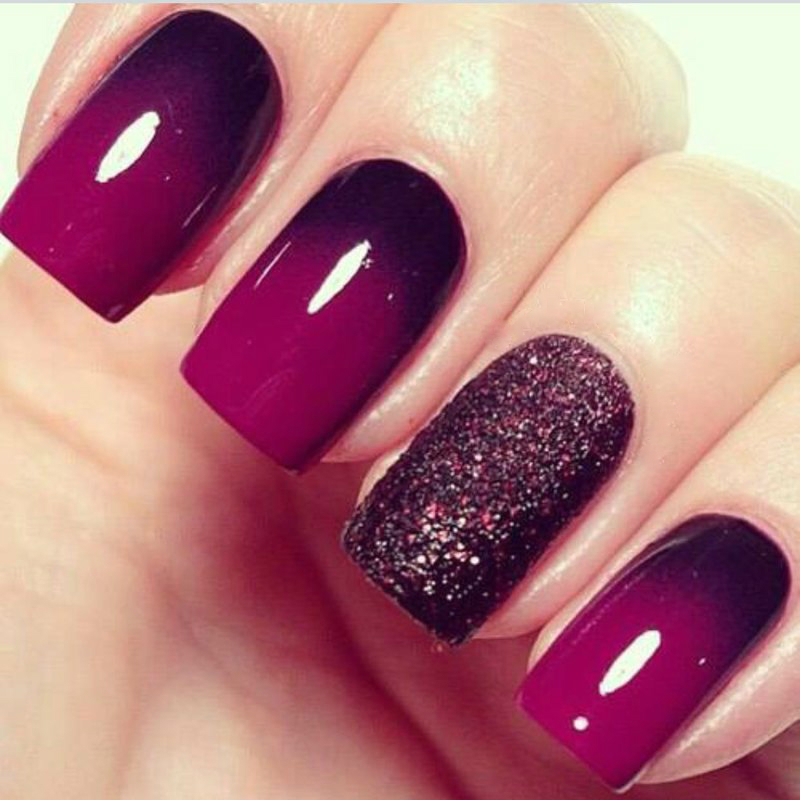
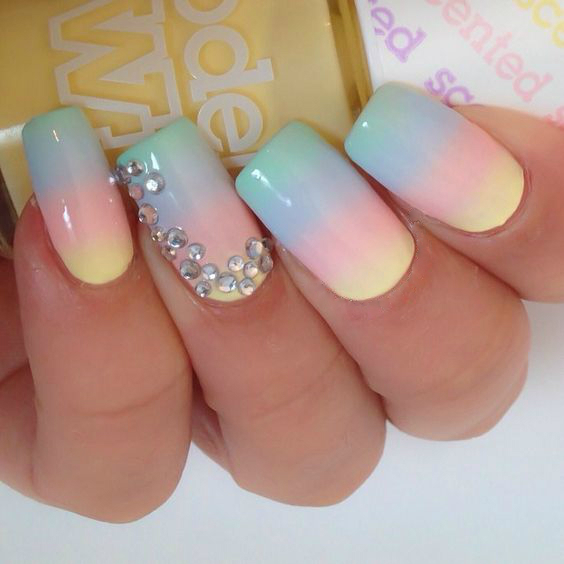
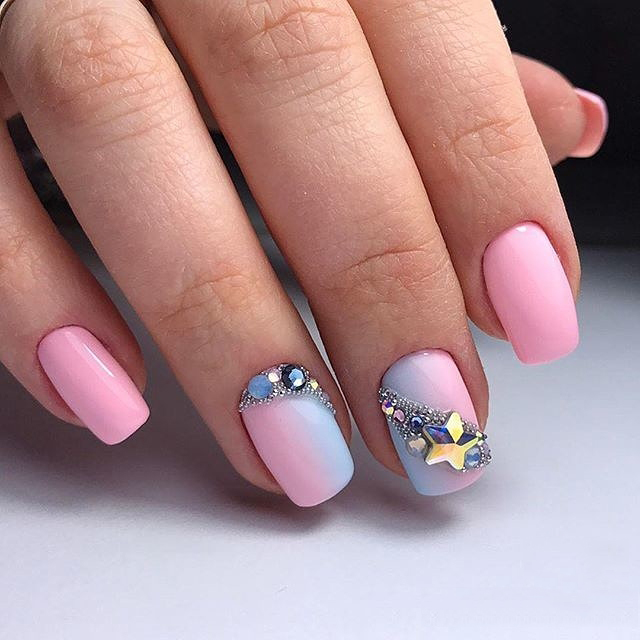
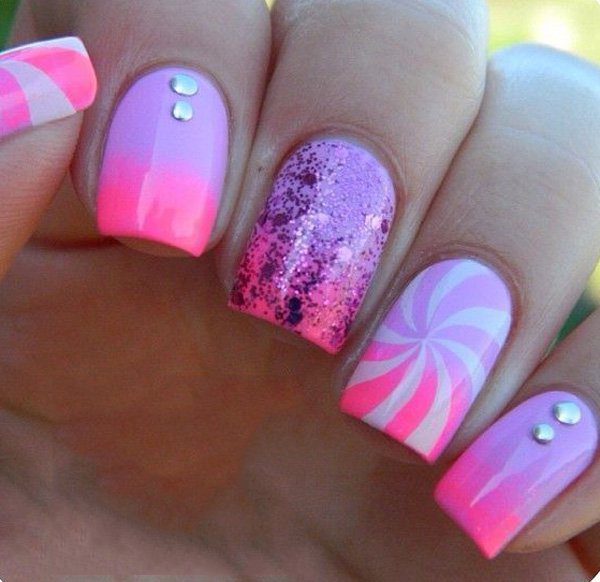
Rhinestones
Gradient manicure with rhinestones reached the peak of its popularity. The size of the stones and the way they are laid out can turn an everyday design into an exquisite festive manicure. Stylists recommend using a limited amount of crystals so that the manicure does not acquire vulgar notes.
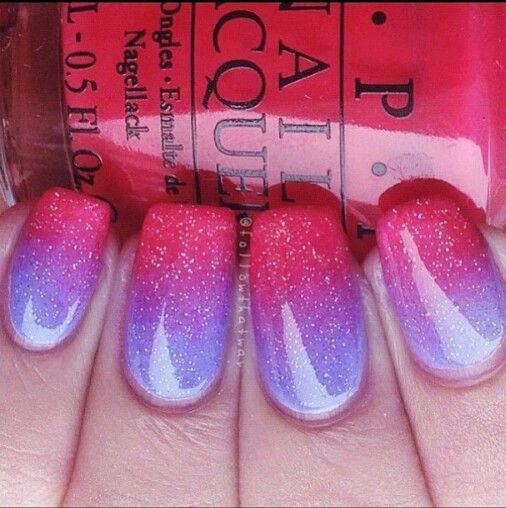
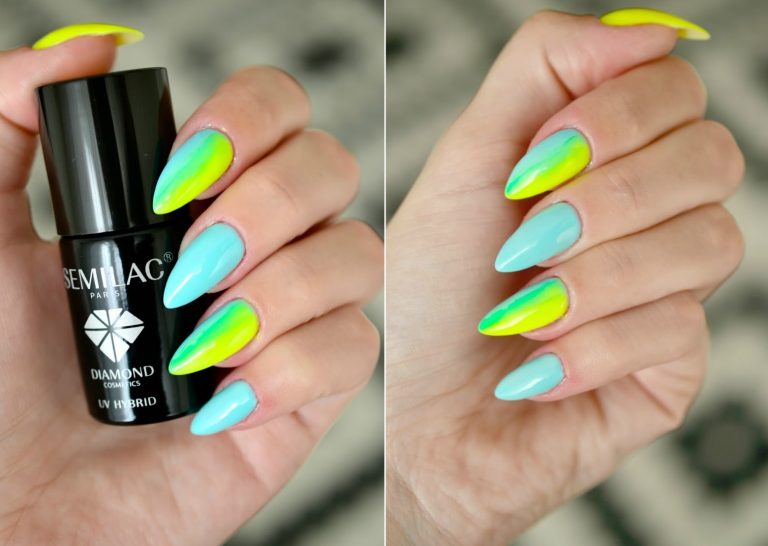
Contrasting shades
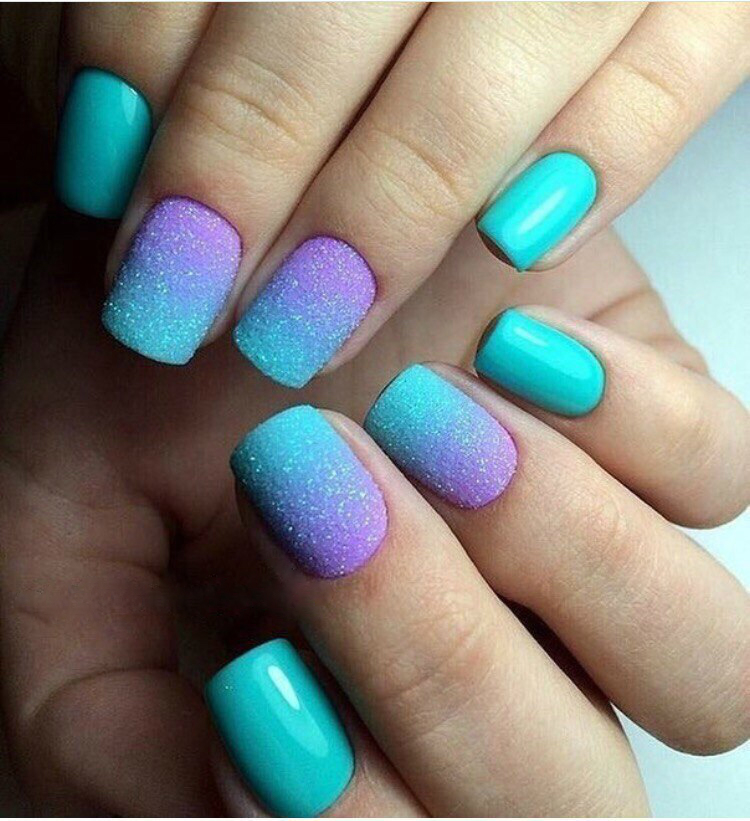
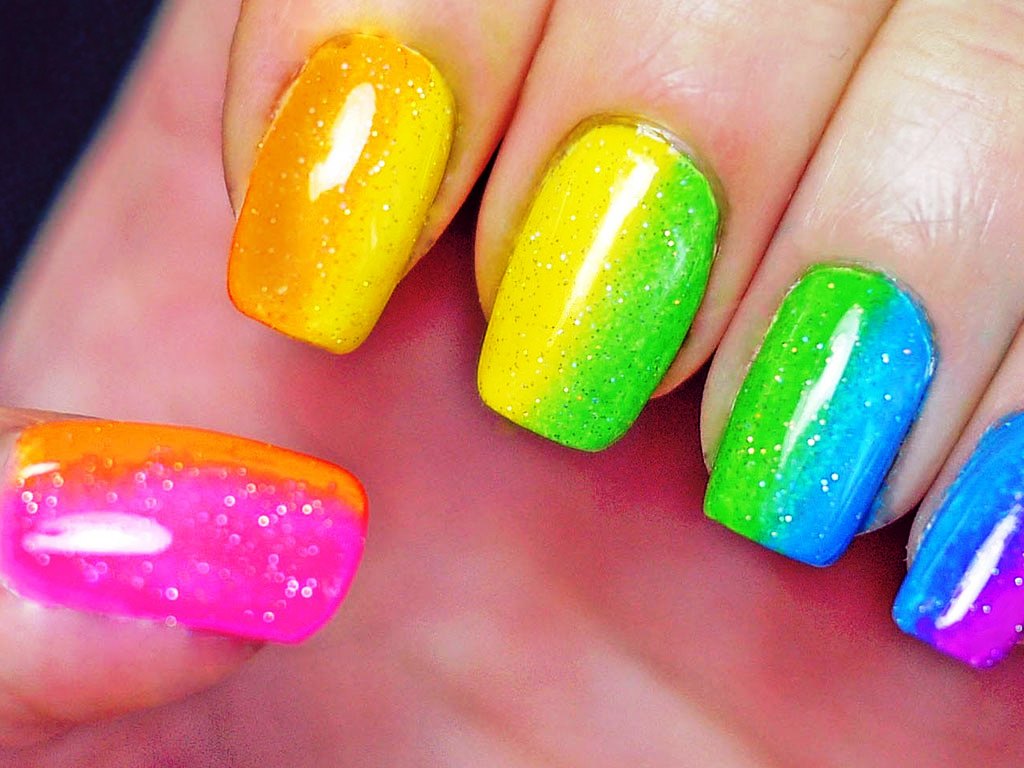
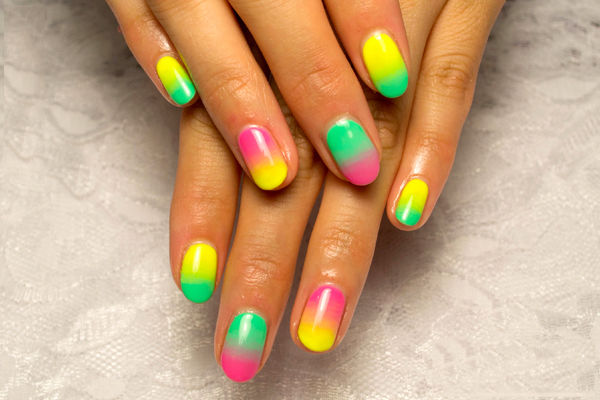
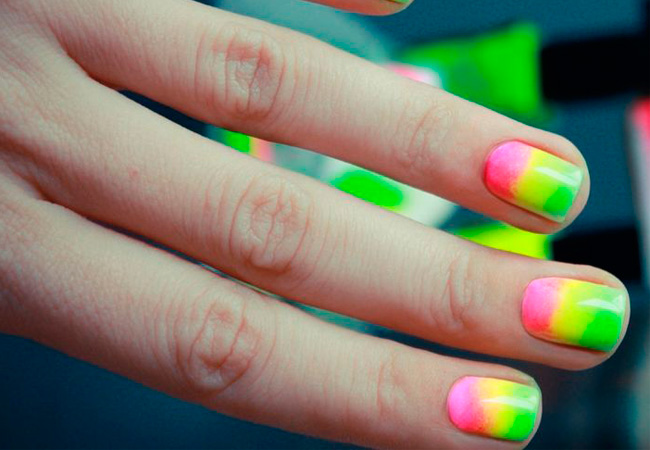
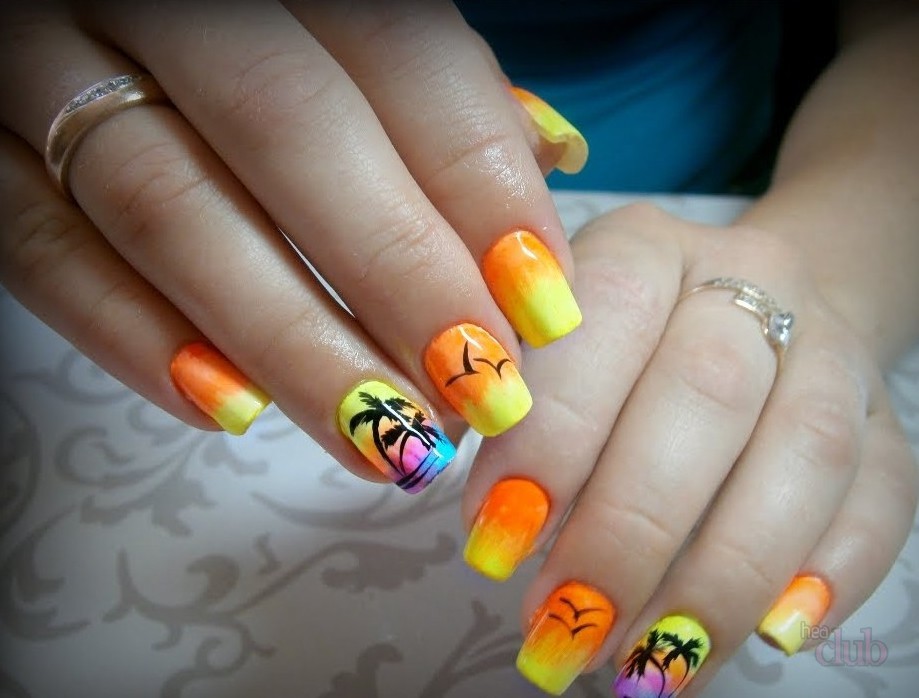
Design features allow for the use of contrasting colors. In the new season, this combination becomes very relevant. Particularly welcome is the use of saturated tones in summer designs.
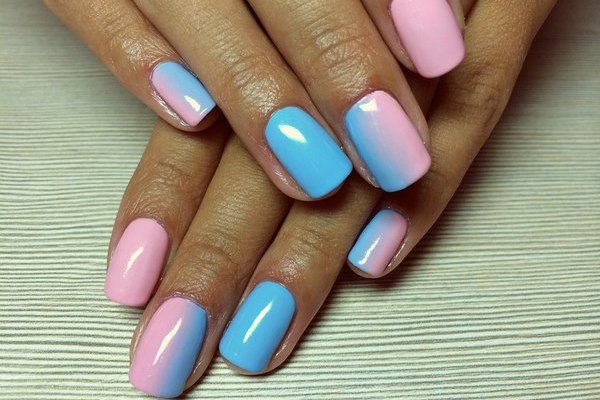
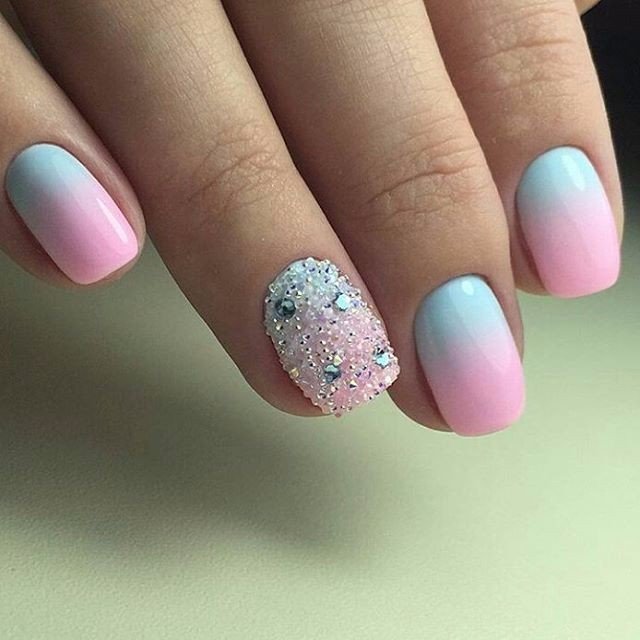
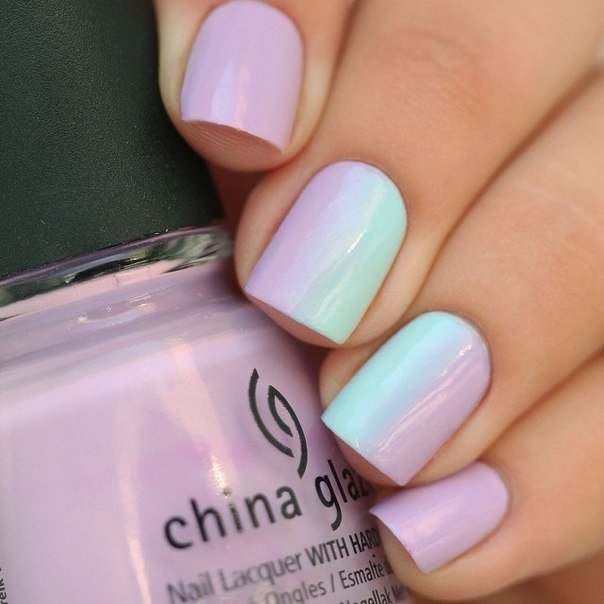
Tenderness
The previous trend is complemented by the actualization of pastel colors. If bright nails are unacceptable for you - it does not matter. Manicure gentle and light colors are also in trend.
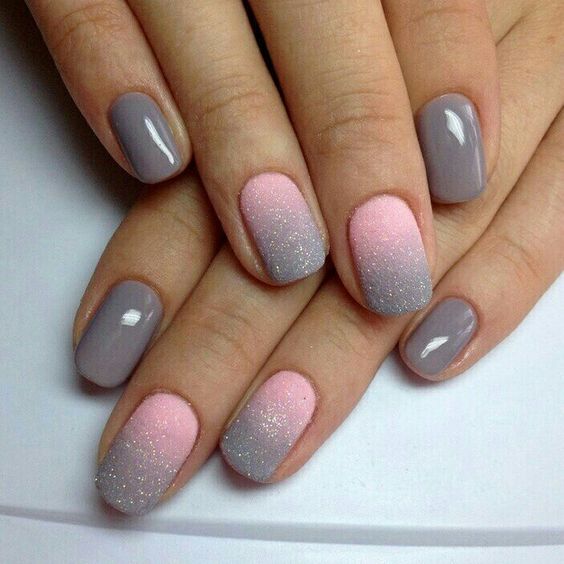
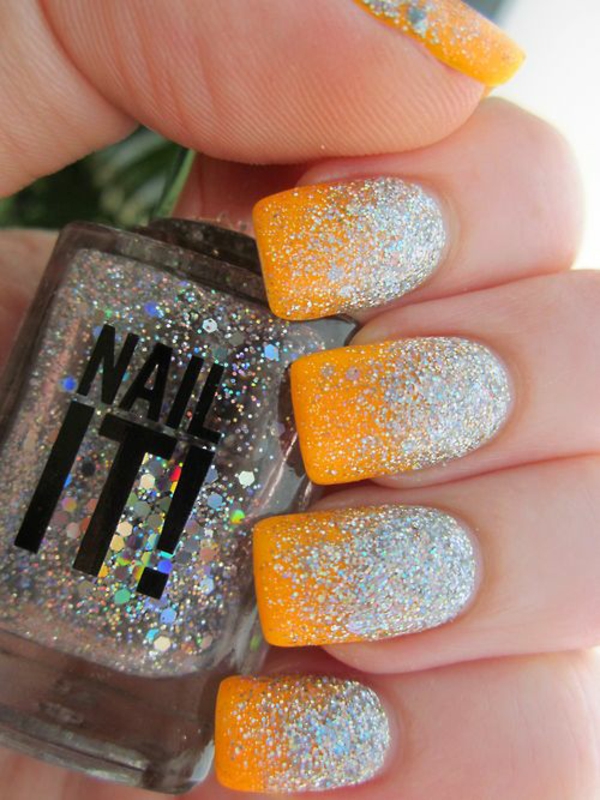
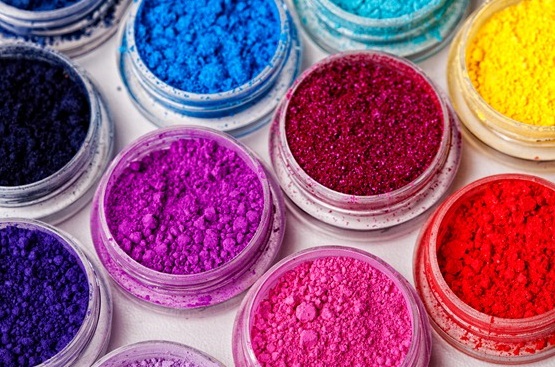
Pigments and tinsel
Particularly popular gradients are pigment or sand. Elegant lace, painted in the style of ombre will be well combined with a classic jacket.
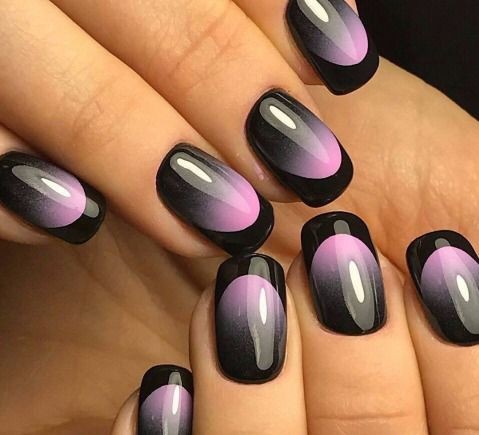
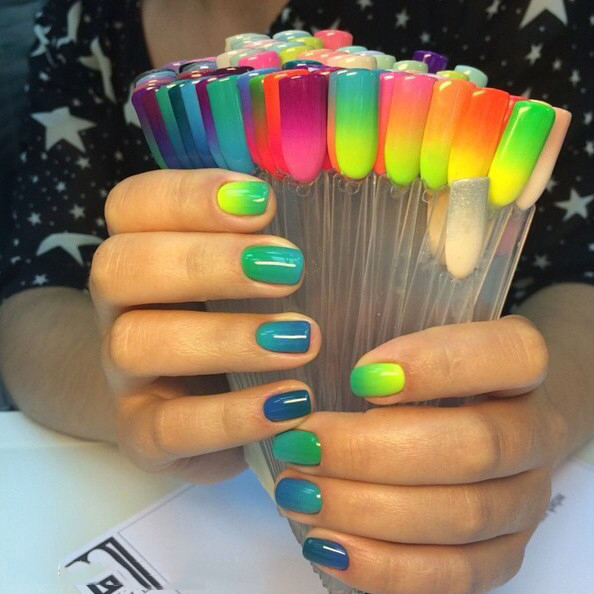
The most popular are the vertical gradient and the horizontal ombre with imitation french. Some masters like to make angular gradient.
In winter, it is better to carry out the design in soft smoky tones. Well suited pastel gradient with rhinestones. Do not use too much decor, because the ombra itself looks pretty catchy.
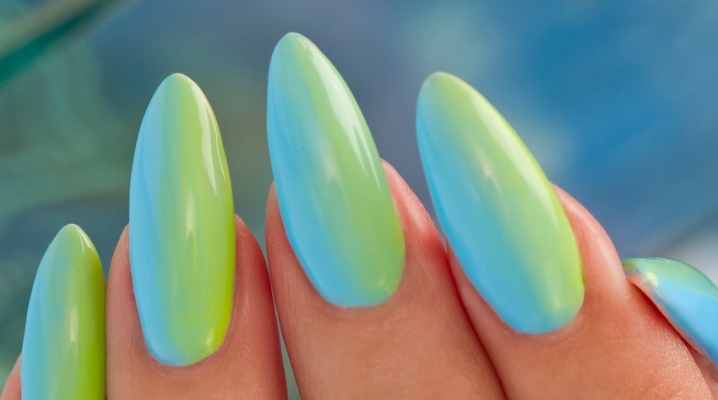
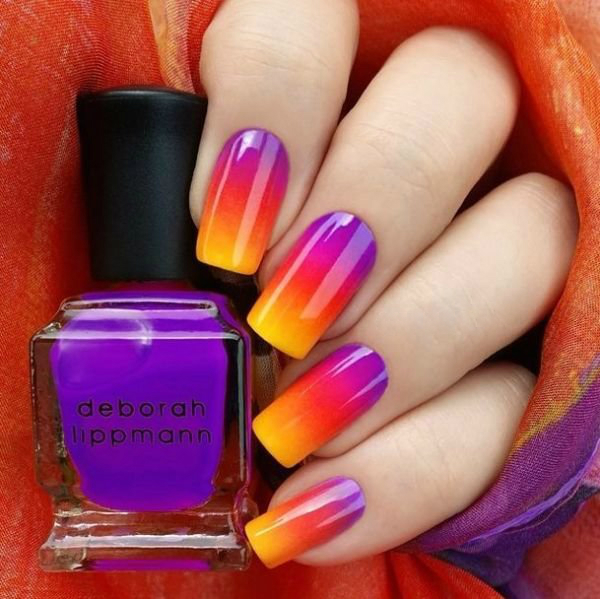
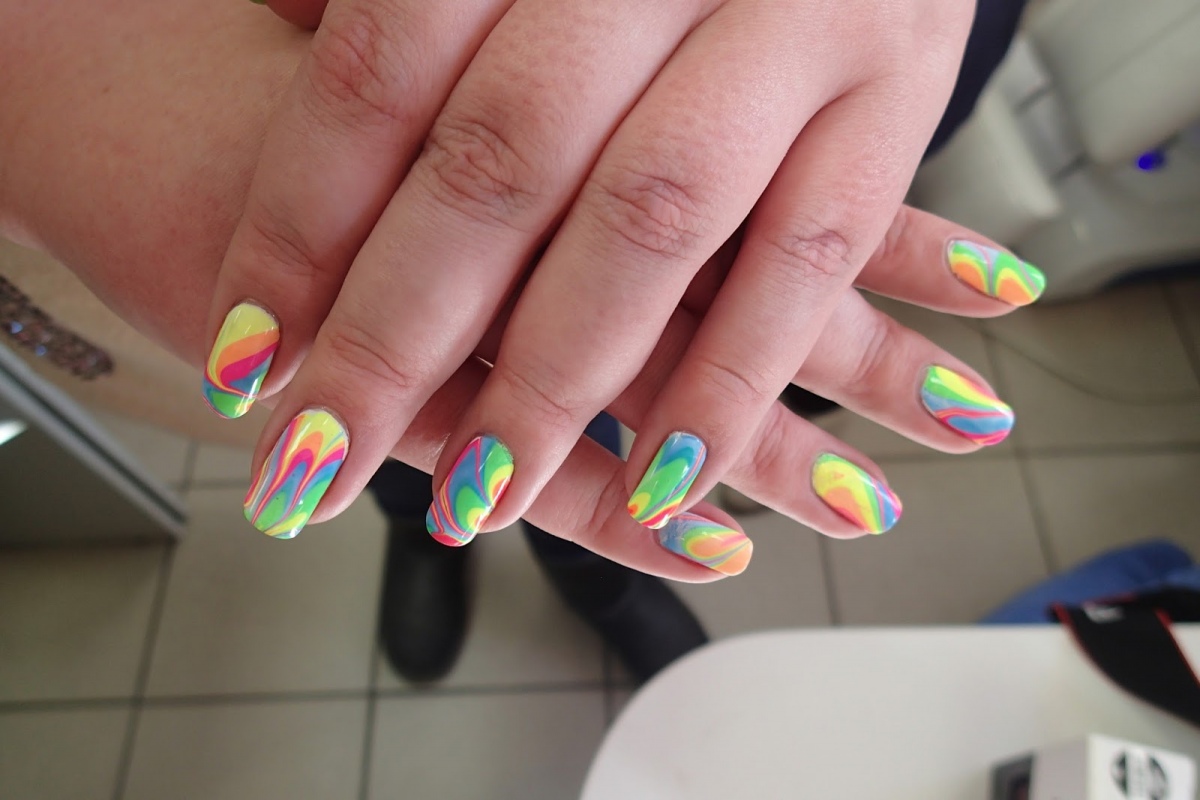
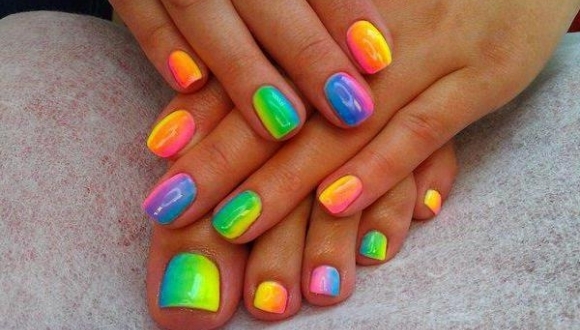
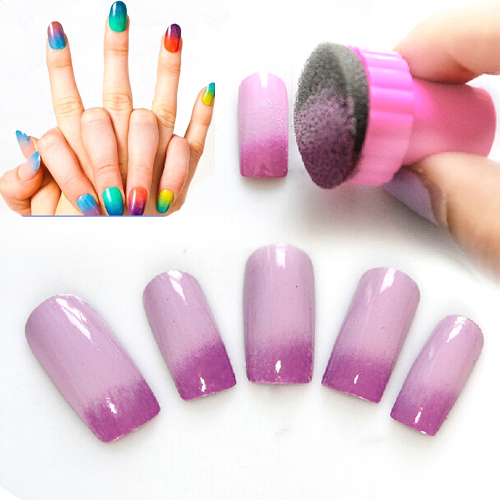
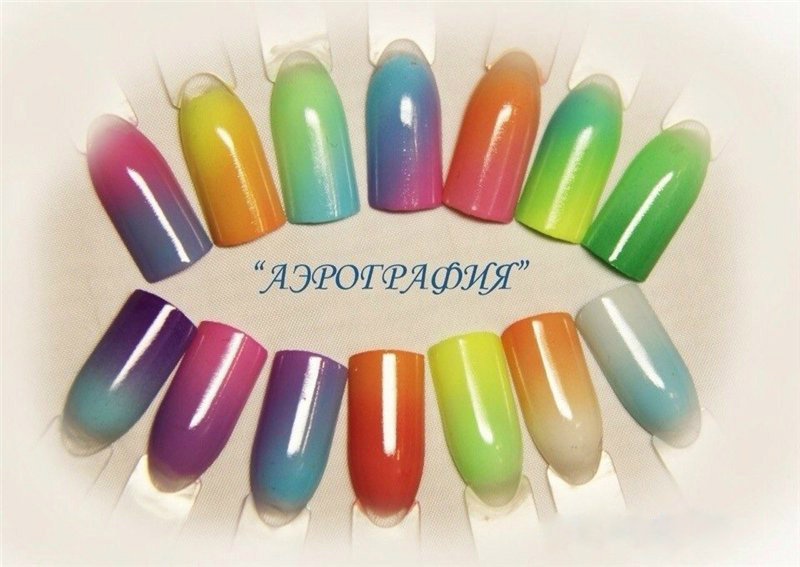
Bright, rainbow gradients are especially popular in spring and summer. A vertical or diagonal transition makes it possible to depict a real rainbow. Combine a gradient with a pattern, a jacket or a hole. Patterns in the style of stemping will decorate your marigolds and add a special highlight.
Best tools
Gel Polish for this design must meet certain criteria:
- The right consistency is very important. Too liquid material will spread, and too thick will not allow to create a neat and smooth transition.
- Comfortable brush contributes to accurate and accurate strokes. It is important to apply the color of the joint to the joint, so the brush should suit you in thickness.
- Pay attention to pigmented materials. Saturated colors will increase the chance of a single layer design.
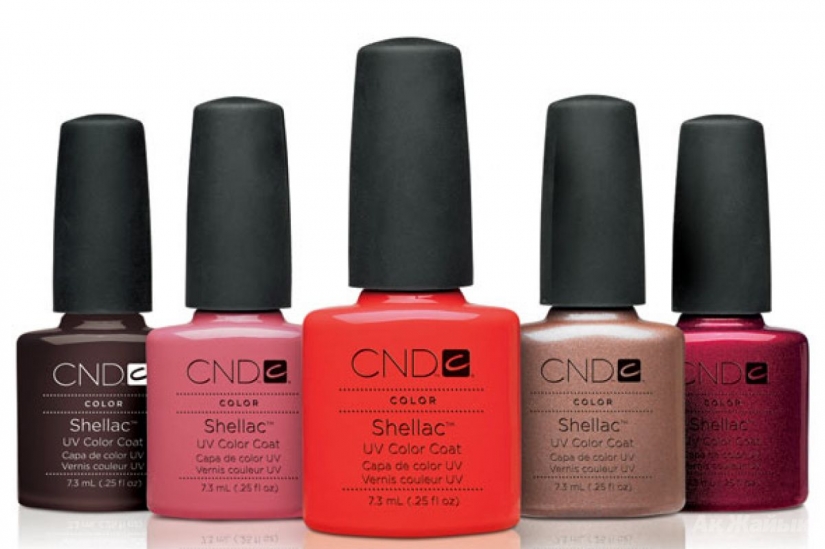
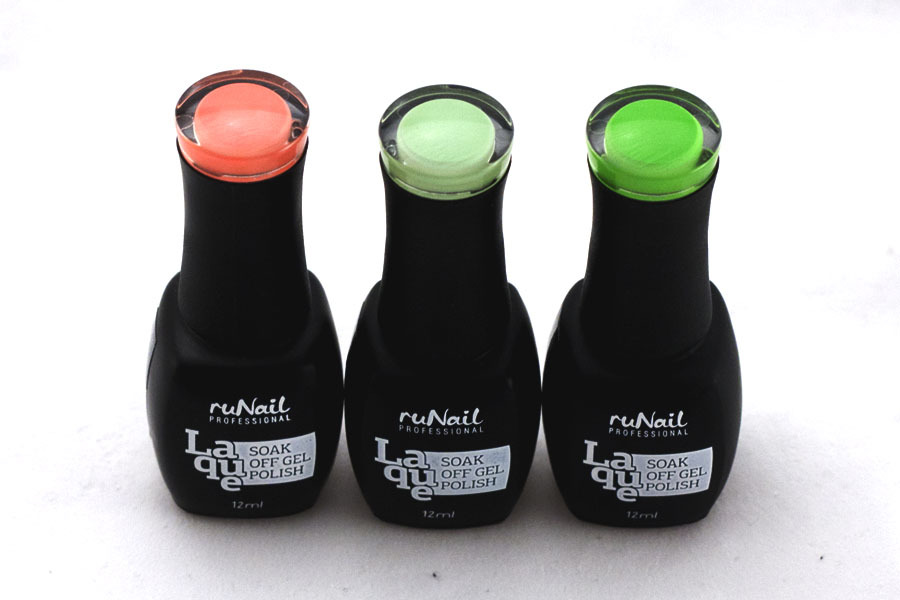
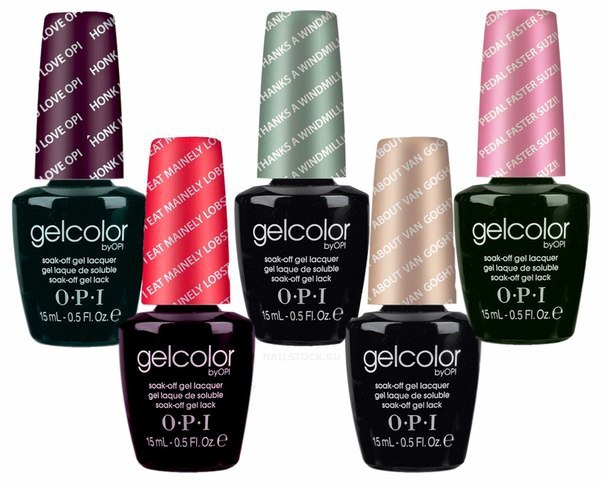
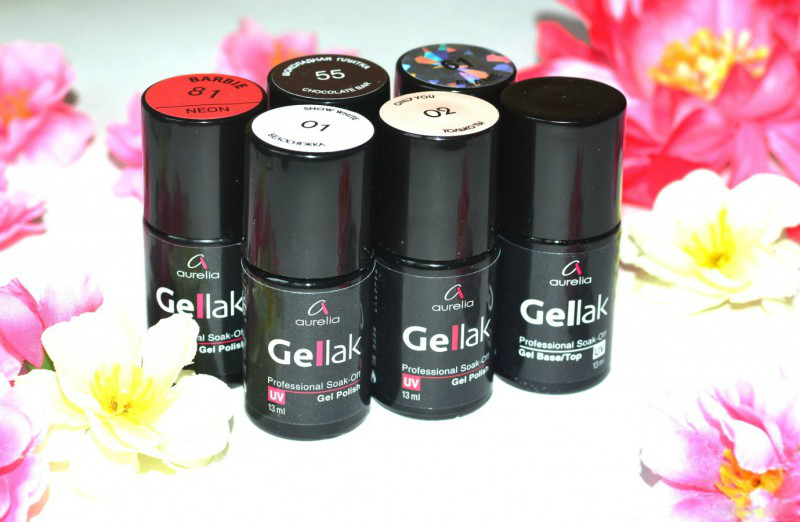
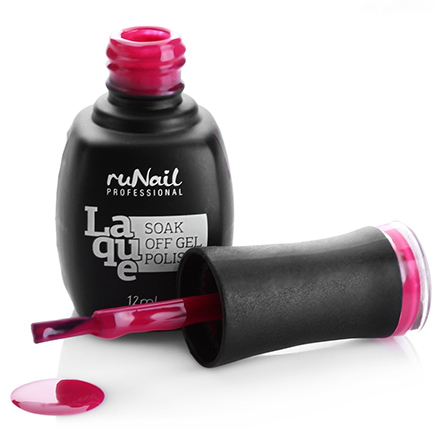
Gel polish "Formula Pro" meets all the above criteria and has an acceptable cost. The Russian company pleases its customers with decent quality. RuNail and "Aurelia" occupy a niche in the market and worth your attention. CND and OPI Gelcolor are the standard of professional coverage.
Experts warn that the owners of thin nails may face some difficulties.
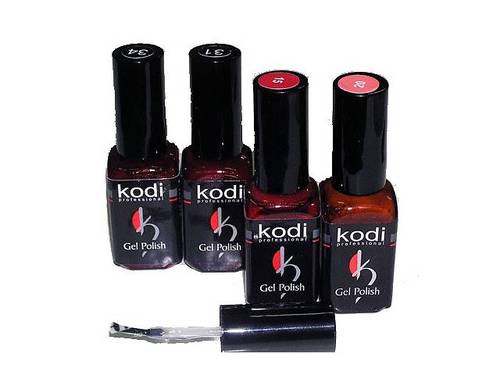
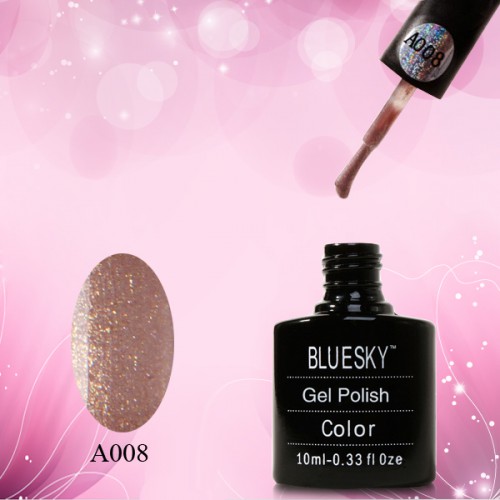
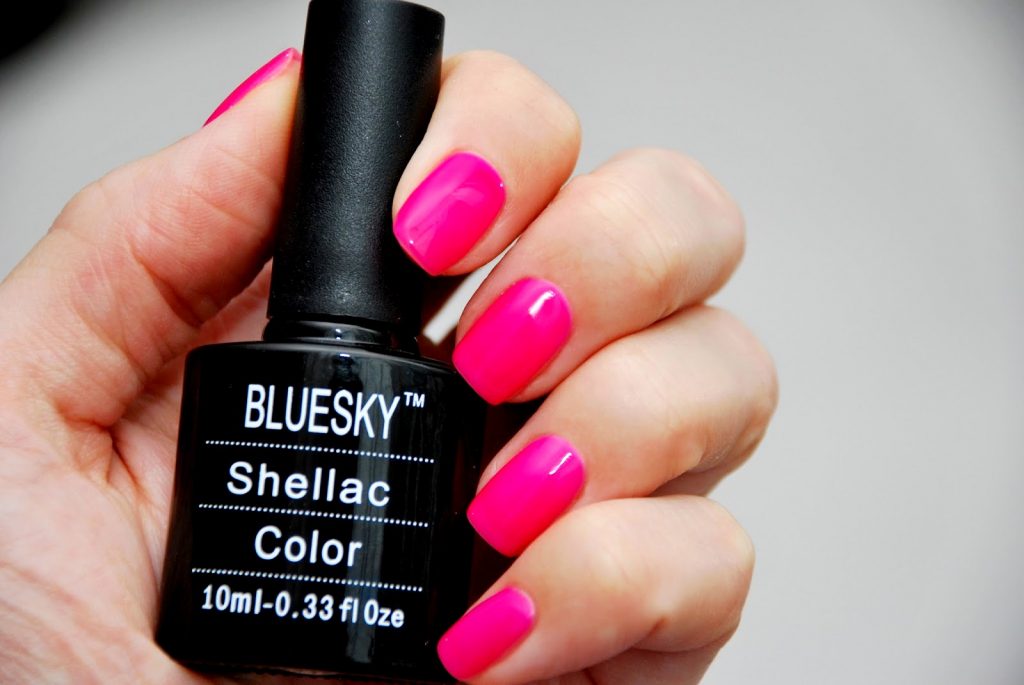
Kodi Professional will please novice masters. Watery varnish, it should be applied in a thin layer. Mix colors is very convenient. Laque runail the brand offers a palette with dense colors. Such material is also good for beginners. Chinese gel polishes from Bluesky and Canni will please you with low cost. Some products from these manufacturers may be watery. Such gel polishes are easy to mix, but will have to be applied in 2-3 layers.
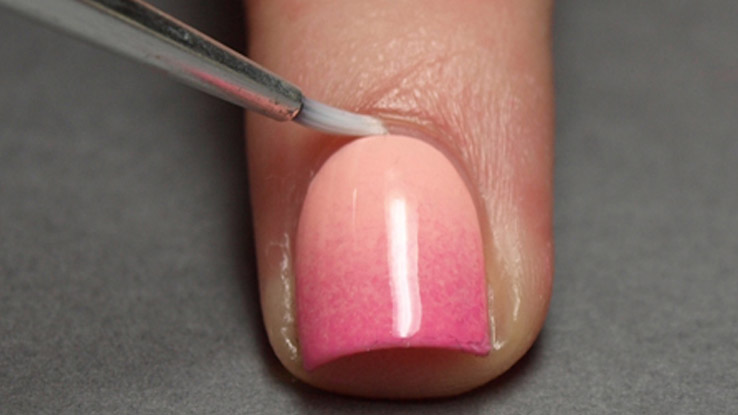
How to make at home?
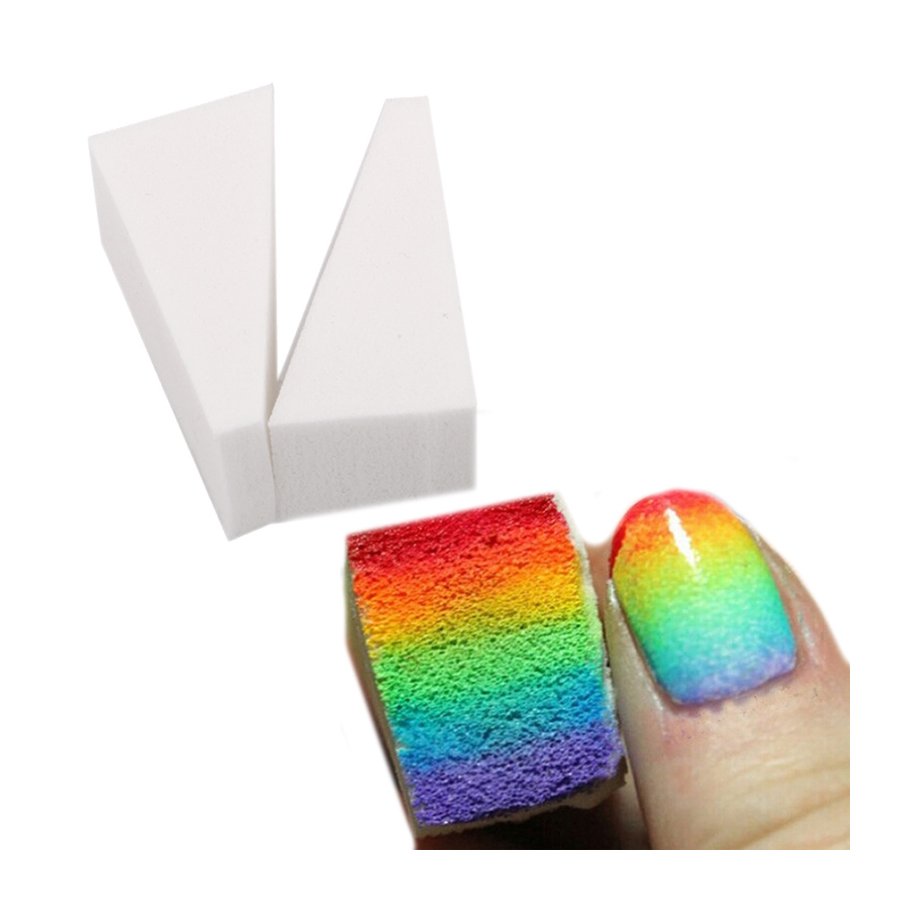
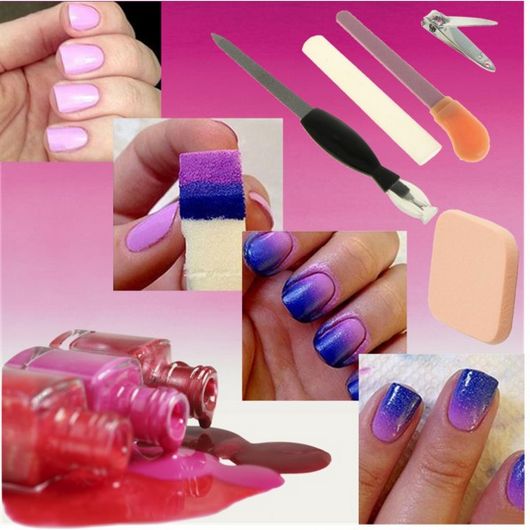
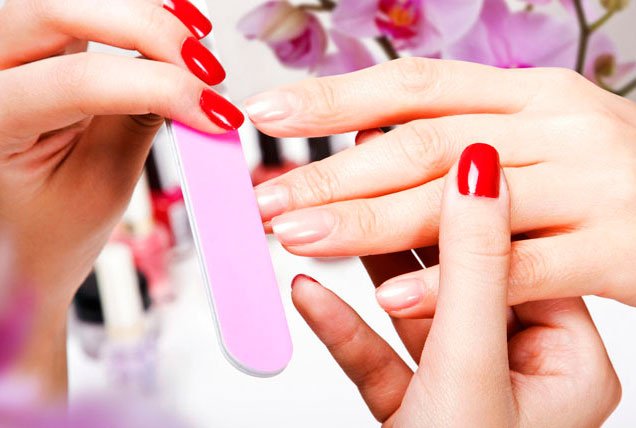
In order to perform the design in the style of ombra, you do not need to have special skills. It is enough to follow the instructions. Gradient manicure can be performed at home with a simple sponge. To begin, you should remove the previous coating and make a cosmetic manicure - to process the cuticle, file and degrease the nail plate.
Read more - in the next video.
- There are many ways to protect the skin around the nail from getting gel Polish. The most effective is the treatment with white glue. Do not use fat creams, so you risk completely ruin the entire coating. The use of scotch is altogether doubtful - the gel varnish still flows under the scotch.
- Choose a sponge with small pores. Thus you protect yourself from the appearance of air bubbles.
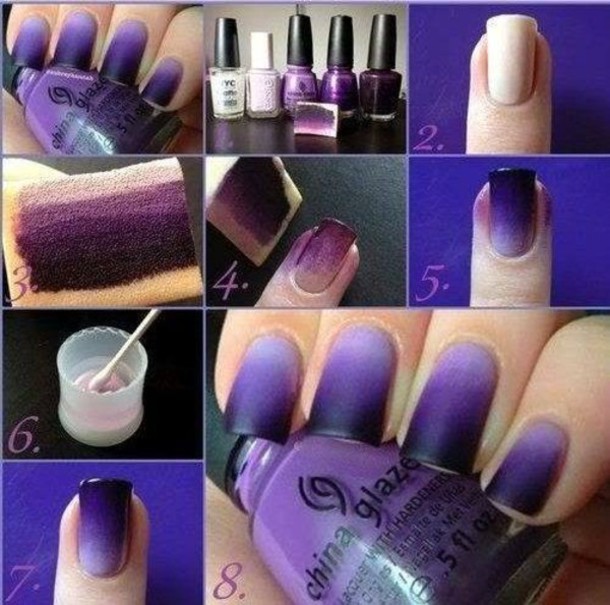
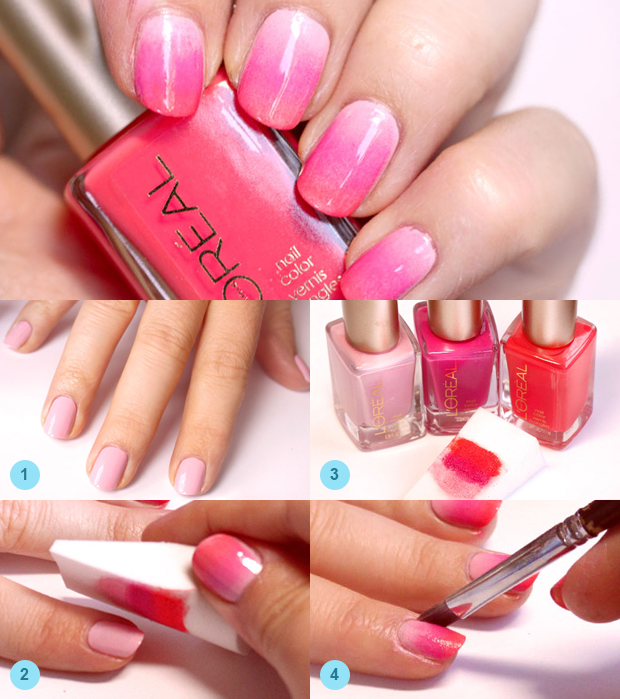
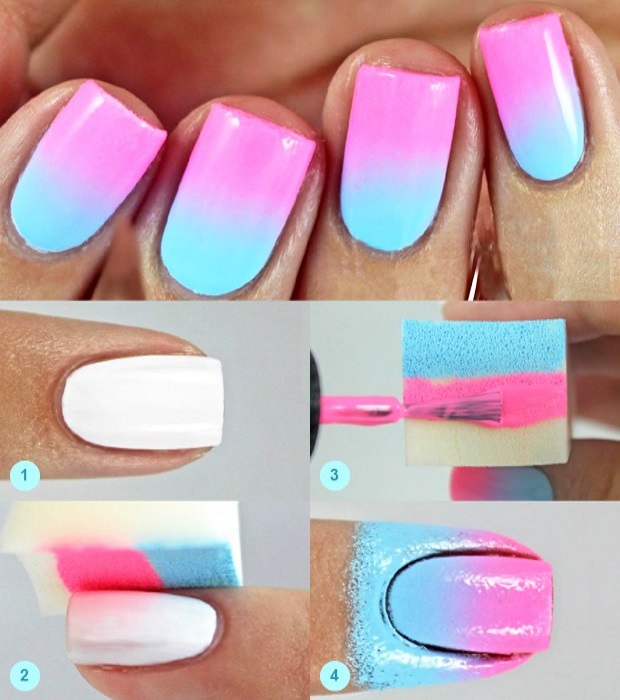
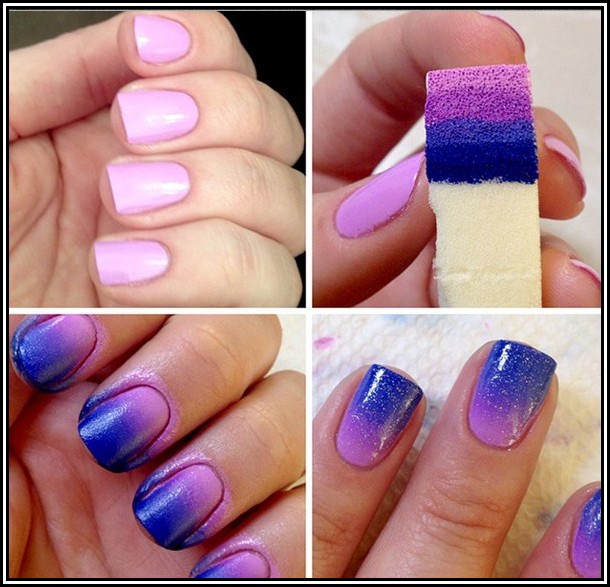
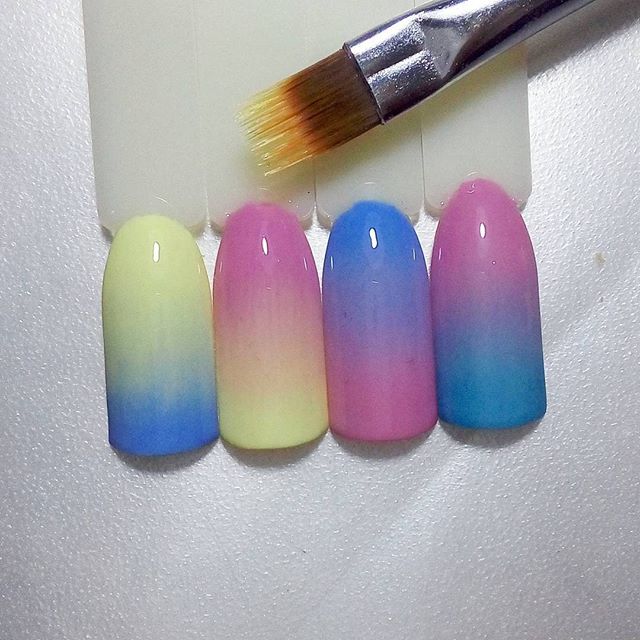
Step-by-Step Spray Application Guide:
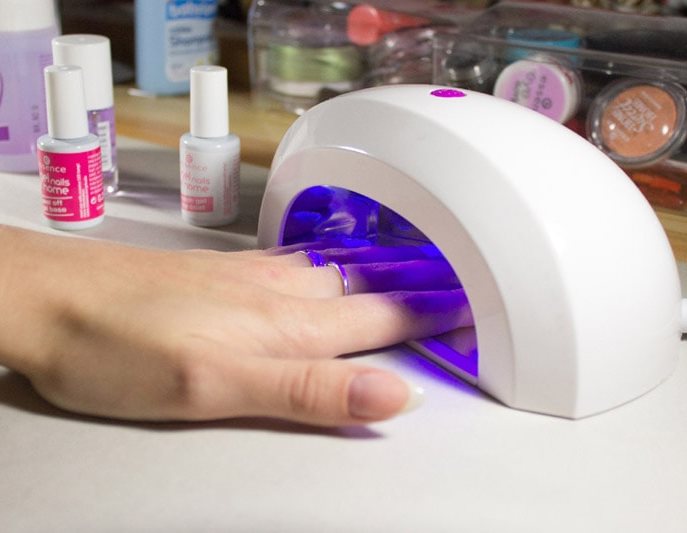
- Apply a base coat to the nails. and bake it thoroughly in the lamp.
- Cover the nails with the main color - the brightest.
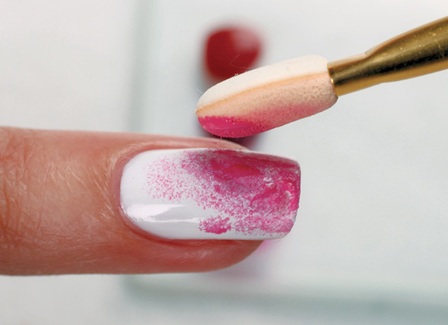
- Distribute 2 strips of colored gel-lacquers to the butt over the foil. Take a toothpick and mix the varnish on the border. This way you get a smooth transition from one color to another.
- Gently blot the nylon sponge in the mixture. and transfer the image onto the nail with a patting motion. Move the sponge to the sides to blur the borders more carefully.
- Wipe the skin around the nail plate, remove excess varnish. You need to do this before you send the nail to the lamp. After baking, removing the excess will be extremely problematic.
- So put a picture on all fingers
- Cover Ready to design a top gel and remove the sticky layer.
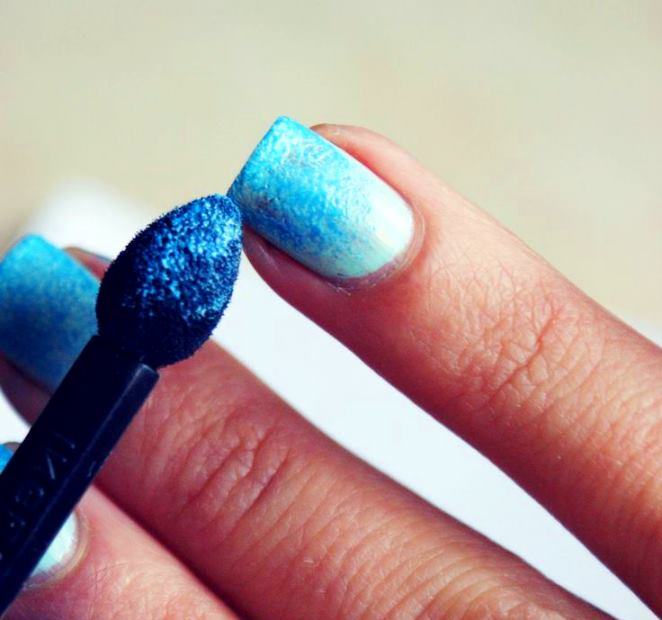
To perform the gradient at home, you can use not only a piece of sponge, but also foam applicators for shadows. Perhaps it will be easier for you. Using a sponge is not an economical way - a lot of varnish is absorbed into foam rubber.
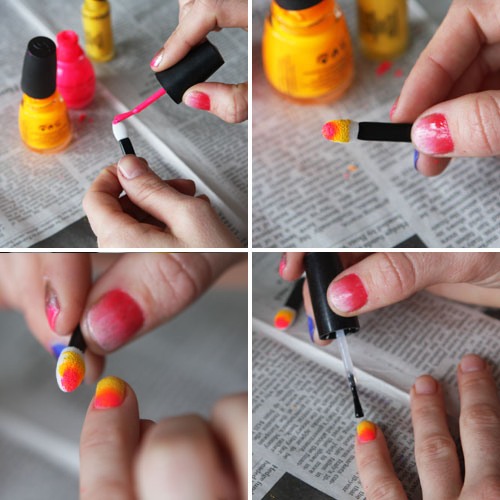
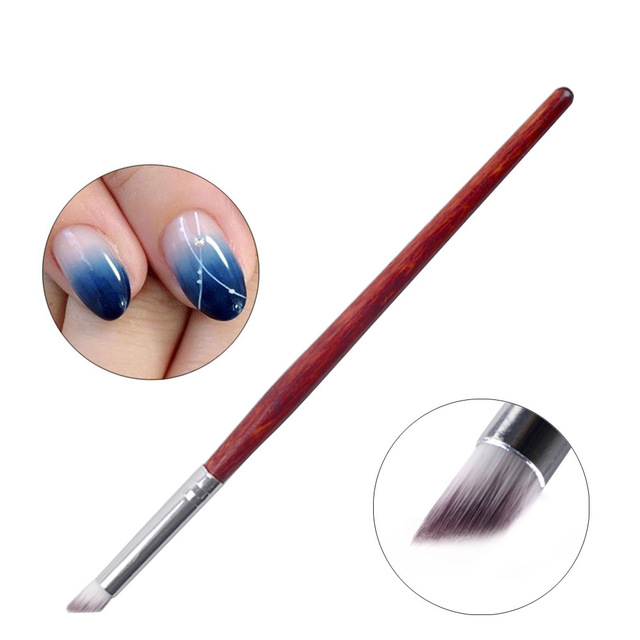
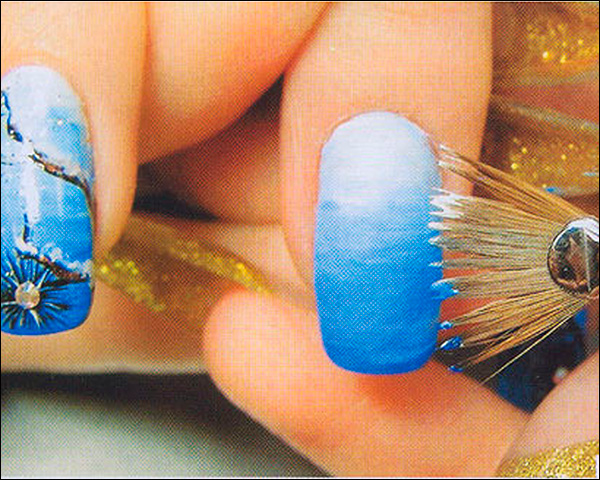
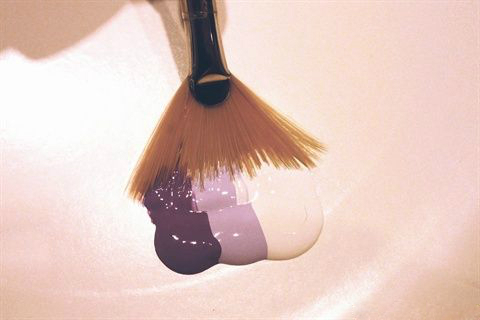
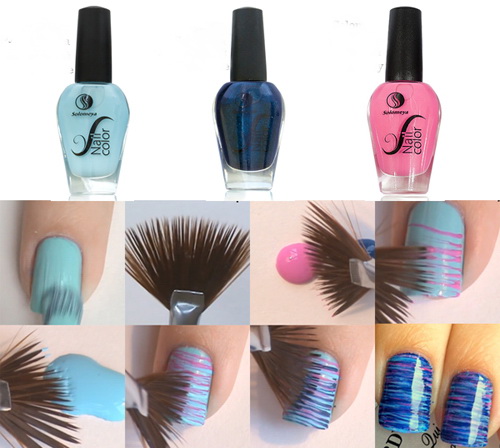
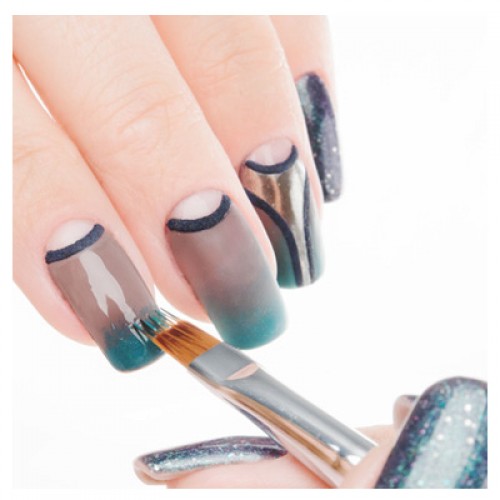
At home, you can design an ombra using a fan brush:
- Prepare the nail plate and apply a base coat under the gel polish.
- Apply to the nail plate the brightest of the intended colors. Hold the nails in the lamp.
- Connect two gel polish between each other on the foil and get the central color of the gradient. Apply the resulting color to the zone of the intended transition.
- Slightly below the transition apply the darkest color of the gradient.
- Moisten the fan brush in the tool for degreasing nails. Wet brush "mark" from side to side, but do not move, move along the same path. Do this until you get the desired transition. Bake in the lamp.
- Repeat the same procedure with a layer of a different color. After apply the top and fix in the lamp.
Master Classes
There are several professional Ombre manicure techniques:
- Gradient fine brush.
- Horizontal ombre fan brush.
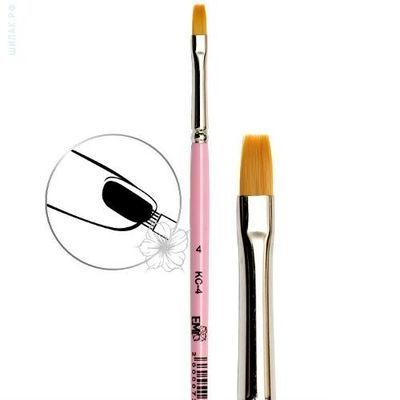
- Vertical transition using a straight brush.
- Transition using pigments.
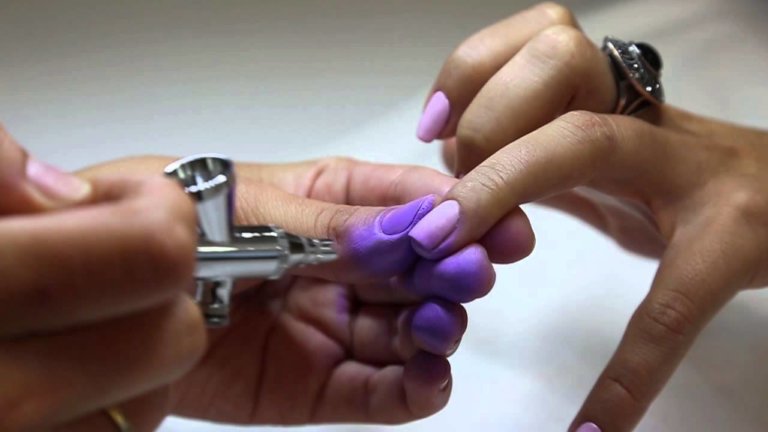
- Horizontal gradient using an airbrush.

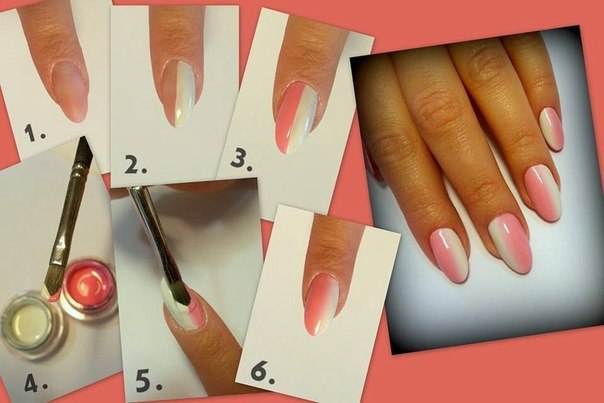
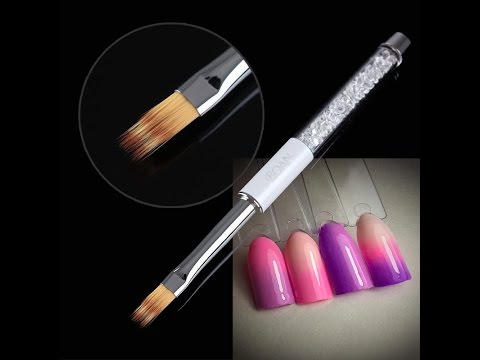
Technique gradient thin brush step by step:
- Prepare your nails for gel polish: perform cosmetic manicure, file nails, degrease the plate. Cover the nail plate base and bake in the lamp.
- Apply camouflage on the nails 2/3 of the length from the cuticle to the middle of the nail.
- Soft round brush stretch camouflage to the free edge. Keep the brush parallel to the nail plate, otherwise unwanted streaks may appear. Dry the coating in the lamp.
- Acting also apply a second layerbut do not dry it.
- Mix another (contrast) gel polish with a top to a uniform consistence. The resulting color should have a uniform light pigmentation.
- Use a clean brush to apply the resulting color on the uncovered part of the nail.. Now carefully stretch the layer up, not reaching the cuticle. Remember to keep the brush parallel.
- Clean brush more diligently blend the place of camouflage with color. Dry in the lamp.
- Apply the next layer on 2/3 of the nail, slightly backing away from the base.. Repeat the blending process. Do not forget to wipe the brush from excess gel polish. If desired, you can apply a third layer. Secure in a lamp.
- Apply top coat and dry. Remove the adhesive layer (if any) with lint-free wipes or sponge.
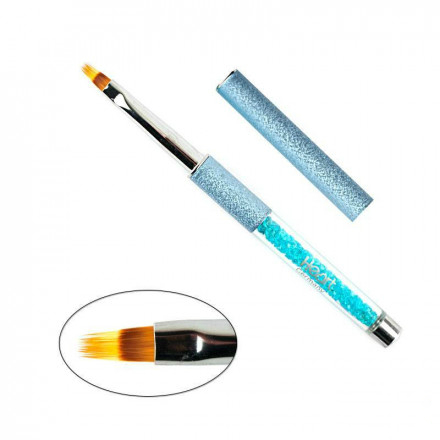
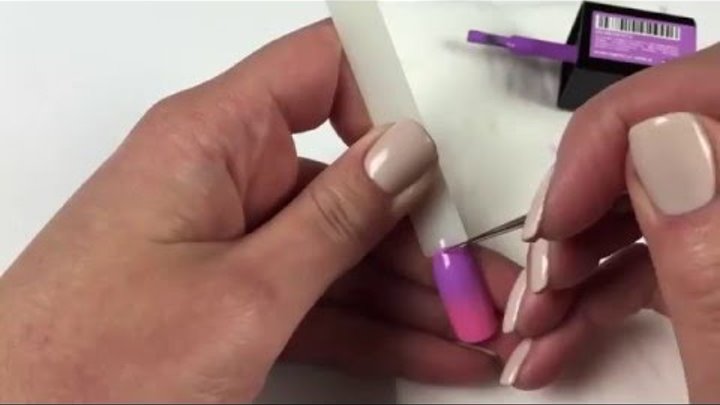
Pretty attractive is considered vertical view transition. It is performed using a flat brush with a rounded or straight tip.
Take 2 gel polish and apply each on half of the nail with a thin layer.
Brush the cuticle brush to the free edge, lead without pressure. Hold the brush along the nail, so as not to create stripes. Do not forget to clean the brush from excess varnish. Repeat the application as many times as required for a dense color and dry in the lamp.
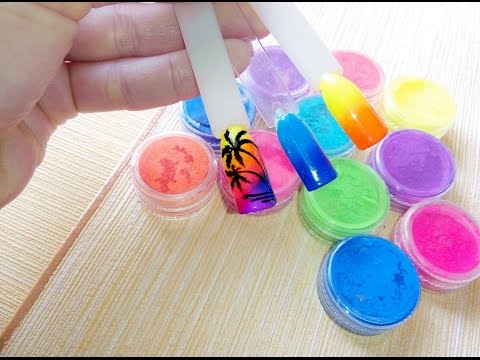
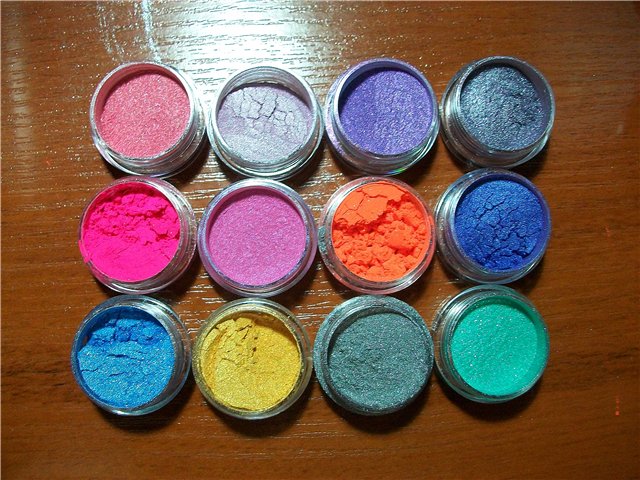
You can create an ombre design using pigments or sparkle. Pigments should be applied to the base or pre-painted white nail. Take a brush and apply the powder in the area of the cuticle, gently distribute to the transition zone. As a result, you get a dense color at the base of the nail and translucent in the transition zone. You apply the second color from a free edge to the middle by the same principle.
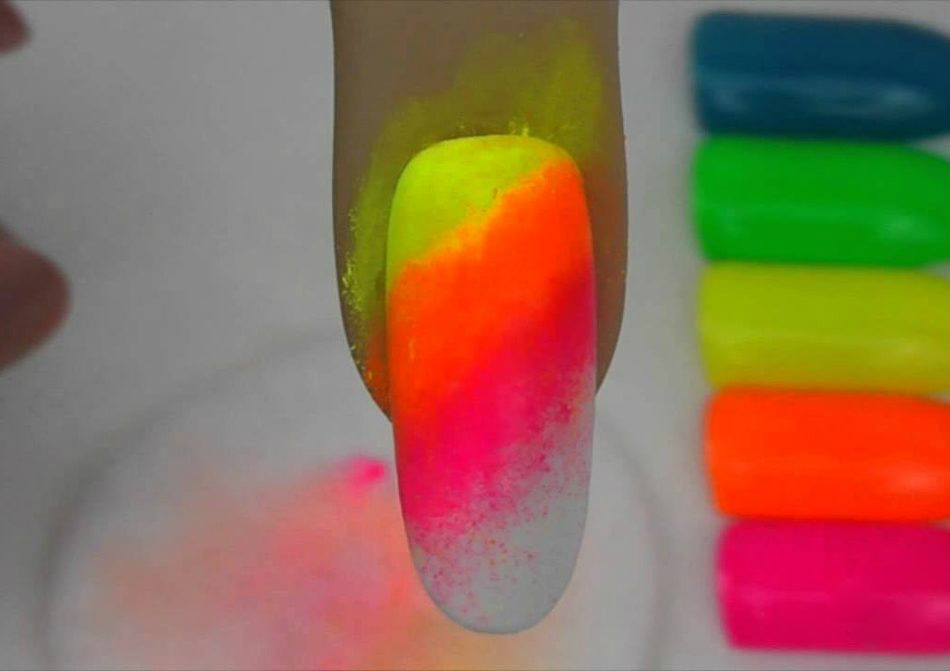
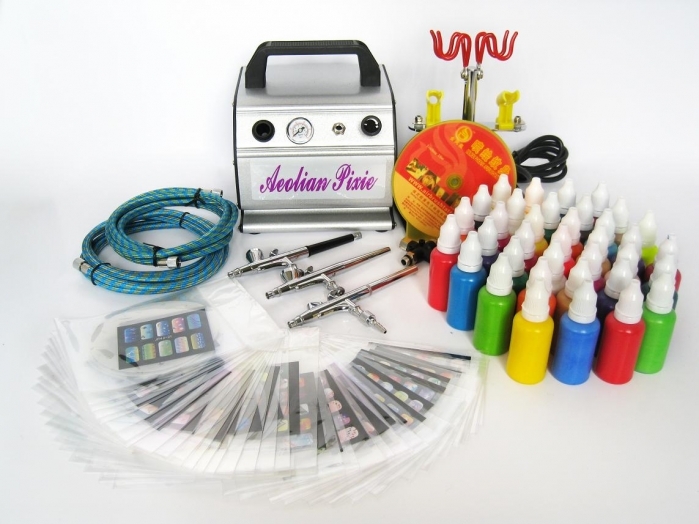
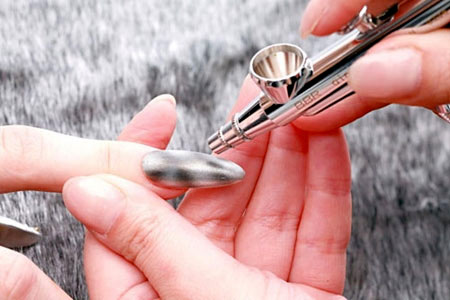
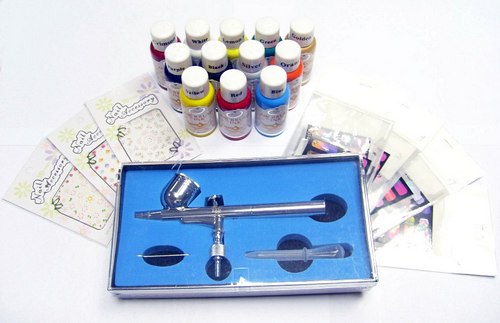
Horizontal gradient can be done using airbrush. This device is capable of spraying dye with a thin layer. Such a device reduces the time spent on the procedure - one nail will take no more than 2 minutes. The paint in the airbrush, as a rule, has a water or alcohol base. After completion of the manicure, the client can simply wash off the excess from the skin. Airbrush sprays the paint in a thin layer, so the manicure will look as neat as possible. Such a device is much more expensive than a brush, but the result is worth it.

Professional masters choose the appropriate method based on the goals. Not everyone is ready to work with an airbrush, although it is convenient. A flat brush is only suitable for a vertical gradient. Horizontal design option can be done using a fan brush. Remember that mastering the technique with a thin brush is not so easy. But it is this method that will allow you to perform absolutely any kind of ombre design.