How to make a hunting knife with your own hands?
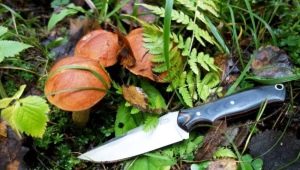
The knife is an essential attribute of a person engaged in hunting. The areas of its use are diverse: finishing the game, defending against the attack of wild animals, carcassing, separating the skin from the carcass, solving economic issues (for example, cutting branches or opening cans with canned food). Separate actions are performed by multifunctional hunting knives, in other situations a special knife, designed for a specific function, is required. If desired, and the availability of skills you can make a hunting knife with your own hands.
Hunting Knives Design
According to the type and dimensional parameters of the design, hunting knives are divided into the following categories.
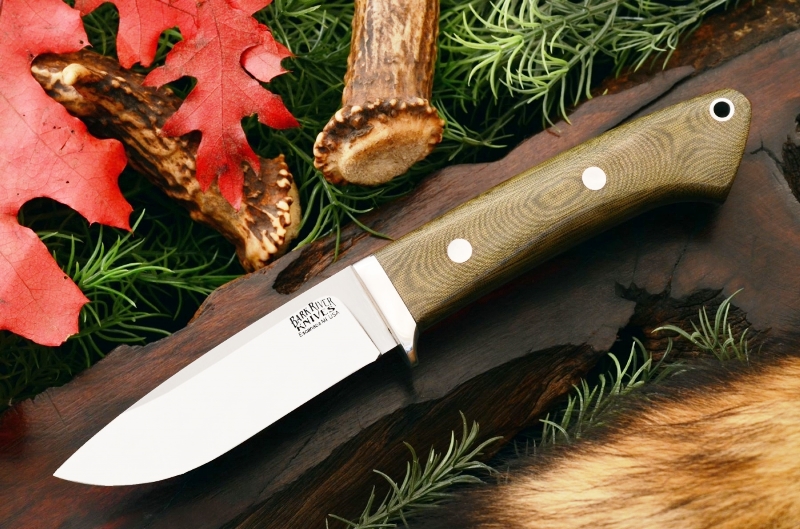
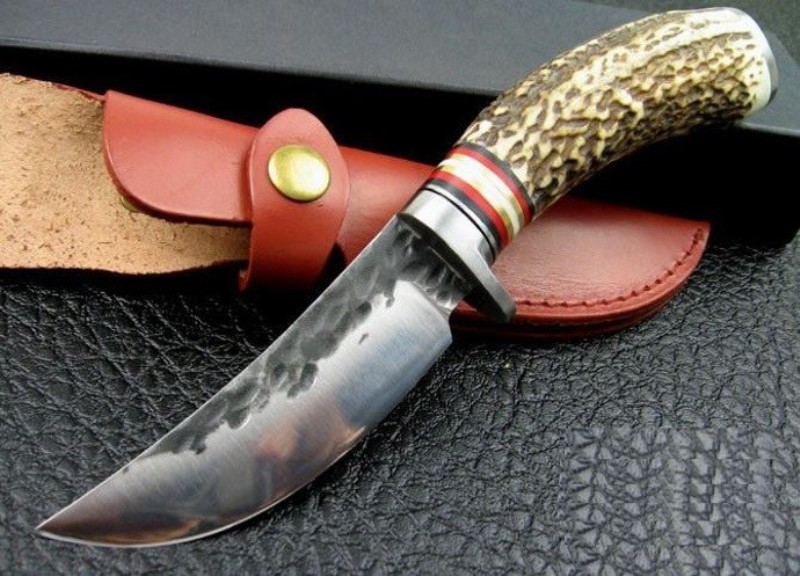
- Classic. Standard length - from 10 to 13 centimeters. The blade width is 3-3.5 centimeters. Weight - from 120 to 180 grams. All types of blades are allowed, except for those sharpened from 2 sides. The purpose of such knives are long work on skinning, dressing carcasses.
- Large. Length - from 13 to 17 centimeters. The blade can have any shape. Weight - from 180 to 300 grams. Great weight should be accompanied by a proper shield and a massive handle. Such knives are practiced for cutting cuts. For other tasks, they are not very suitable.
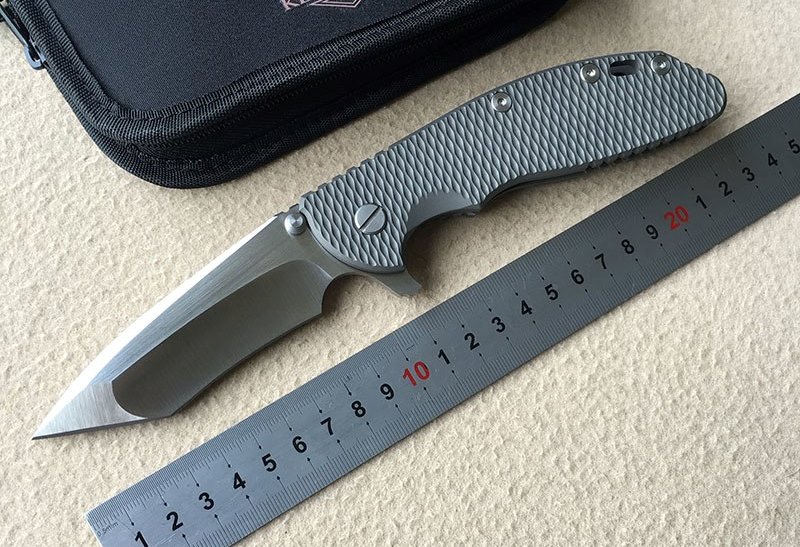
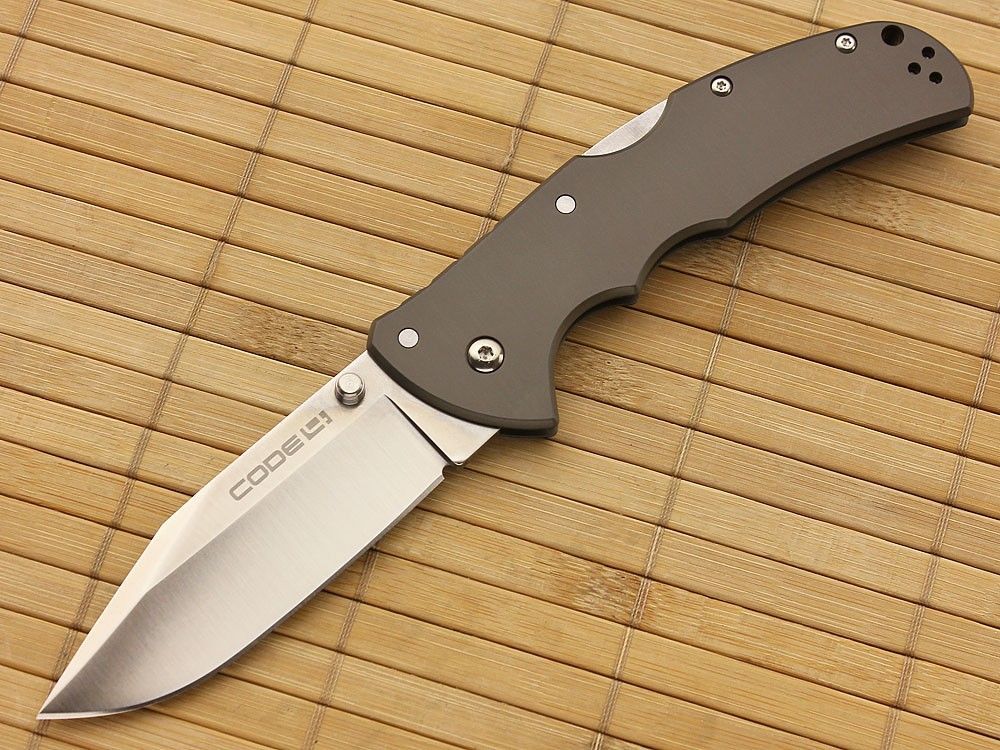
- Folding. Sizes are different. Folding knives equipped with 1 or 2 blades. Most effectively demonstrate themselves in the performance of small, short-term work.
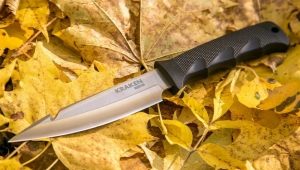
How to choose the size and shape?
The choice of size depends on the purpose of the knife. Samples of small length do not have the versatility that a hunter might need in unexpected situations. From 10 to 12 centimeters - the best length of the knife.
When you often cut the game with your own hands, choose a knife, the blade of which will be at least 15 centimeters. For hunting for aggressive, large animals, for example, a bear or a boar, a knife from 16 to 25 centimeters is required.
In the manufacture of a hunting knife, close attention should be paid to the shape of the blade. There is a huge variety of their species, but only a few configurations are particularly common.
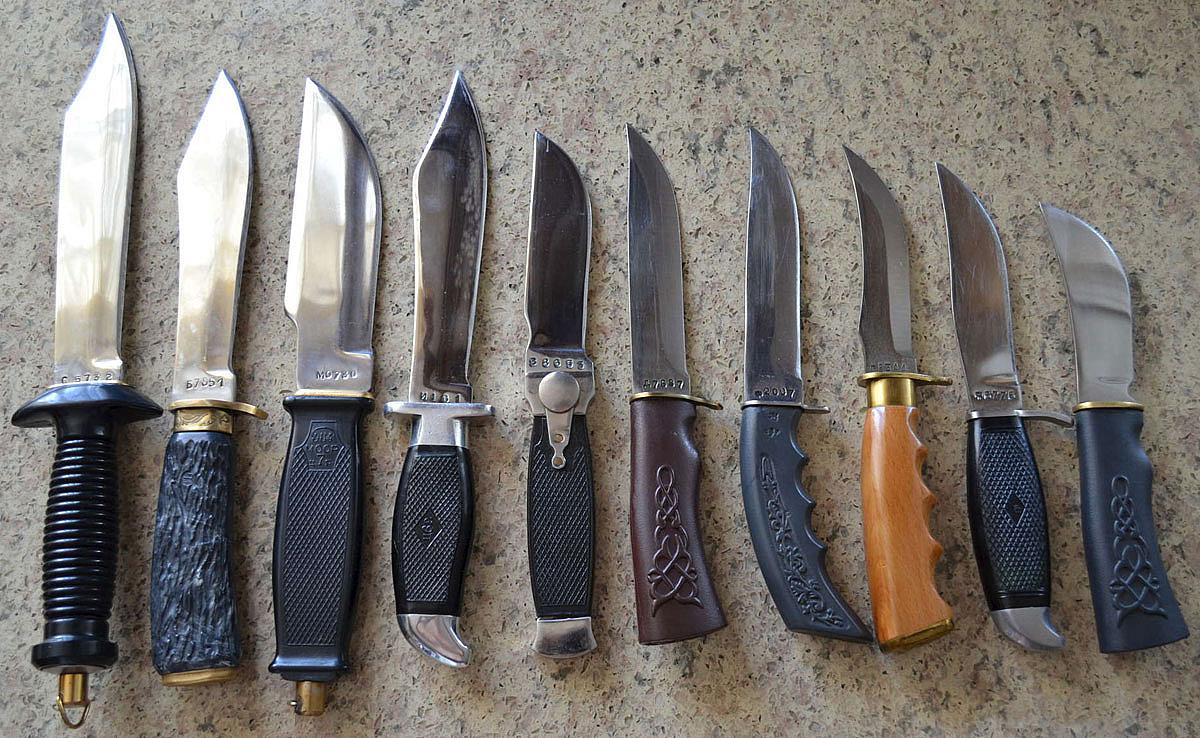
Hunting knives have the following forms of blades:
- straight edge on top;
- Drop-point - smoothly sloping to the centrally located top edge;
- Trailing-point - overestimated upper edge;
- Clip-point - blade in the form of a Bowie knife, which has a straight and sharp upper edge with a sharp descent from the tip;
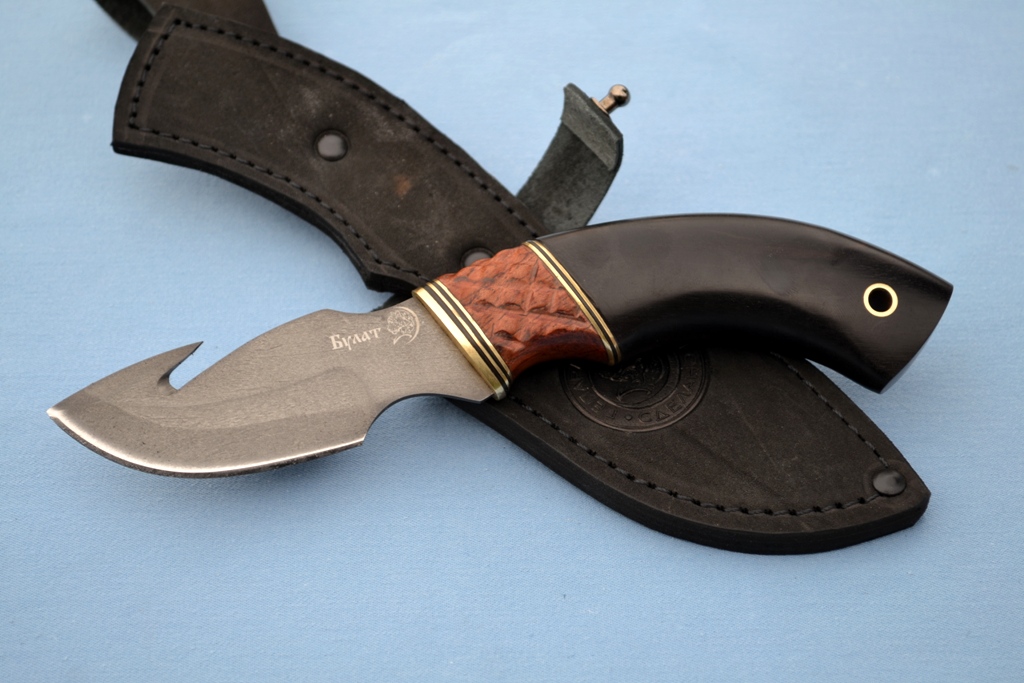
- Skinner - A blade with a flat butt and a curved cutting edge;
- dagger - there are two cutting edges, they converge on the knife edge.
Materials for production
Even if you are not going to make a hunting knife, an understanding of the materials used for manufacturing will help you out when you buy a knife. Consider what types of steel used for knives of this type.
- From carbon steels should be designated brand 65 g. It is endowed with the required stiffness, excellent sharpening, has a high corrosion resistance.
- Another stainless steel, which is often taken to make available hunting knives, is 65x13 steel. It is suitable for a tourist, however, for a true lover of hunting, who often splits up solid prey, is poorly suitable, since it instantly loses the sharpness of the blade.
- Steel 95x18 - the best solution in terms of price and quality. There is an ease of sharpening - sharpening the blade of steel 95X18 is quite simple. Editing of a knife from this steel can be carried out even about an ordinary stone.
- The XB5 chromovolume frame steel, called diamond steel or ShKh-15 steel, is also excellent for knives, but needs stable care, as they are exposed to rust.
- Instrument steel of grade Р6М5 proved to be quite good. Pendulum blades are produced from it, and getting it is not so difficult.
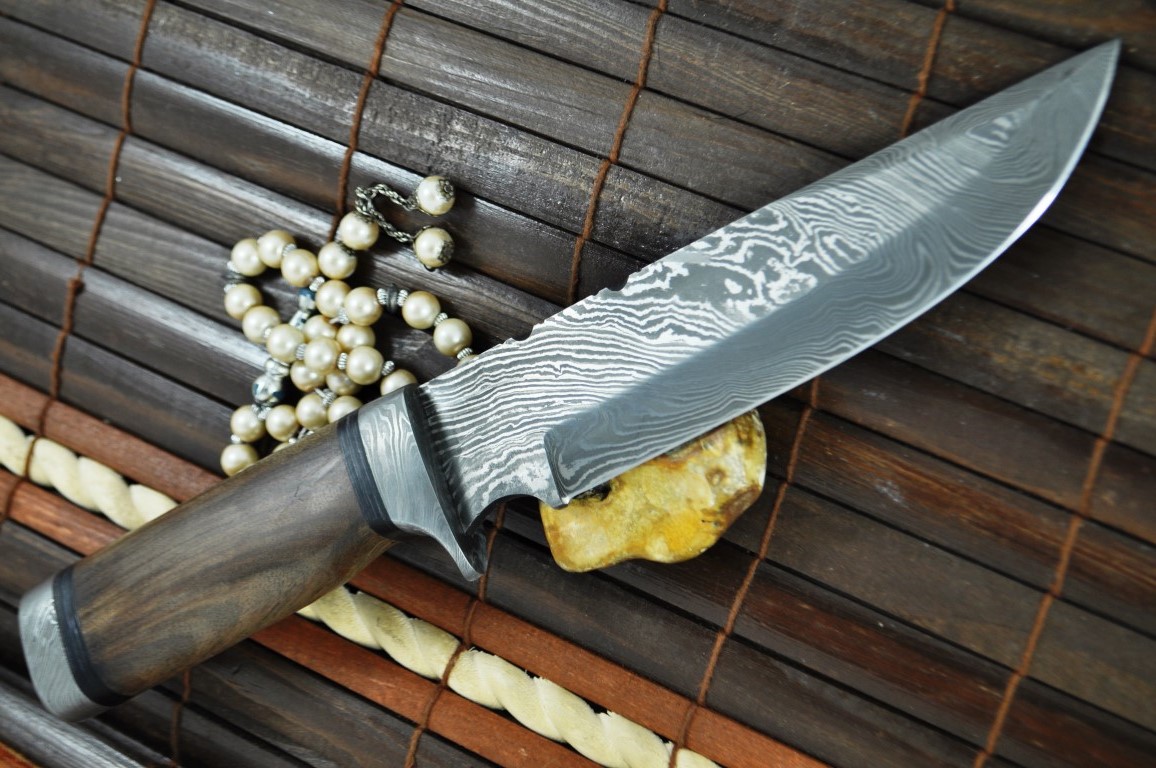
- Damask steel has a fairly "floating" quality. In the whole of the Russian Federation, only a few blacksmiths can brew good quality damask steel.
- Modern steels made by powder metallurgy have very rare properties that eclipse even the famous damask. Products made from these metals are usually quite expensive.
To create knives for knives practiced many different materials, ranging from plastic and finishing with mammoth tusks. The best material is wood. The wooden handle is adapted to any configuration and size of the palm.
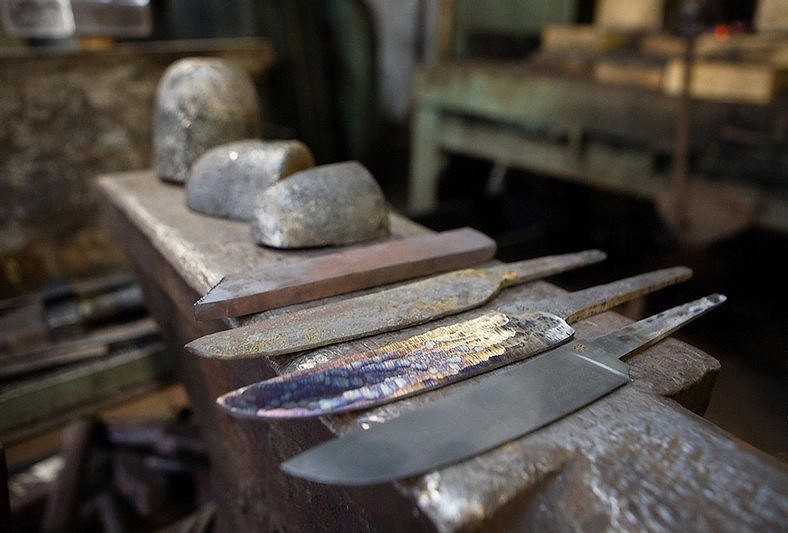
Step-by-step instruction
The blade material will be a billet of steel 1080, a very strong alloy that can be well processed and hardened. For work the usual tools are taken, for the key tasks a grinder is used.
List of necessary materials and tools:
- billet, steel 1080;
- grinder, cutting and grinding discs;
- sandpaper;
- electric drill, drill;
- bar under the pins;
- epoxy adhesive;
- wood for the manufacture of pens;
- cardboard, pencil;
- marker;
- source of heat energy for hardening;
- passatizhi, hammer and other;
- vise or clamp;
- files for wood and metal;
- tape grinder.
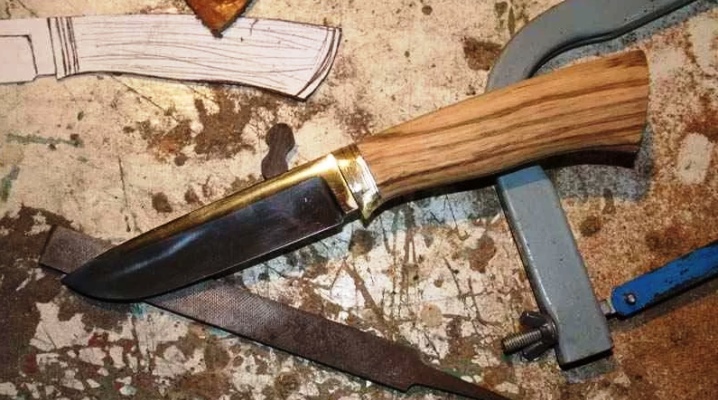
Now consider the detailed stages of creating a hunting knife.
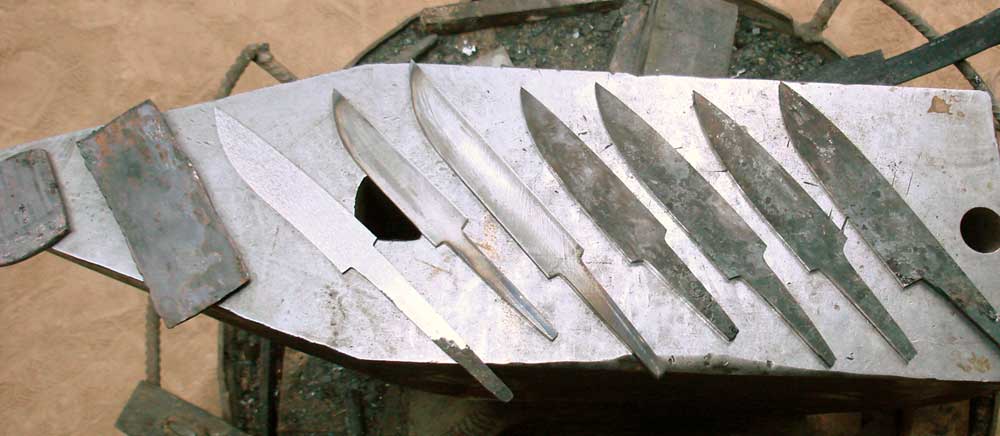
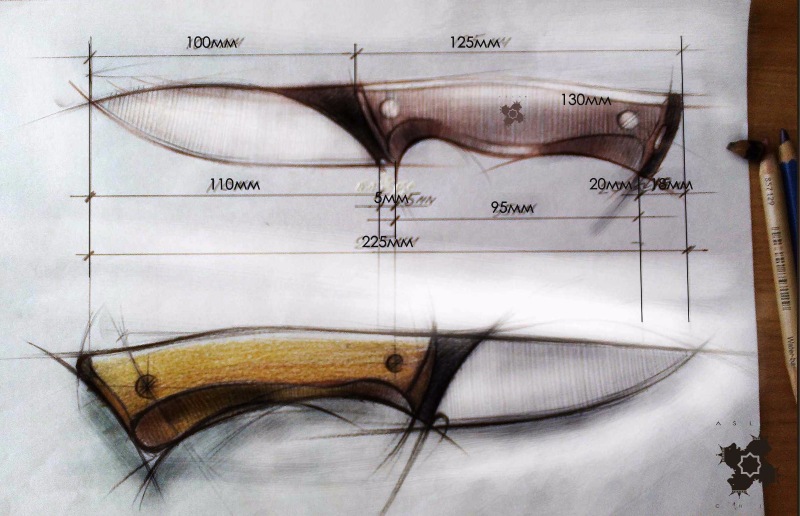
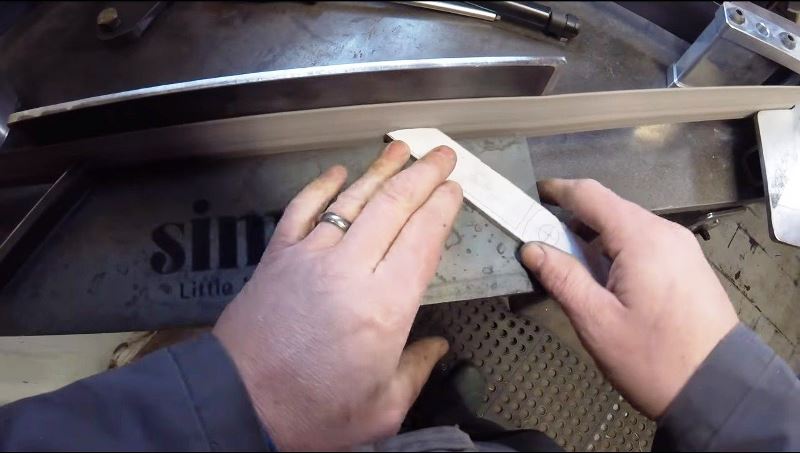
- Template development and migration. First of all, we make a drawing, and according to it a template. You can find a ready-made stencil on the network and print it out, or print it yourself. Then cut it, put it to the workpiece and outline with a marker.
- Draft work with the contour. We take the grinder and carefully cut out the rough shape of the contour. Working with the grinder, it is necessary to regularly cool the workpiece with water.
- Contour adjustment. The result of rough cutting will be not cut zones on the contour in the form of different curves and other elements. Cut such components can be through sharpener. Here we again use a grinder, grinding wheels and files with different configurations. When using hand tools, the risk of steel overheating is reduced.
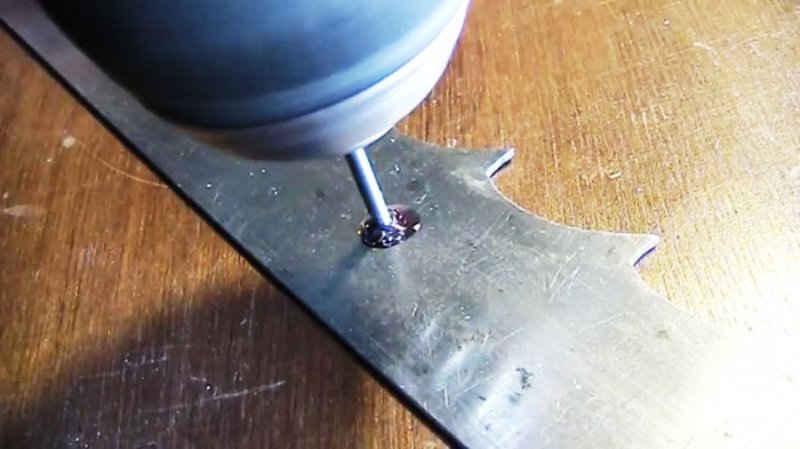
- Drilling holes for pins. If you are planning to harden a knife, you should always finish the basic steel processing work before hardening. Otherwise, working with iron will become very difficult.
For example, it is necessary to drill holes for the pins before hardening - at least 2.
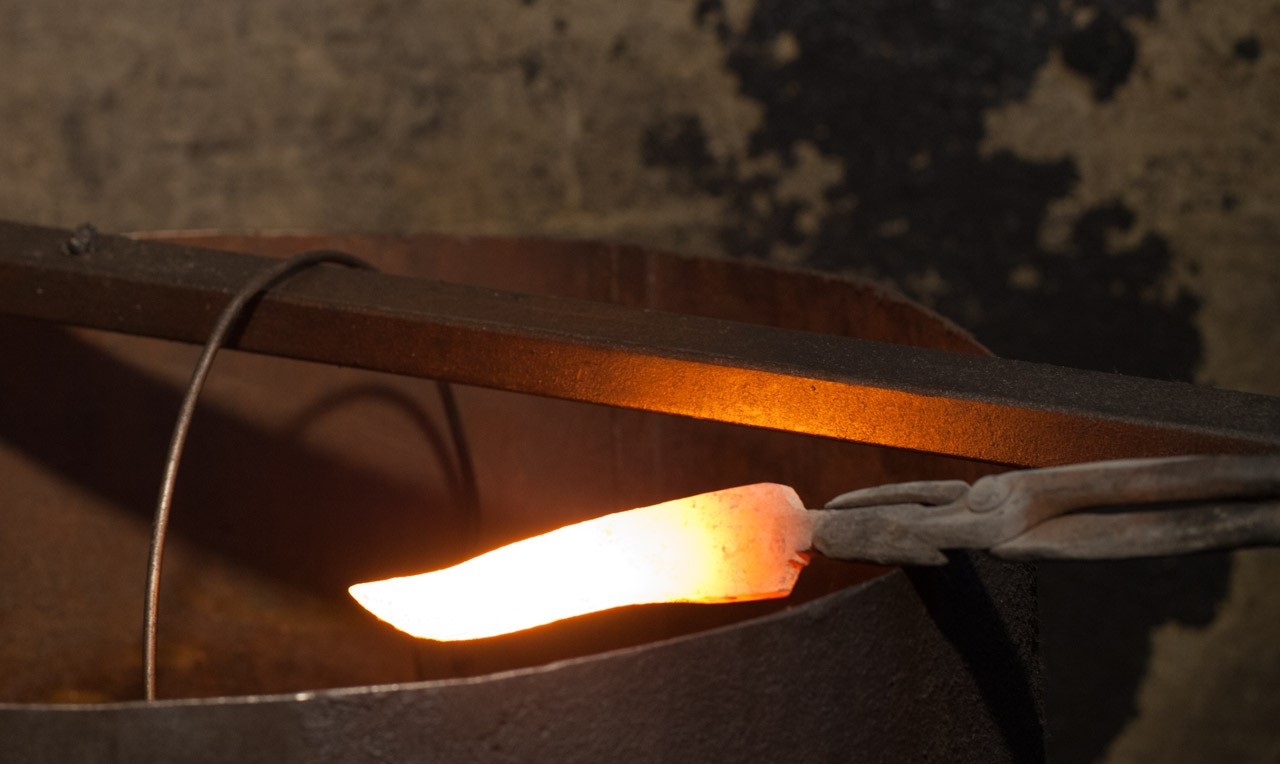
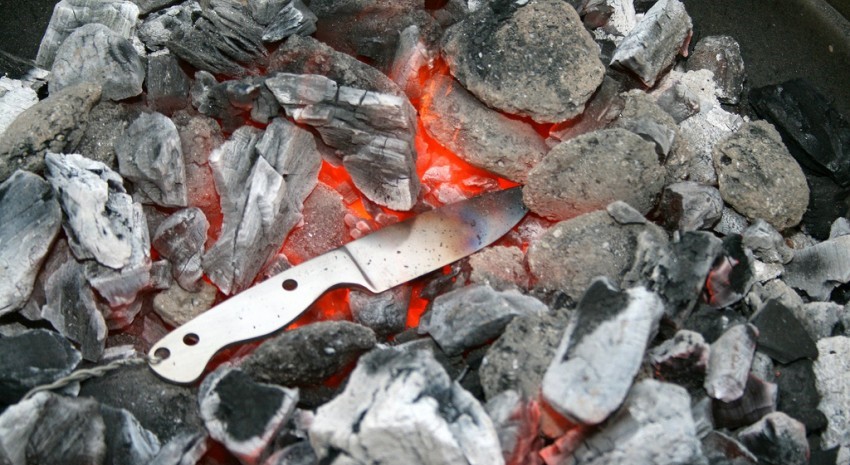
- Hardening This procedure takes place in 2 steps. First, the steel must be made as strong as possible, and then slightly loosened so that it becomes less fragile. This action is called "vacation". For hardening, we use a stove or a good fire. The billet is heated to a bright red glow, then dipped in vegetable oil. To establish a suitable temperature, you need to bring a magnet to the workpiece - if it does not stick, the steel can be cooled. After hardening, the steel becomes very fragile. Therefore, we perform a vacation, as a result, the blade becomes flexible.
This can be done in the home oven. It should be heated to 200 ° C and put the canvas for 1.5-2 hours. After that, turn off the oven and let it cool, without opening, together with a knife.
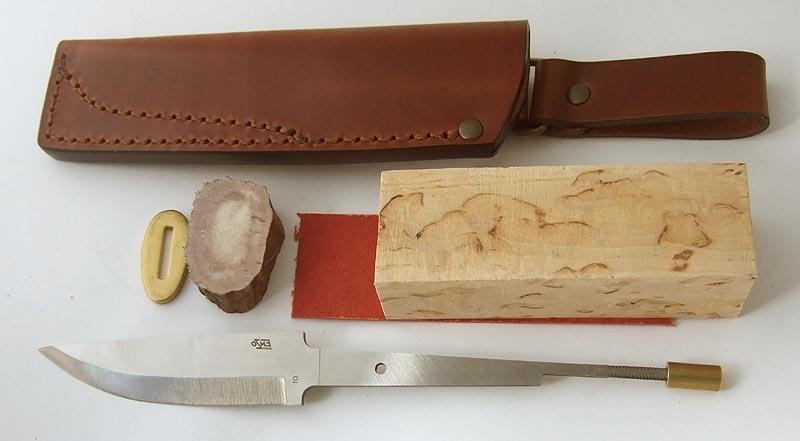
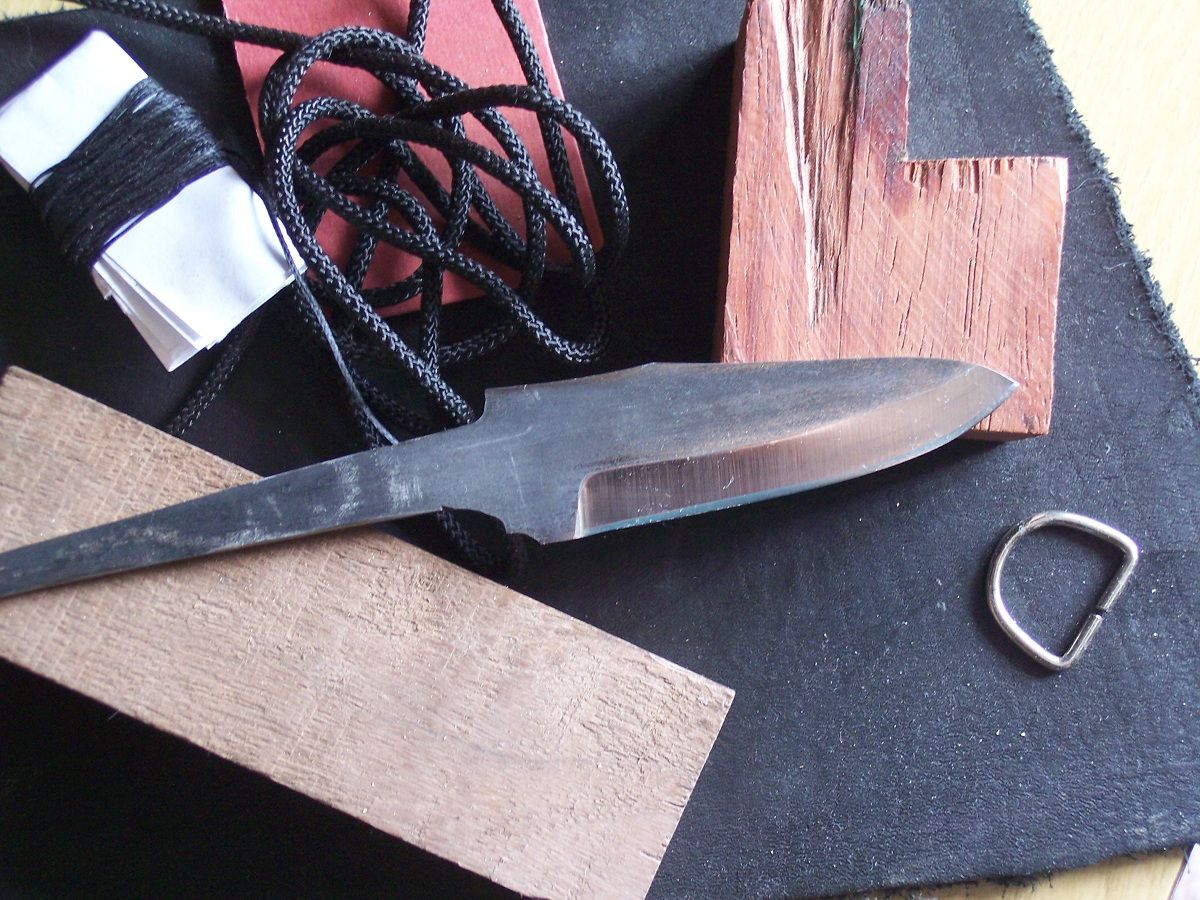
- Creating overlays on the handle. For linings we take aluminum alloy, polymer, horn, animal bone, wood, other options. It is necessary to cut the rough blanks in size, and drill holes for the pins.
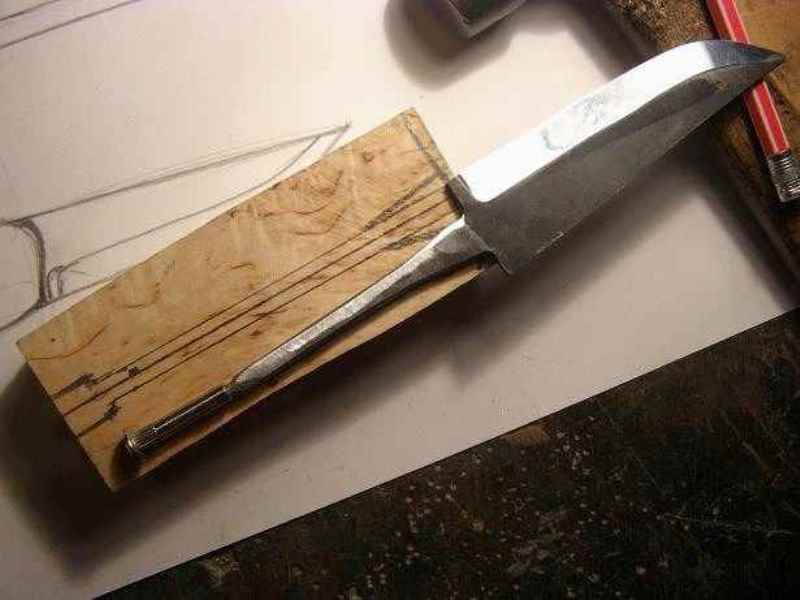
- Fixing the lining. At this stage we use epoxy glue and a clamp or yew. Cooking 2 pins. Copper, brass, and other alloys can be used for pins. If there is nothing at hand, ordinary nails will fit. Next, you need to mix the hardener with resin and glue the halves. Then carefully clamp the handle clamp or vise and leave to absolute dry.

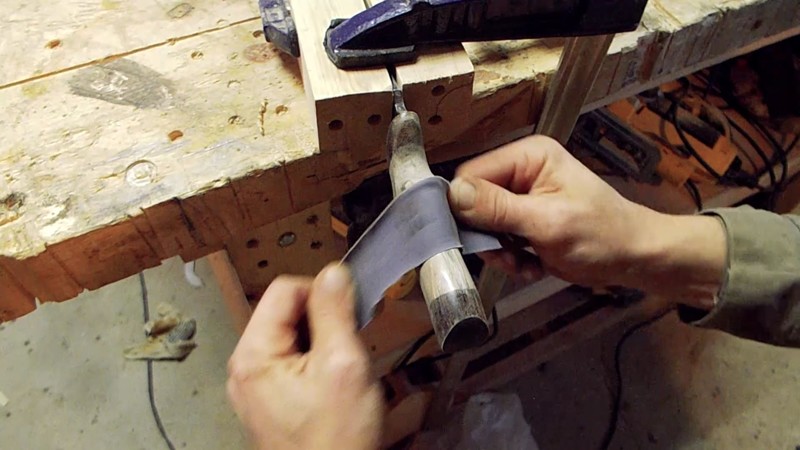
- Handle processing. After the glue has completely dried, we form a handle. For this we use files. You can work with a grinder or grinder, but then you have to be very careful not to remove too much.
- The final. Next, the wood handle must be soaked so that it does not absorb moisture. For this we use natural flax seed oil. After impregnation, let the oil dry, and grind the handle until shine appears on the plane.

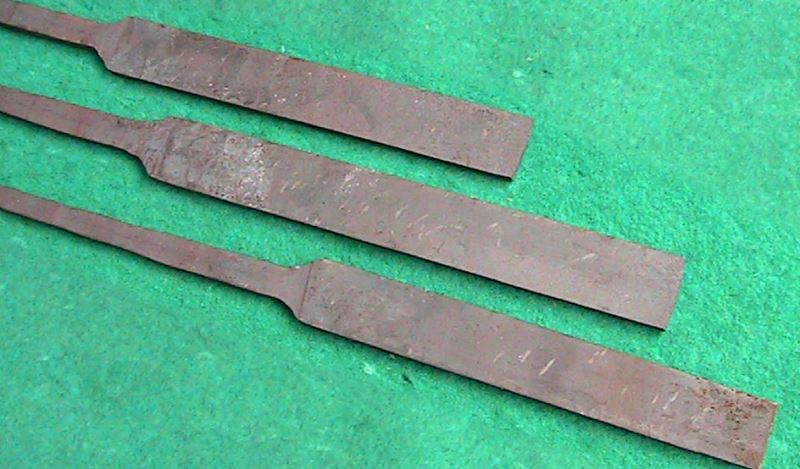
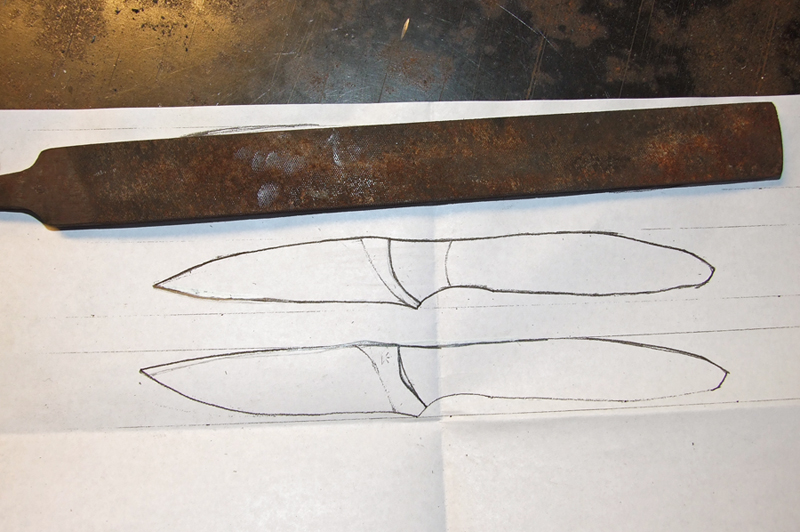
In addition to the previous version, you can make your own knife from a file. Let us see how this can be done.
A used file is an excellent prefabricated product for a good knife. The file uses steel with a high percentage of carbon that can be rolled. Because of this, the knife is made strong and does not dull for a long time.
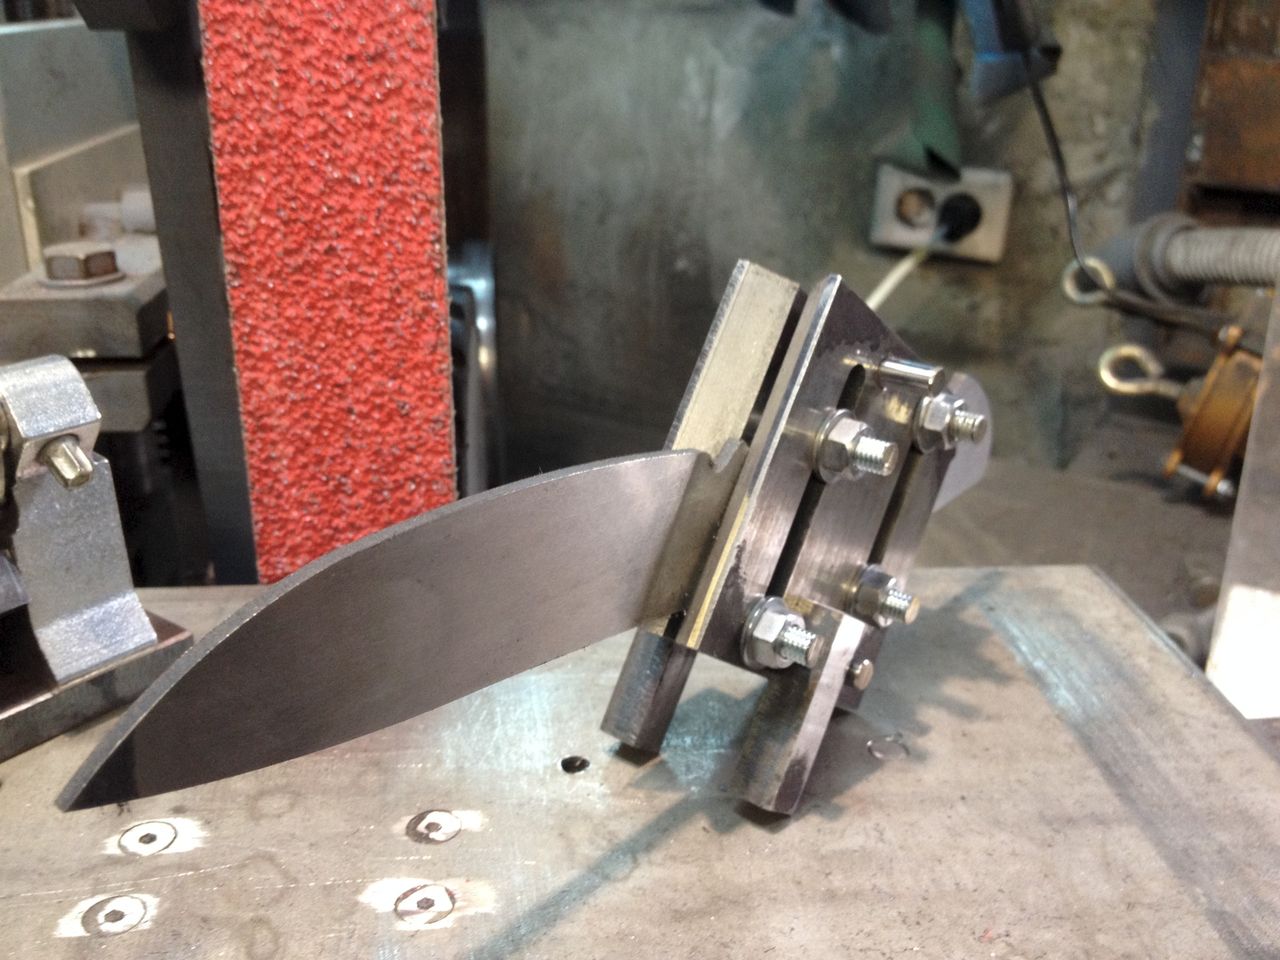
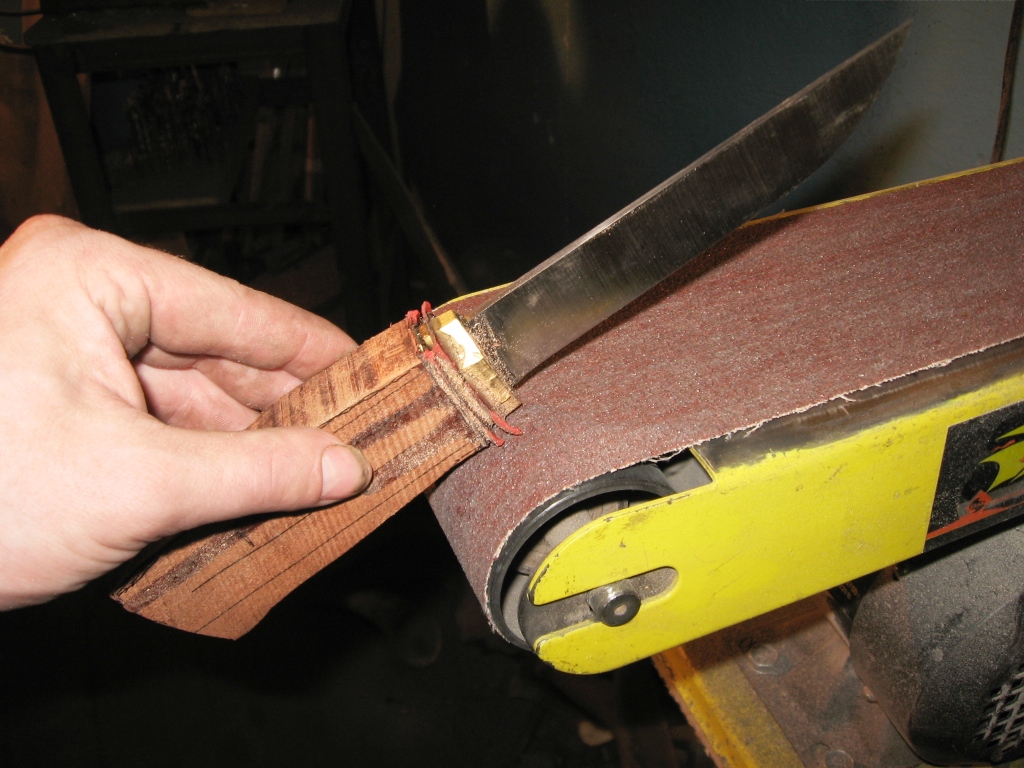
It will be very difficult to create a contour and bevels. They are best created using a tape grinder.
Materials and tools for homemade are the same, only in the role of the blank file serves.
- Leave steel. First you need to let go of steel, because the file metal is brittle and very hard to process. You can release it at home in the oven, heating it somewhere up to 200 degrees and putting the workpiece for an hour. After an hour, let the cabinet cool together with the steel.
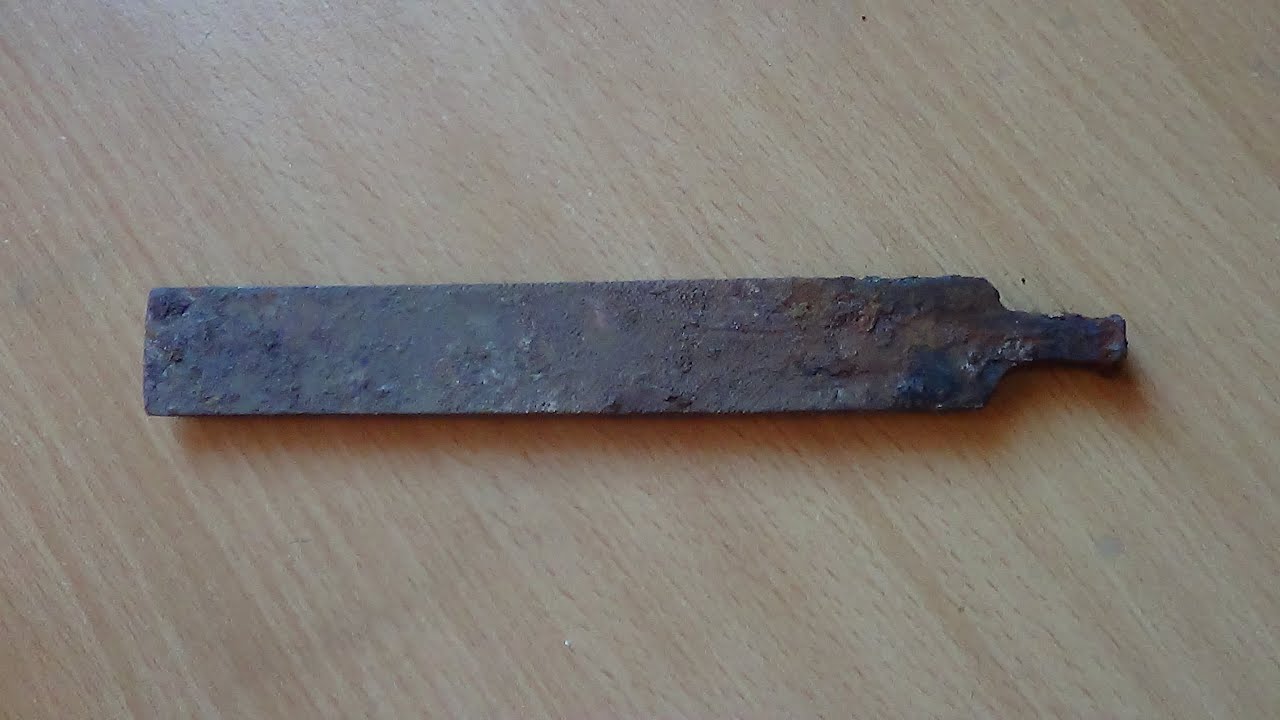
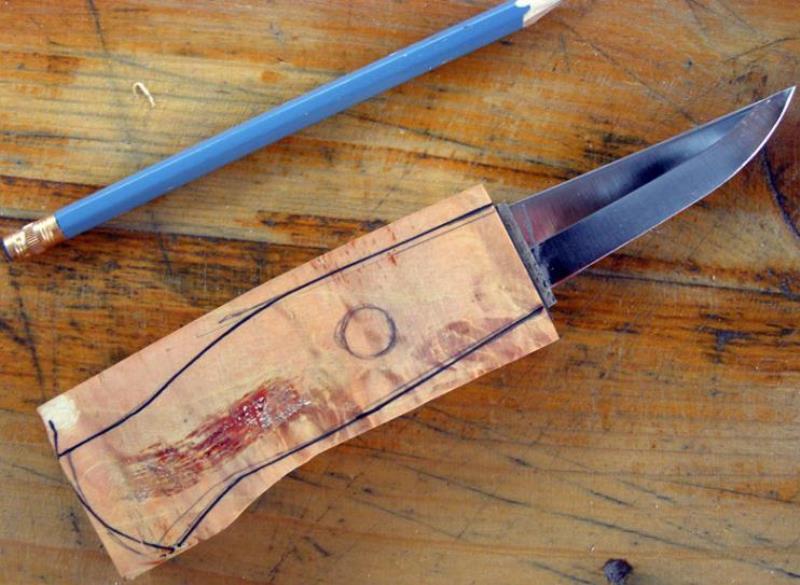
- The contour of the knife. As in the above case, you can think of or find the knife contour in the network. And you can change the existing one. Simply we put its scheme on a cardboard, and then we cut it. When the contour is prepared, put it on the file and draw it with a marker.
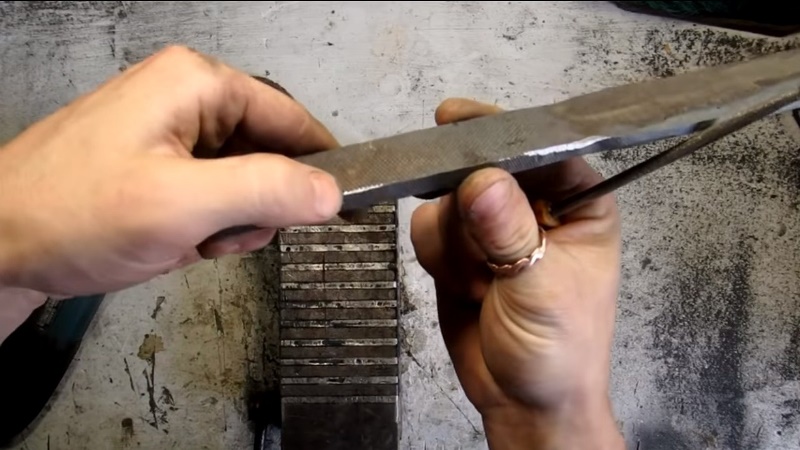
- We perform profile cutting. Now cut the contour. Put the workpiece in the yew and slowly cut out. Try not to overheat the steel, as this leads to its release. Pour the water over the part and see to it that the steel at the cut point does not change color. Then you can take up the grinding shape. Use a grinder and waste all unnecessary edges, make the contour the way you want it.
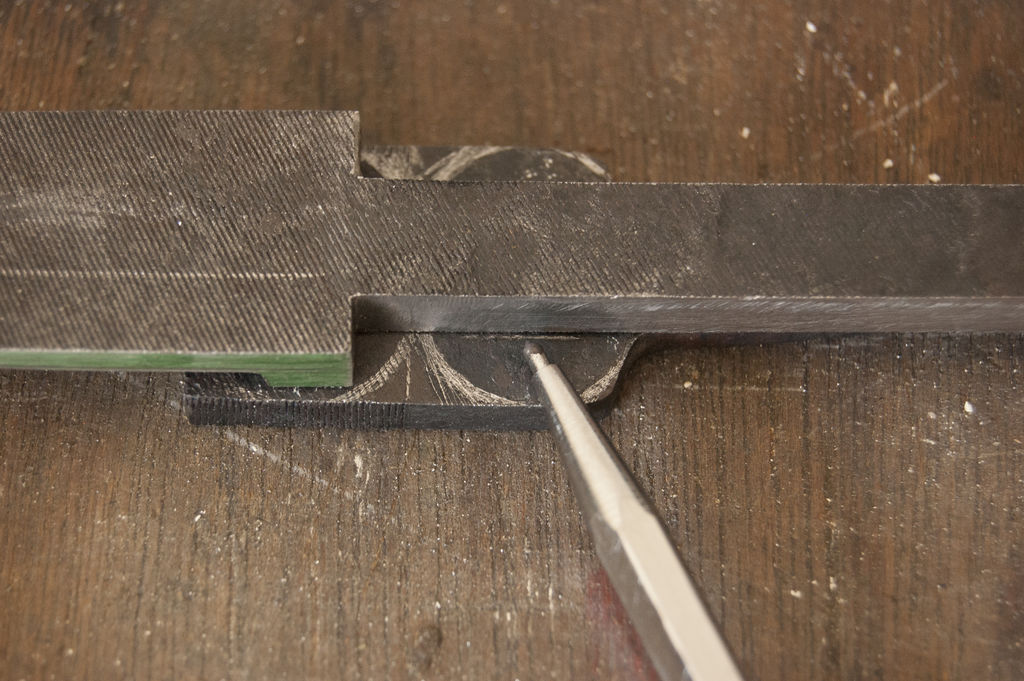
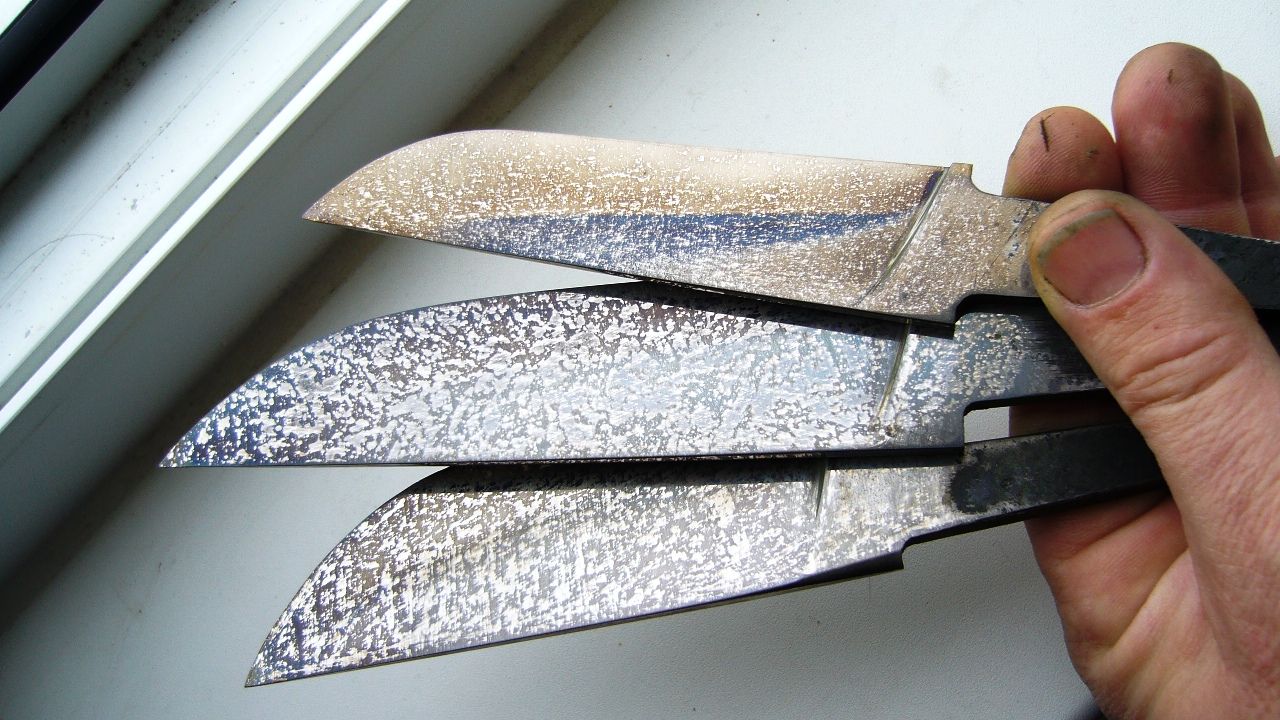
- Create bevels. The cutting properties of the knife completely depend on the bevels. The thinner the canvas, the easier it becomes to sharpen and the sharper it will be. First, the marker depicts the future bevel. You will need to divide the future blade into 2 areas to make it easier to navigate when processing steel. We take the drill, which corresponds to the diameter of the workpiece, put the workpiece to the aligned plane and draw a line with the drill.
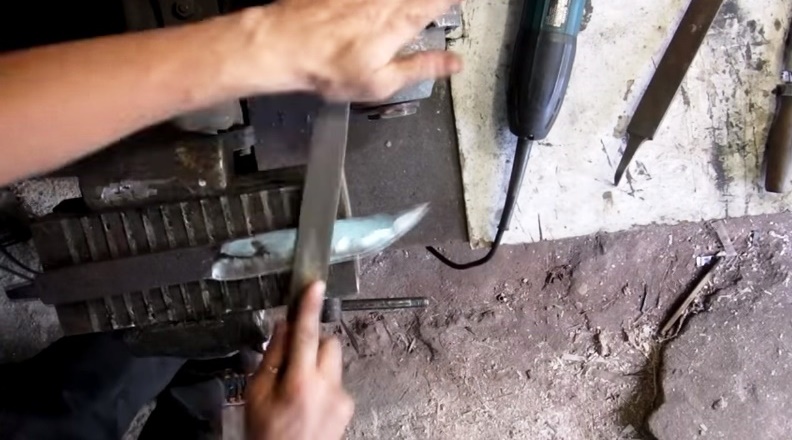
- We start grinding. Creating bevels depends on the availability of suitable tools. The best solution would be to use a tape grinder. If not, use a grinder or a decent set of files for iron.
- Cooking pins and elements for linings. Pins can be made of different materials: metal nails, wire and more. As for the handle, here you will need a tree. Although you can use bones, horns, plastics, textolites.
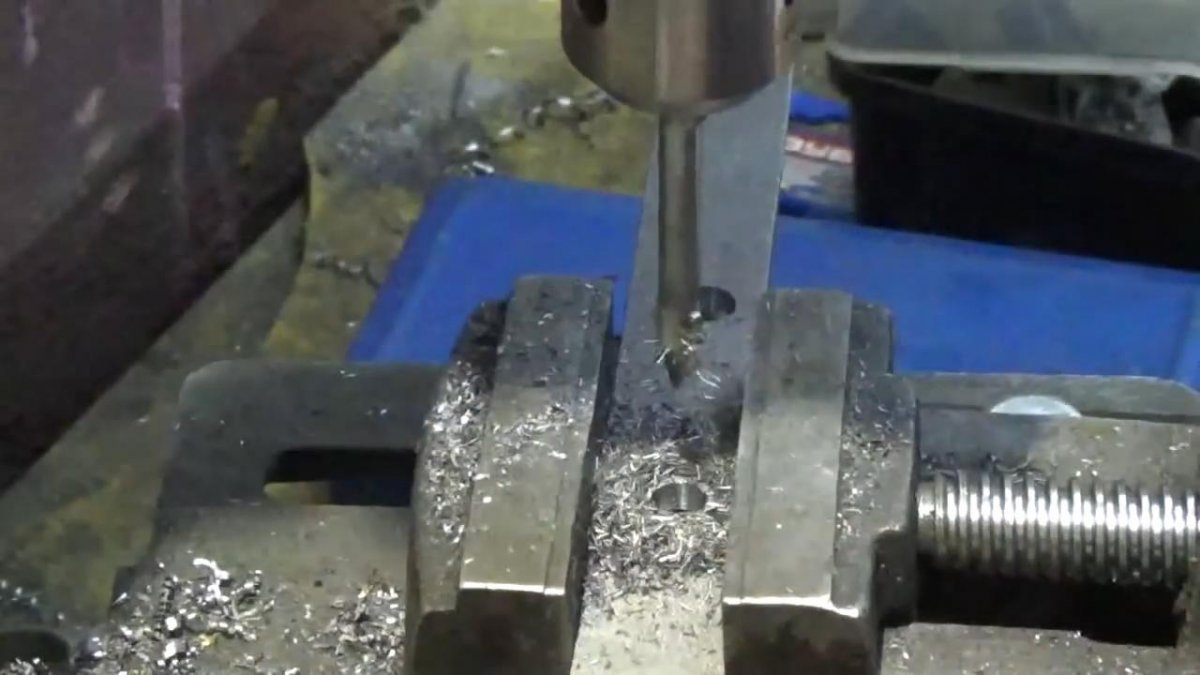
- Weaken the blade handle. To do this, we place the blade of the knife in the tank with water, and the handle is heated with a torch to red color. After the steel has cooled in the fresh air, it will start to drill through without difficulty. We drill holes for pins, better by means of a drilling machine.
- We clean the steel. For this, acetic acid is used. Put the product in it for 2 hours. But here it is better not to overdo it, because acid corrodes steel very quickly. After cleaning in acetic acid, the steel will become dark. You can leave it that way, or you can dash it off to high gloss.
- We work with wood. Place the blade handle on the wood and delineate. Cut 2 blanks. Next you need to drill 2 holes for the pins in the wood. We attach the workpiece to the handle, fix and drill holes of suitable diameter. Now you can assemble the handle, and see how it will look. Grind the workpieces, thus preparing the handle for gluing.
Also, strip the steel so that the glue is easily attached to it.
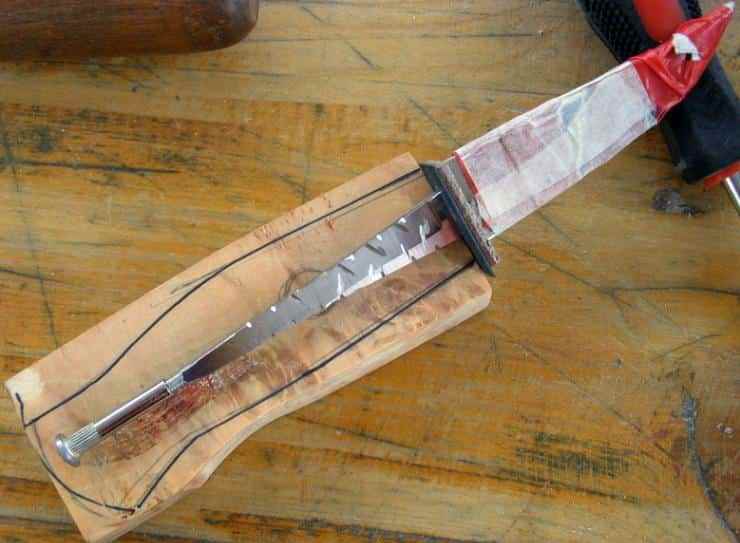
- Glue the handle. Mix in the required proportions of epoxy glue and glue the handle. So that everything is perfectly glued, fix it in a yew or a clamp.
- Polishing handle. After the glue dries, polish the handle on the grinder. Your goal will be to refine its figure to perfection. When the handle is finally ready, be sure to saturate it with means of protection from moisture.
You can apply flax seed oil and other impregnations.
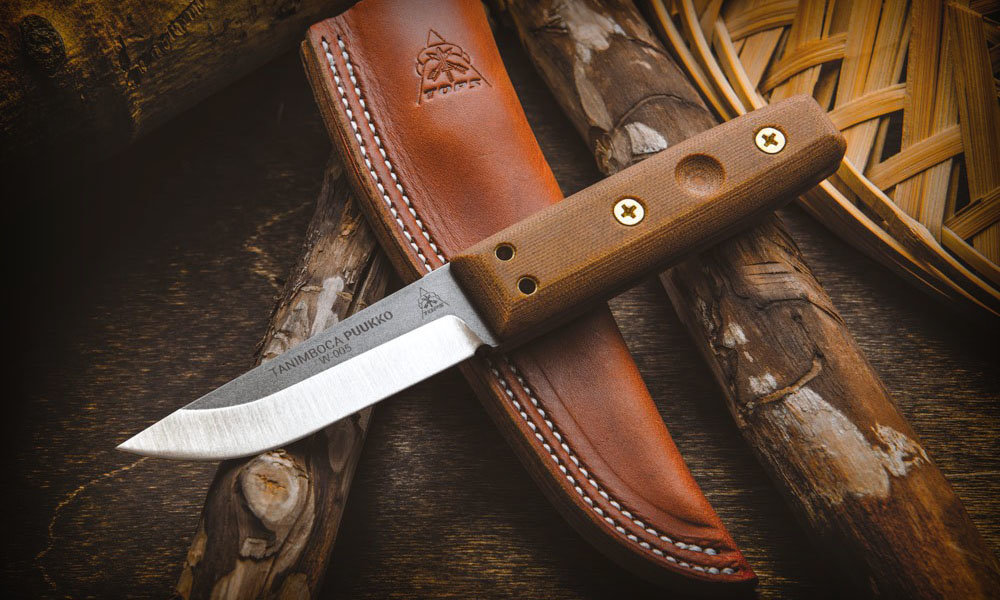
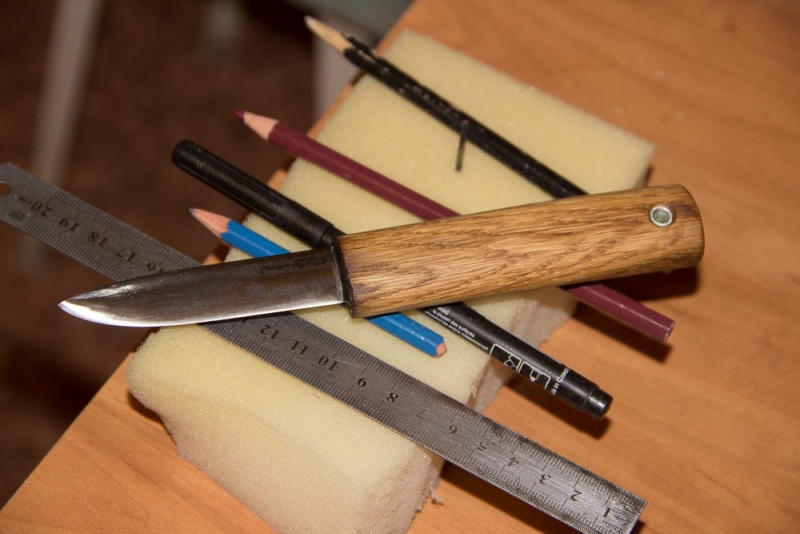
- The final. The knife is made, now you need to grind it well. For a comfortable and safe wearing a homemade hunting knife, it is desirable to make a sheath.
How to make a hunting knife with your own hands, see the next video.