How to make a folding picnic table with your own hands?
Hiking trips involve rest, requiring the presence of a large number of specialized items and accessories. One of these structures, without which it can not do in nature, is a camping table. With certain skills, it is quite possible to make his own hands.
Features and types of designs
Types of camping tables differ from each other in a list of different characteristics. The list includes the following:
- cover manufacturing material;
- construction and material of the bearing part;
- functionality;
- the size.
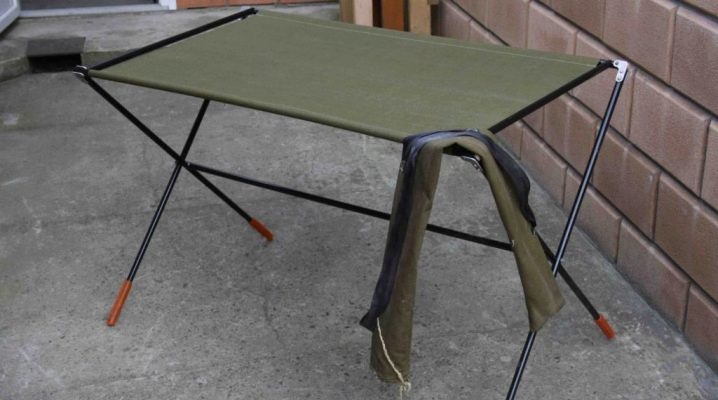
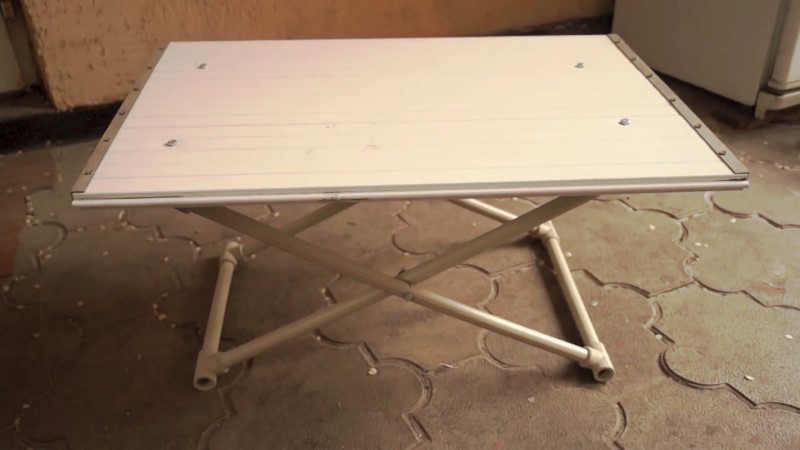
The range of modern tourist market offers a wide range of modifications of tables for camping. Among the list constituting the main lineup, you can find folding tables, detachable, all-in-one, combined and others. Folding camping table consists of the main parts: table tops, supporting elements, mounting hardware.
The parameters of these components may vary in shape, size and other structural characteristics.
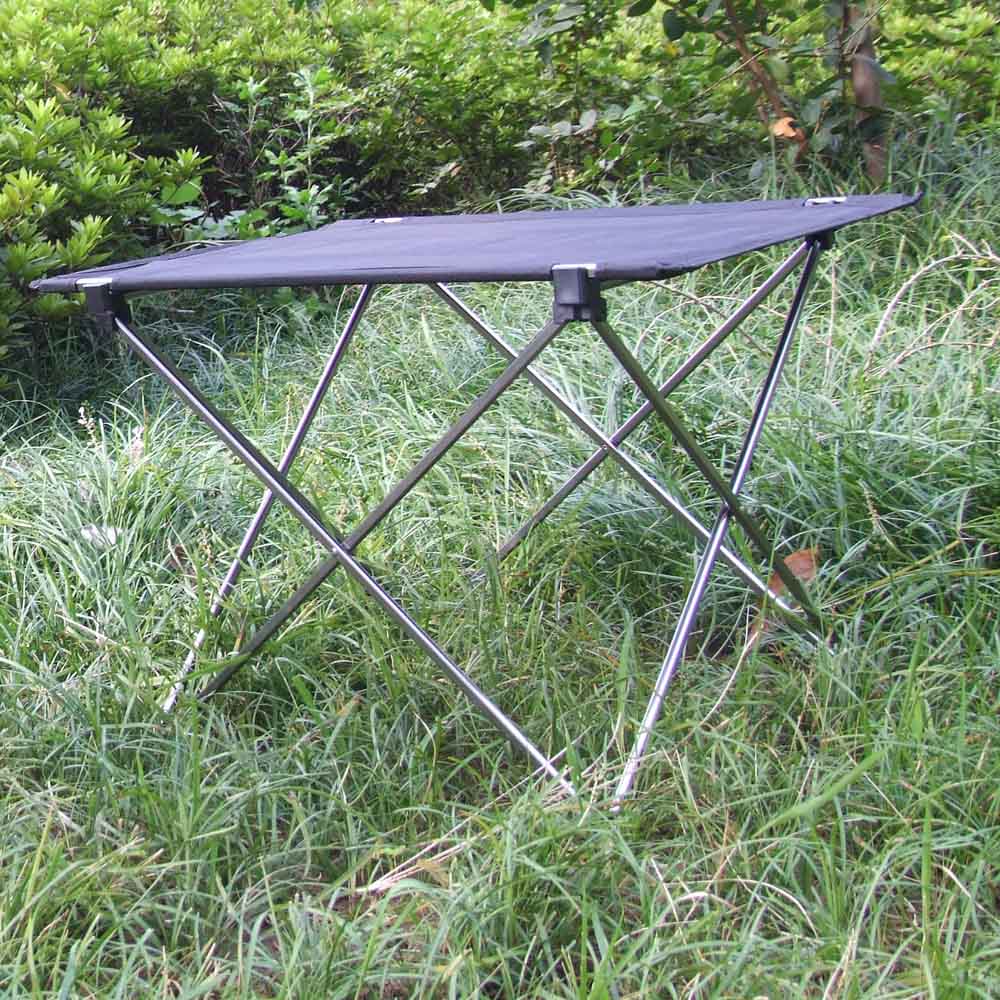
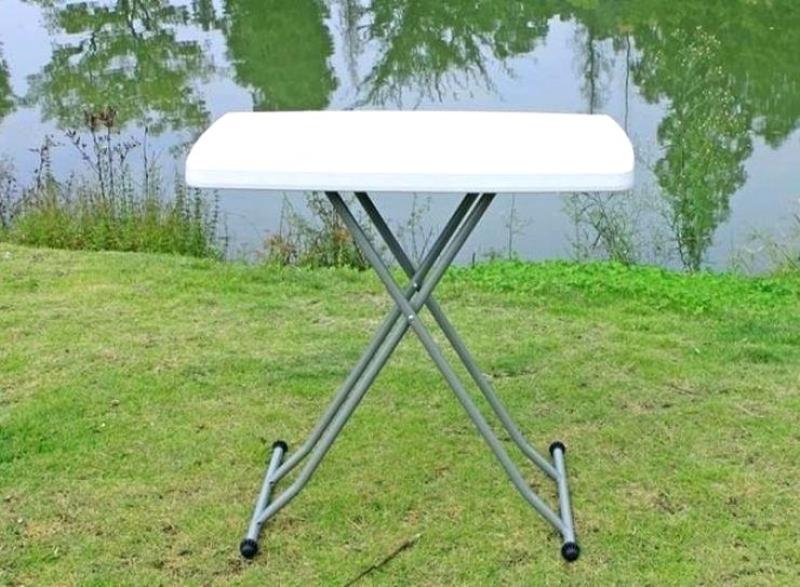
The working principle of the folding mechanism of the camping table is similar for all models. The main rules of its implementation are simplicity of functionality and saving of free space. Modifications of detachable tables allow you to separate their bearings from the table top. Depending on the design, parts may be stored together or separately. Models of one-piece camping tables suggest a partial separation of the supporting part from the tabletop. In this case, the parts that make up the design are stored together.
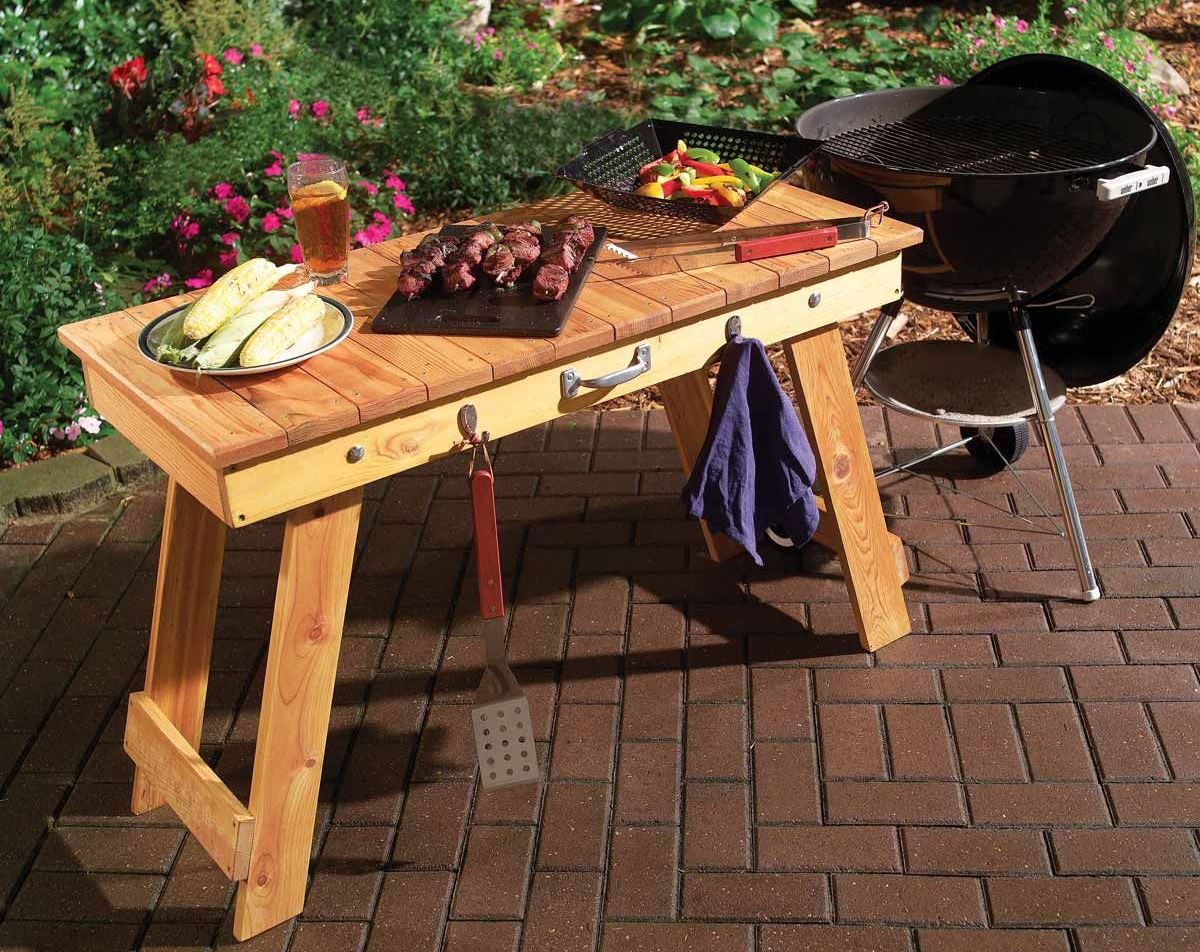
Tourist picnic table, can be used in different ways. Depending on the need, it can serve for the processing of various kinds of food. For example, you can cut meat on a camping table, prepare products for further cooking procedures (frying, cooking, drying, etc.). Among other things, such a table can be used as a surface for storing various camping accessories, for example, dishes or other kitchen tools.
If the design and size allow, the table can be installed in a tent, which makes it possible to use it for its intended purpose in adverse weather conditions. In order to meet the individual needs of a particular tourist group, you can assemble a homemade camping table.
To achieve the best result during assembly, it is necessary to take into account the whole range of needs that may arise during a hike or at a picnic.
Materials used
The factors that determine the intended use of the camping table determine the materials from which it will be made. Before choosing a particular material the degree of the expected load that will be applied to the product during its operation is calculated.
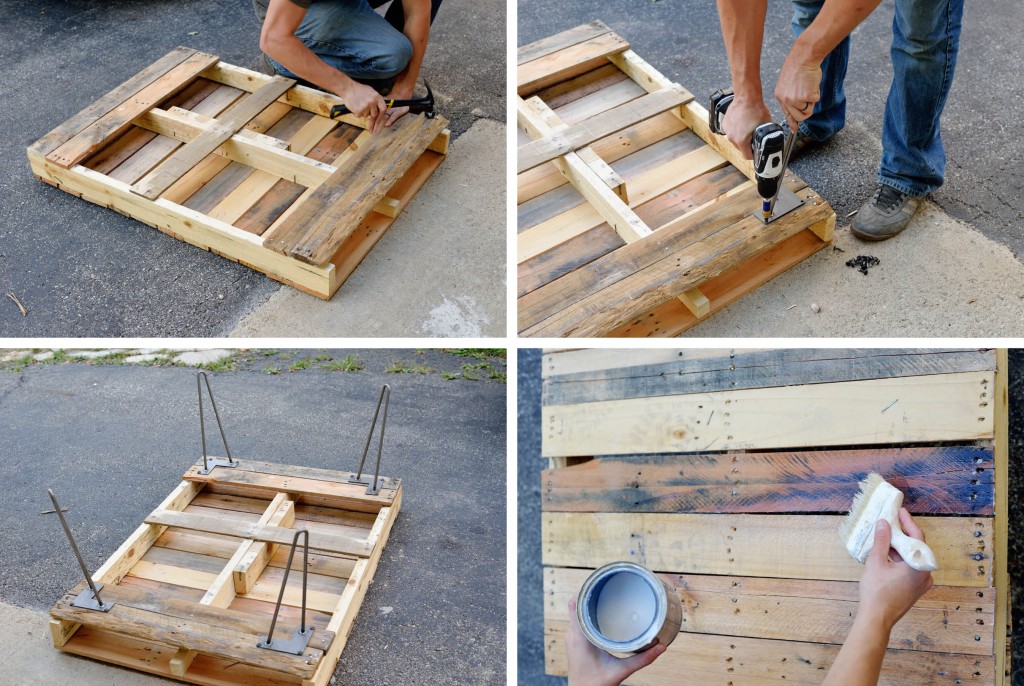
Boards
It is allowed to use boards as the main material that makes up the surface of the tabletop. For example, you can use boards taken from a loading pallet. However, they are not the best option. This is due to the technical characteristics of the board material, which determine the methods of its attachment to the supporting elements.
To attach the tabletops to the top of the table legs, you must use two mounting points on both edges of each individual board. If bolts are used for attachment, then at least one board will need to use at least 4 bolts, which will increase the number of consumables used in the assembly and increase the weight of the whole structure.
Chipboard
The chipboard as a worktop has characteristics that meet the criteria for greater efficiency. However, its main drawback is susceptibility to structural destruction. Under the influence of moisture or destructive loads exerted on various mounting currents, it quickly collapses, which leads to the factors of defectiveness of the whole structure, reducing the period of uninterrupted operation and reducing reliability.
Plastic
Plastics are materials that meet the criteria of practicality to a greater extent than other materials. It is not affected by moisture and, depending on the brand, is resistant to most loads. However, finding a suitable plastic blank is extremely difficult.
Plywood
The most advantageous material for the manufacture of countertops is plywood sheet. Its structure assumes the presence of several wood layers interconnected by gluing. At the same time, the direction of the wood fiber of each layer is perpendicular to the rest, which positively affects the rigidity parameters and resistance to deformation loads.
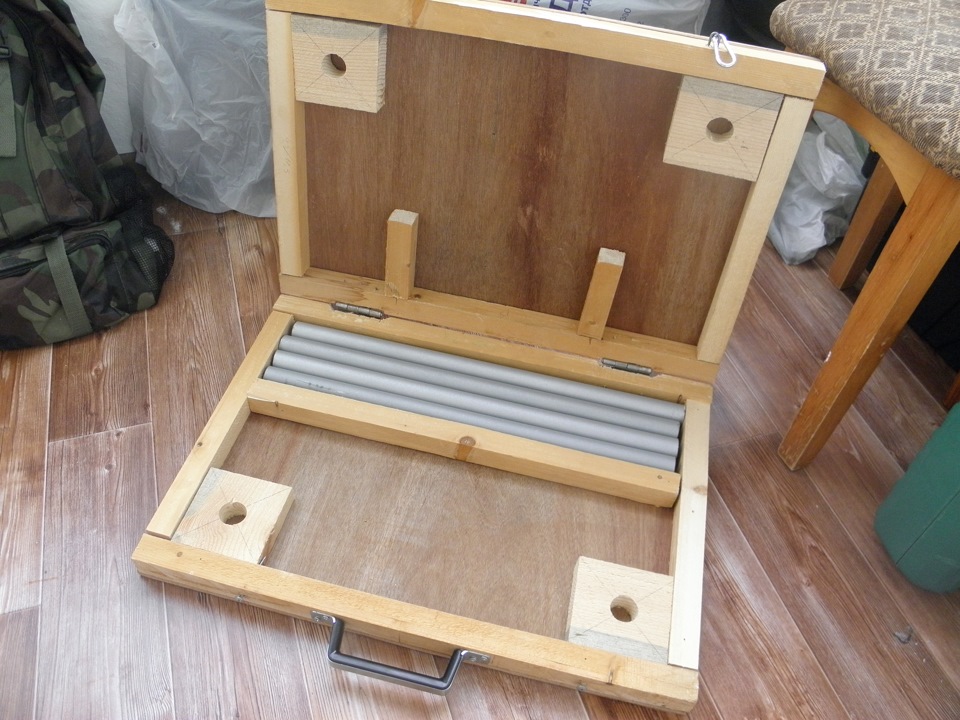
Structural characteristics of plywood make it possible to equip reliable fasteners that have been running smoothly for a long time. If there is a sufficient amount of this material, you can also construct a “suitcase” camping table that is stored and transported in a closed case. For the manufacture of legs it is recommended to use a metal square tube with a side of at least 2.5 cm.
Its profile provides a sufficient level of structural rigidity and makes it resistant to deformation loads.
Required Tools
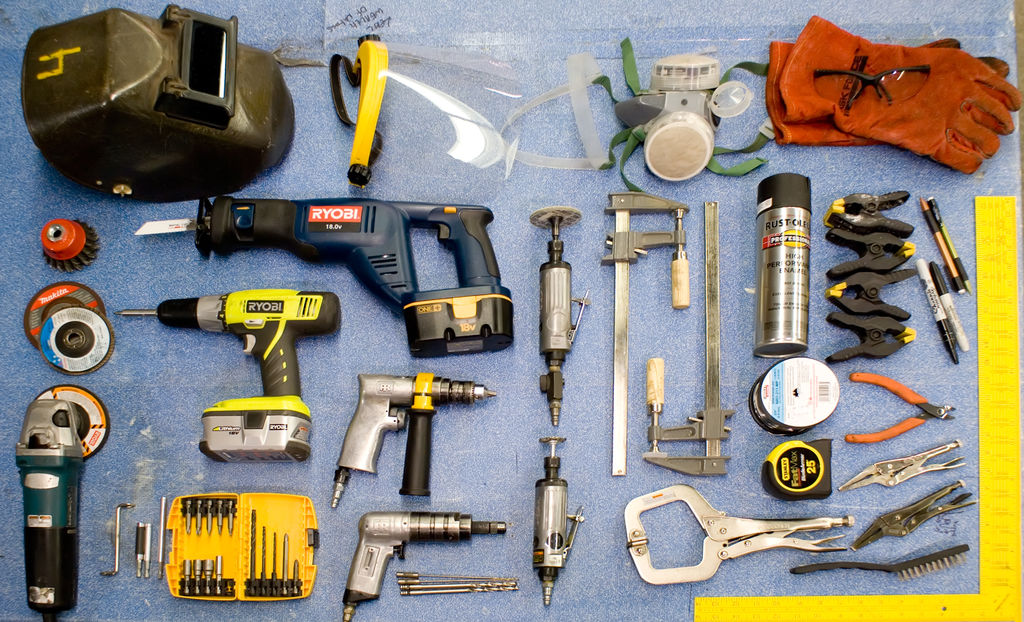
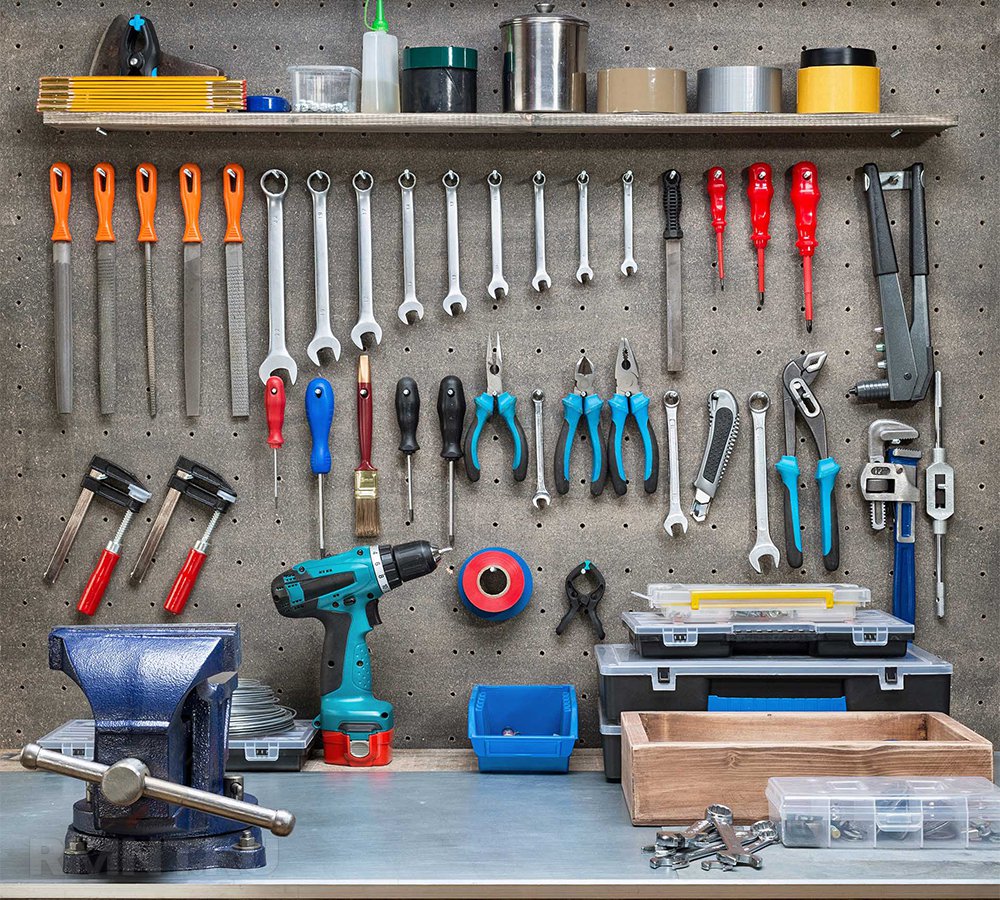
To make a camping table with your own hands, it is necessary to prepare a set of basic tools with which to assemble. The following tool names can be noted in the list of sets:
- hacksaw or jigsaw;
- welding inverter (if possible);
- electric drill or screwdriver;
- angle grinder;
- circular nozzle for angle grinders for grinding;
- hammer;
- gon;
- tassels or small roller;
- marking devices (pencil, marker or chalk);
- measuring devices (tape measure or ruler);
- other related tools.
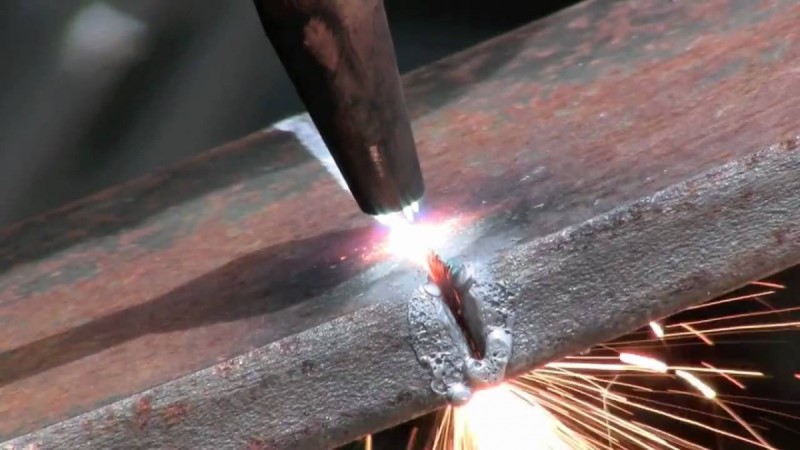
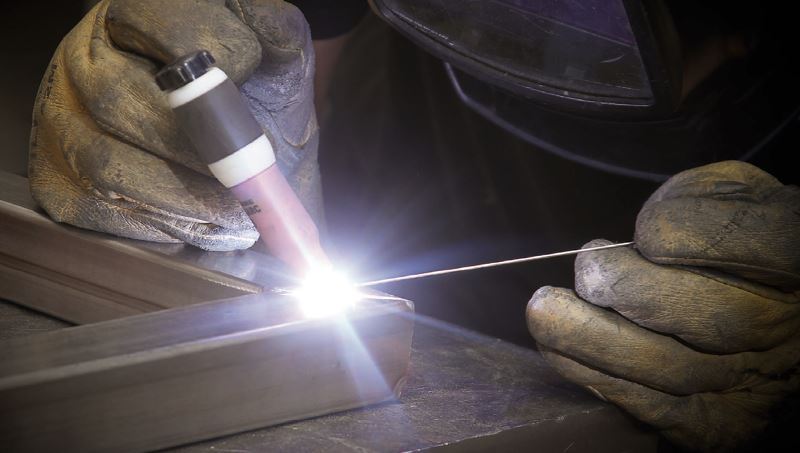
In the manufacture of metal support legs, it is desirable to use an apparatus for welding metal. This is due to the fact that the welded joints of individual parts of the structure in this case are the most durable. In the absence of a welding inverter, you can use bolted connections. To do this, you need to prepare a certain number of bolts and nuts. The presence or absence of certain names of tools is determined by the type of construction of the future table and the method of its assembly.
Consumables:
- sandpaper;
- drill;
- self-tapping screws;
- bolts;
- electrodes;
- cutting wheels on the grinder.
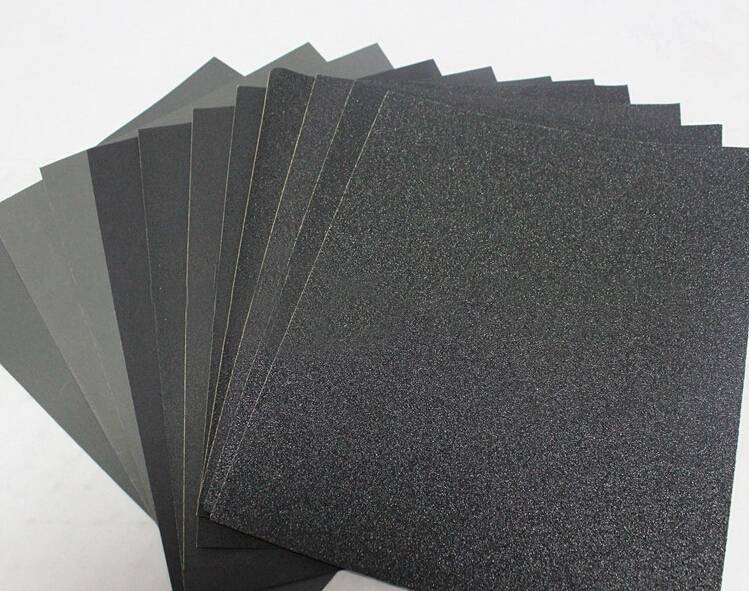
Depending on the characteristics of a particular table model, additional consumables may be needed.
How to make?
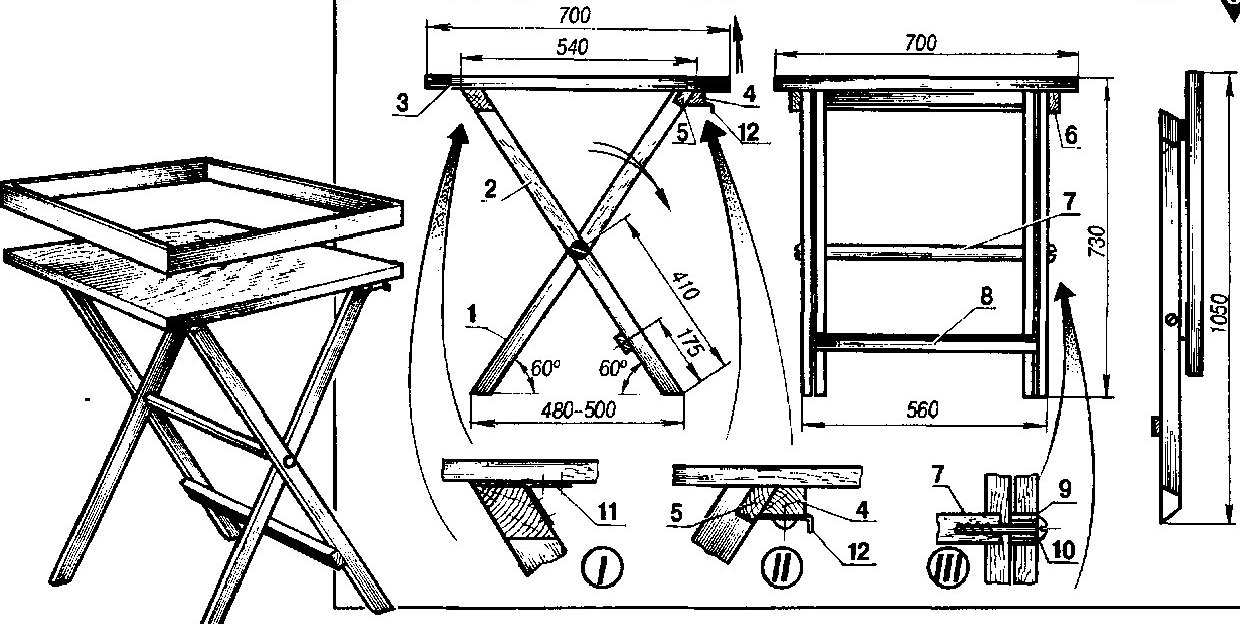
Before you start making a homemade camping table, you must prepare the drawings of its design. The drawings should indicate the dimensional parameters of the individual parts of the product: table tops, the height and width of the supporting elements, data on the dimensions of the used blanks. The location of the fasteners should also be marked on the drawing.
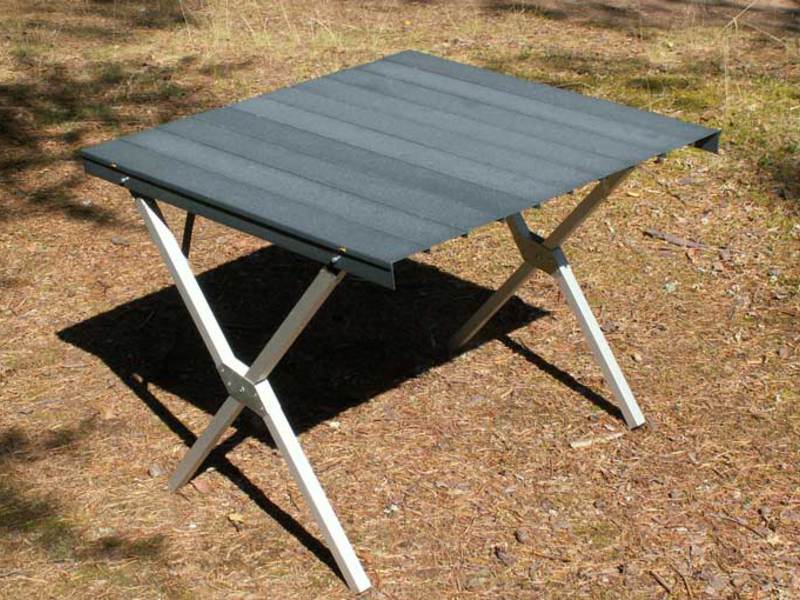
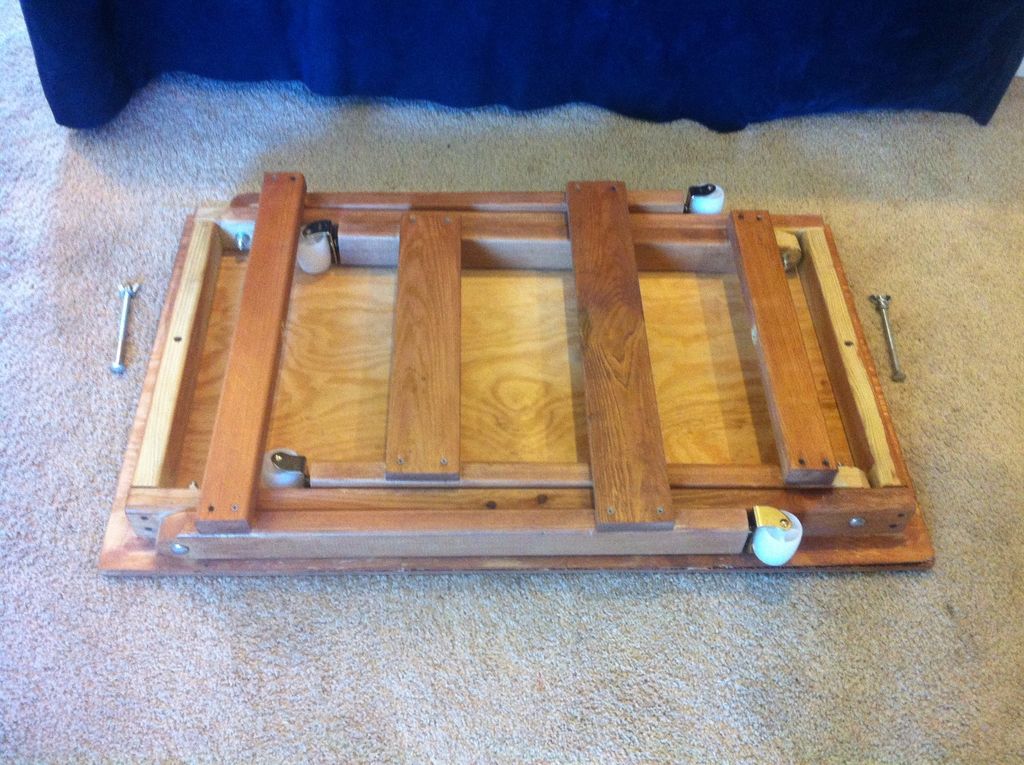
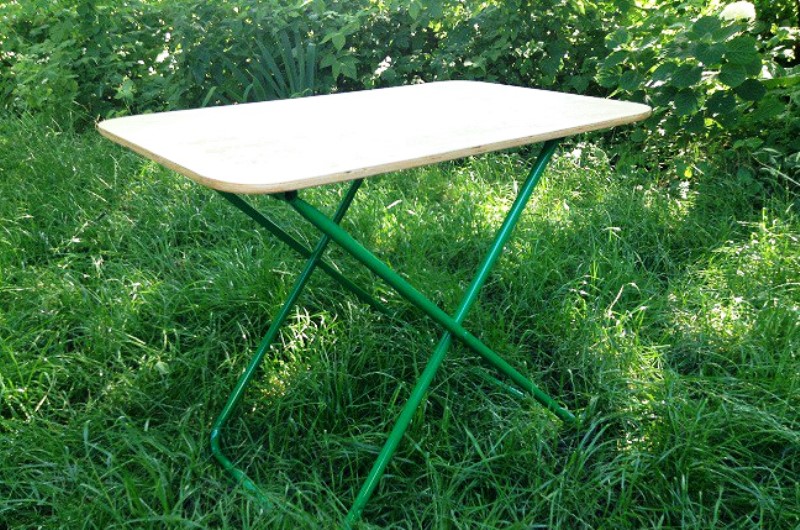
Support legs
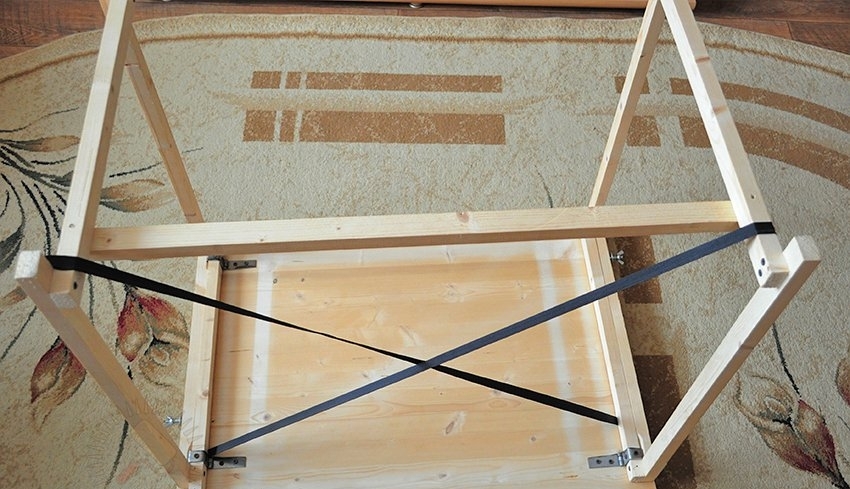
For the manufacture of support legs, it is necessary to cut off the square metal pipe sections, which will be the legs and jumpers connecting them. The optimal height of one pair of legs, taking into account their diagonal arrangement - 70 cm. The height of the other pair should be 3-5 cm morethat will compensate for the offset arising from the cross-connection of 2 support pairs.
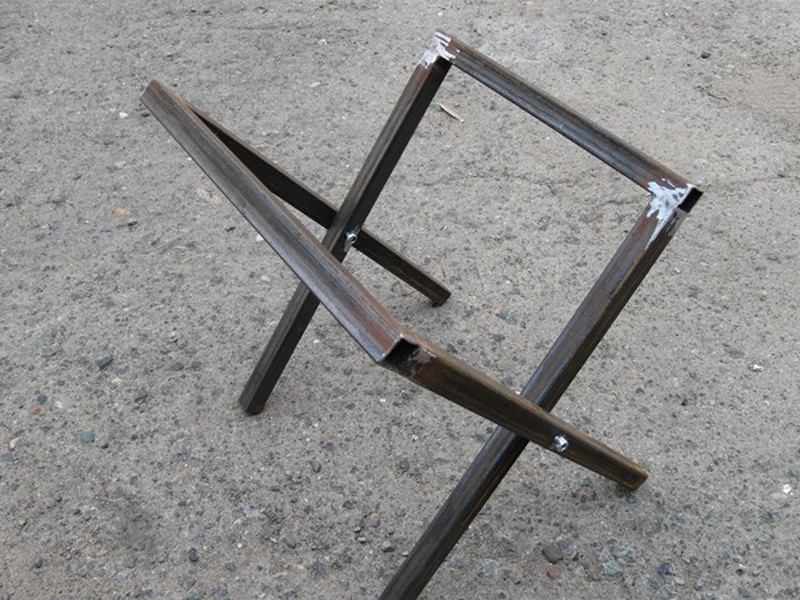
The width of the upper lintels connecting the legs is equal to the width of the tabletop, reduced by 20 cm. Reducing the lintel width is necessary to free the end edge of the tabletop from the proximity of the metal parts and ensure ease of operation. The resulting blanks are welded in the shape of the letter "P". U-shaped pairs should be made in such a way that one of them fits into the inner perimeter of the other with a minimum gap.
Through holes are drilled in the side faces of the legs, penetrating both pairs in the same place. Bolts are inserted into these holes, the length of which should allow them to pass through the thickness of the two legs and extend at least 1.5 cm from the other side. The protruding distance is needed for screwing the nuts onto it. Washers are laid under the head of the bolt between the walls of the legs that are in contact with each other and under the nut, thus reducing the friction of the workpieces against each other.
It is recommended to use a locknut, the profile of which does not allow it to completely screw on the bolt. This will help maintain a sufficient gap between the blanks, causing their free movement relative to each other. At the same time, a grover is placed under the nut, preventing its arbitrary unscrewing.
If there is no counter-profiled nut, you can rivet the edge of the bolt opposite to its cap. Violation of the integrity of the extreme turns of the thread prevents the debunking of the screw connection. Ready sliding legs are prepared for further installation.
As part of this training, it is necessary to clean the weld seams from dross and clean them using a grinding nozzle installed on the grinder.
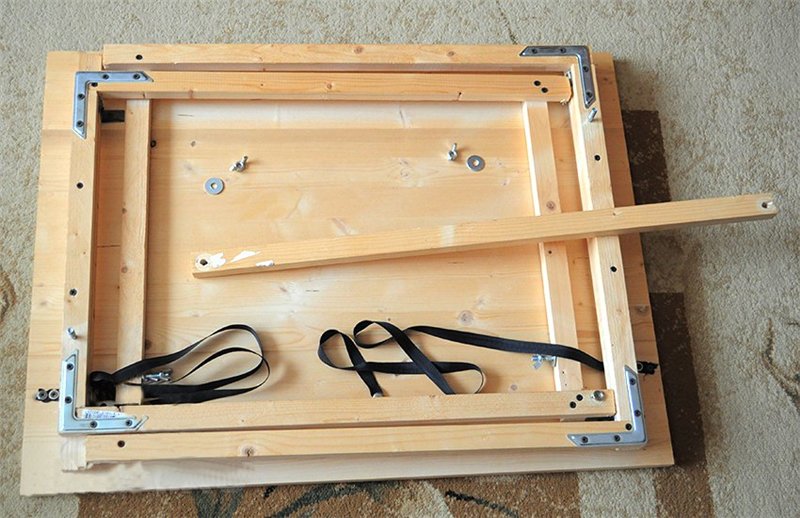
Next is the painting blanks. Paintwork will protect them from corrosion. Bolts can be unmounted for painting. This will help avoid clogging of the threaded channels and reducing the mobility of parts of the mechanism. In the connecting crossbar of one of the support pairs 2 holes are drilled at an equal distance from the corners. They are necessary for further attaching the legs to the bottom of the tabletop.
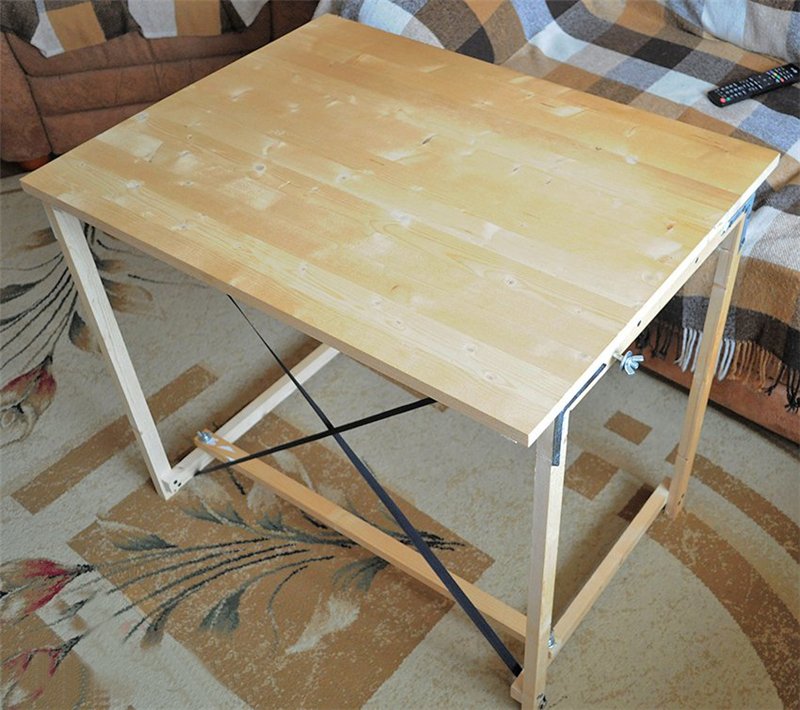
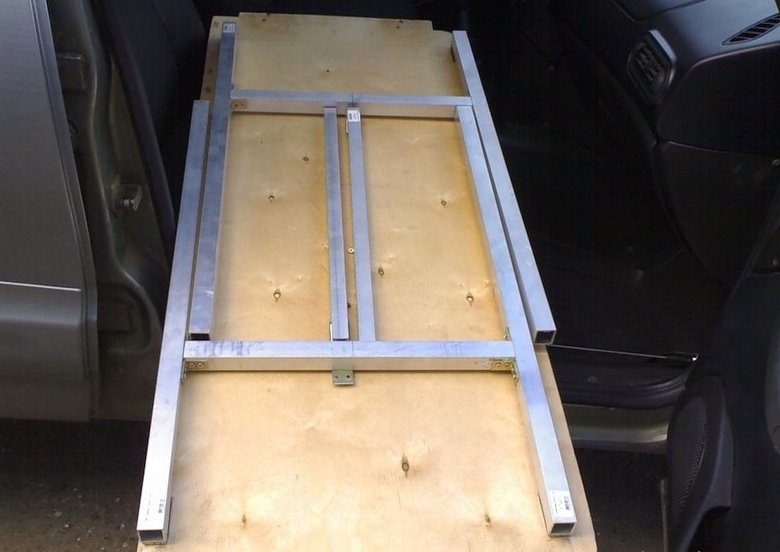
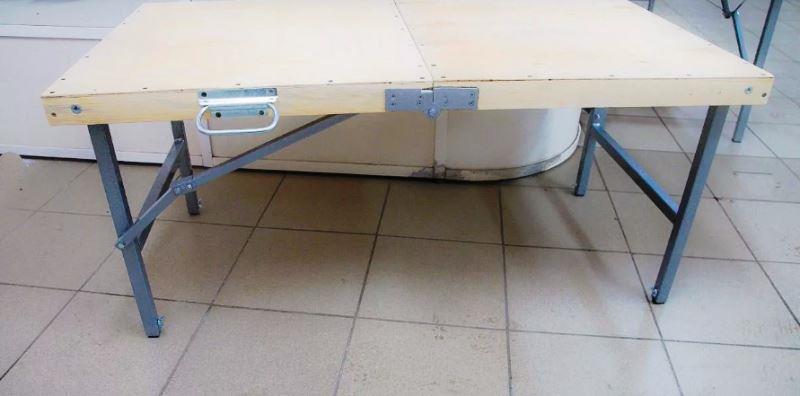
Table top
It is made from a single sheet of plywood. The value of its thickness can vary in the range of 1.5-2.5 cm. The optimal length of this workpiece is 70-75 cm, and the width is 60-70 cm. The final weight of the finished product depends on these values. At a distance of 20-30 cm from the short edge, 2 holes are drilled, the location of which coincides with the location of the holes drilled in the connecting crossbar.
Furniture bolts with rounded caps are inserted into them. They must pass through the tabletop, the jumper of the supporting pair and exit on the other side by at least 1.5 cm. At the opposite edge of the tabletop, a longitudinal strip is attached to the bottom of the tabletop.
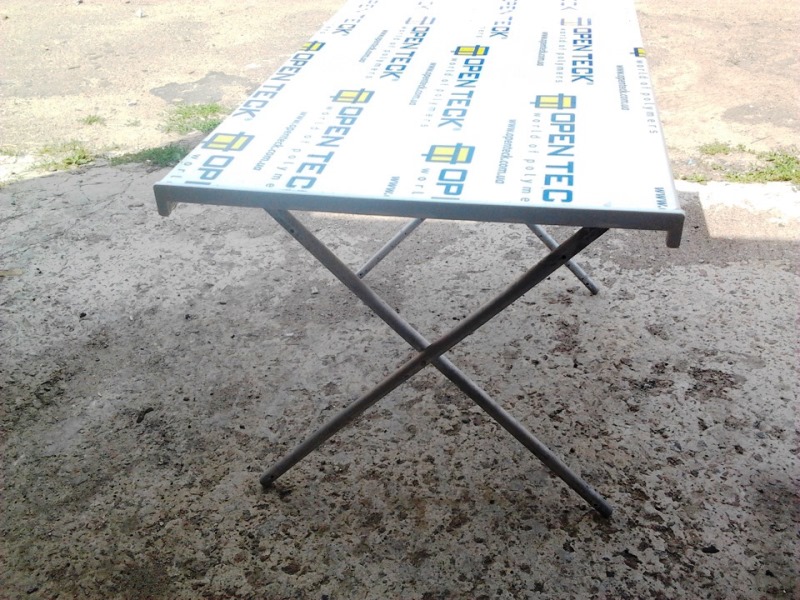
The connecting bridge of the second support pair, which is not attached to the tabletop by means of bolts, will rest against it. The final step in assembling a homemade table is painting or lacquering his countertops. This will protect it from moisture and other external factors, as well as give it an aesthetically appealing look.
How to make a folding picnic table with your own hands, see the following video.


