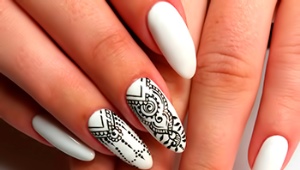
Manicure "space"
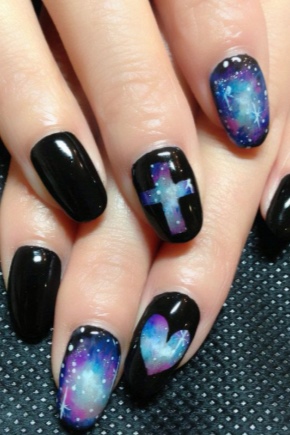
Nowadays, perhaps, all advanced technologies have been mastered in the world of nail-art, including the most up-to-date 3D, thanks to which butterflies flap on the nails, buds bloom of unprecedented beauty, or wild cats sneak ... But if you already bore cute butterfly flowers it's time to turn to the topic of a cold, but such a fascinating cosmos.
The boundless gave the universe, its mysteries and secrets cause today genuine interest. And just imagine: your manicure can also become a part of the cosmos!
How did the fashion for space nail-art?
The theme of cosmic expanses and distant galaxies today is definitely a trend. "Star Wars", "Prometheus", "Pandorum" - almost every third Hollywood blockbuster is devoted to space topics. The fashion industry is also not far behind: in boutiques and stores we see a huge variety of models of clothes and accessories in the style of Galaxy. For a long time at the peak of popularity were clothing, decorated thematic prints - images of distant galaxies and nebulae, cosmonauts and spacecraft.
Not spared this trend and beauty salons. Therefore, it is not by chance that the cosmic nail-art has become the trend of the last season.
The first attempts to use cosmic motifs in the nail-art masters have been undertaken for a long time. They tried to apply star clusters and comets with stickers and sparkles, but progress does not stand still, and today the beauty-industry has much more diverse options for imitating the Milky Way and the starry sky.
Ideas
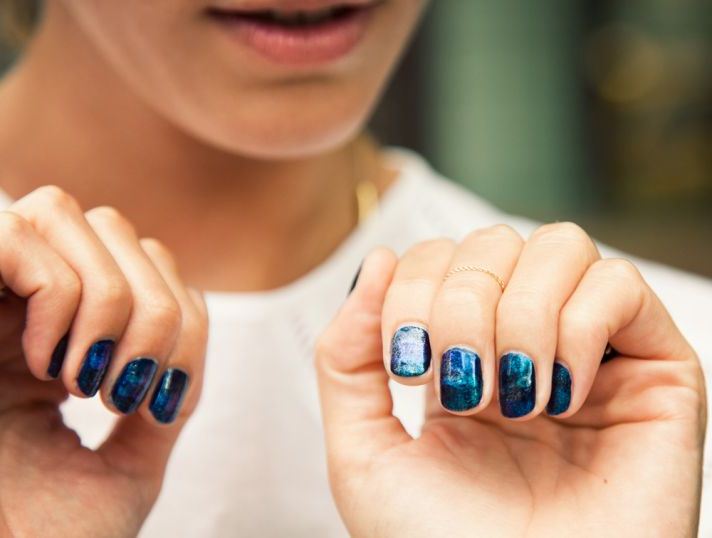
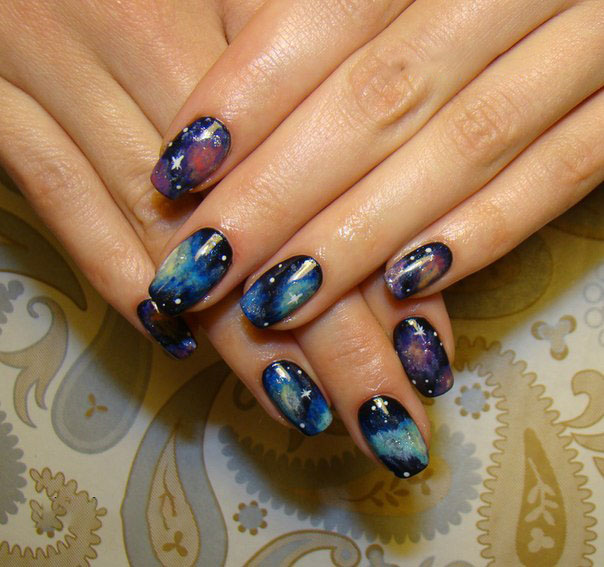
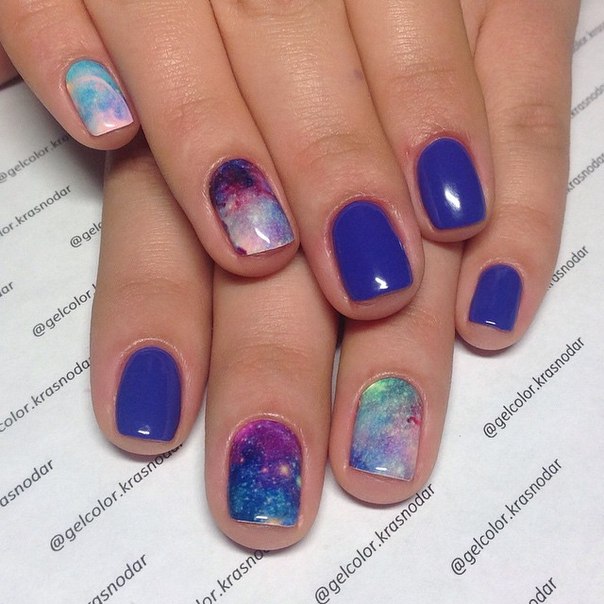
Nail manicure using galactic objects or in the form of a starry sky looks very impressive, and its versatility is an undoubted argument in favor of this type of nail design: manicure looks great in everyday life, at work in the office, and at the same time demonstrates your individuality during evening exit. Cosmic nail-art looks not only original, but also modern, star galaxies and placers of sparkling stars on the nails can not fail to attract attention! And indeed: such a manicure attracts the eyes of others like a magnet.
It is not surprising that many women of fashion would like to show off the manicure in the style of Space, but such a design is by no means a budget version: it will be financially expensive in a beauty salon. Therefore, there is a sense in the development of technology for creating a space manicure at home.
How to do?
Although at first it seems that not everybody can create a small universe on nails, but knowing the technology, any girl well-versed in manicure will cope with this task.
With the help of tips from this article you can easily cope with the original manicure. To create a star's distance on your nails, you will need a little time, a lot of inspiration and a certain set of materials and tools.
Phased Guide
To begin a manicure in the style of "Galaxy" should (as, indeed, any other) with a hygienic nail treatment. This procedure will not only provide a neat manicure, but will also contribute to the uniform application of varnish and a longer preservation of the manicure.
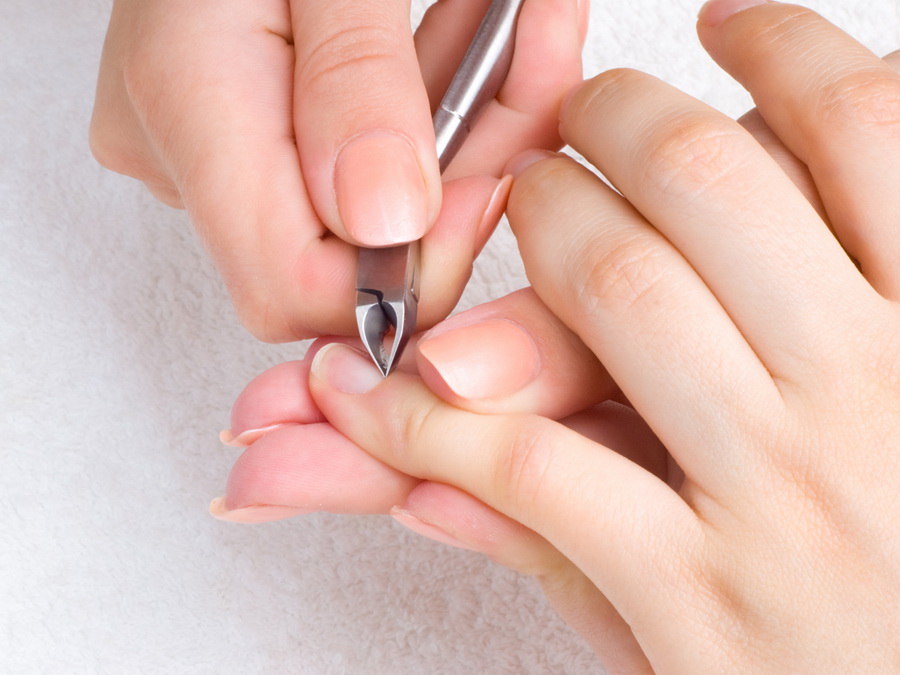
Next, you need to clean the nails from the old varnish and file, do not forget to treat the cuticle.It must either be removed with the help of a pusher, or removed, treated with a special gel. We will not dwell on the preparation stage: every girl is familiar with standard procedures from removing the cuticle to nail treatment.
Shape selection
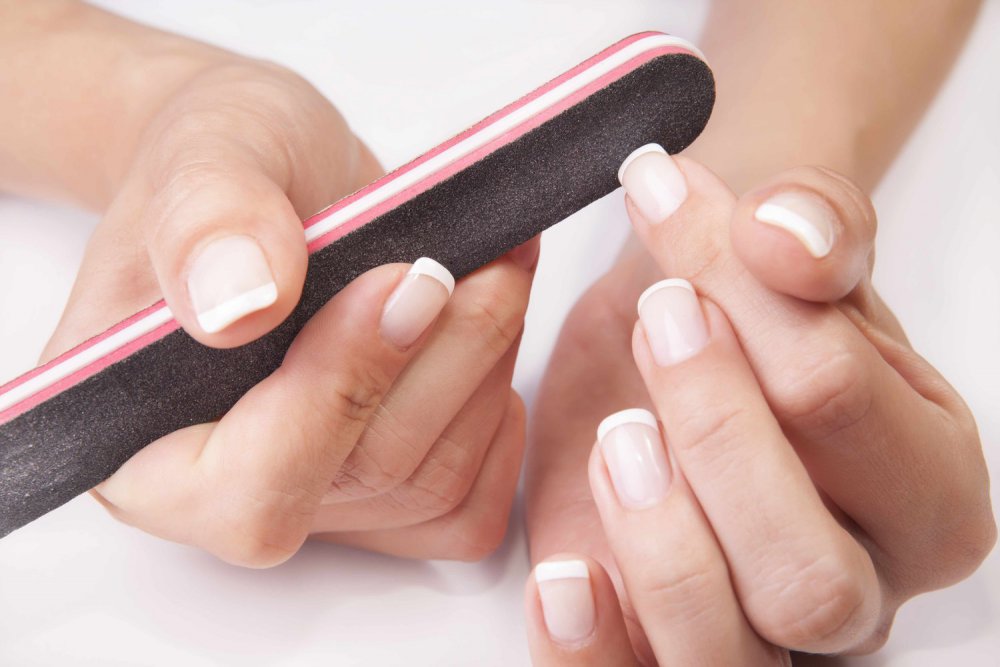
For registration of nails in the style of space there are different options for their shape. Therefore, when choosing it for a star manicure, it is better to start from the shape of the fingers. The square shape is considered to be optimal, since it is resistant to fracture and looks good in space-manicure. The oval shape of the nails also looks pretty good in this style.
The procedure for filing nails should be done carefully, moving the nail file strictly in one direction - from the edge of the nail to the top. The movements should be smooth, and the nails must be dry (manipulations with wet nails cause their increased fragility).

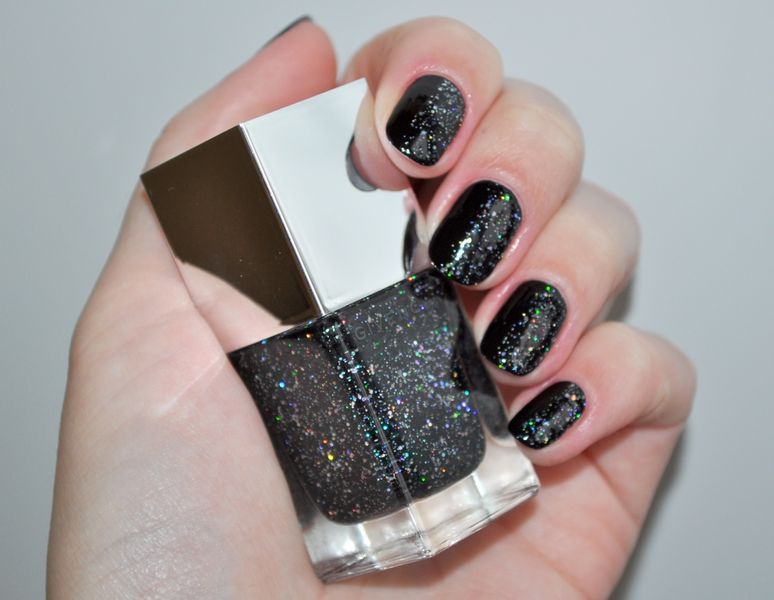
Glitter version
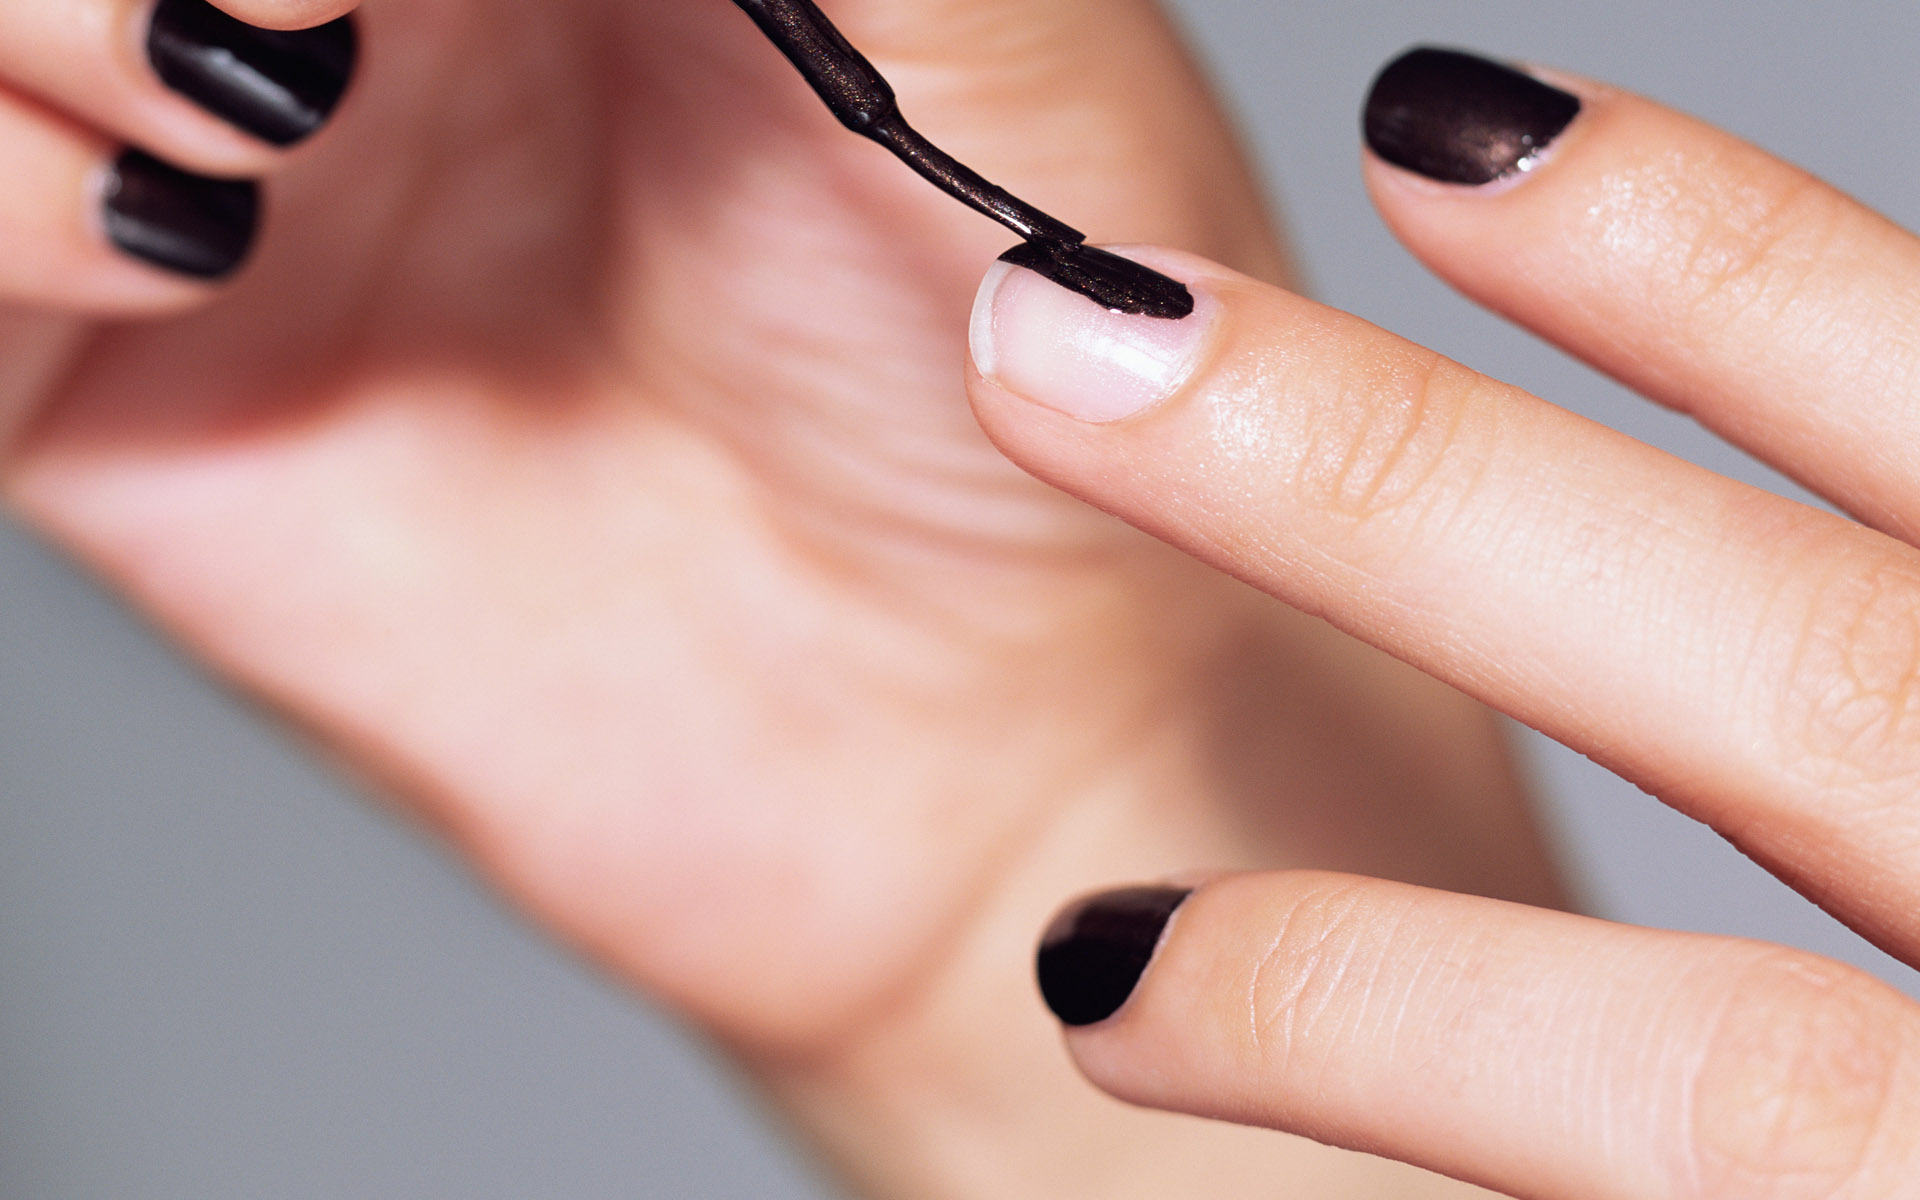
Galactic manicure with glitter is the easiest way, which does not require any special skills, tools or even materials. The essence of the method lies in the fact that the nails prepared in a standard way are covered with a base, after it dries, a base - dark varnish is applied on top of it. If necessary, apply it in 2 layers. After it dries, you can start applying varnish with glitter. It is very important with this method to give the coating to dry properly, otherwise the manicure will ruin and spoil. The final stage will be a varnish with small sparkles.
This method is the easiest option space-manicure, but not the most impressive.

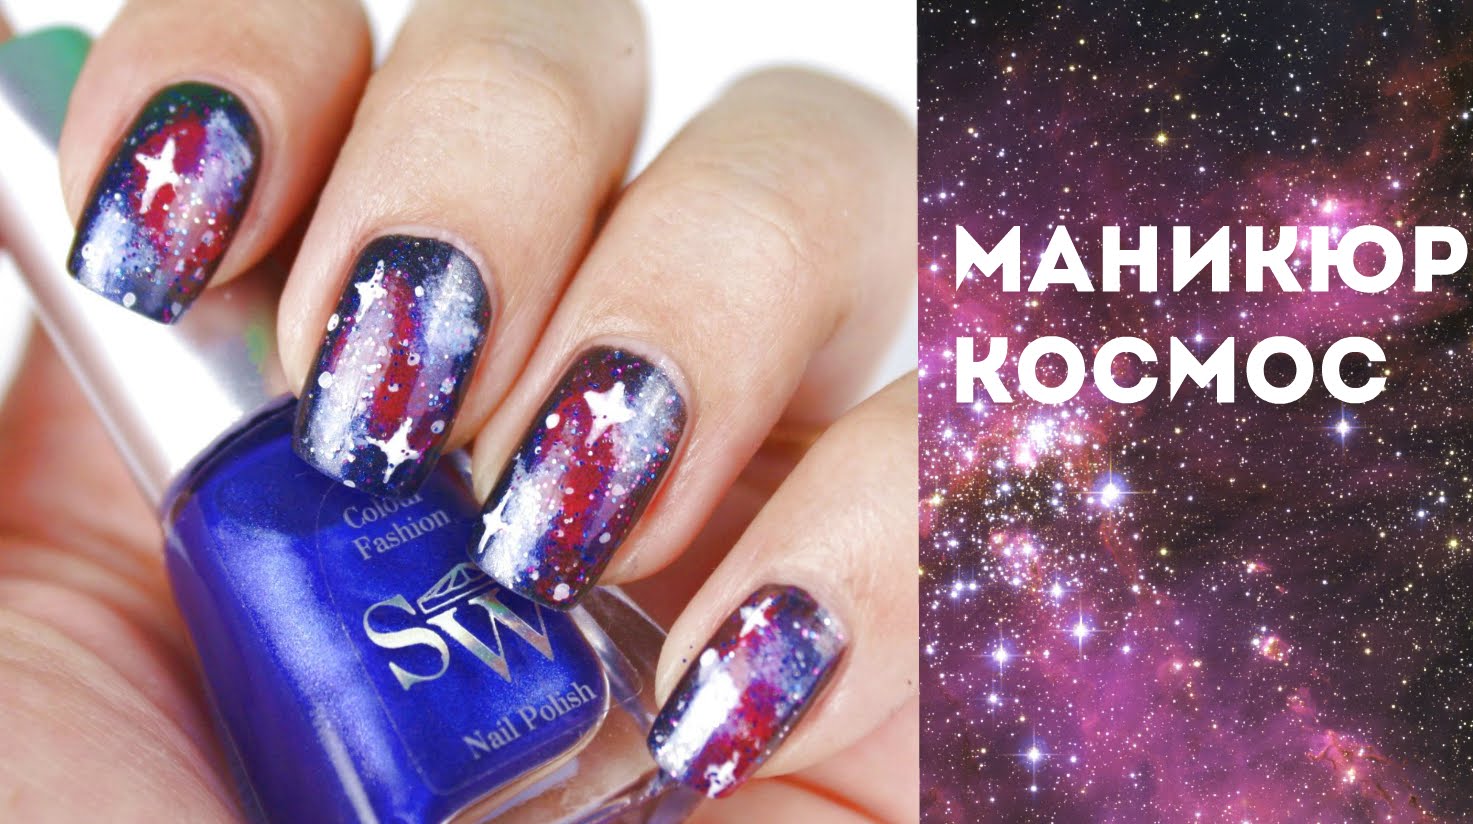
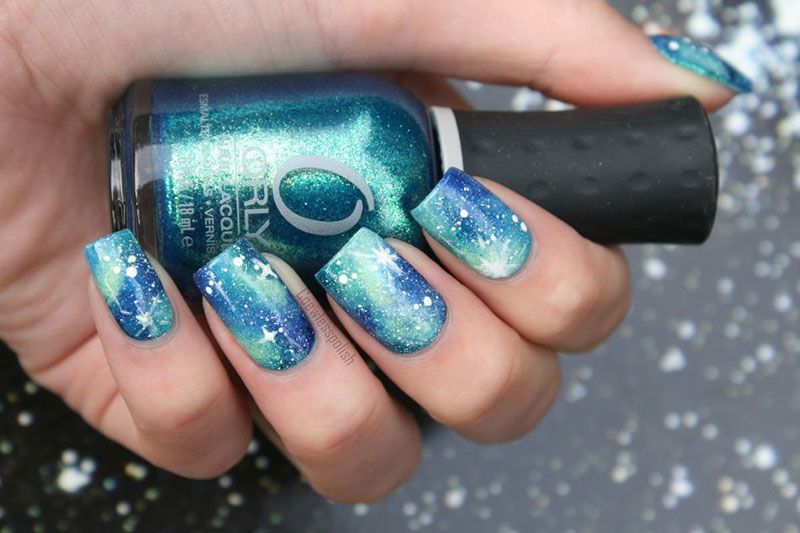
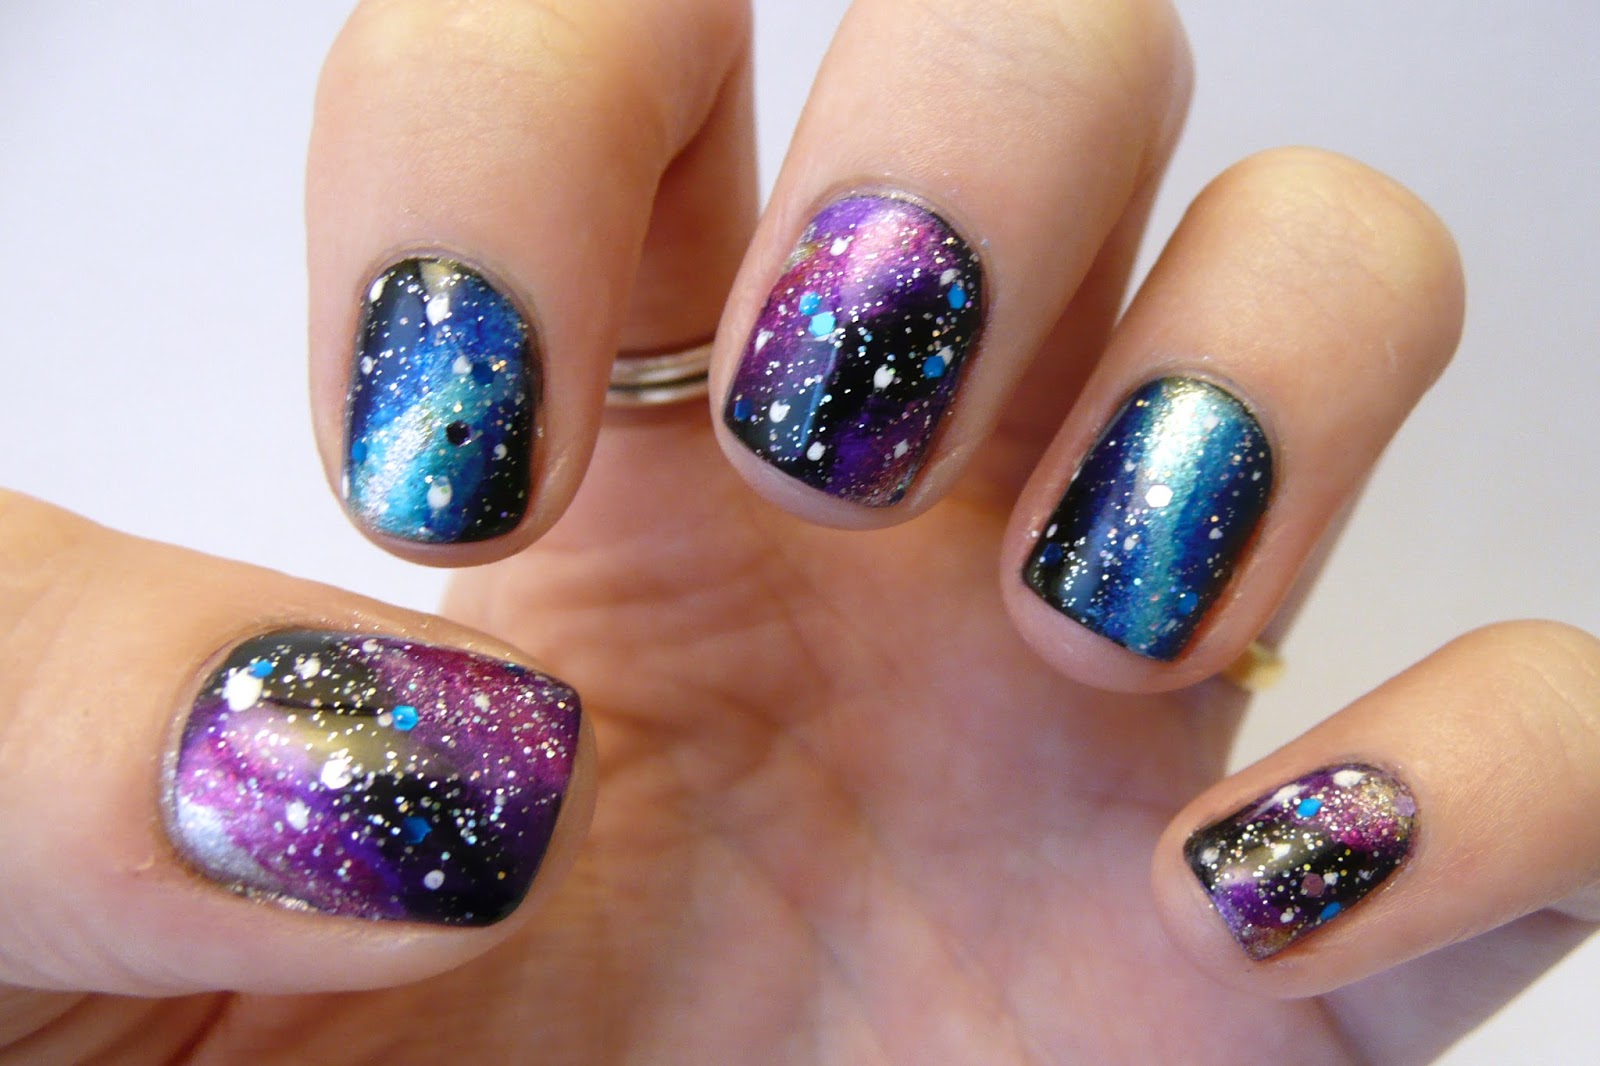
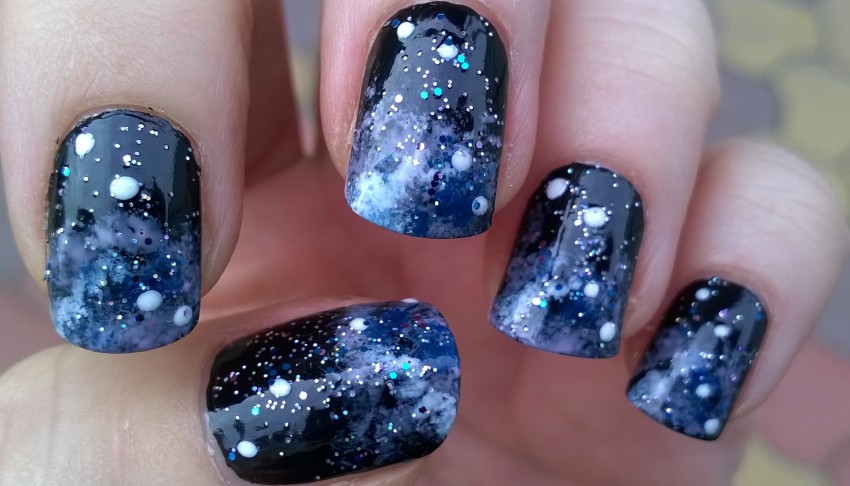
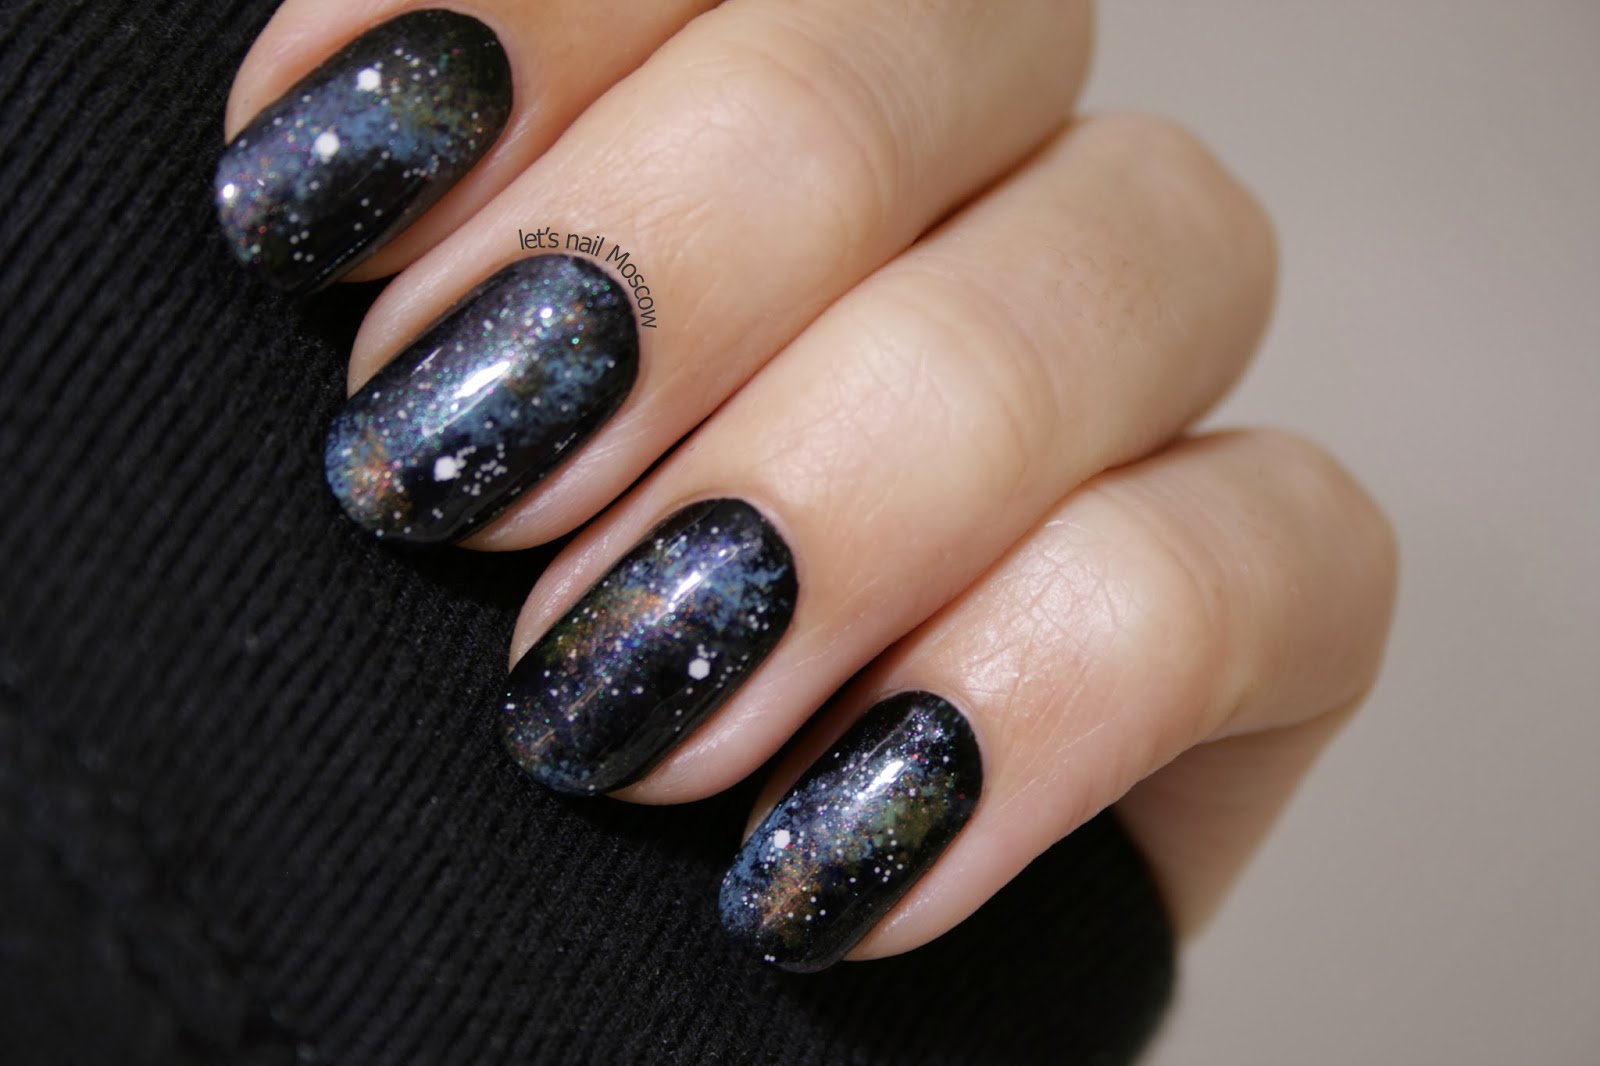
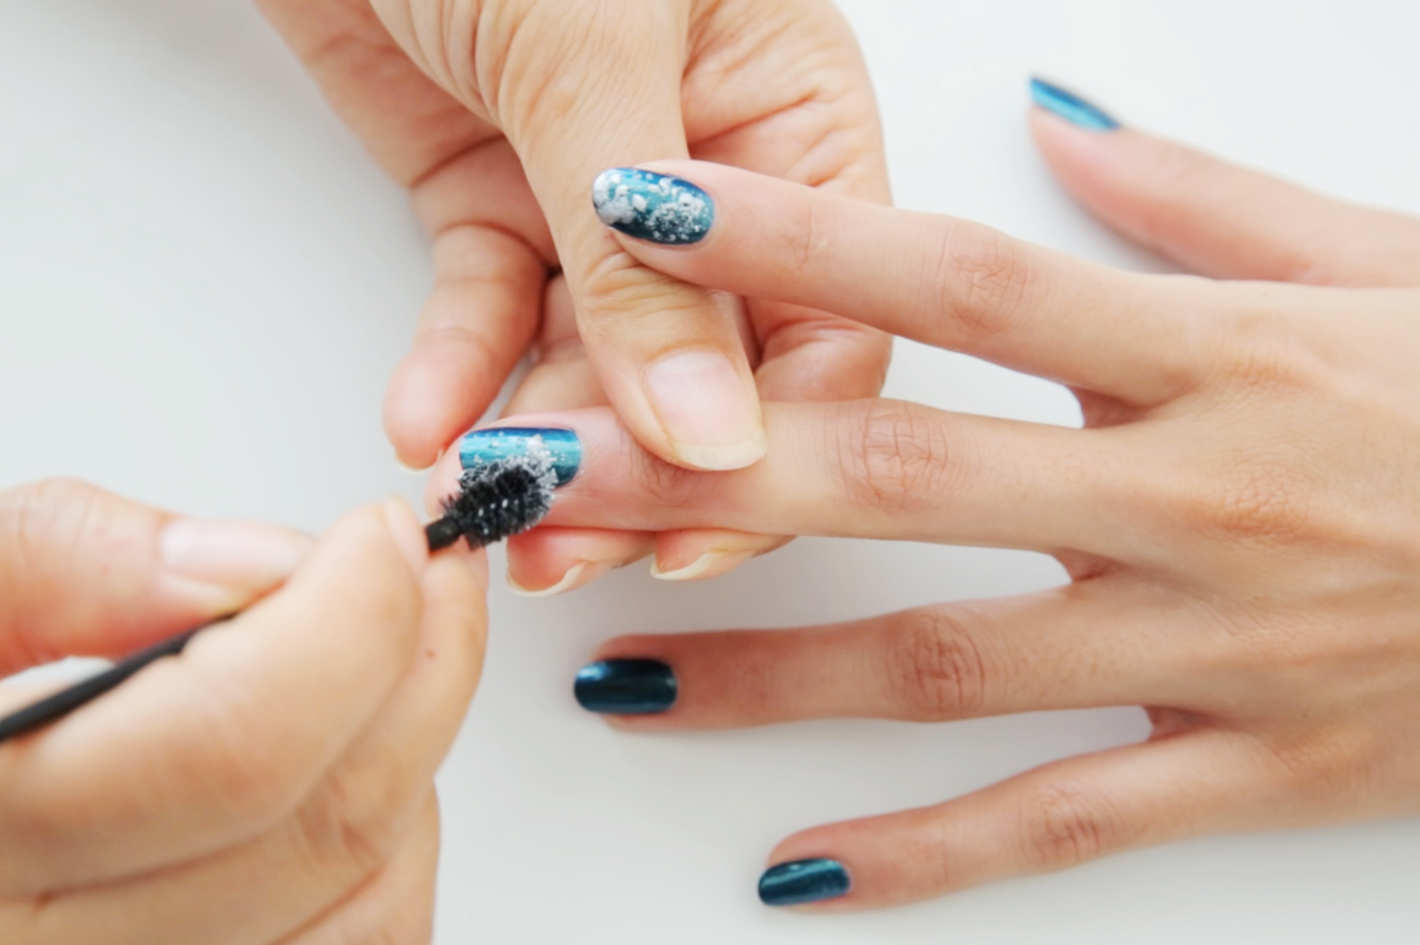
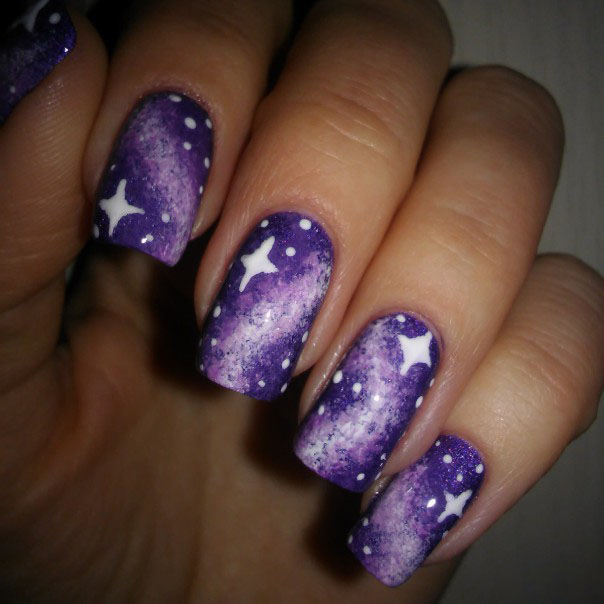
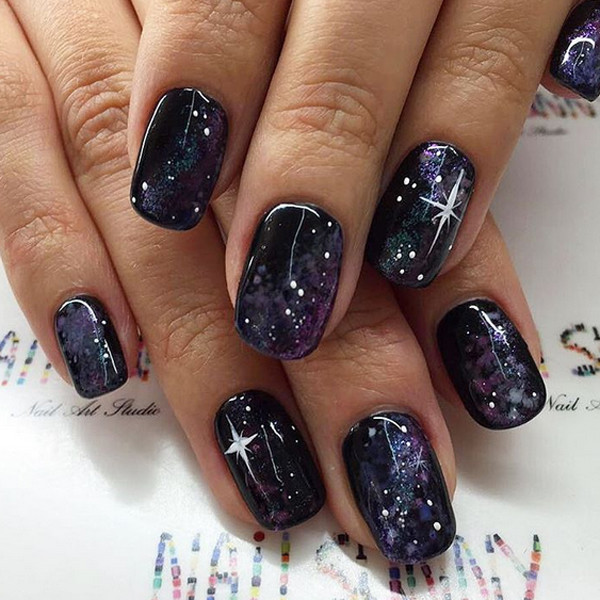
With sponge step by step
Another more interesting way nail-art - “space” is a design with a sponge. In order to get a manicure at home, and you did not spend too much time and effort to create it, please reserve in advance as follows:
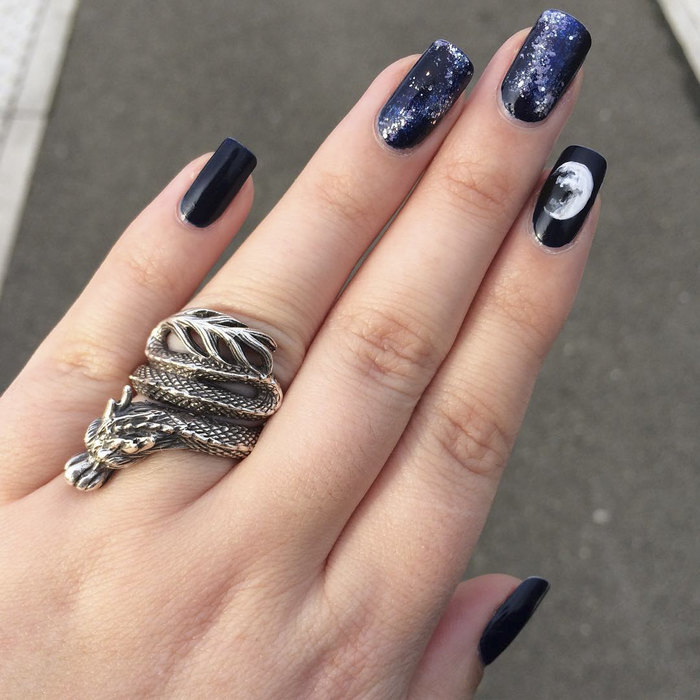
- Dark varnish, (will be used as a base). Give preference to black or dark blue.
- Varnish light shade (it will need to create nebulae).
- A pair of bright varnishes.
- Varnish with light sparkles (it is useful for reproducing the planets),
- Transparent fixative (you can use colorless varnish).
- Spongem
- A piece of paper.
- Palette to mix shades.
Creating a fascinating pattern in the cosmic style requires a strict sequence of manipulations:
- First of all, you need to cover all the nails with black or other dark varnish chosen by you. Pay attention to the density of the coating: to get a more saturated color, you can apply a double layer. Next, make a short pause (2-3 minutes) to dry enough varnish.
- As soon as the lacquer is set, perform the following action: apply a thin layer of light varnish on the sponge, and lightly, as it were, with blotting movements make nebula on the nails.
- After that, on a clean part of the sponge you need to put a small amount of bright varnish and blot each nebula. For a more realistic image, you can use a couple of extra bright colors. Please note that there should be no excess paint on the sponge, and the first stroke should be checked on a piece of paper.
- Sponges can be applied with spots, in the form of zigzags or stripes - it depends on what stellar phenomenon you want to decorate your fingers with a galaxy, the milky way or a comet. Excess paint will need to be erased.
- Having finished the process of imaging nebulae, one can proceed to the deposition of the planets with the help of bright spangles of various sizes.
- The final step will be applying a fixer or simply clear varnish.

Photo Design
Design using lacquer is the most popular version of space manicure today. However, along with indisputable advantages, it also has a number of drawbacks: a common problem of the method is the short life of the coating due to the rapid "slipping" from the nails from the abundance of varnish layers. After about 5 days, such a manicure can get a sloppy look.In this case, the masters propose to use the advantages of space photodesign.
Perform this procedure is quite possible at home. All that is required is a base, fixer and photo design. For simpler use, it is glue-based.
You must first peel off the image using tweezers and place it on the base covered nail, the excess parts must be carefully cut with scissors. Another 9 times doing the same thing - and you can cover all the nails with a fixer. Variants of images on a space theme are a huge number, therefore difficulties in this method can arise only with a choice. Modern photo designs glow in the dark, hands with such a manicure look very, very unusual.
Gel polish
Many experienced women of fashion today have already evaluated the advantages of gel varnishes, the main one of which is the longer shelf life of the nail art result: up to several weeks !. To perform a space-manicure gel you will need an ultraviolet lamp. Gel coating, in addition to special equipment, requires special skills and work, so do it at home is not easy.
Workshops from professionals
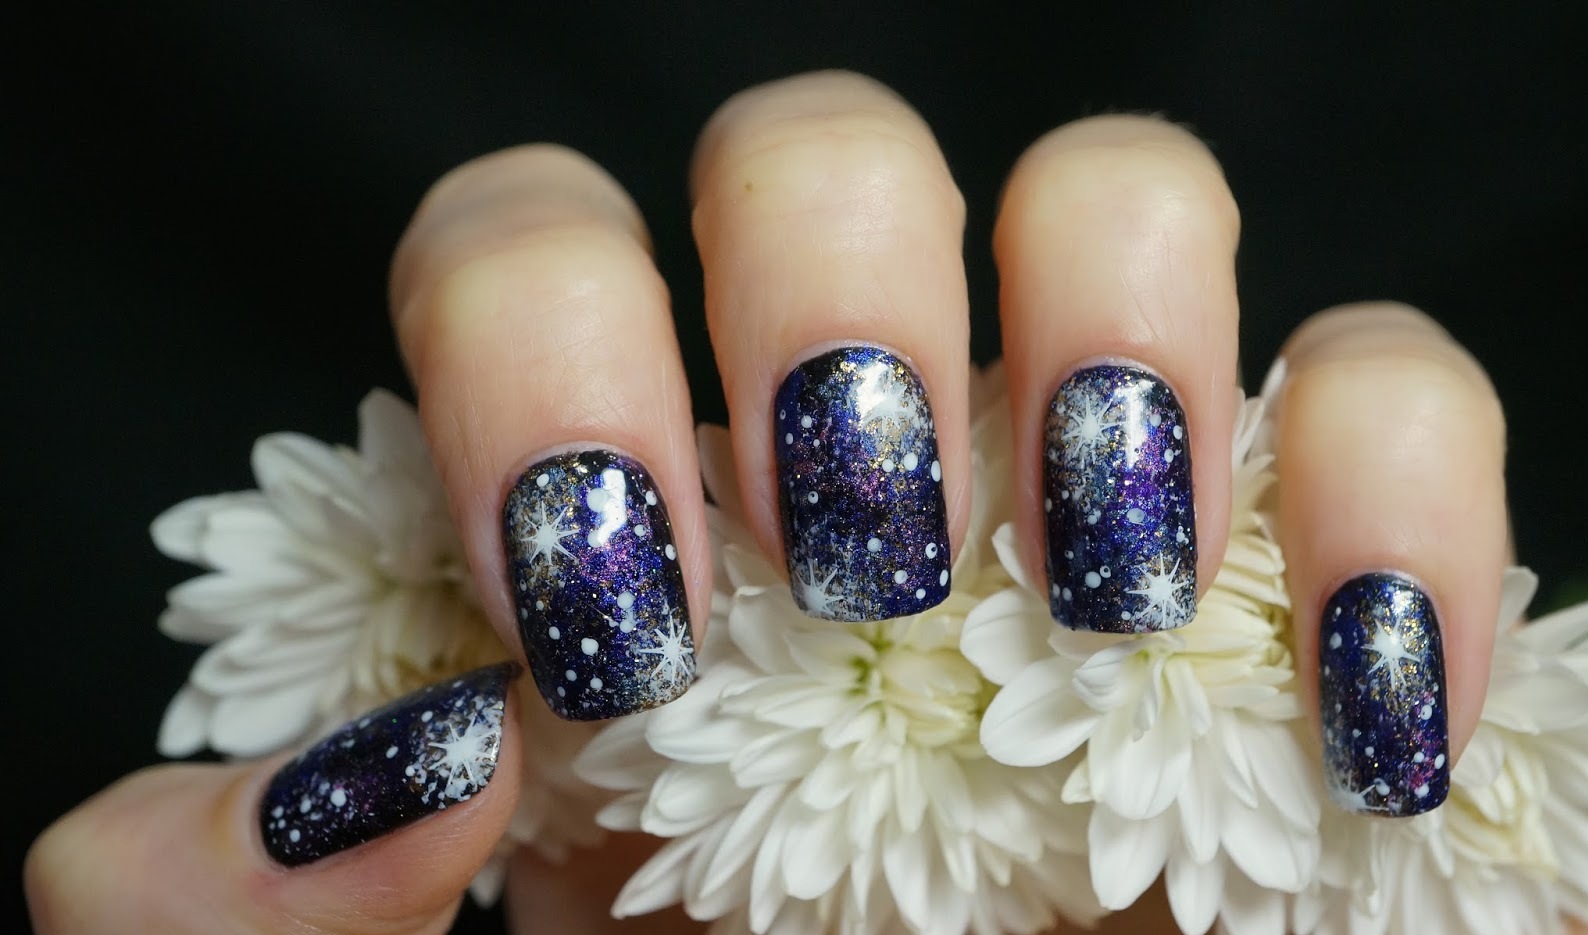
- The design in the “space” style will look more original if you draw the planets with the help of white varnish applied to the sponge.
- If you replace the colorless fixer on lacquer with silver glitter, you get a mysterious Milky Way.
- Often, customers complain that traces of dark shades remain after removing it from the nails. Professionals know that you can not forget about applying a base.
- When choosing colors and shades, it is important to know that cosmic drawings look more effective if they are used in cool tones. Optimally suited pink, purple and blue.
- There are some tricks in the use of the sponge: the masters replace it with a piece of the usual sponge, the traces of which are not so dense - this is how the design is made more accurately.
- Space-manicure is very variable - you can experiment with background colors, draw or paste planets, the starry sky, an astronaut or a spaceport, change the stars in places. The second such design will not be exact. Space manicure looks better on nails of moderate length: different bright colors, sparkles and patterns, coupled with extravagant length will be overkill. Images do not have to be made the same: after all, galaxies are not repeated!
- The highlight of the space-manicure is its uniqueness - you will not come across 100% with the owner of exactly the same design, and even the covers created by your hands will be different every time.
So, we can conclude: performing a manicure in the style of “space” at home is a fascinating process for bold creative natures.. He fits to any image and does not limit the woman in choosing clothes. It looks wonderful both with jeans in summer, and with a fluffy sweater in winter. The space on the nails will become the “cherry on the cake” of your fashionable look!
How to make a space manicure, see the following video.