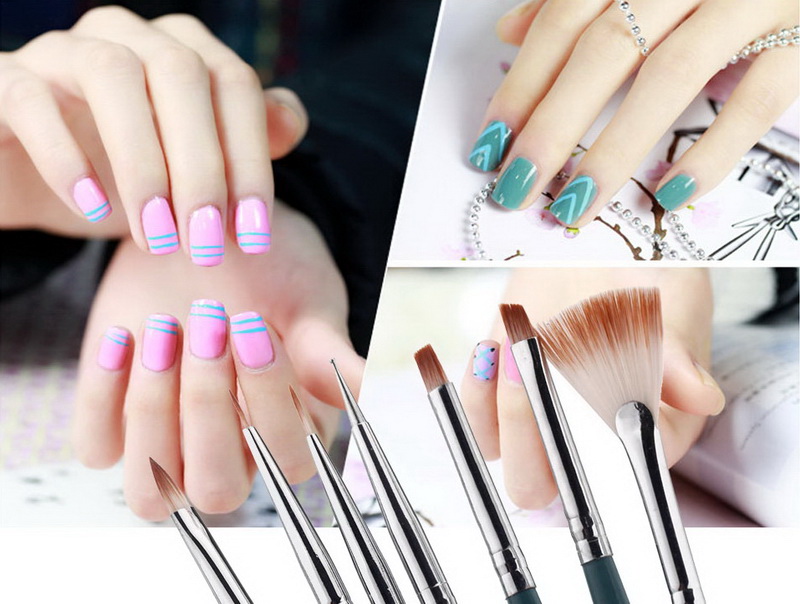
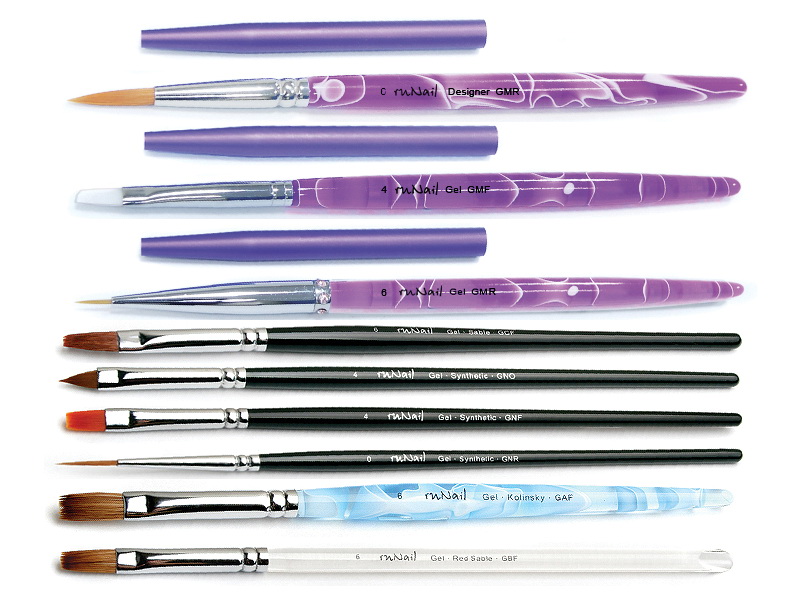
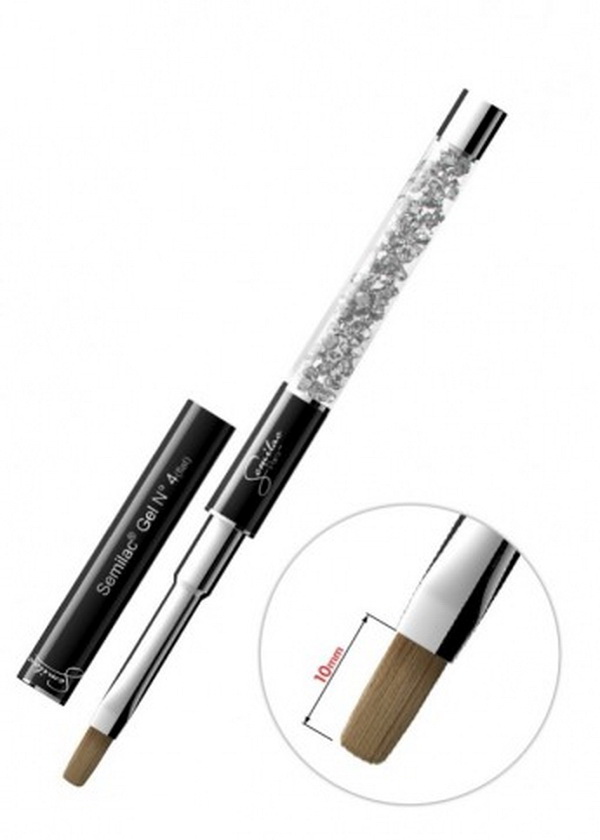
Gel polish brushes
Beautiful manicure emphasizes the individuality of the girl. The easiest way to apply a monochromatic gel polish to achieve a well-groomed look for a long time. If fantasy allows, you can perform a variety of drawings, using several colors of lacquer. Depending on the complexity of the painting may need different brushes. There are certain requirements for the tool that will help in the selection of both beginners and advanced masters.
Tool requirements
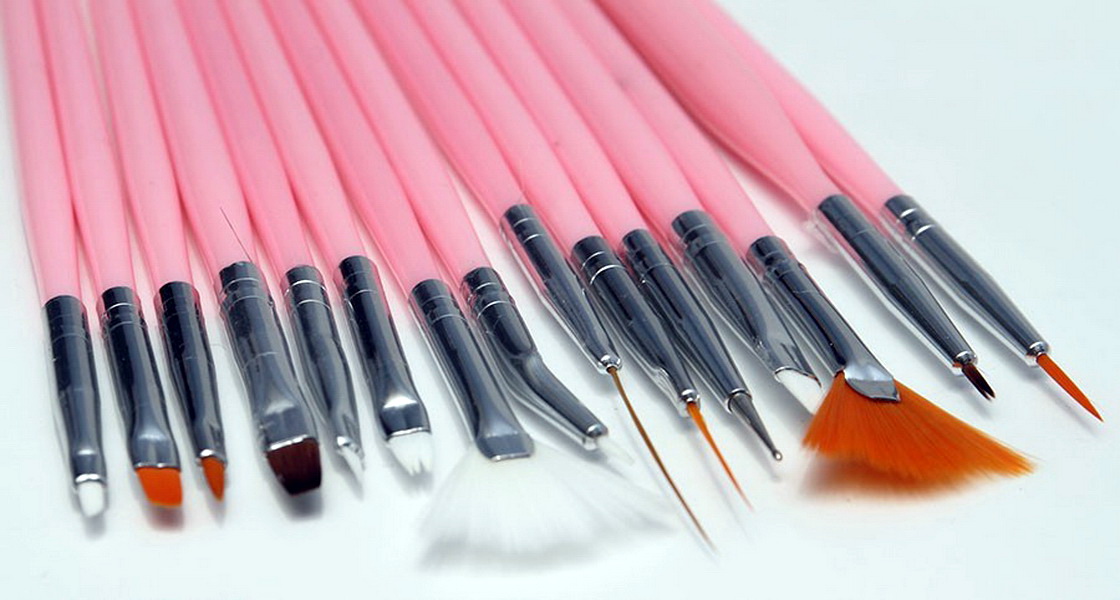
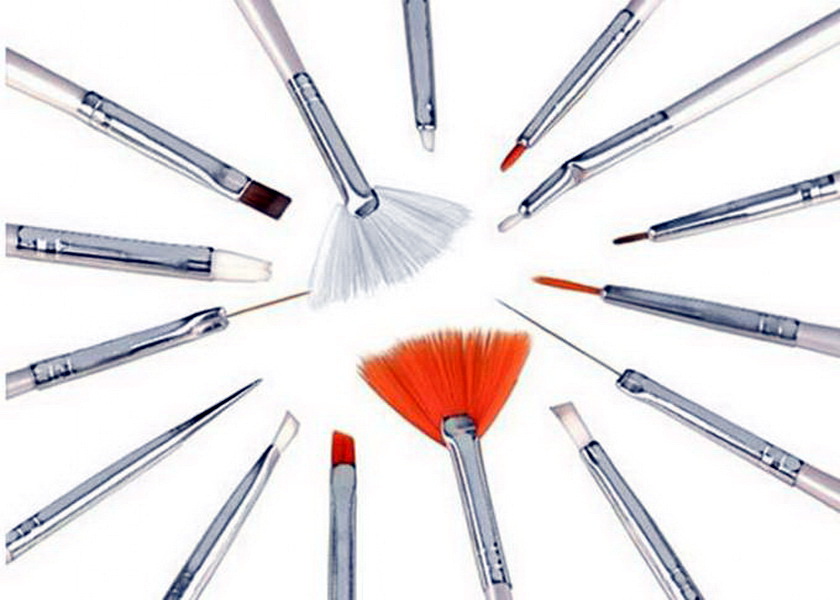
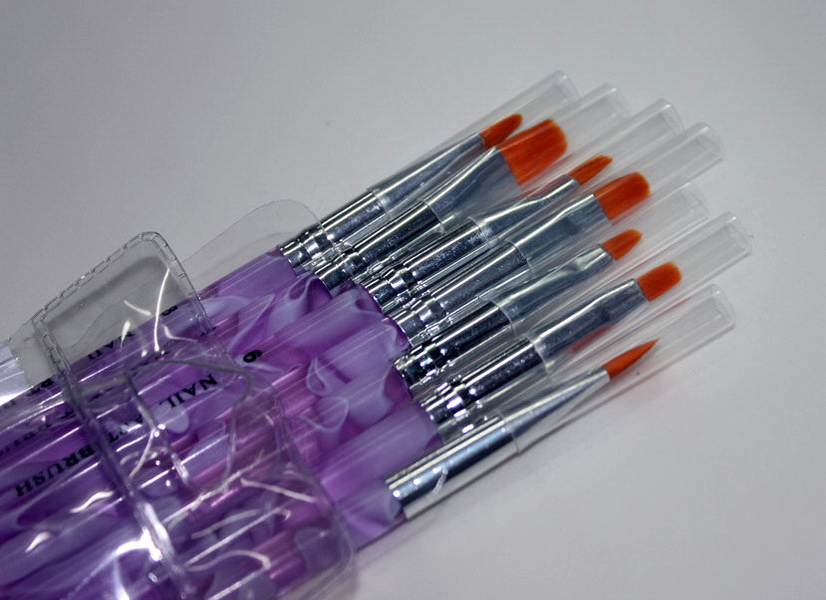
Tassels differ in parameters such as thickness, shape, and lint material. Depending on what kind of pictures you are going to do, you can choose a set of several different tools.
Material
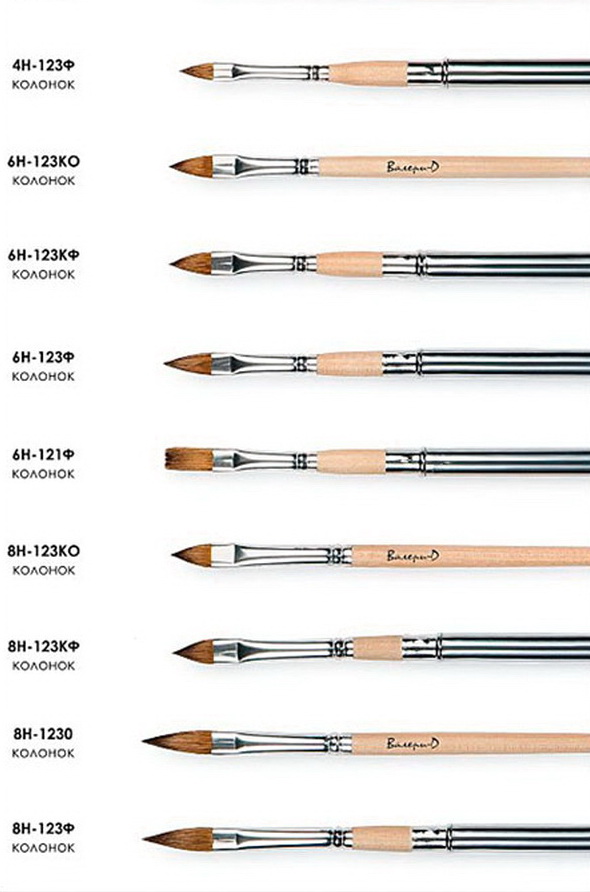
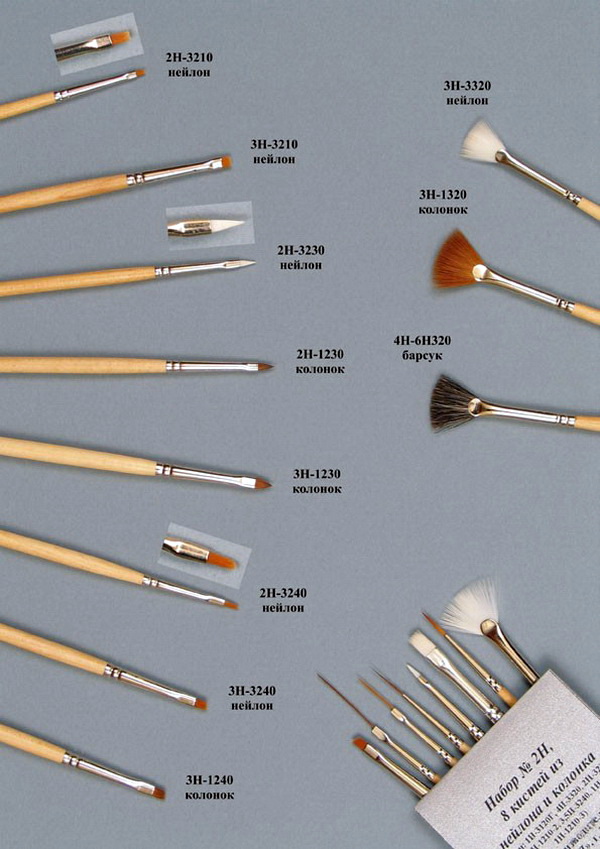
Pile should be elastic and tough enough. Brushes from natural materials will last longer, their bristles are thin, but very flexible and durable. Choosing this option, pay attention to the shape of the head: it should taper slightly to the tip, the bundle should be uniform, dense, villi should not stick out in different directions.
Products made of artificial fibers are not inferior in quality, simple and unpretentious in circulation, withstand cleaning with solvents. Perfect for a novice master, you can purchase several units at once. Their choice is wide, besides there are many ready-made kits for nail design. The price of such brushes is significantly lower than natural counterparts. For the gel, this type is more suitable.
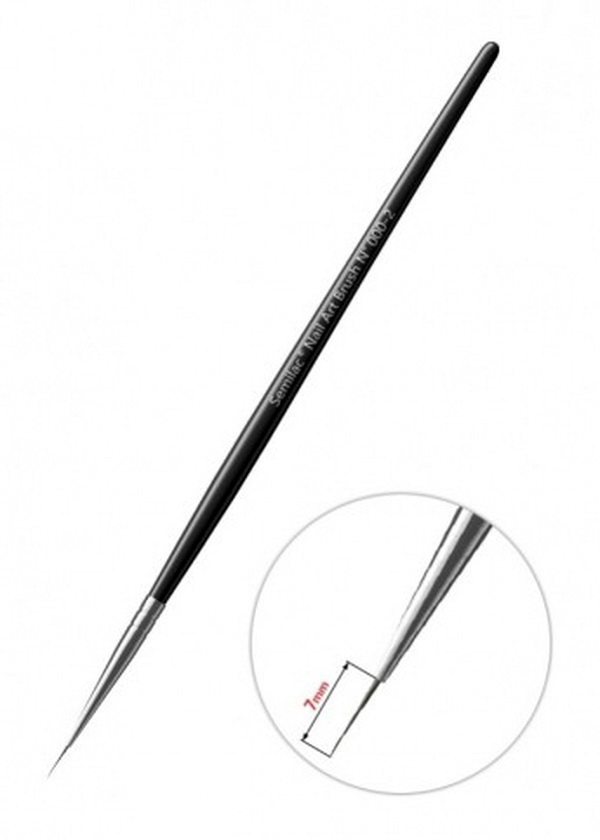
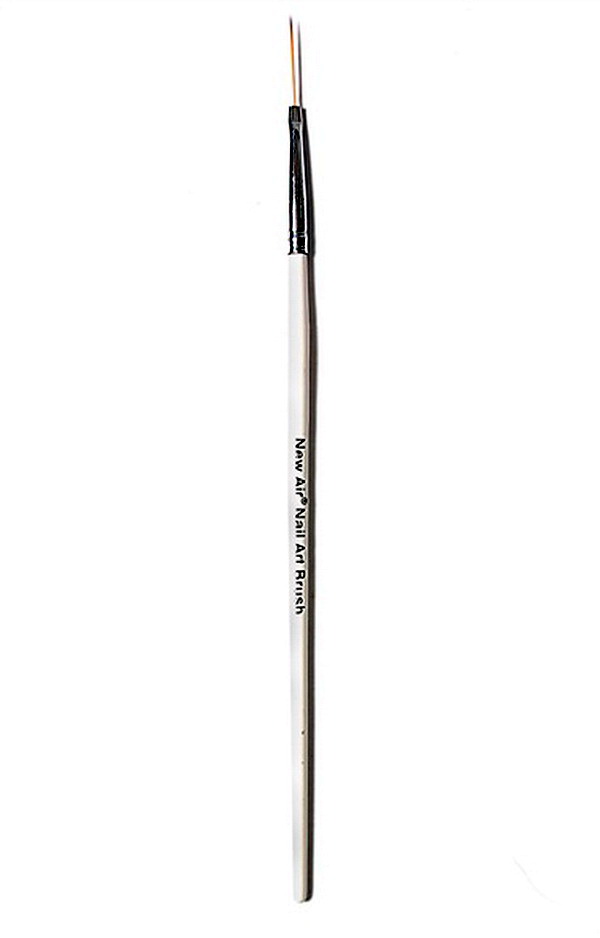
The size
All tools have digital markings. The number indicates the thickness of the head in millimeters. The thinnest is marked with 0, with increasing width the number increases.
- A wide brush is used for applying monochromatic coatings. Use it to create a background for future painting or large elements of the picture.
- For the design fits a thin brush. It is easy for her to draw details, create outlines of flowers, butterflies or geometric shapes.
- Choose the average thickness to fill in the color of the prepared outlines. Also, an average brush will be needed to create a manicure in the style of "french".
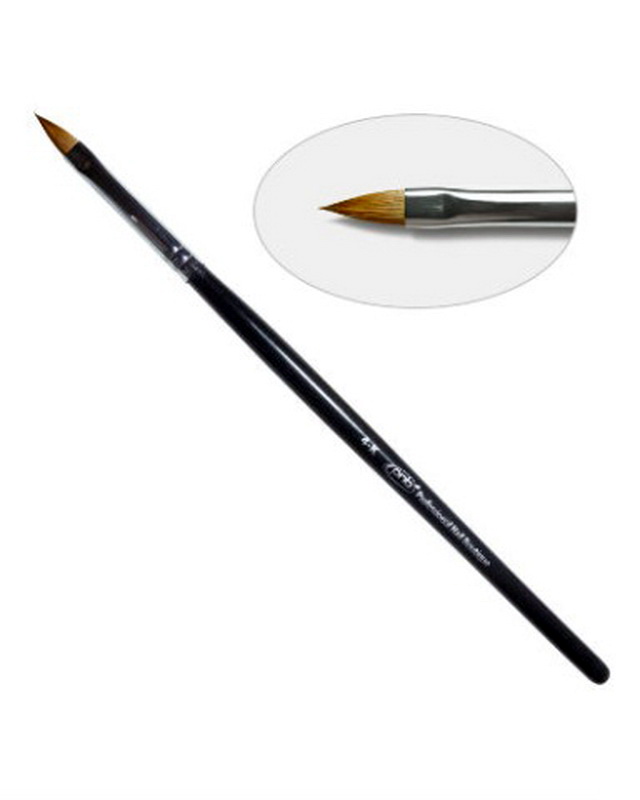
The form
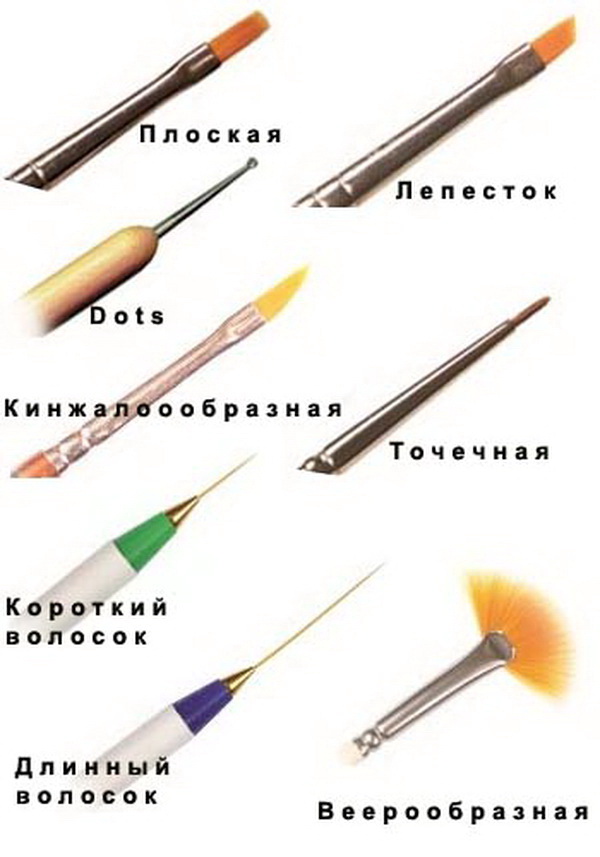
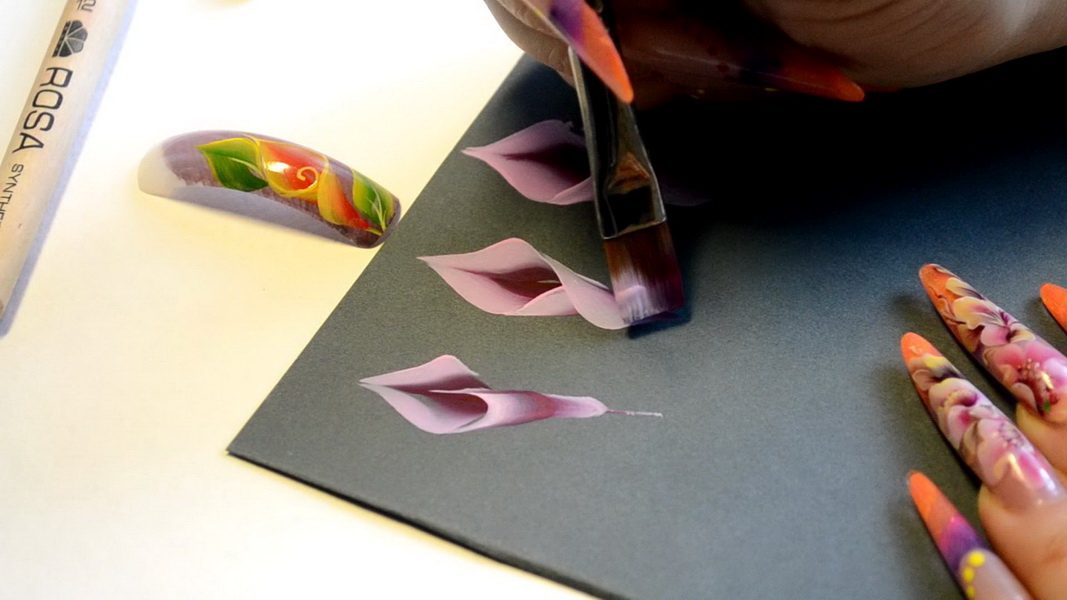
Some beautiful patterns on the nails will not work to create yourself. The whole secret is that it is impossible to paint everything with the same brush. For individual elements used in different form tools. We offer to get acquainted with their main varieties.
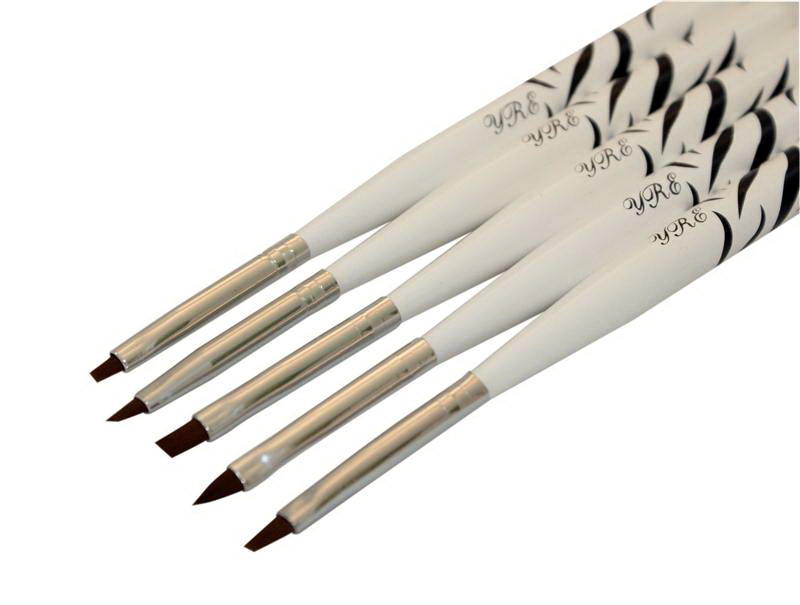
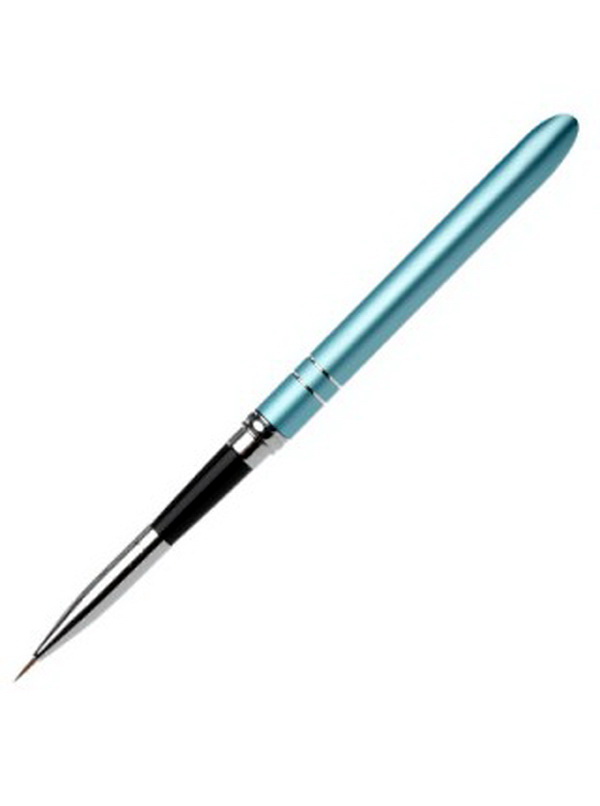
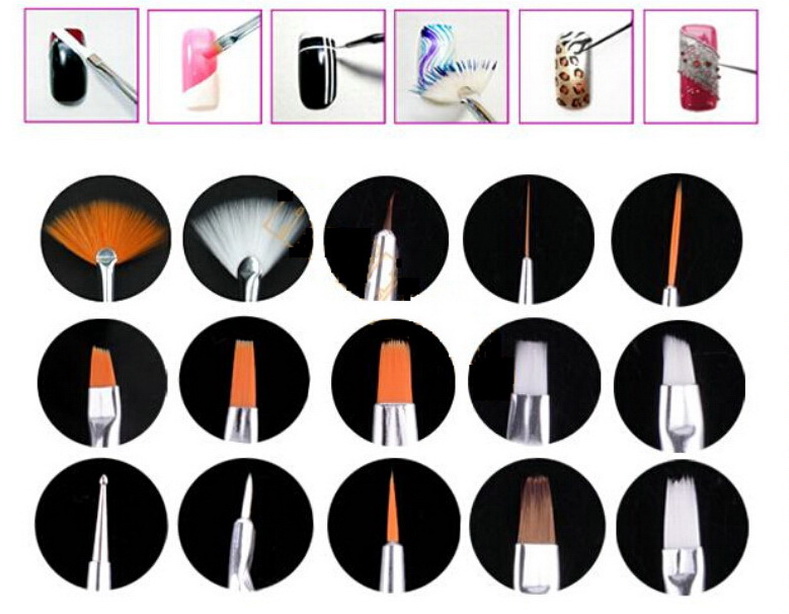
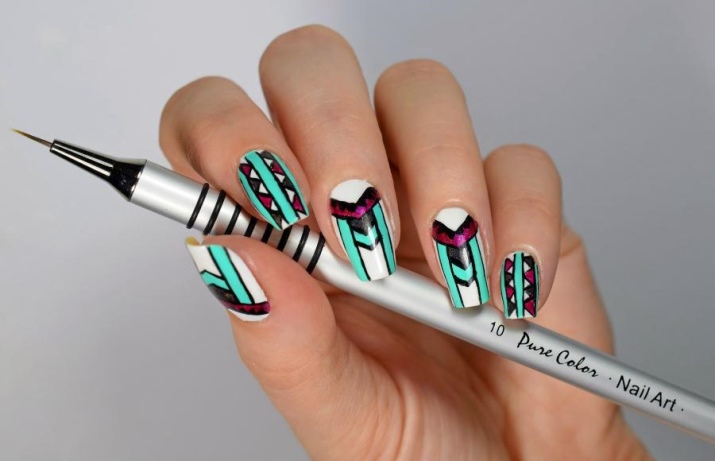
- Brush liner used to perform the smallest details. The hair in such a tool may be elongated or of medium length. The first is used to apply clear lines, stripes and geometric shapes of various thickness. With the help of the second you can display small figures like stalks, flowers or butterflies.
- Thin brush number 1 designed for small drawings. With it, you can perform monograms, curls, hieroglyphs and other small figures. In fact, with a certain dexterity, almost any sketch is created with such a tool.
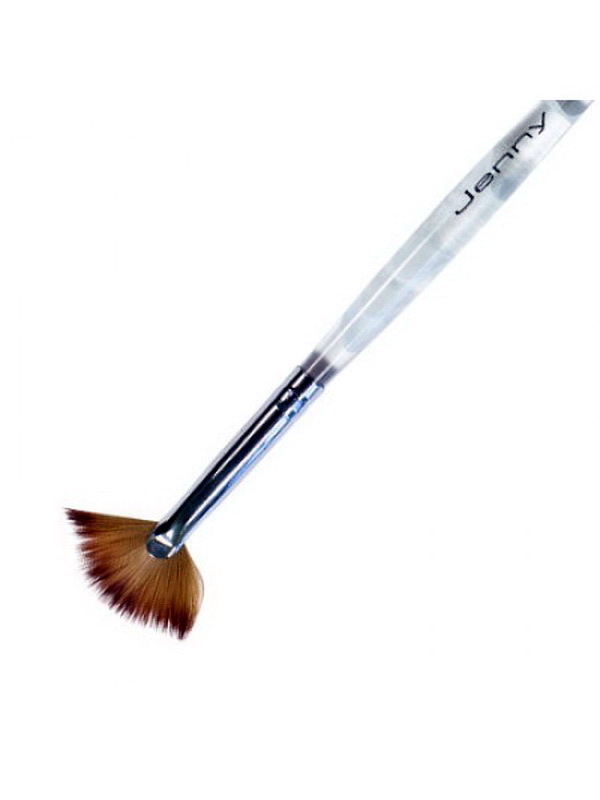
- Fan brush has several appointments. The pile at its base is in the form of a fan, which allows you to apply several colors at the same time, covering the entire surface of the nail in one motion. This technique is used for abstract coloring and smooth transitions from one color to another. To obtain this effect, apply one drop of varnish of different colors on the palette and mix them with a brush. Also with its help sequins, rhinestones and other small decorative elements are applied.
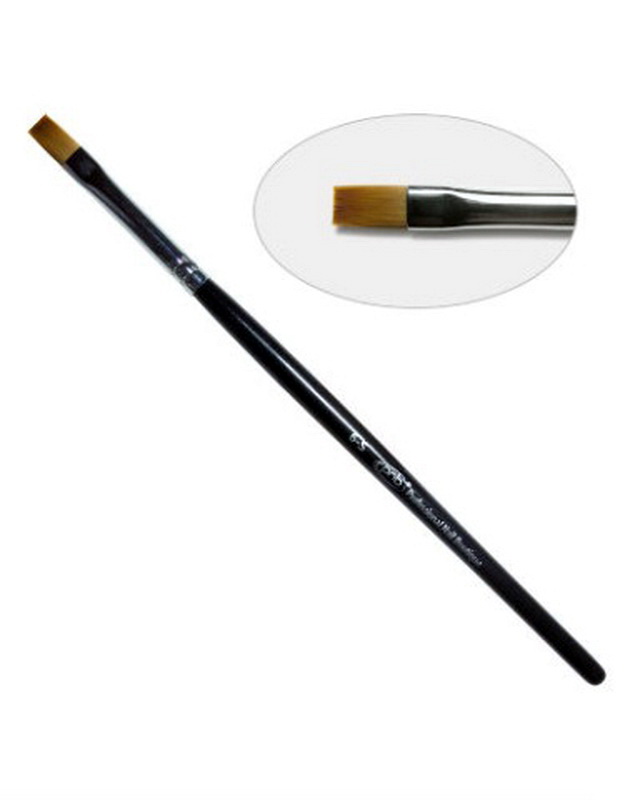
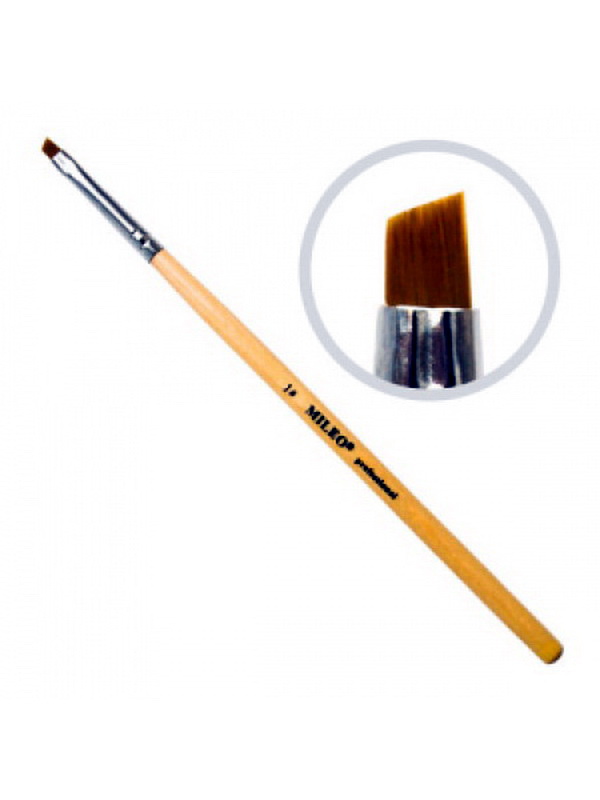
- Flat variety It is one of the most versatile tools. Not only the pros can handle it, but any newcomer.It is necessary to create drawings with broad lines, such as: petals, leaves, fruits and geometric abstractions.
- A brush with a beveled edge is also flat in shape. It is used for the design of french, Chinese painting and vegetable prints. Pretty easy to handle.
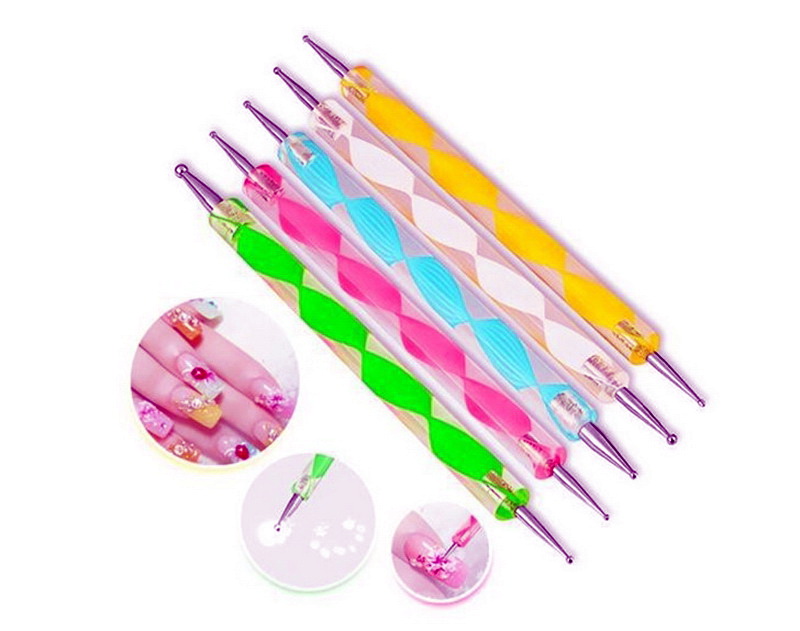
Another necessary item in the kit is a dots fixture. This is a pen, at the end of which is a metal tip with a ball. Balls are produced in various diameters, allowing you to create points of the required size.
How to choose
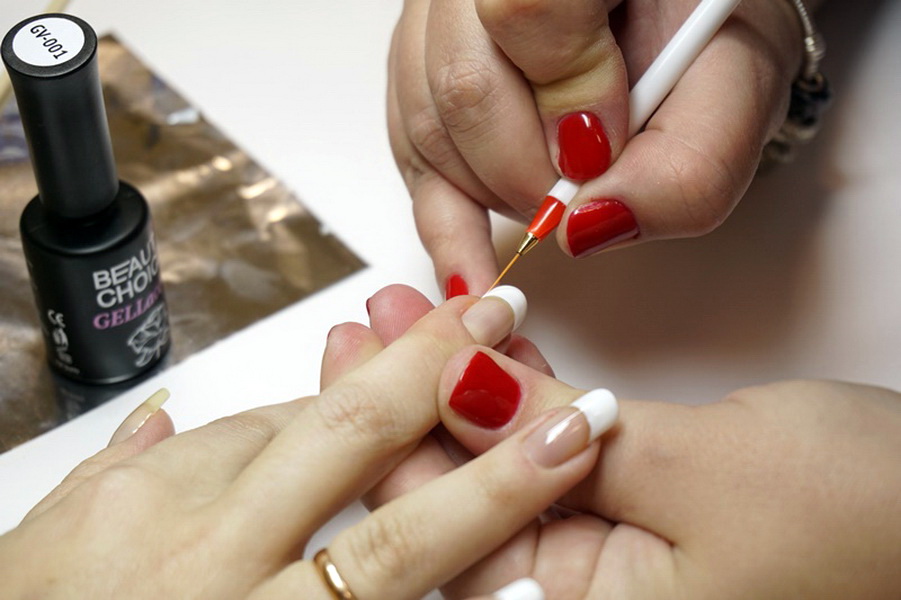
To create a design with the help of gel polish the same brushes are needed as for the ordinary one. The only thing that will differ in the process is the subsequent care and removal of residues of the coloring matter.
So, initially it is worth deciding what kind of designs will be created. Based on this, choose a form.
If you are a beginner, then buy synthetic brushes, as it is possible to purchase several units of different purposes at an affordable price. In addition, they are easier to clean and are not afraid of aggressive solvents.
Specialized stores offer a wide range of equipment for nail art. You can purchase a ready-made set of basic brushes and empirically determine which ones suit your particular manicure.
With frequent use, the pile quickly wears out and loses its shape, so take care of the required number of tools so that nothing prevents the creation of the intended image.
How to care
Each master in his arsenal has a large number of tools for various purposes. Proper care for them is extremely important, because the lifespan of the brush and the quality of the pattern it makes directly depend on this. When using different brushes to clean them, also use an individual approach. After the end of all procedures, grease the tip with oil for the cuticle.
The important point is the choice of the palette. Use for it a material with a smooth glossy surface. A rough surface will quickly wear out the villi and the brush will quickly become unusable.
How to store
There are several general guidelines for storage that contribute to long-term preservation of the form:
- All brushes should be stored in a horizontal position. An excellent solution would be to have a special organizer, where each instrument will have its own place;
- do not cover the wet brush with a cap, it may lose its shape or even lose several hairs;
- storage space should be spacious and well ventilated.
How to clean the tool
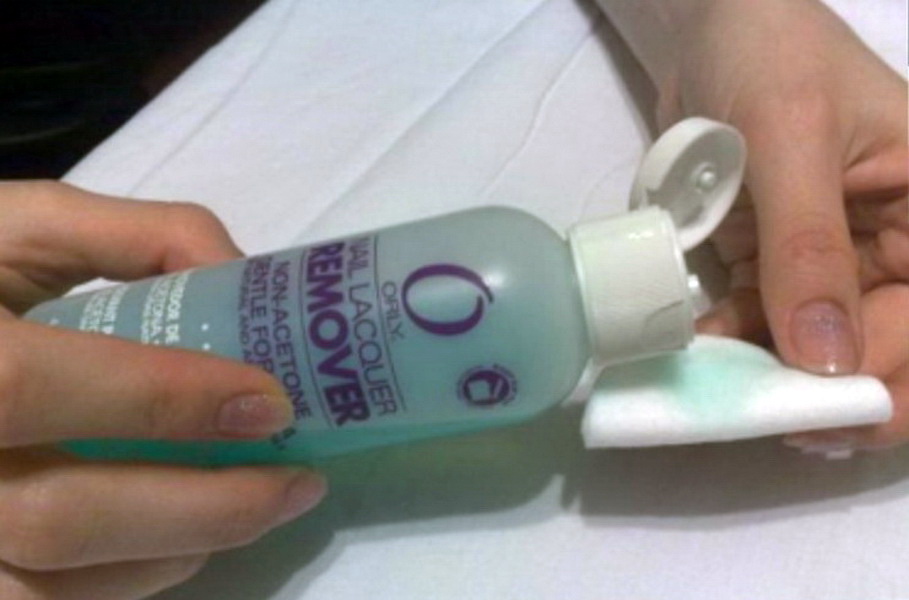
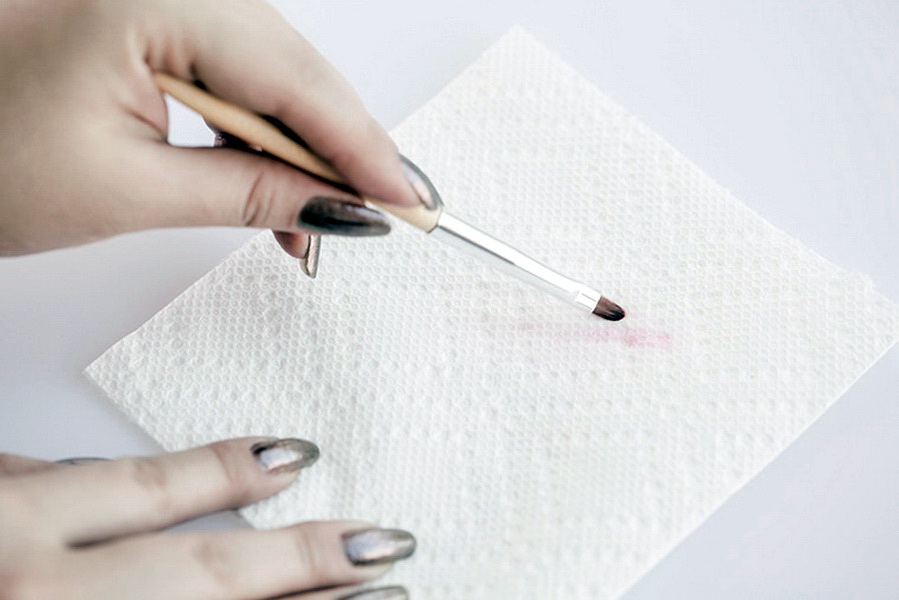
If you use brushes to design a pattern with lacquer, then the best way to clean them is to use ordinary nail polish remover with acetone. Synthetic fibers without problems withstand such a procedure. For natural pile use such a tool can not, otherwise you risk to spoil the tool.
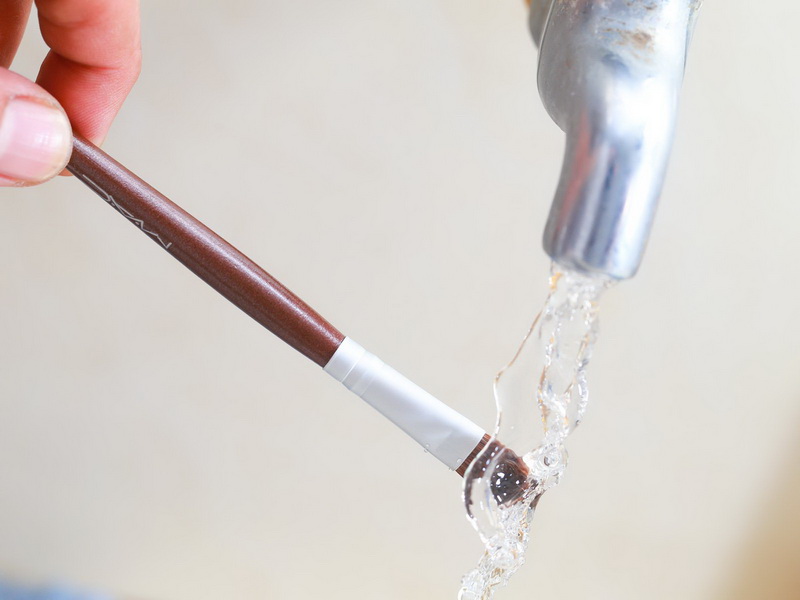
The liner and the finest brushes are more delicate and made of natural fibers., therefore, paint residues should be rinsed with cool water after each line drawn. Wipe them very carefully with a paper towel.
Never leave a drop of coloring matter after the completion of the work, otherwise the brush will dry and it will be very difficult to wash it.
Do not leave used tools in a glass of water., it can negatively affect the shape of the head. If such a problem has occurred, then hot water will help solve the problem: leave the brush for a few minutes in a container with water, wipe slightly and shape it with your fingers.
Lacquer manufacturers have taken care to create solvents for their products.. To clean the brush using special tools, place it in a container with cleaning fluid for a couple of minutes. This will help soften it. Next, place it on a horizontal surface and remove the remaining paint with a wooden stick.
In order to wash off the paint, do not use unauthorized meanssuch as shampoo, liquid soap, shower gel, petroleum jelly, vegetable oil. Such cleaning methods can damage the brush or react with coloring substances during the following sessions.
Why hardened and how to soften
When applying gel polish, carefully monitor the lighting. It should be careful near the lamp or direct sunlight. When UV enters the brush with the remnants of the substance, the reaction will occur and the brush will harden. Then it will need to be washed in a special liquid.
Do not rush to throw out the brush. If it is made of synthetic fibers, then there is a chance to reanimate it. To do this, immerse the pile for some time in a special solvent for gel polish. Watch the time, after 10-15 minutes, check whether the varnish has dissolved. As soon as the villi soften, remove it from the solution and wipe it with a dry cloth.
Be careful: after prolonged exposure to the brush with a solvent, the structure is broken, the bristles become hard and brittle. Such a tool is not suitable for further work.
To determine that your device has become unusable, you can by these parameters:
- individual villi stick out to the sides;
- beam doubled;
- the hairs became brittle and frayed;
- the pile turned yellow.
When one of these signs appears, the tool should not be used, as it is not able to work correctly and can spoil the overall picture of the manicure.
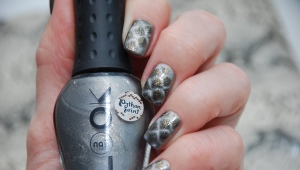
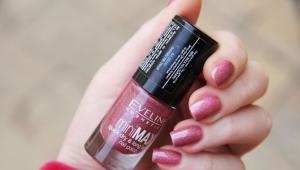
Nail Art Examples
A rich palette of shades of gel polishes allows you to create a unique image for any outfit and mood. It looks very impressive if you apply a bright pattern on one of the five nails on your hand and leave the rest monochromatic.
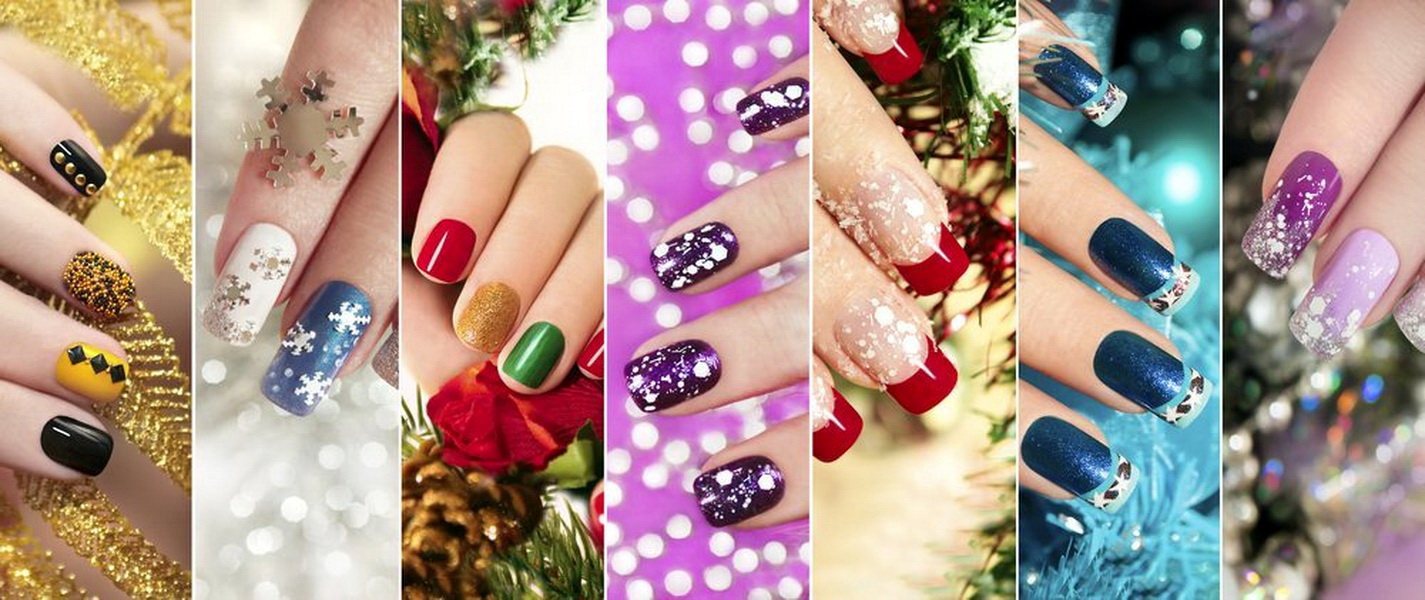
In the first place among the background flowers, of course, is pink. Such colors as white, red, mint, gray, violet and black combine well with it. The trend in 2017 is to draw a watermelon. White hearts, abstract blue stripes and silvery geometric shapes will look beneficial on a pink background.
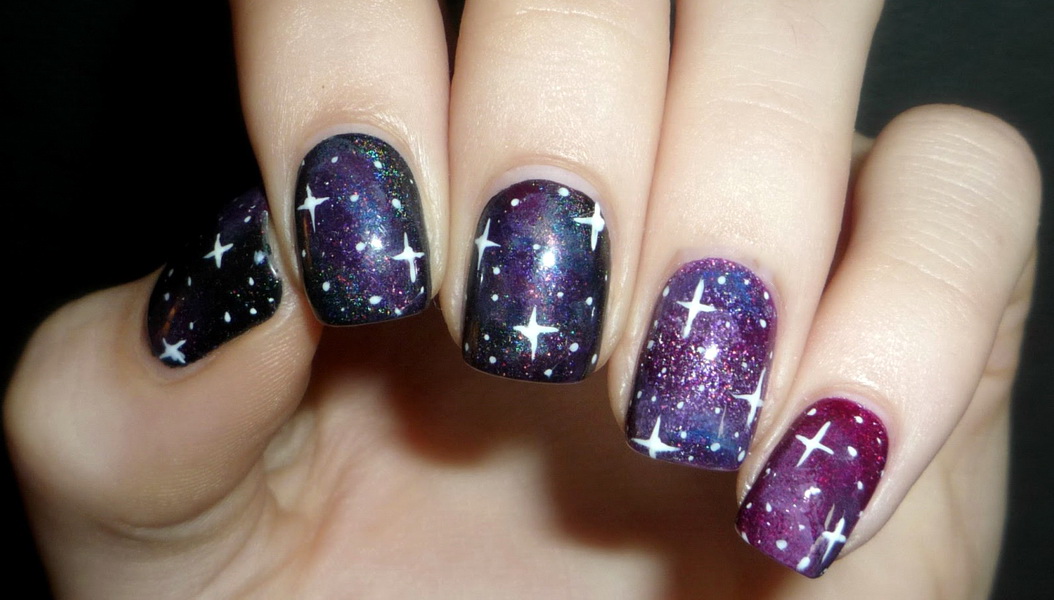
Look great designs in the space style. Variations on the theme of the galaxy using different colors will complement any outfit, from evening dress to ripped jeans or swimsuit. Fan brush for this technique will be indispensable.
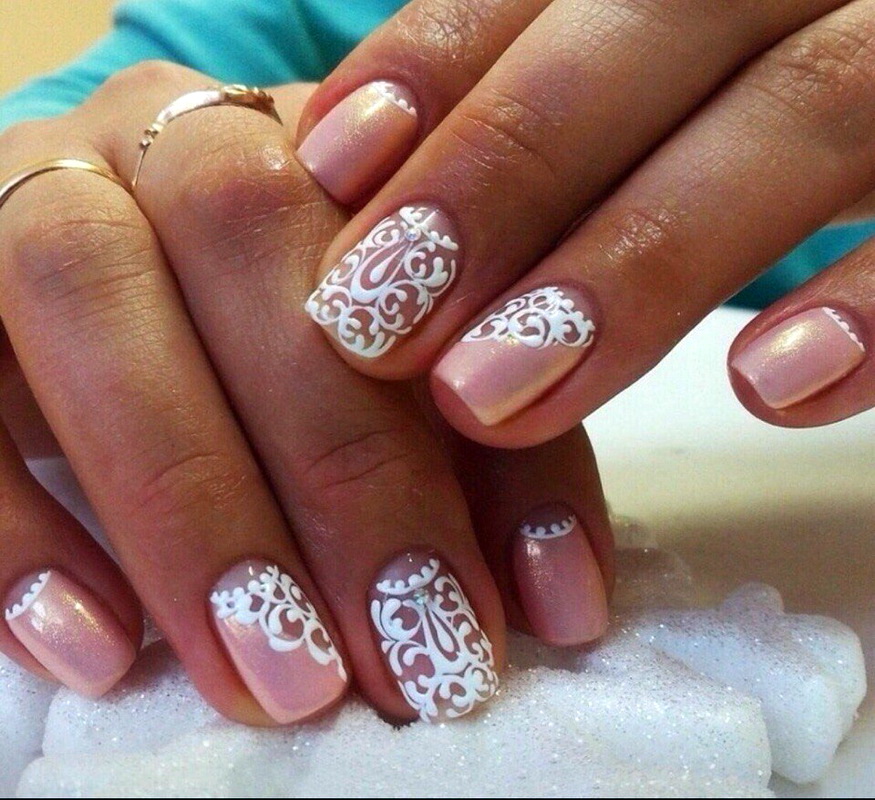
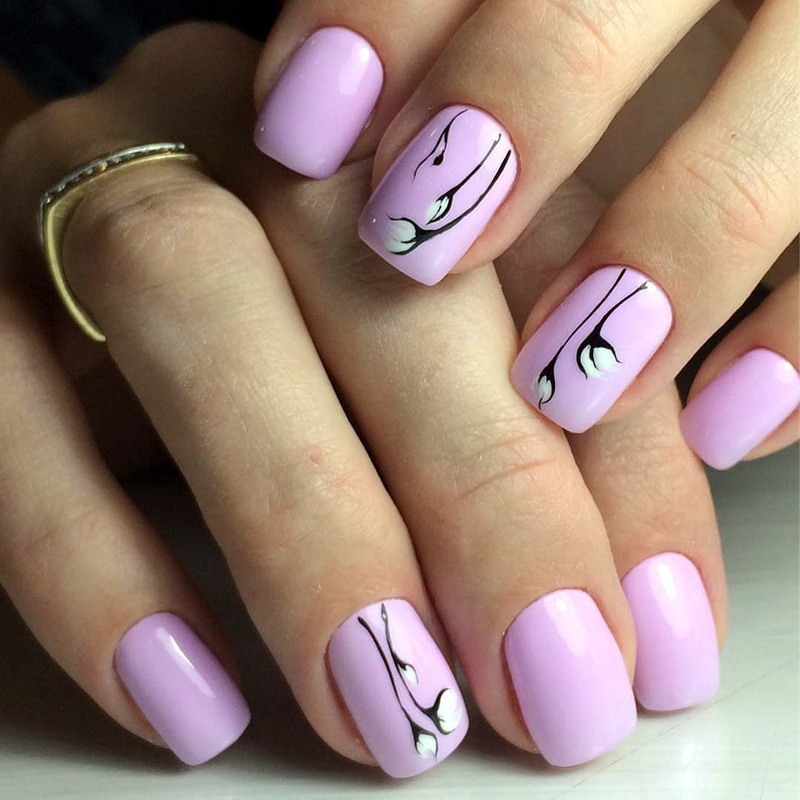
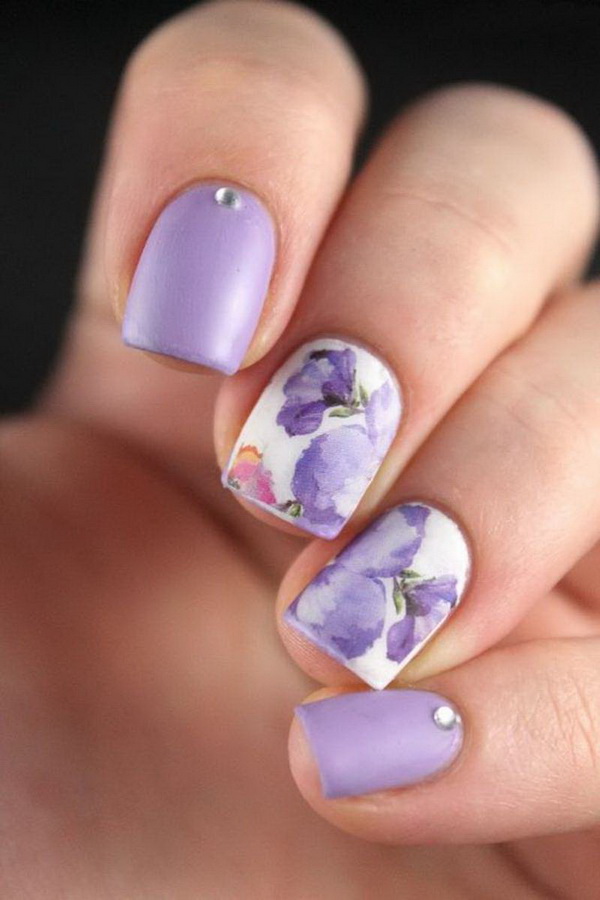
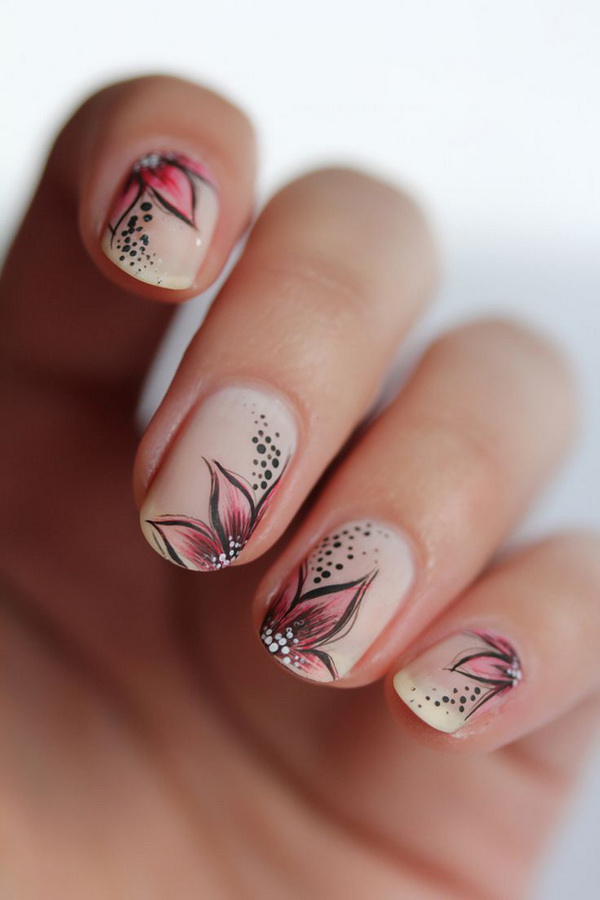
Against the background of gentle pastel colors, flowers look good. There may be white daisies, delicate violets, bright poppies, sparkling chrysanthemums or just a blade of grass with rich green hues. This art will give your image romance.
Not inferior in popularity to flowers and colorful butterflies. On a bright lacquer, such a pattern can be made in white or pale pink. If the background is not expressive, then a bright insect will place the necessary emphasis on the chosen color. Like flowers, butterflies are very beneficial complement french manicure, making it less boring and ordinary.
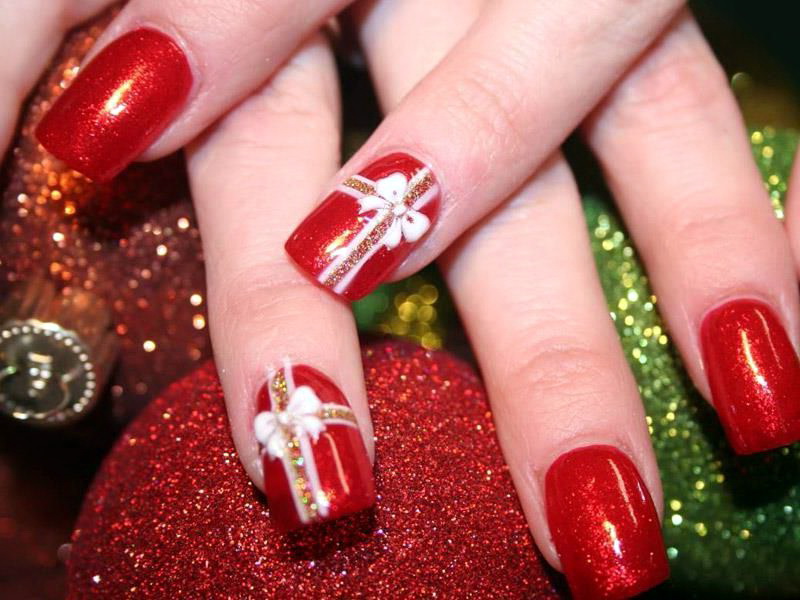
Lovers of red lacquer can complement it with strict geometric lines, rhinestones or elegant curls of light colors.

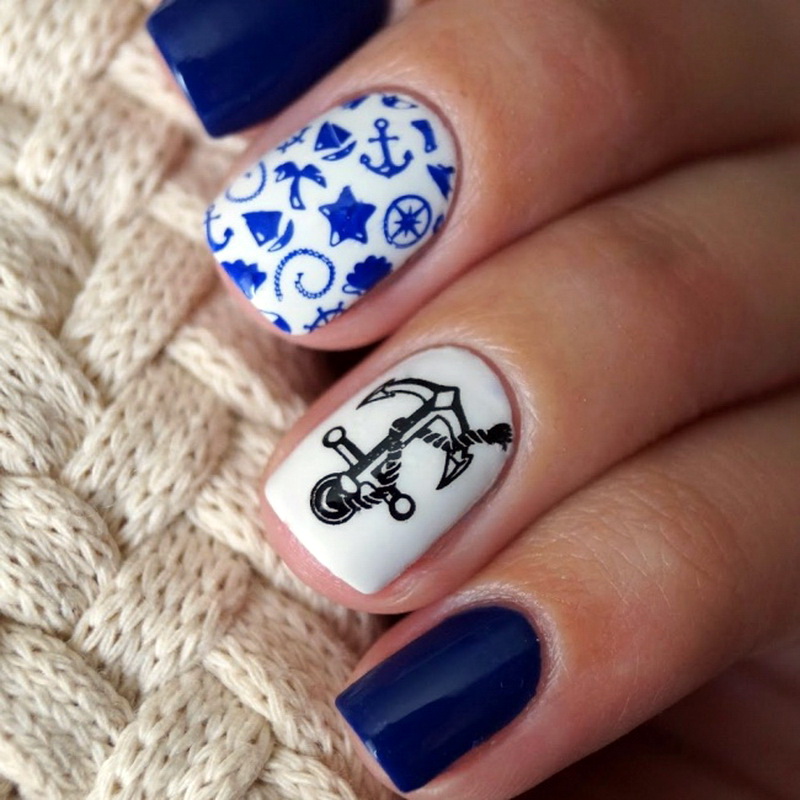
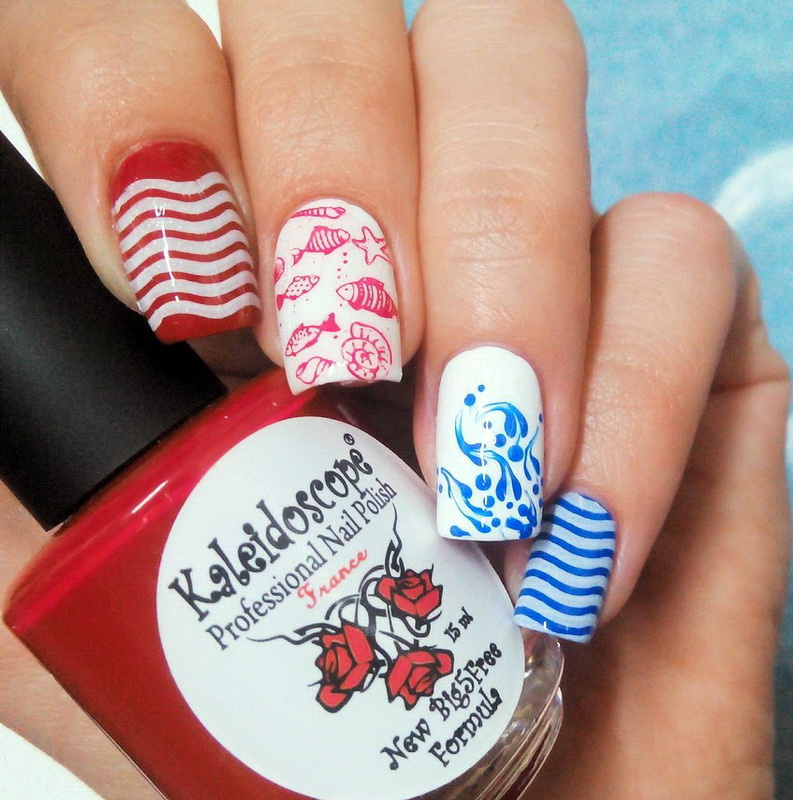
Summer is the time for rich colors. Blue shades will set the owner on a wave of the sea coast and rest far from the city bustle. Blue, white, golden will suit the blue color in such a theme. Silhouettes of birds, plants and marine life complete the theme of relaxation.

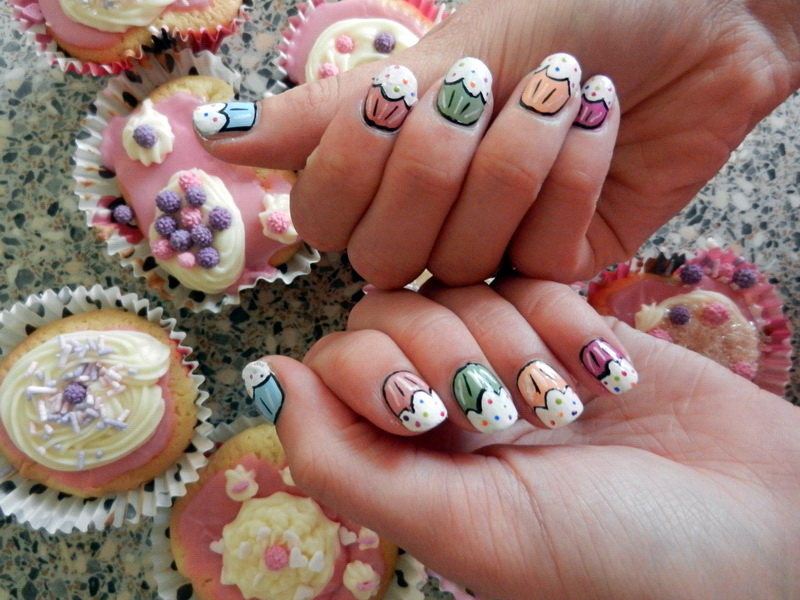
Creating a nail art yourself, do not overdo it with small elements, bright colors and the number of individual colors. Coloring will look quite variegated and will distract from the overall appearance.
Do not be afraid to experiment, draw what you want! With practice, any task you can do. It is worth noting that not all experienced manicure masters are born artists, they are simply trained to create certain ornaments. Anyone can learn this trick using special training cards for manicure. They contain paintings for every taste.
The following video focuses on nail design brushes, their use and care.