Defects when painting nails
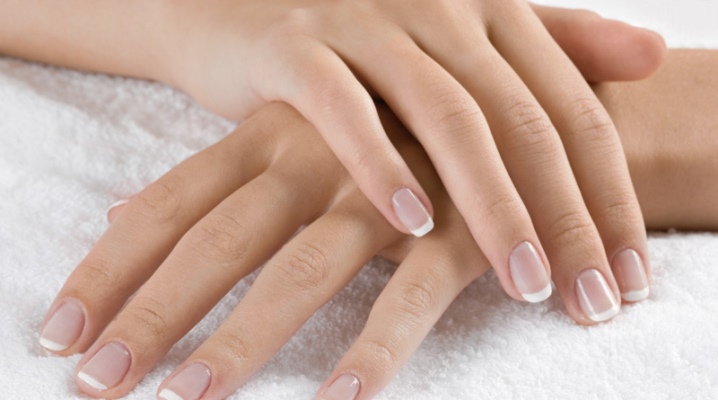
Beautiful, well-groomed hands of a woman with perfectly painted nails can rightly be considered her pride. But sometimes there are some defects on the nails when painting, which can spoil even the most stylish and expensive manicure. The reasons for their occurrence and how to avoid them will be described in detail below.
Coating damage
Even the most stylish and modern manicure may look untidy and make a repulsive impression if it has such defects as:
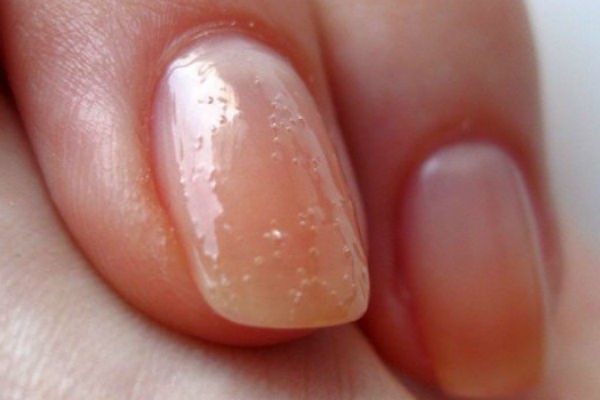
- The presence of a large number of bubbles under the varnish. Because of what all the coverage seems bloated on the nails.
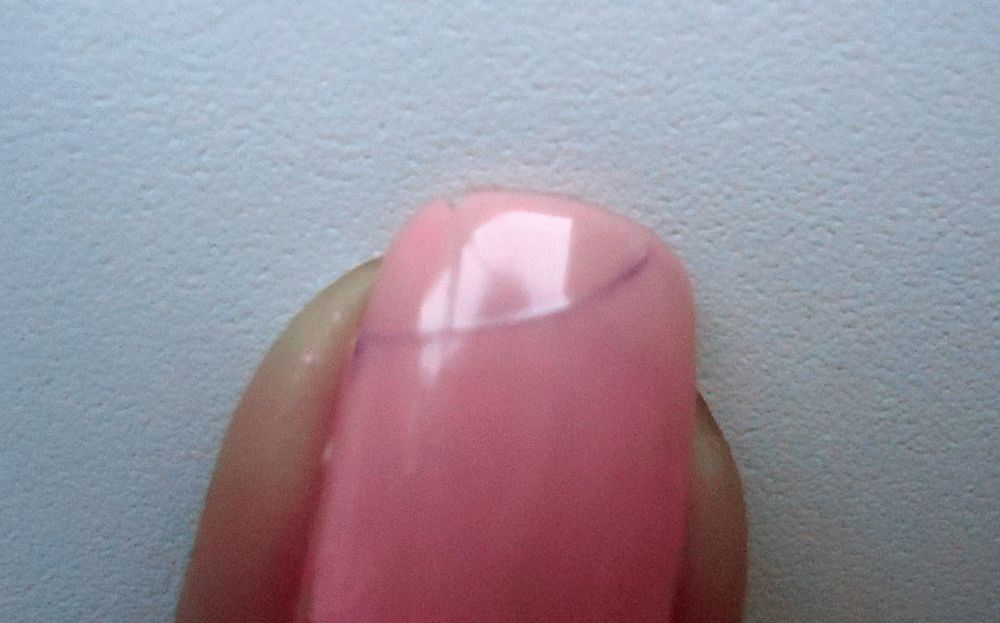
- The varnish cracking on all surface of a marigold.
- Lack of coating on the tips of the nails due to its peeling.
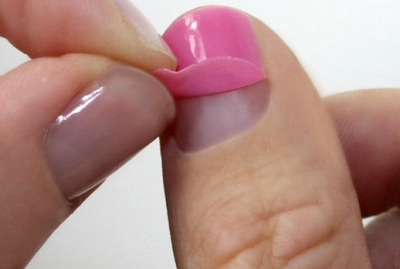
- Dyed cuticle.
- Unevenly filed nails.
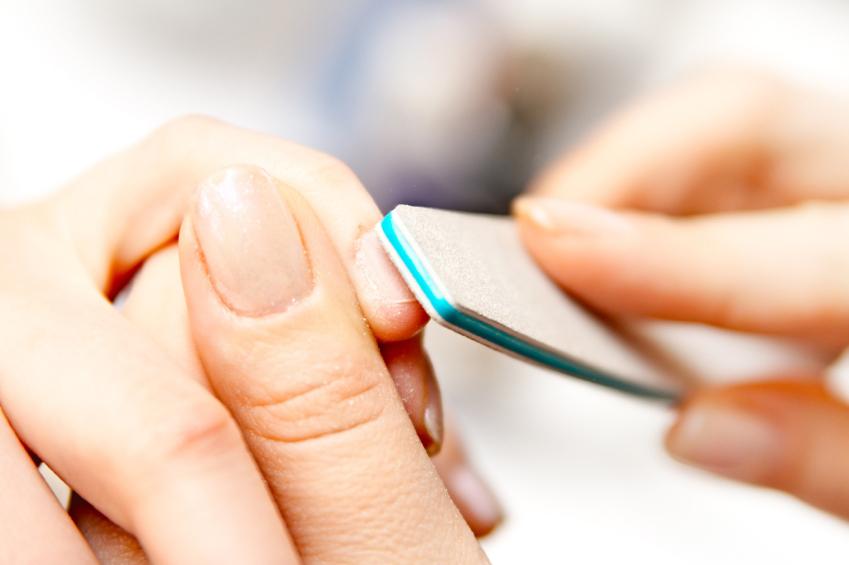
But if the last two defects are very easy to remove with nail polish remover and a nail file, then the first three will have to be seriously worked up.
First of all, it is necessary to determine what exactly these deficiencies have formed. The reasons for their occurrence can be very different, so it is very important to study the main ones.
Causes
Bubbles on the nails are most often disturbed by the fair sex, especially for those who prefer to do a manicure at home. Most often nail polish blistering in the following cases:
- Intensive shaking of the coated vial prior to use. If it is necessary to mix the varnish, then this method should be immediately eliminated. It is better to just roll the bottle between the palms for a couple of minutes.
- Improper or poorly performed work on the preparation of the nail plate to the floor.
- Applying varnish on a wet surface.
- Use of expired product.
- Improper nail drying. Waving your arms or using a regular hair dryer is not allowed to speed up the drying of the coating.
- Applying paint is too thick. For the same reason, cracking nail polish often appears.
- Sharp temperature change.
Cracking a coating or peeling it off the nail is affected by both the factors listed above and such as:
- partial removal of the cuticle;
- applying cream on the nails before painting;
- insufficient degreasing and cleaning the working surface of the fingertips;
- use of low-quality coating.
Defects also include those cases where the coating quickly peels off the nails. This can occur both due to the use of poor-quality materials and violation of the technology of manicure, and because of the frequent contact of hands with water and various chemical means.
But most often the appearance of defects on the nails contributes to their own state. Weak, brittle, thinned - this is the main reason for the appearance of bubbles on them, cracking and flaking of the coating. In this case, you must first heal the nails, eliminate the cause of their fragility and thinness, and only then proceed directly to the manicure.
In order to avoid such defects at the tips, you need to know how to properly paint the marigolds and care for them at the end of this procedure.

Coloring Instructions
In order to manicure turned out beautiful, long kept on the nails and had no flaws, you must perform it in a certain sequence.
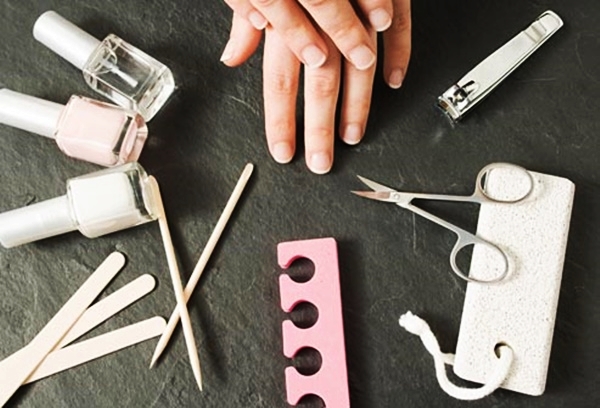
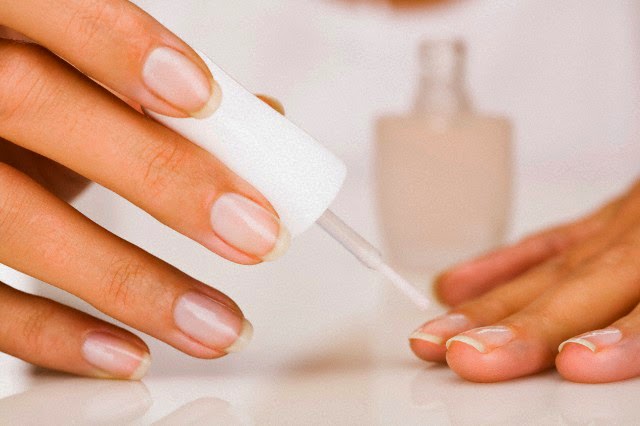
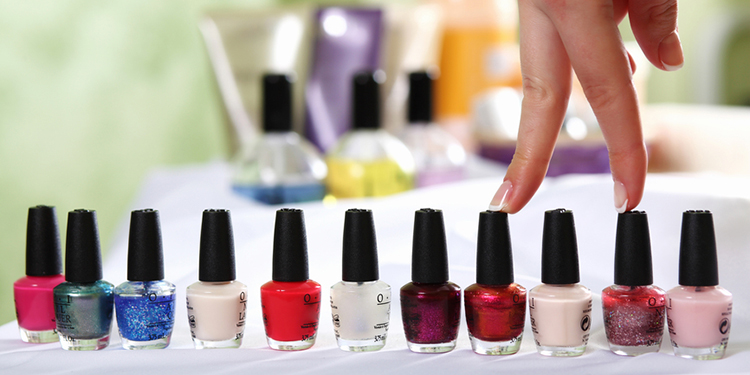
In order not to be distracted while searching for the right tool, you should prepare everything you need in advance. Choose a suitable size cup for your hands and fill it with warm water.You will also need a base for lacquer, the coating itself, a nail polish fixer, cuticle tweezers, a nail file and a special degreaser for the nail plate.
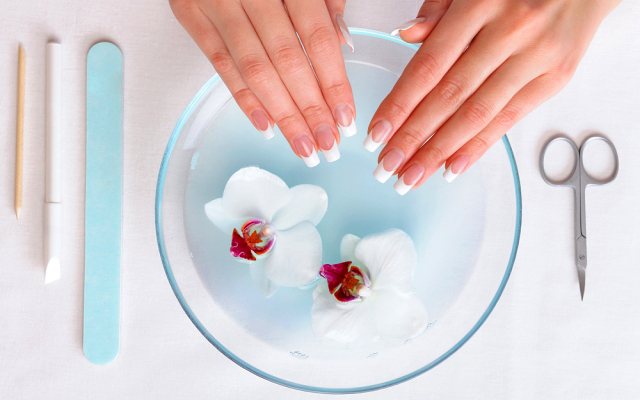
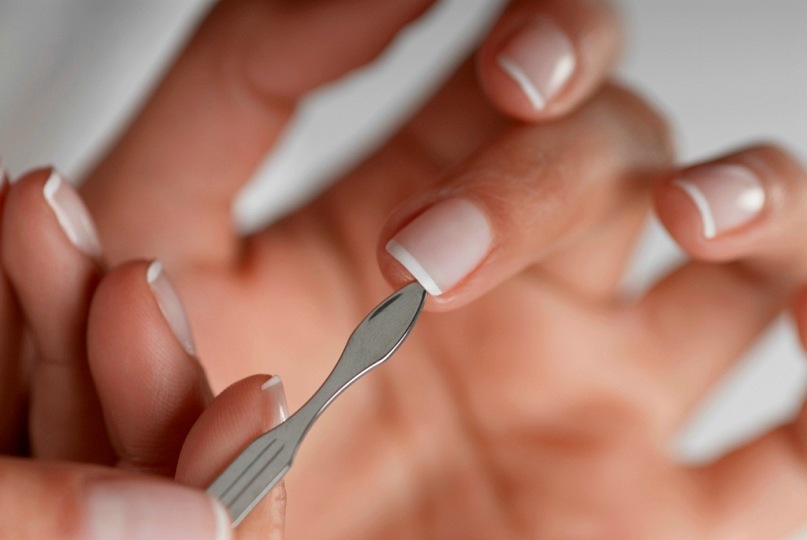
Hands in a bowl with water are alternately lowered for 7-10 minutes. Then the edges of the nails are neatly filed and they are given the desired shape. With the help of special tweezers, the cuticle is removed near their base. It is necessary to give the nails to dry completely and only then degrease them. As such a special tool you can use ordinary nail polish remover, as long as acetone is not present in the composition.
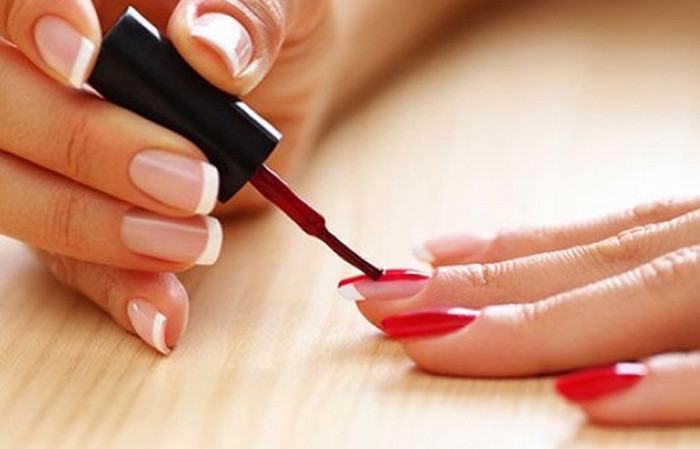
After all the preparatory work is finished, you can proceed to direct staining. To do this, take a colorless base and a thin layer, firmly pressing the brush to the nail plate, apply it and allow to dry completely. Apply the varnish of the selected shade will be possible only after the base is completely dry.
Pick up the varnish of the desired shade and apply the first layer. They must also be used as the base, that is, applied in small quantities and in a thin layer. Tight pressing of the brush to the marigold allows you to get rid of the bubbles and prevent further delamination of the coating. After the first color layer has completely dried, you can apply another lacquer layer on top of it if necessary. Special attention should be paid to ensure that the coating is uniform and completely covers the nail bed, but it does not touch the skin around it.
It is worth remembering that two layers of lacquer will be quite enough, a larger amount can lead to delamination or cracking of the coating.
The final step is to cover the nails with a special fixer, although you can use the usual colorless varnish or foundation for it. This will enhance the color of the varnish itself and increase its life on the nails.

Each tool has its own complete drying time, on average, it is about half an hour. But manicurists strongly recommend not to make sudden movements and avoid contact with water for at least one hour after the end of this procedure. It is best to let the coating dry on its own, but if time is tight, you can use special sprays that speed up the drying of nail polish.

Useful recommendations
But sometimes just one correct execution of a manicure is not enough and the bubbles appear on the nails, and the coating itself exfoliates and cracks. Therefore, it is necessary to know some other subtleties, the observance of which will help to get rid of the appearance of any defects and defects on the nails.
Particular attention should be paid to the proper storage of nail polishes and the basis for them. Such funds should be kept in a fairly dark and cool place at the same time. The optimum storage temperature is 18–20 degrees, at a higher temperature, the varnish begins to thicken strongly, and at low temperatures its texture is disturbed.

It is imperative to monitor the suitability of the funds used, as soon as their possible exploitation expires, they should be disposed of. Overdue varnish, as well as poor quality varnish can never provide a correct and beautiful coating, moreover, they negatively affect the structure of the nail and lead to its destruction.
Preference should be given to well-known manufacturers of nail polishes, they value their customers and care for them, and therefore they try to use sparing technologies in their products and do not use a large number of dangerous and harmful ingredients.
Performing a manicure at home, you should use products that were released in one line of tools and one manufacturer. As a rule, it is such tools that perfectly complement each other and provide high-quality staining without any flaws.It is recommended to use a nail polish fixer, it provides a more dense coating and prevents premature peeling of nail polish.
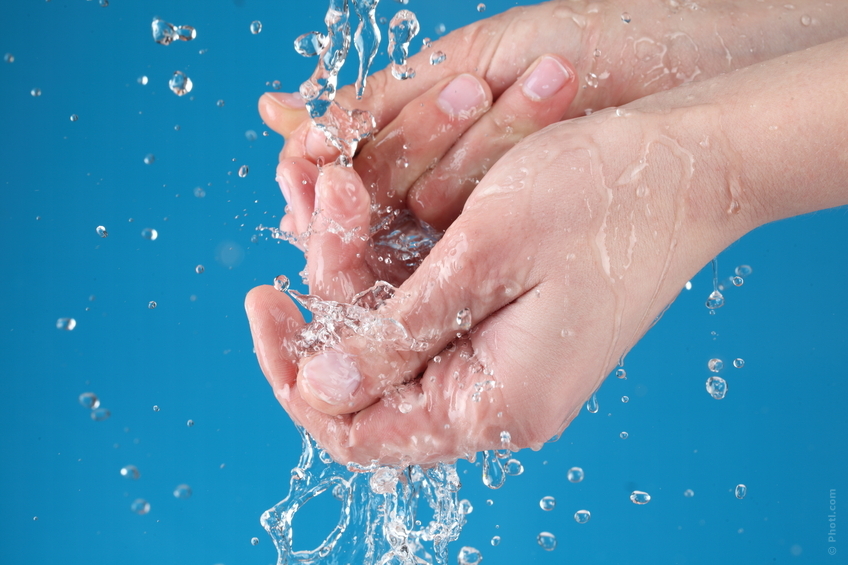
If you decide to do a manicure immediately after a bath or shower, be prepared for the fact that it will work out with bubbles. Marigolds will be too wet and porous, so evenly paint them will not work. It is best to proceed directly to the manicure a couple of hours after the implementation of water procedures.

And it should be understood that no matter how high-quality and expensive varnishes would be, they still negatively affect the structure of the nails.
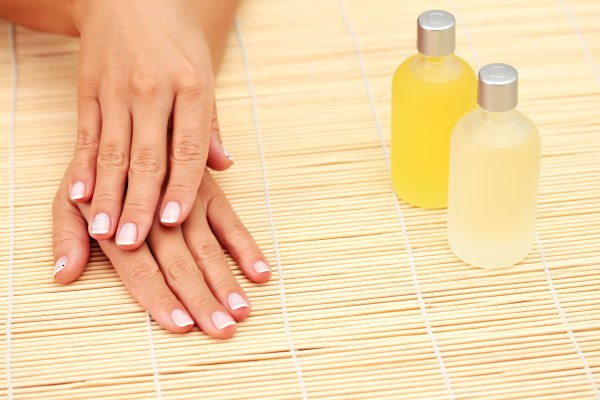
Therefore, at least one day during the week they need to have a day off: make special masks, baths and compresses. These cosmetic procedures can strengthen the nails, get rid of bumps on them and any imperfections, and thus contribute to the correct and uniform application of varnish without defects.

How to perform a gel polish manicure, see the following video.