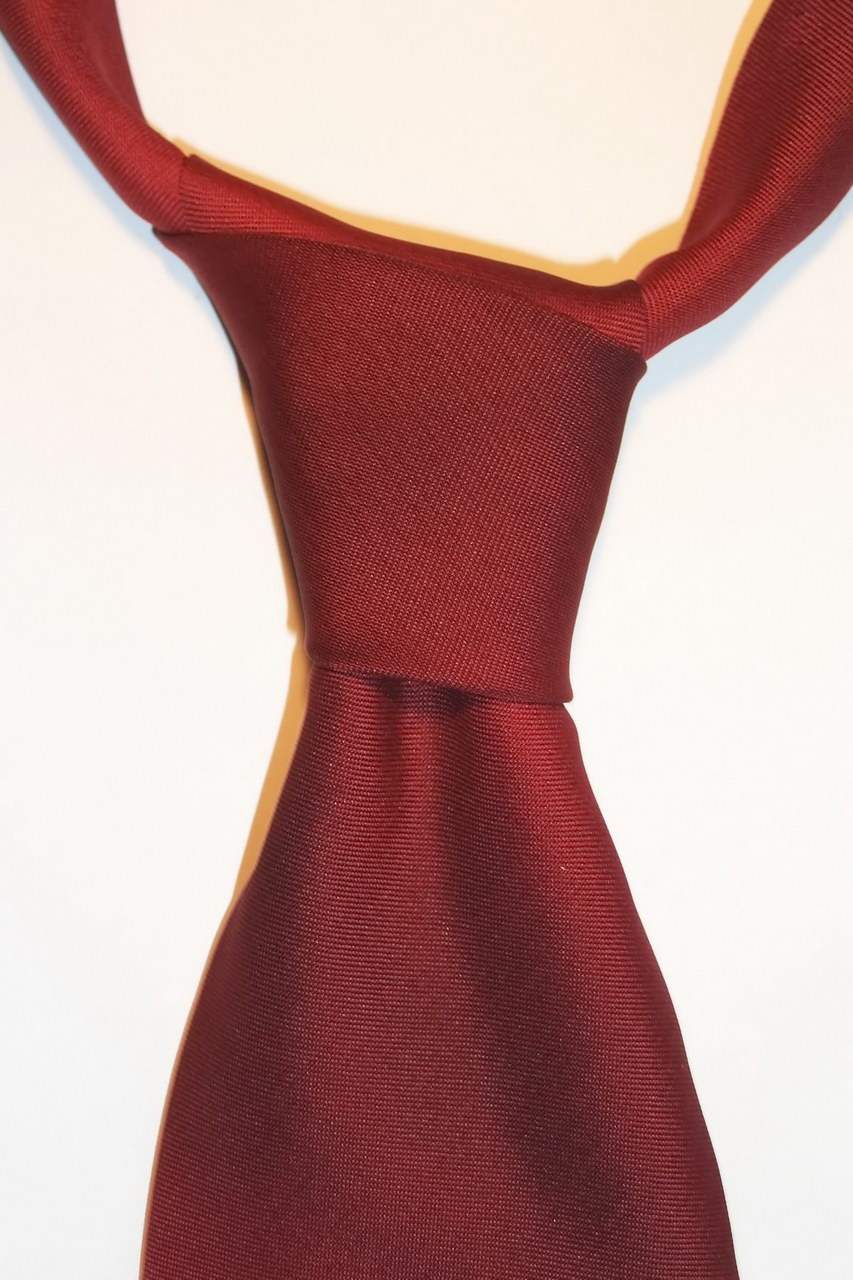
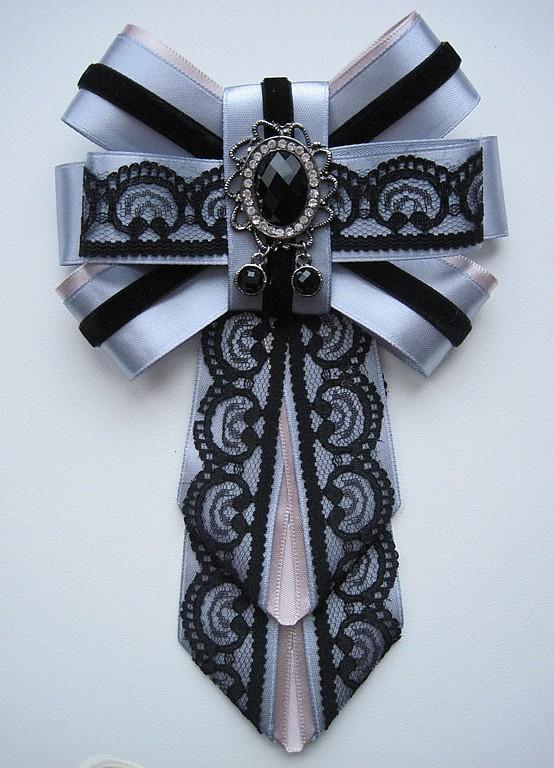
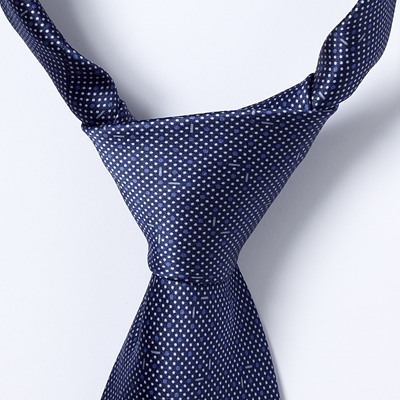
How fast and beautiful tie a tie?

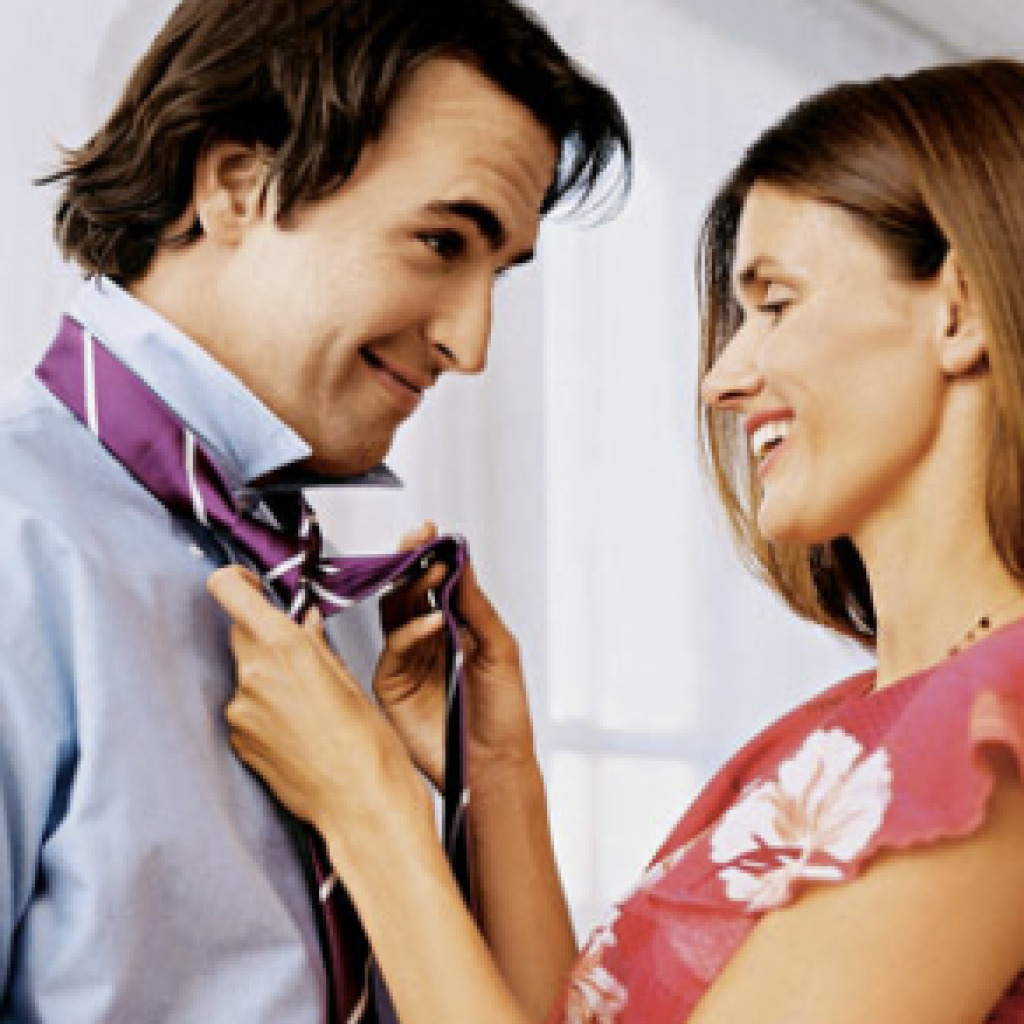
To be able to tie a tie correctly is important not only for any man, but also for his caring spouse, and whatever method you choose, he will still make a man irresistible.


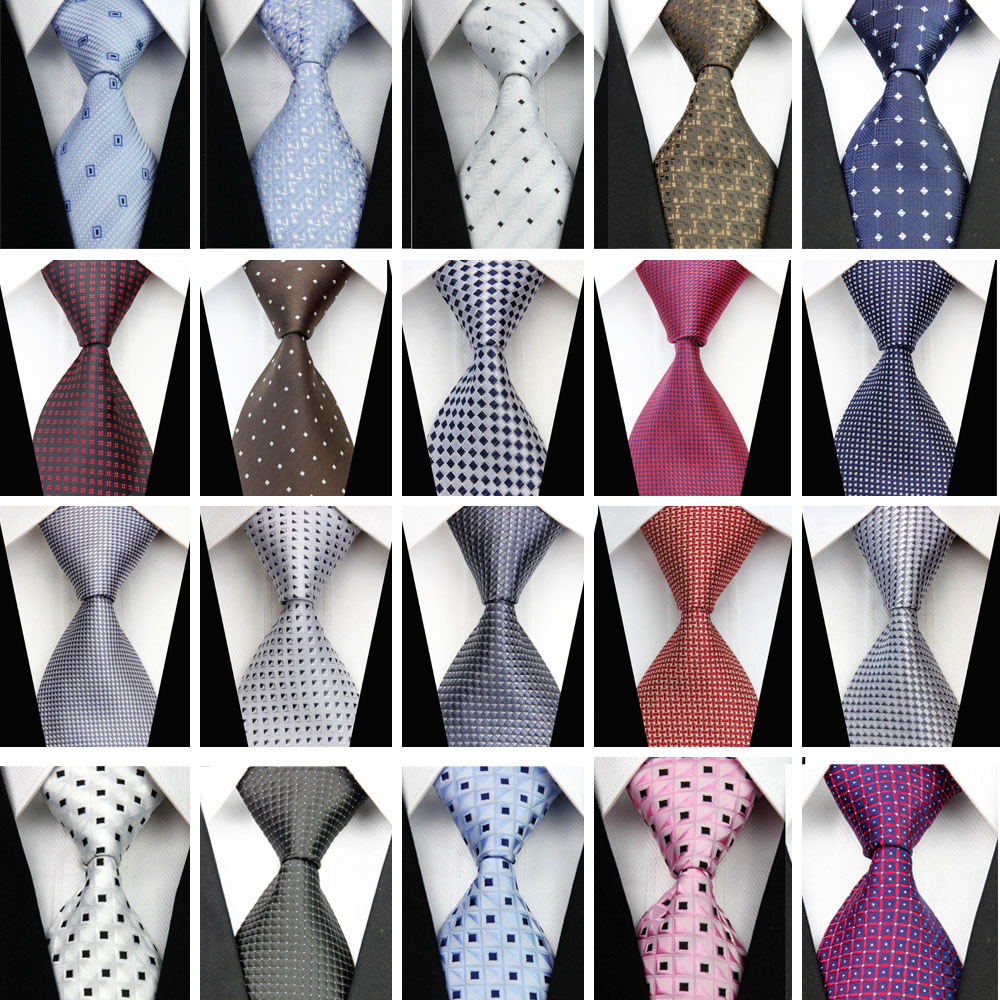
Kinds
There are several dozen types of knots that can tie a tie. But in any case there is one rule - the knot should be tied with caution, without damaging the fabric itself with a strong constriction, and in the end it should turn out to be rather tight. The knot must not have wrinkles; this is allowed only in the case of a double Windsor knot, but not in other variants.


- Wide
Any man who tries to keep up with modern fashion should be able to choose a tie and tie it in a wide knot, spending only a couple of minutes on it.
- We turn the tie face forward, with the end wider - on the right, and narrower - on the left. We work only with a wide end.
- Now you need to cross the wide end with a thin, placing it (wide) on top.
- Next, the wide end is pushed from the bottom into the loop on the neck in the upward direction.
- The active end is wrapped in the same way as after point two.
- The wide part goes under the narrow.
- Raise up the wide part of the tie.
- She is now wrapped down, passing through the loop on the neck, similar to step five.
- The active part wraps over the narrow.
- The wide part passes under the bottom of the neck loop and goes up.
- The wide part is held in a loop that has just turned out.
- It remains to carefully tighten the knot on the tie and, if there is a fold under the knot, you can straighten it, but this is not necessary. Adjust the diameter of the loop around the neck by moving the tie knot on its thin part.


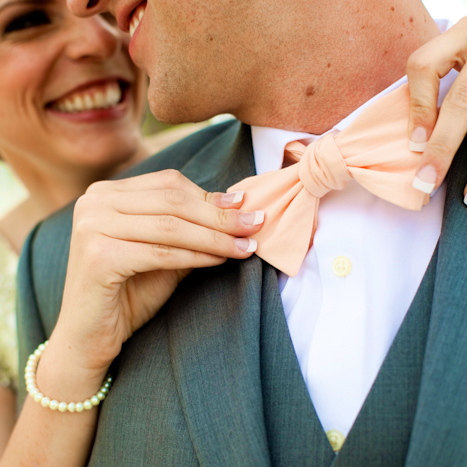
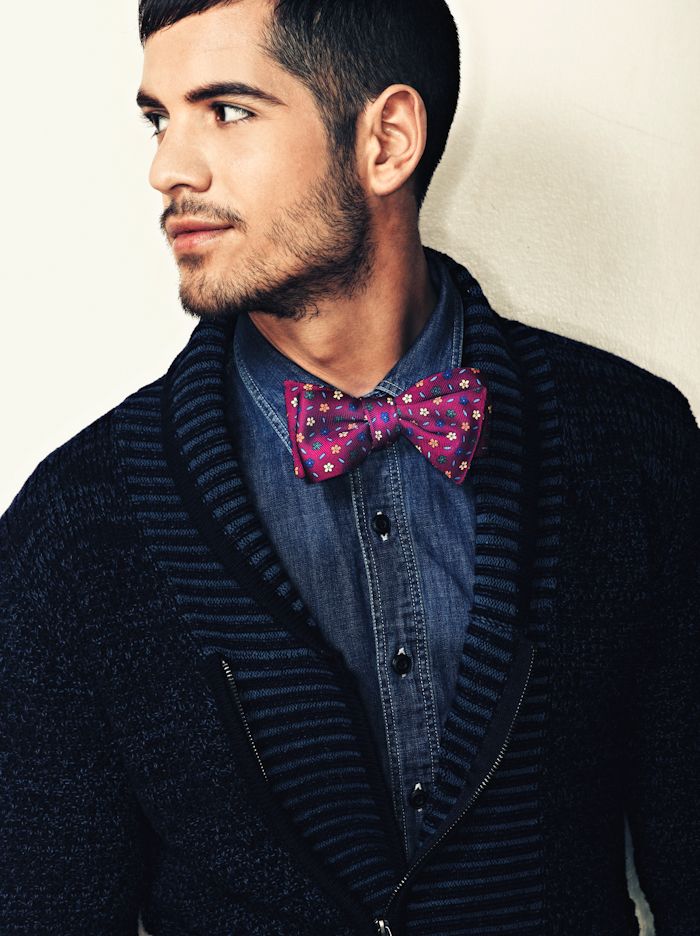
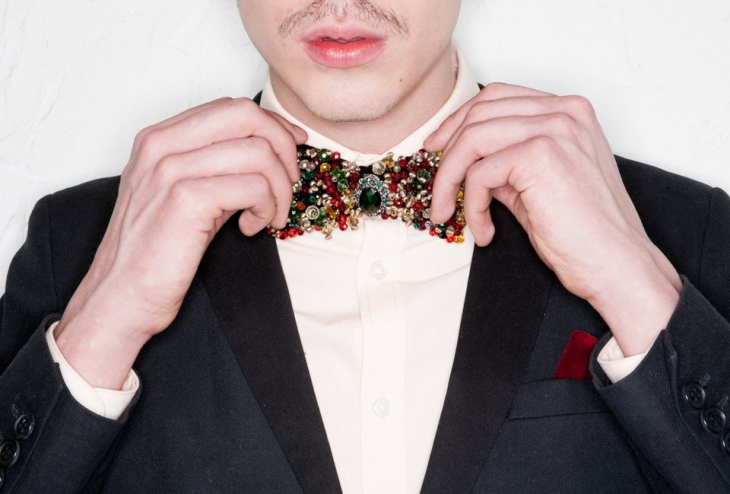
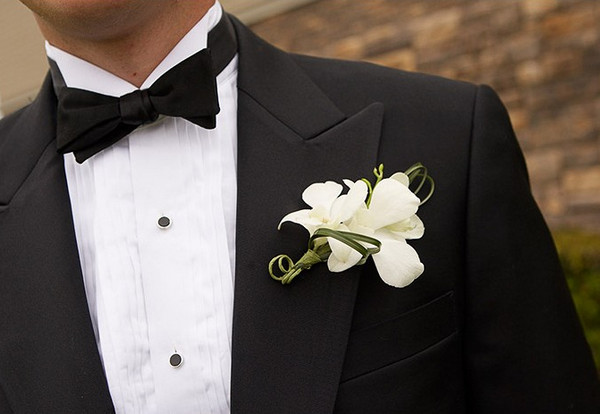
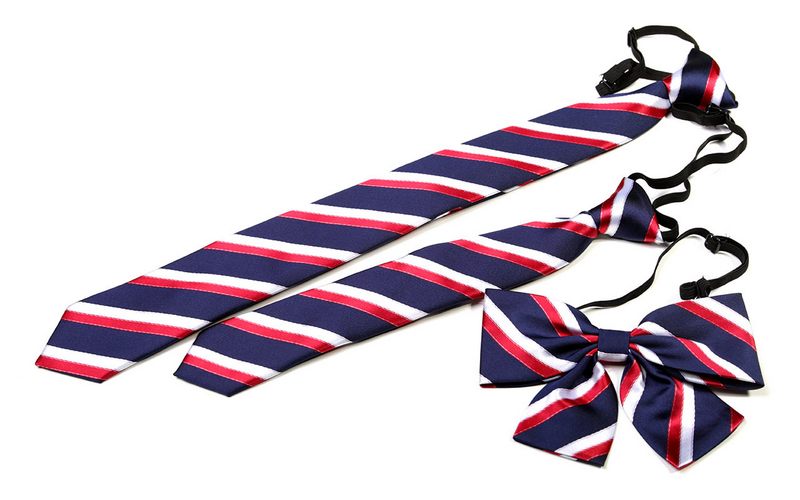
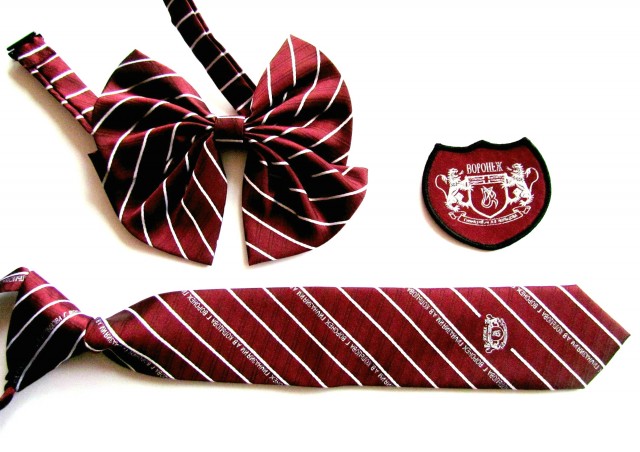
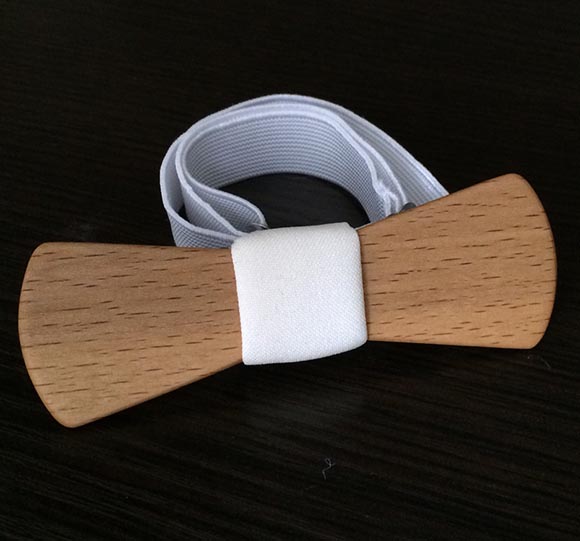
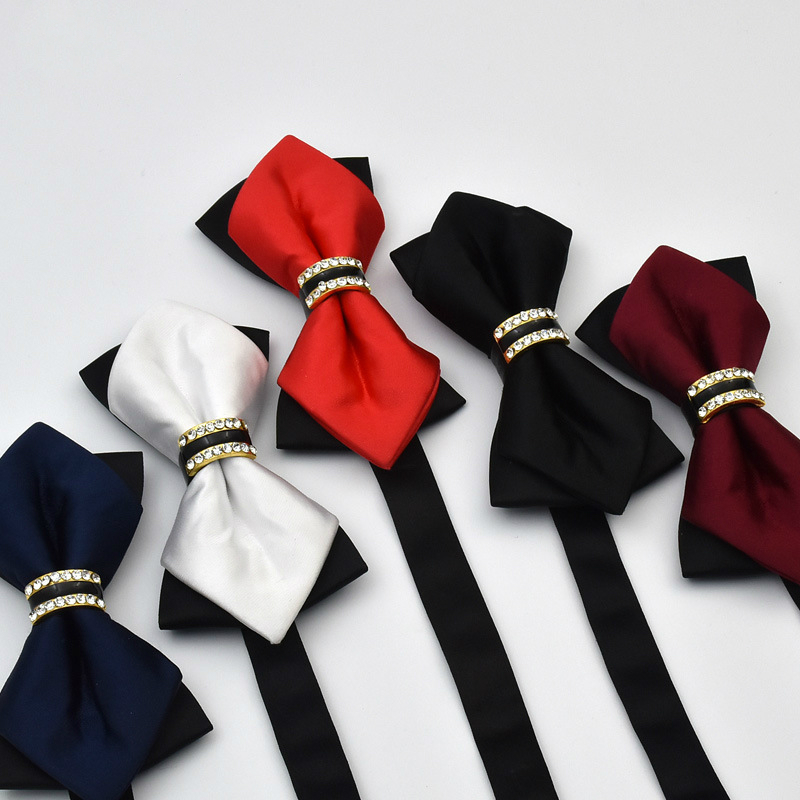
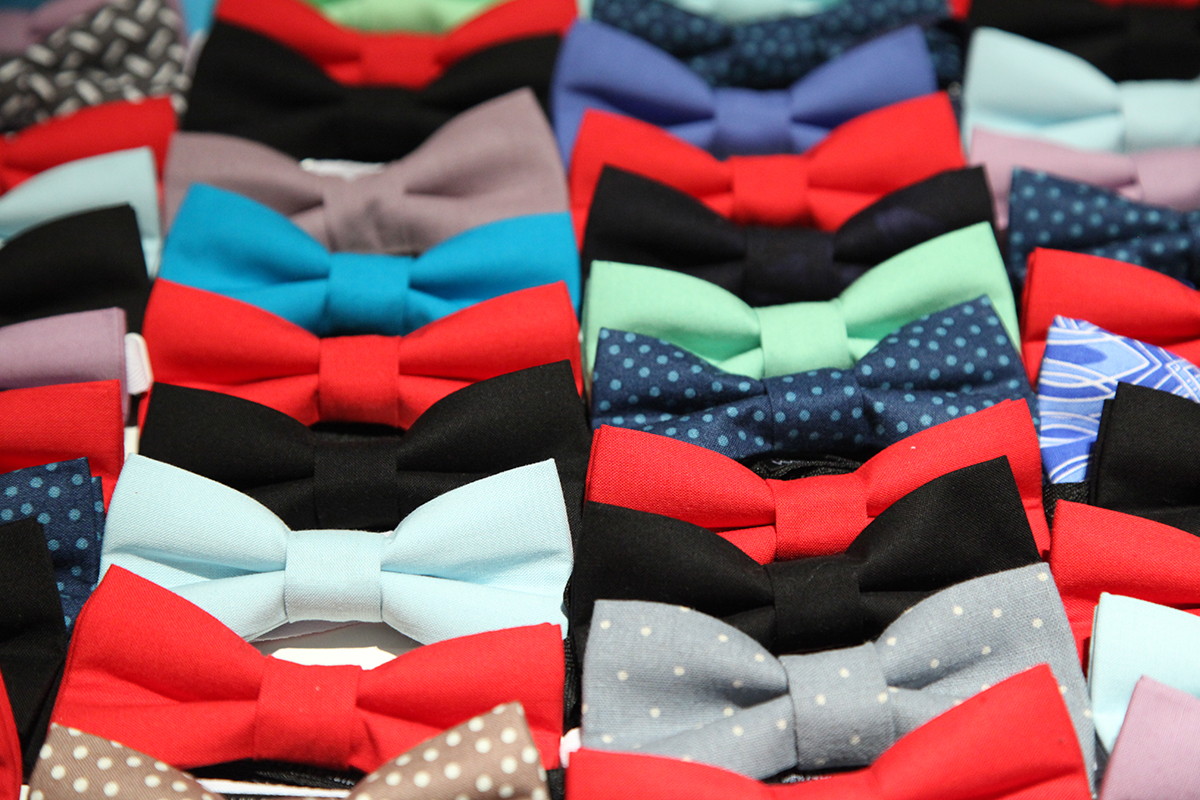
- Butterfly
Butterflies are the most unique element of the classic men's suit.
- The front side is tied around the neck.
- Now you need to fold the bow tie from the right end twice, to the right side.
- Then with the left end we go under the center of the part that we have just folded and go up.
- The left part is passed from the top point through the loop on the neck and goes down, it turns out the eyelet.
- The left side of the tie is folded twice in its wide half and is passed into the received ear, coming from the left.
- It remains only to straighten the bow tie on opposite sides and gently tighten.
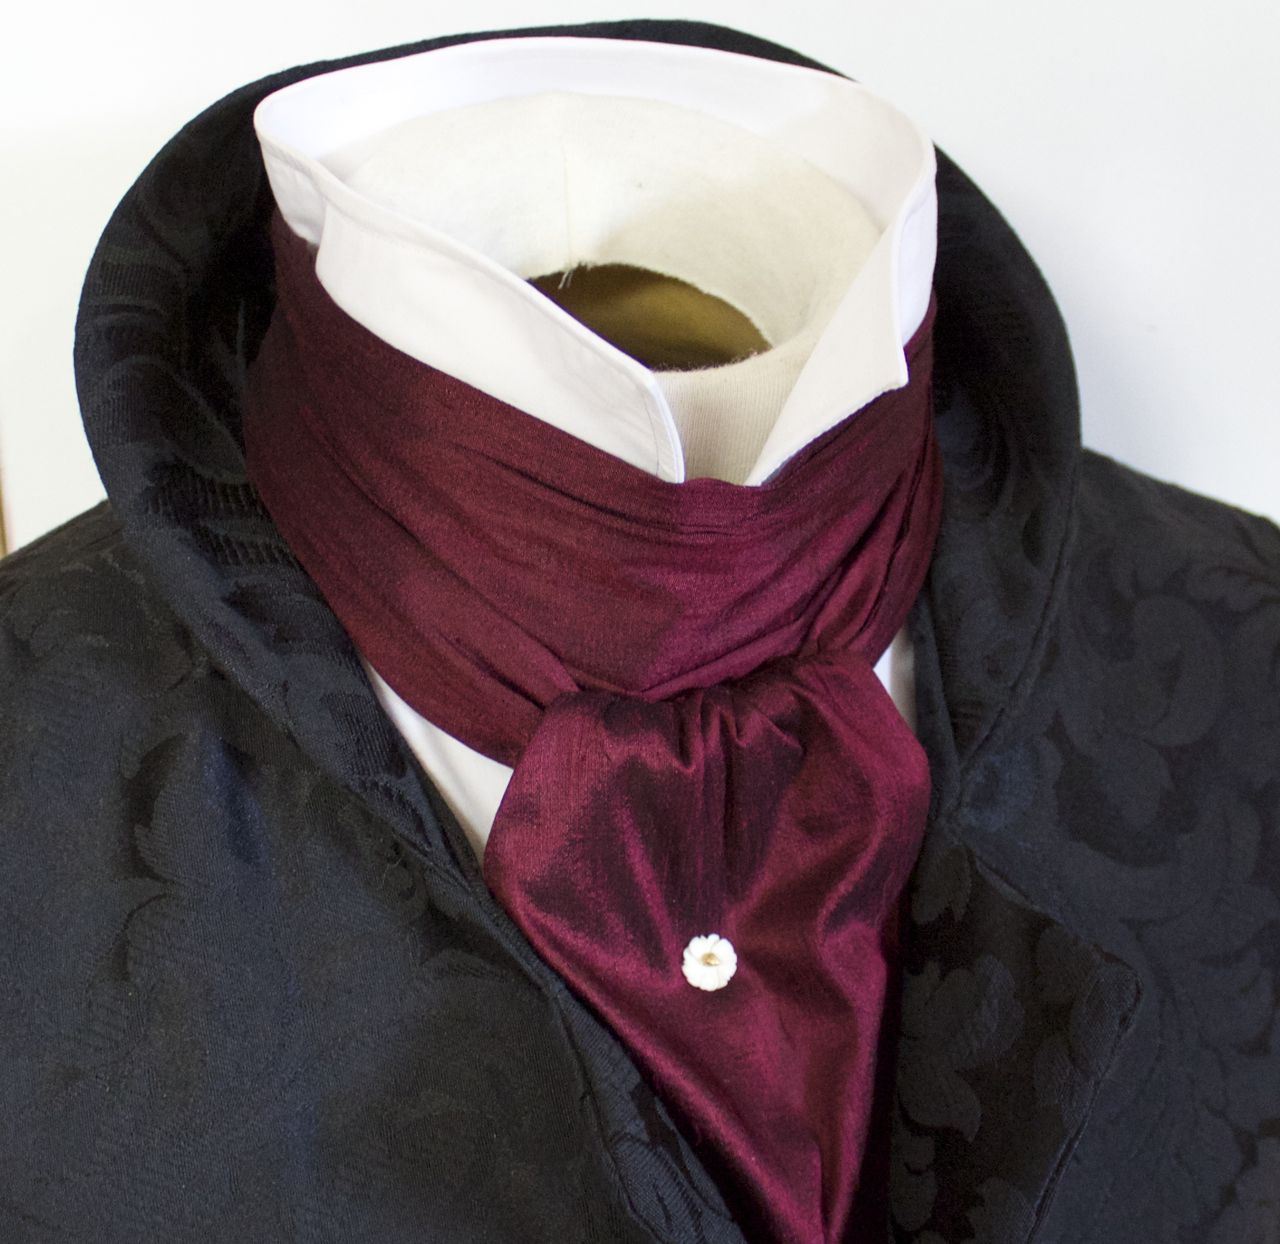
- Ascot
These ties will fit in the form of an informal fashion accessory to complement the men's casual business style.
- We wrap our neck with a tie not under the collar, but under it, so that the tie touches the skin. The ends of the tie lie on the chest.
- Some ascot ties come with a finished loop at one end. If you have one, then you push the other end into it and go to the fourth item.
- We unzip the top buttons on the shirt to make it comfortable to work with a tie.
- One of the ends is 15 cm higher than the other.
- Long throws on short. For greater stretch, you can wrap the long part around the short one.
- Tuck the long part under the short one at the very neck, do not overtighten too much.
- Fully extend the long part and straighten it.
- We change the location of the tie in such a way that its long part is above the short.
- We check that both parts are approximately the same in length. From a tie with a loop on his chest, only one tail will come out.
- Correct the fold, straighten and smooth the knot near the neck.
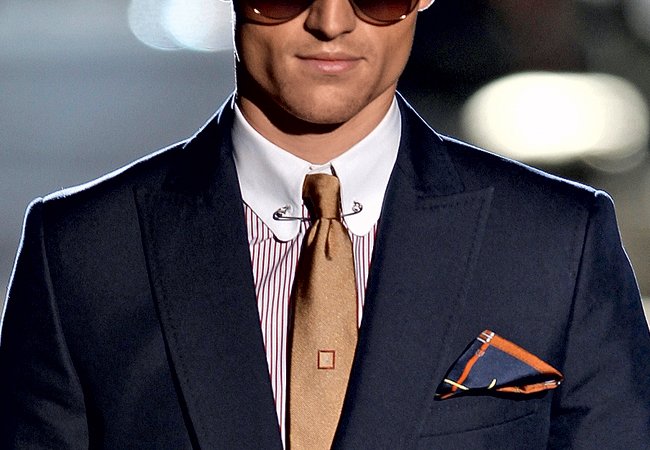
- In the very middle of the knot there is a beautiful decorative pin, and then the knot is more reliable.
- The ends of the tie can be hidden under a vest or under another type of clothing that will not hide the main touch of the ascot tie - a beautiful wide knot at the neck itself.


- School
This method saves you time and is easy to remember.
- Tie lay out the inside out.
- In the middle of it we put a rubber band and fix it with the narrow part of the tie, which is pulled through the bottom of the product for this, and then up through the convenient side.
- Now push the same end under the gum and direct it to the bottom of the tie.
- It remains to tighten the knot and from the seamy side fasten it using a needle and thread.

- Short
Such ties are recommended for men of large stature.
- We wrap the tie around the neck with the narrow part to the right and above the wide part.
- A wide part of the tie is directed under the narrow, directing to the right side, and at the same time we turn it 180 degrees, that is, you should see the tie from the wrong side.
- Then the wide part of the tie goes over the narrow one to the left.
- From the lower part through the loop on the neck, a wide part is pushed through and directed upwards. This is done from the wrong side.
- Further, the same part goes down through the ear that has just formed.
- It remains only to tighten the knot.

- A long
Some men like neckties with large oblong knots, which, by the way, are very common among Italians. And this lesson is for them.
- First of all, we wrap a tie around the neck. The narrow part hangs to the left and it is shorter than the wide.
- Now you need to cross both ends and then wrap the narrow end of the tie with the wide end twice. The knot will be even bigger if you wrap up not two times, but three - as you like.
- In conclusion, we skip the wide part upwards and we insert it into the loop that was formed.

- Fat
Here you need to show maximum accuracy, otherwise you can get a short tie and too big a knot.
- Throw the neck inside out. The wide part of the tie is on the left, the narrow part is on the right, its length is slightly above the navel.
- The narrow part is superimposed on the wide and stretches downwards. We pass it right under the collar to the area obtained by reticle.
- The wide part goes for a collar, we stretch a tie in the left side.
- Then we stretch the narrow part to the neck, and the wide part - under the collar to the left side.
- Again we stretch the narrow part towards the neck.
- Wide goes under the collar to the right.
- The next stage is the formation of the front side of the node. To do this, move the narrow enough part of the accessory from the right to the left.
- Then it is passed through the loop from the outside.
- The wide part is carefully tightened downwards.
- Now straighten the knot and remove unnecessary folds.


- Average
Such a knot looks good on an accessory made of dense and heavy material.
- First of all, we put the tie inside out. The narrow part of the right, above the wide.
- Cross both ends, the narrow part at the top.
- The wide end goes over the narrow to the right and extends into the loop under the collar below.
- Now we direct the wide part into the ear outside.
- Tighten to the desired density of the node.


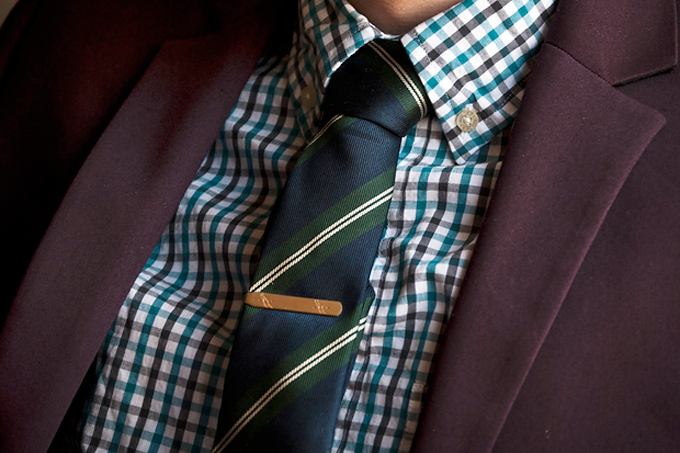
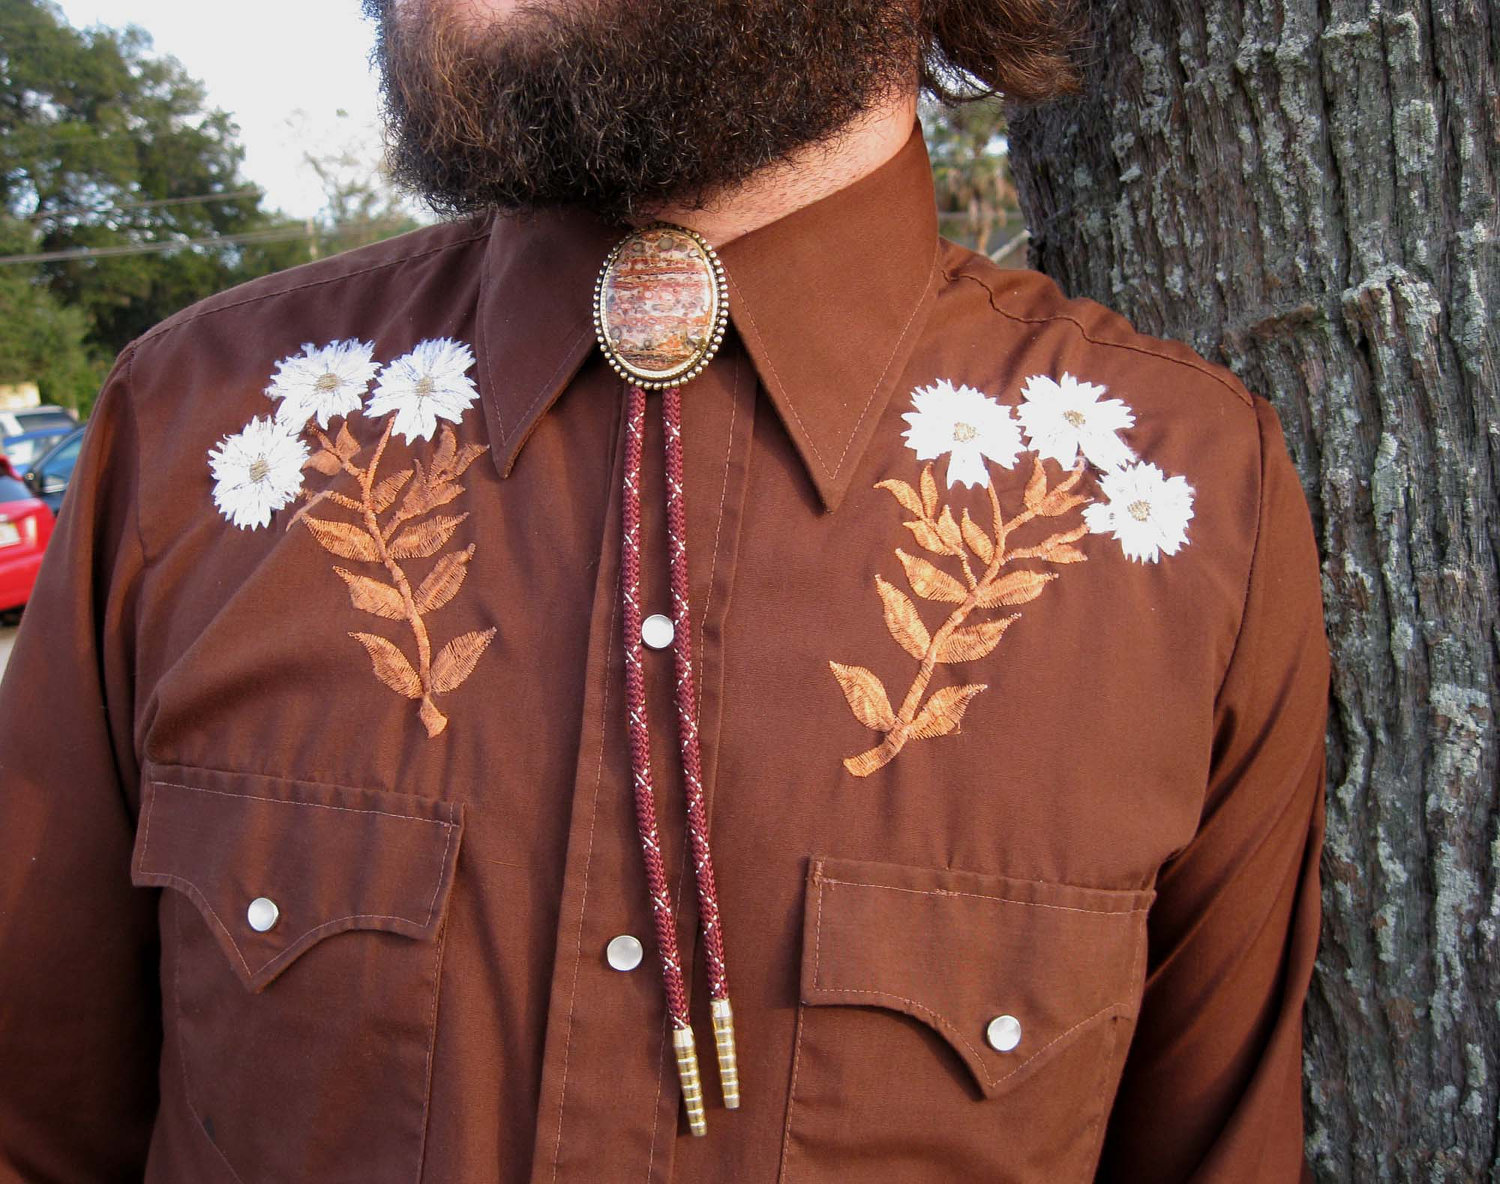
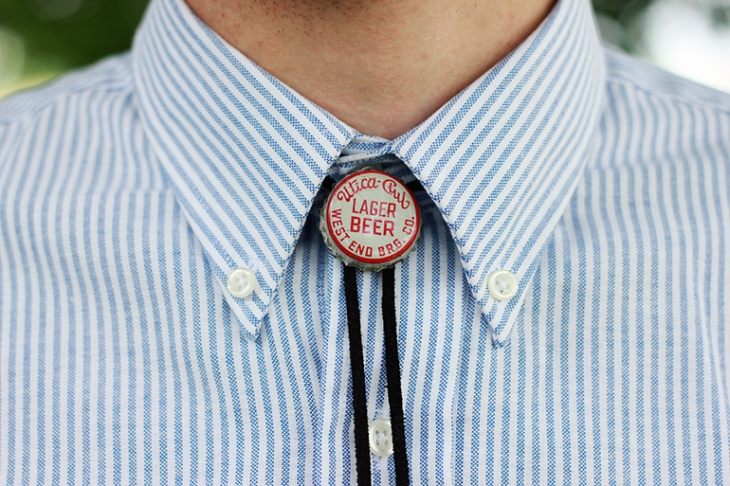
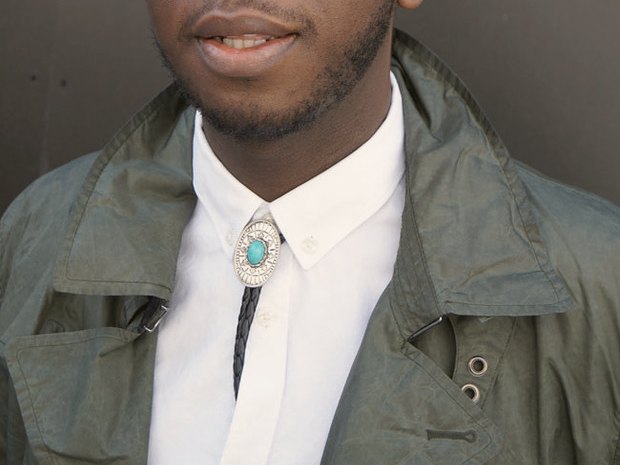
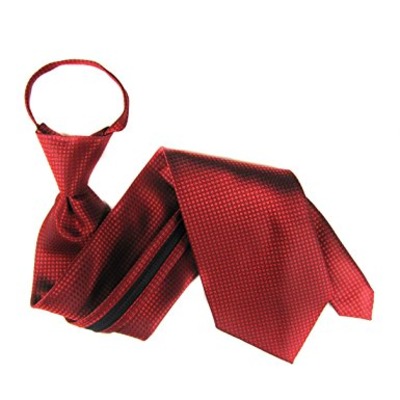
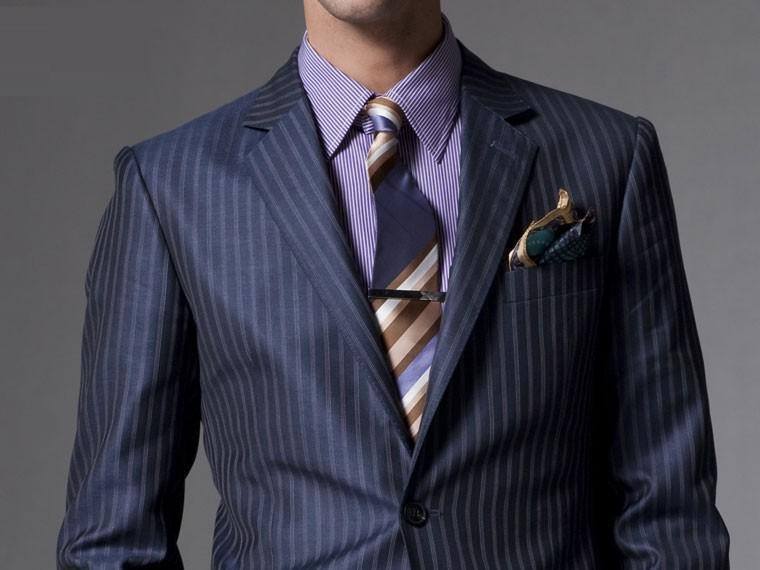
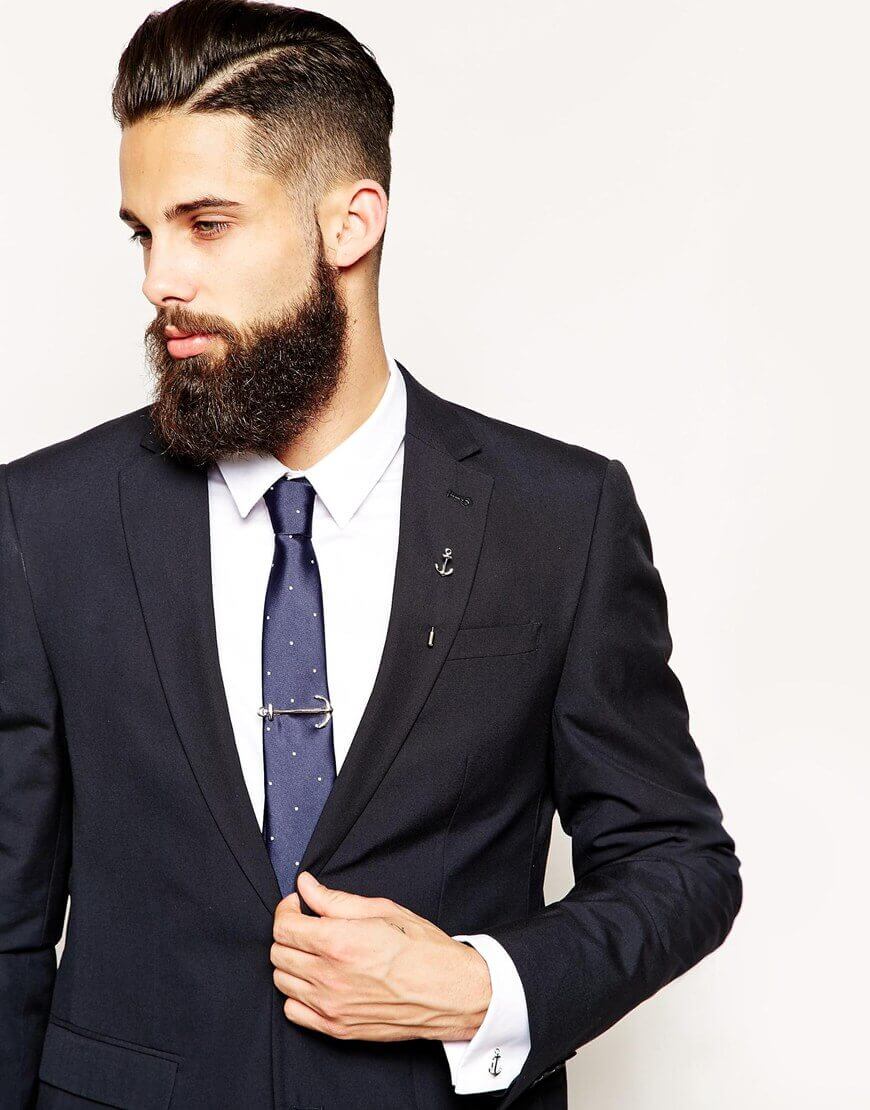
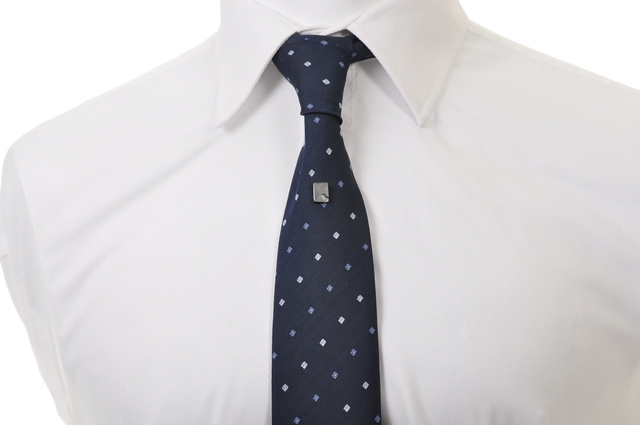
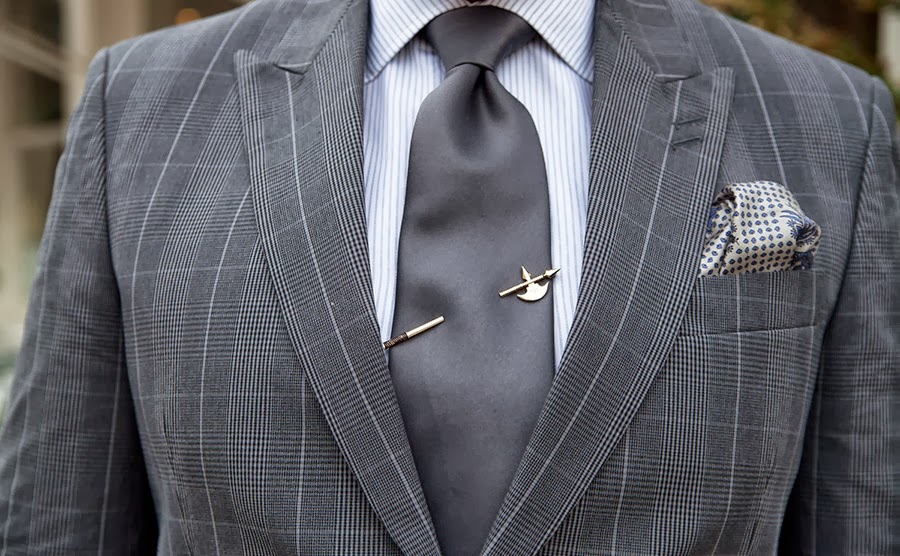
- With fasteners
The fastener is traditionally a male accessory and performs the function of fastening a tie to the front of the shirt. Thanks to this fastener, the tie will not swing freely, and its owner will look more neat and elegant.
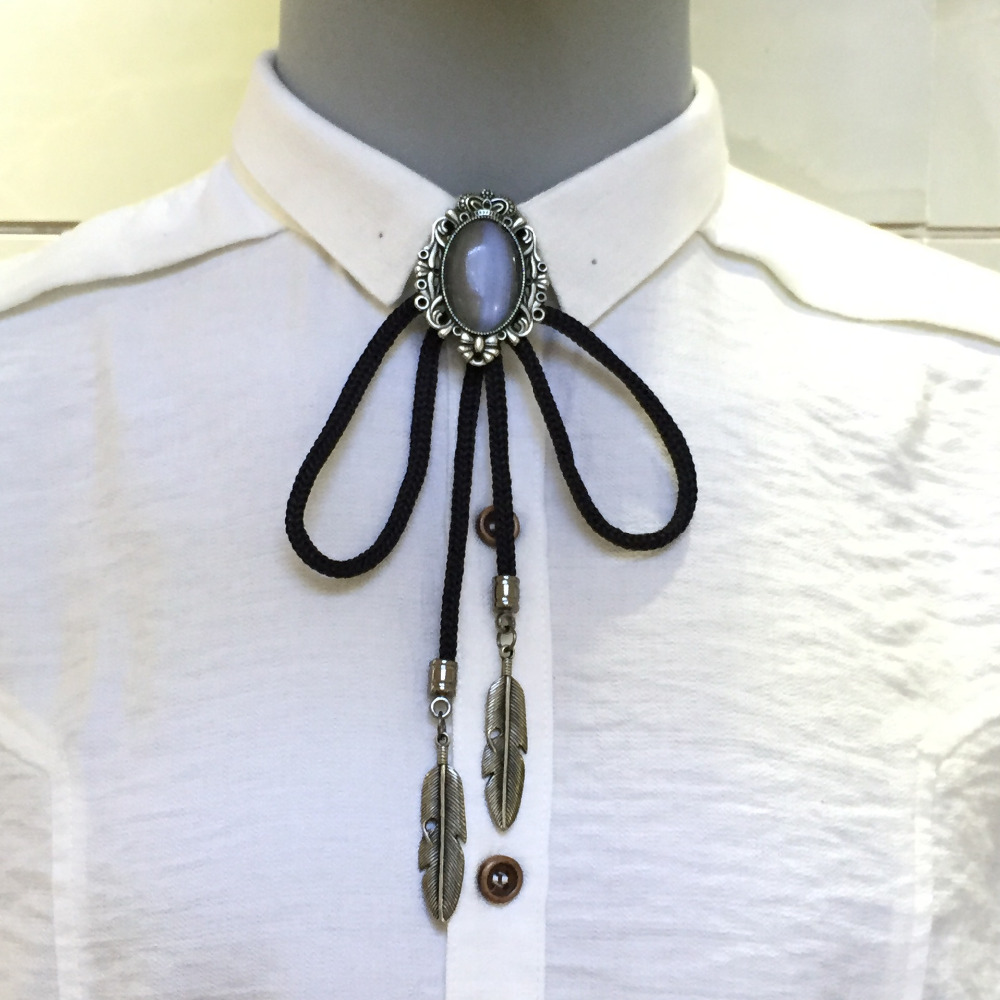
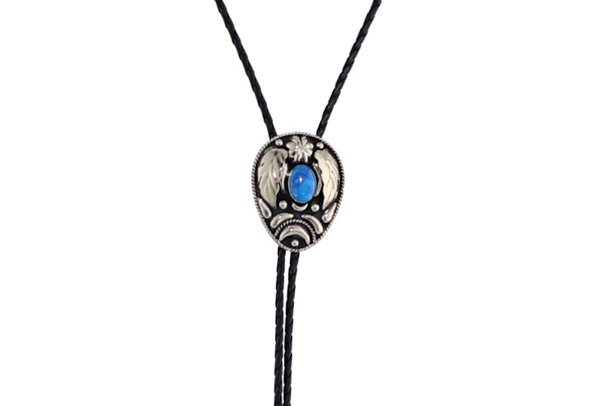
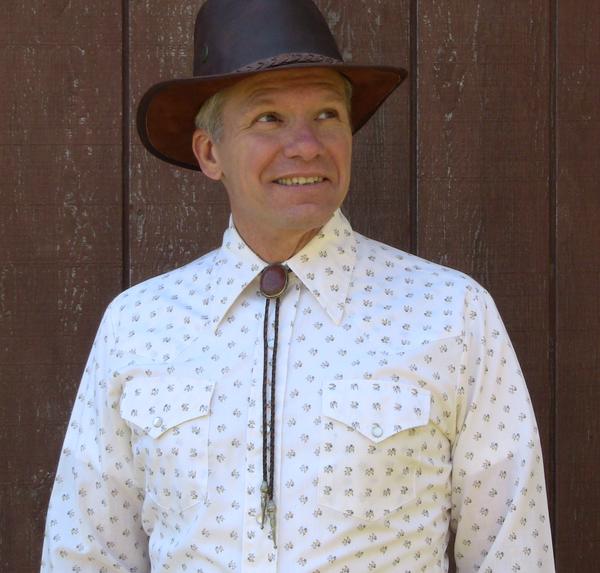
- On the rope
The lace can be suede or leather, and as a clip you can use either a regular pendant or something from a family relic. Any material can be used here.
Specially fitted metal plates are worn on the ends of the laces, but sometimes they are used to be fixed with beads. A classic of the genre is considered to be a variant created in Texas, when the tie-clip is tightened at the level of the first button from the collar.
- On the clip
The ties on the clip are an imitation of ordinary ties. In fact, they are simply fastened with a clip on the collar of a shirt.But such ties have drawbacks.
First, their length is not adjustable, because the node is fixed. Secondly, it is usually polyester, which means that such a tie is not suitable for a solemn occasion.
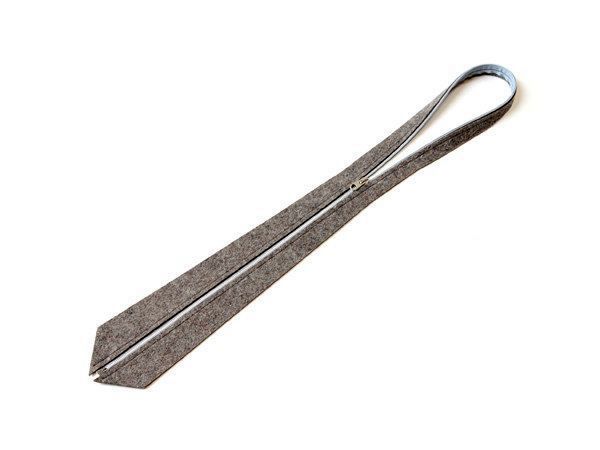
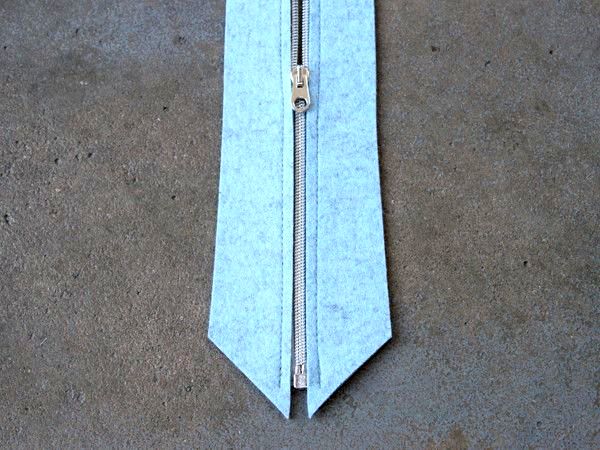
- On lightning
This is another invention imitation of this accessory. A tie zip allows you to wear it without putting it on your neck. A zipper runs along the entire longitudinal axis of the tie and divides it in half, and each of the halves can be fastened to the shirt with a detachable connection.
From the seamy side of this accessory there is a button, and it forms the process of folding the tie under the knot when it is fastened. This design is able to preserve the traditional appearance of the accessory and the comfort when wearing it.

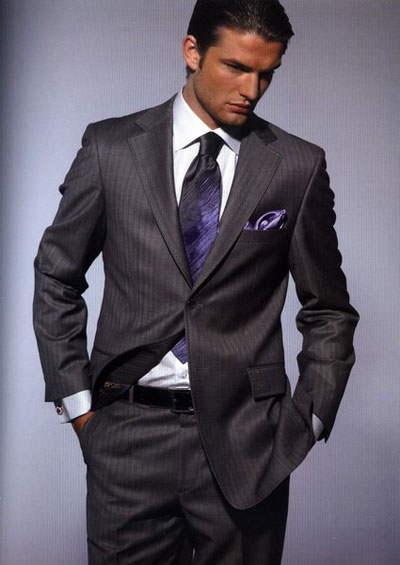
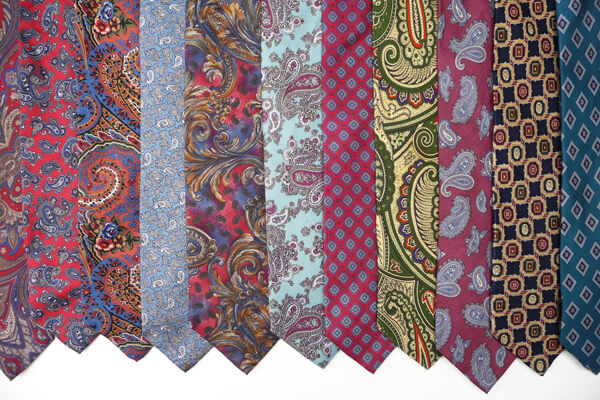
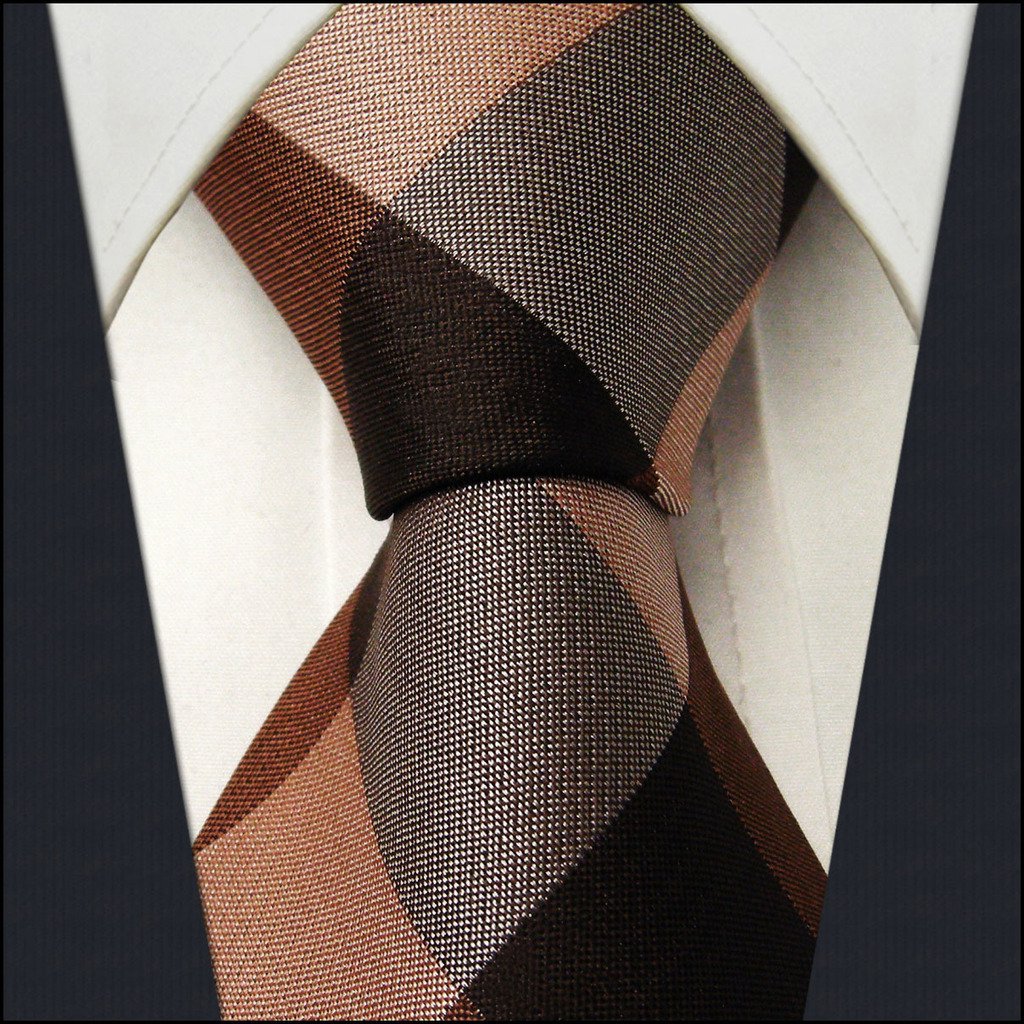
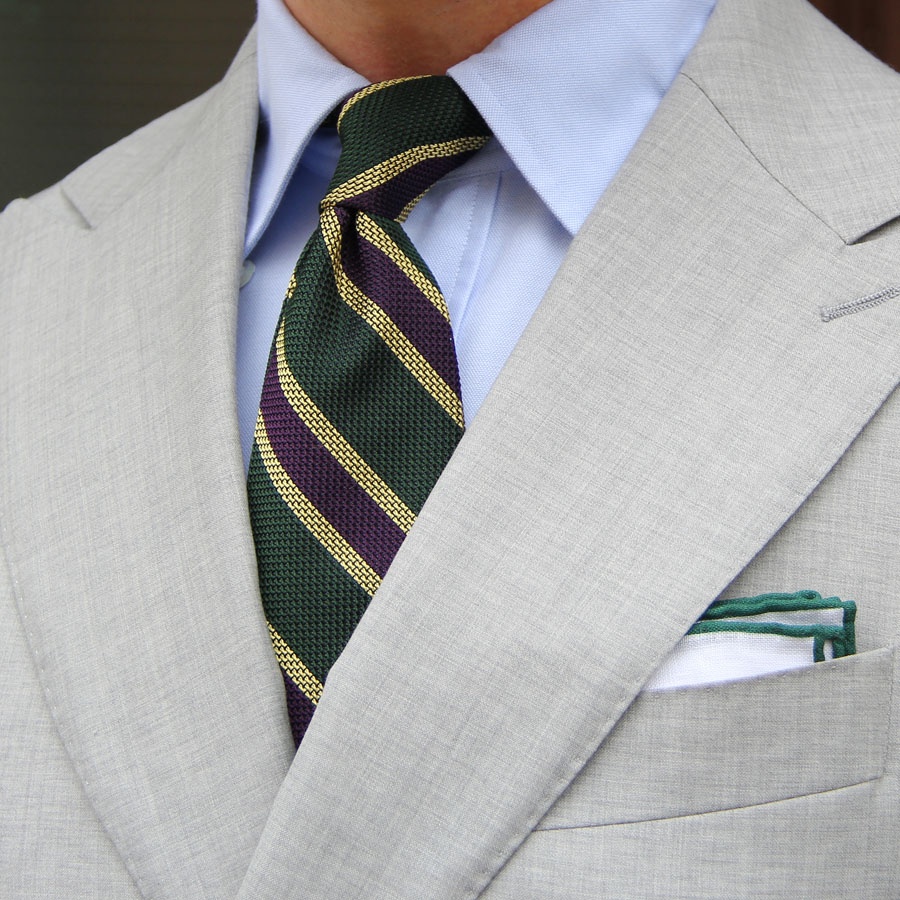
How to choose
Choosing a tie, pay attention to the fabric from which it is made. Synthetic tie will quickly lose its shape and will not stand the first wash.
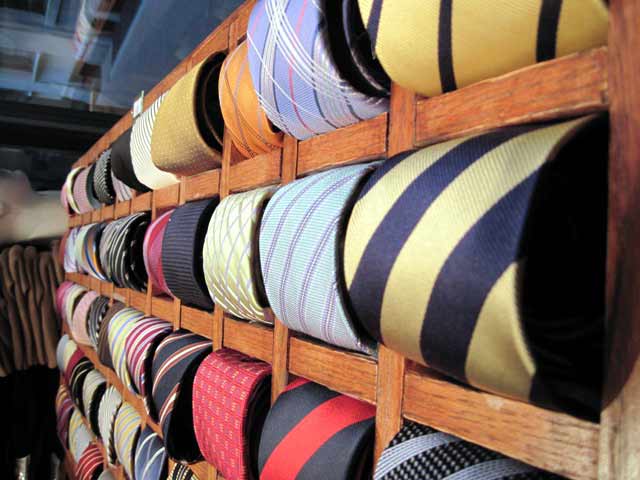
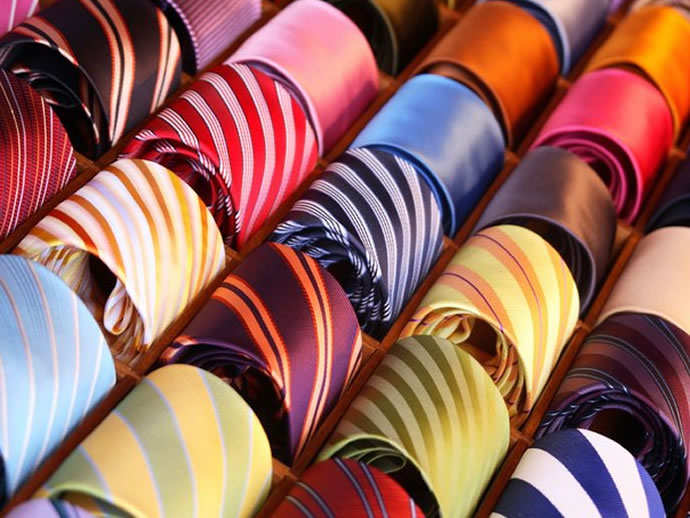
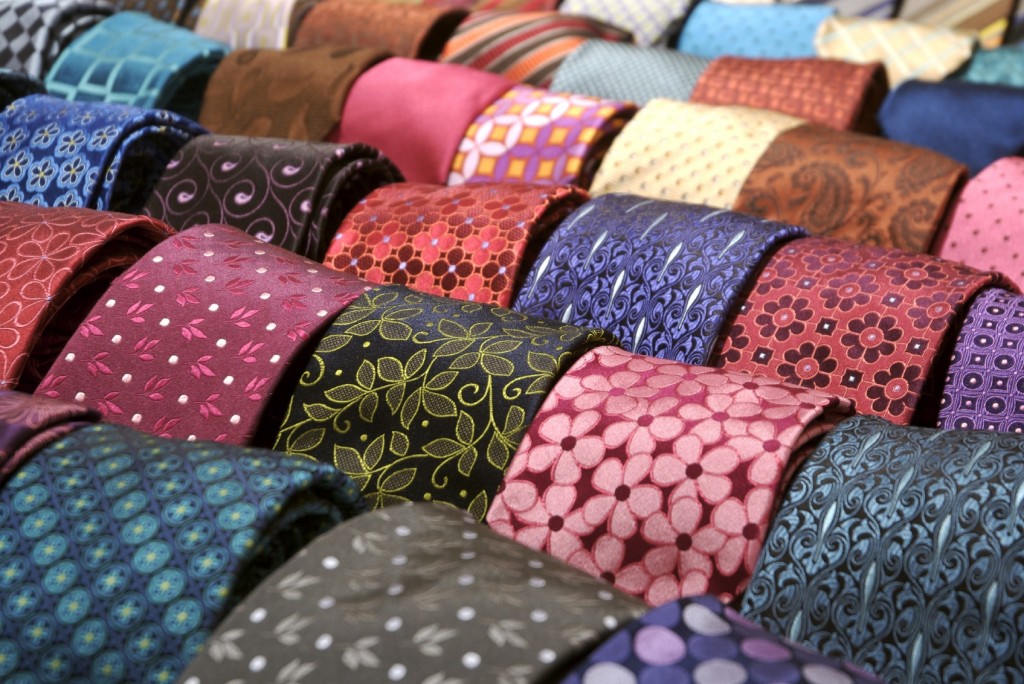
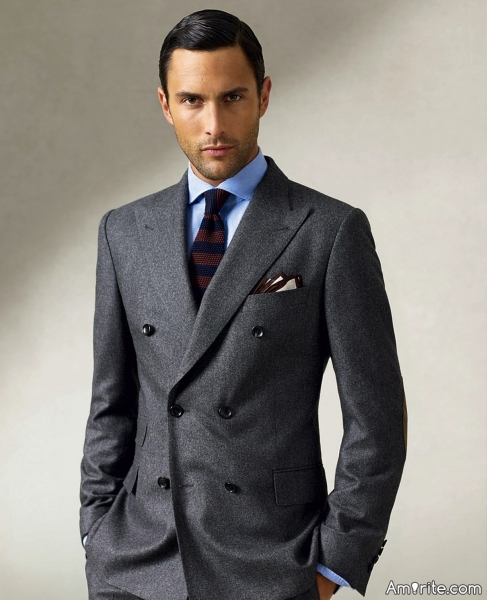
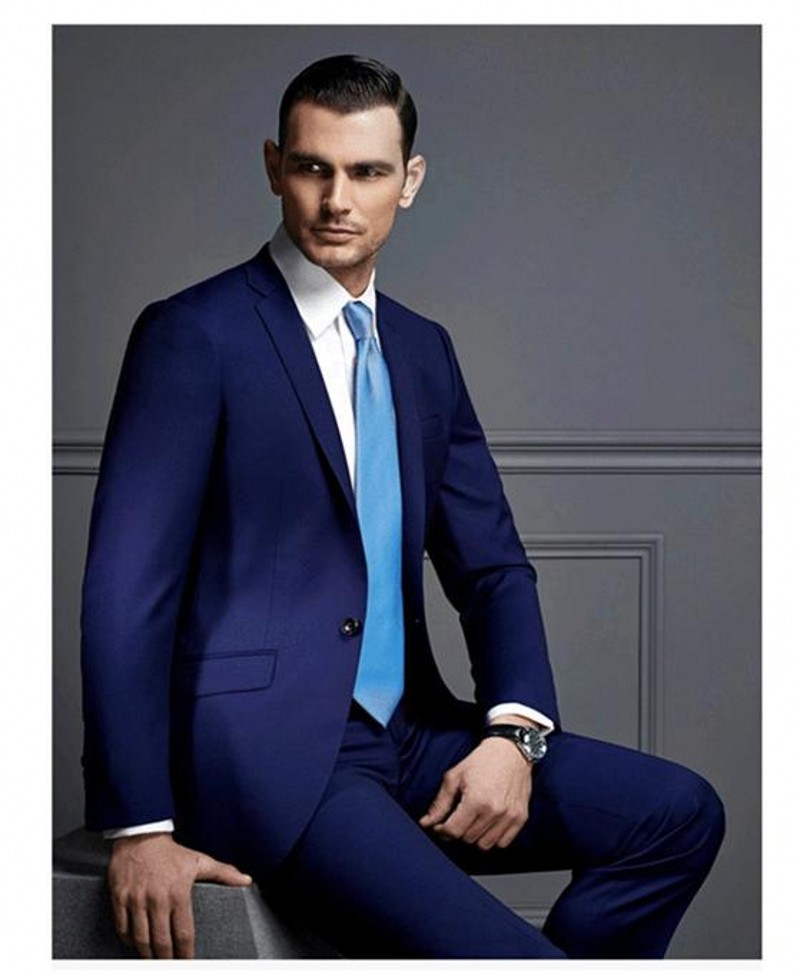
Choose a tie and the width, because it should look harmoniously in relation to the lapels on the jacket. The ideal tie size is about 8 cm.

The form should also be checked, and this is done as follows: the tie fits across the palm of the hand, if the edge of the tie remains flat or slightly hanging down - everything is fine, and if it is twisted, this is not your option.
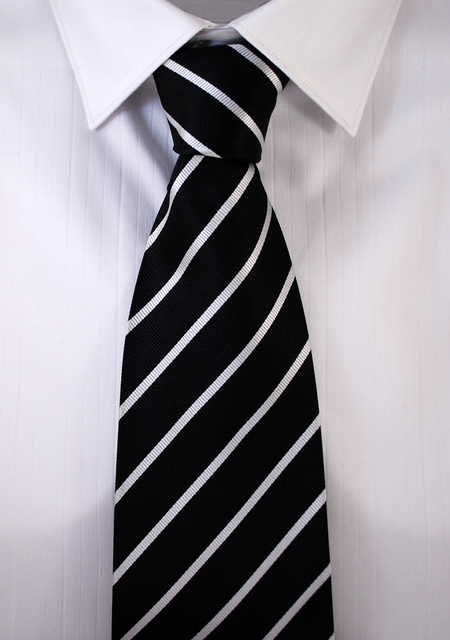
Beautiful and fast ways + step by step instructions with photos
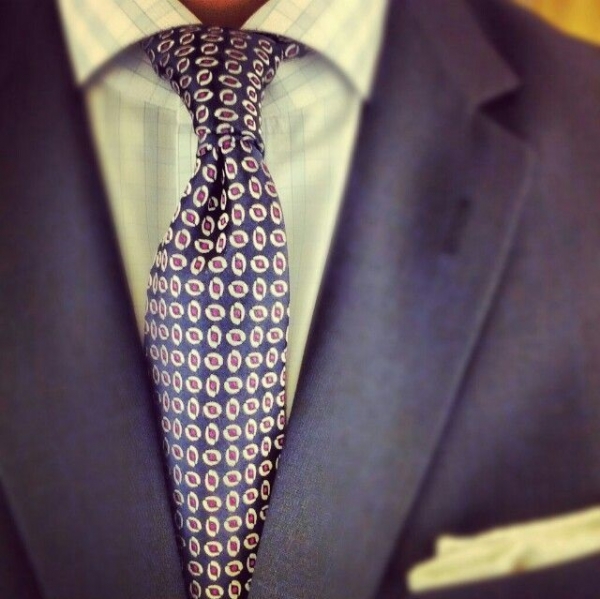
The most popular of all the beautiful and fast ways to tie a tie is the Italian version, it is also called a simple knot in another way (although there are, of course, other options). He does not take much time, and the view is worthy and attractive.
- The tie is tied around the neck, facing out, the narrow side to the right and higher than the wide.
- The ends are crossed, wide at the top and go to the right.
- The broad side is carried out under the narrow and to the left.
- The wide part goes up to the right above the narrow.
- The wide part goes up to the neck and extends into the formed ear.
- Next, the node must be leveled and tightened.


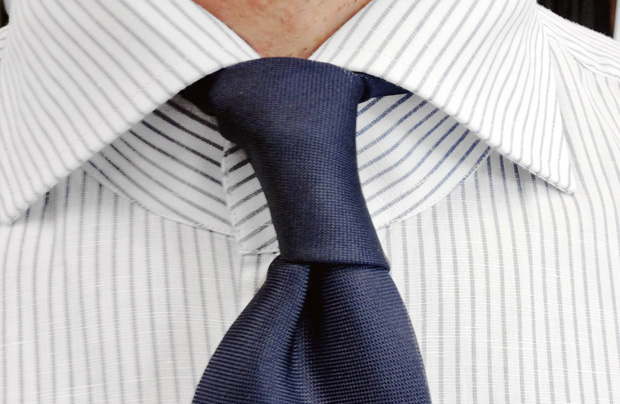
Classical
This is a universal tight knot, suitable for any gate and always looks elegant.
- We throw a tie, a narrow part at the level of the middle of the wide part.
- The wide side of the tie overlaps on the narrow.
- Then we start it under a narrow one.
- Now we wind it once around the narrow end.
- The wide side is passed through the loop under the collar, we get a small loop.
- The wide part goes from above to this loop and goes down.
- Carefully tighten the knot.

Single
This knot fits more tightly for fabric accessories.
- With a seam outward, we tie up a tie and cross the ends narrow at the top.
- We carry a wide part of the tie over the narrow.
- We start it by the knot and pass it through the loop between the accessory and the collar.
- A large part of the output forward.
- We carry a wide part under the top layer on the node.
- We pull the wide part and tighten the knot.


Double knot
This design is ideal for long collars.
- We throw a tie around his neck. The widest part is on the left and below.
- We cross the ends, from above wide, on the right.
- We spend it under the narrow part and to the left.
- Now right up.
- Left again from the bottom.
- From the wrong side of the loop goes the wide part below.
- Comes in the ear.
- The node straighten and tighten as needed.

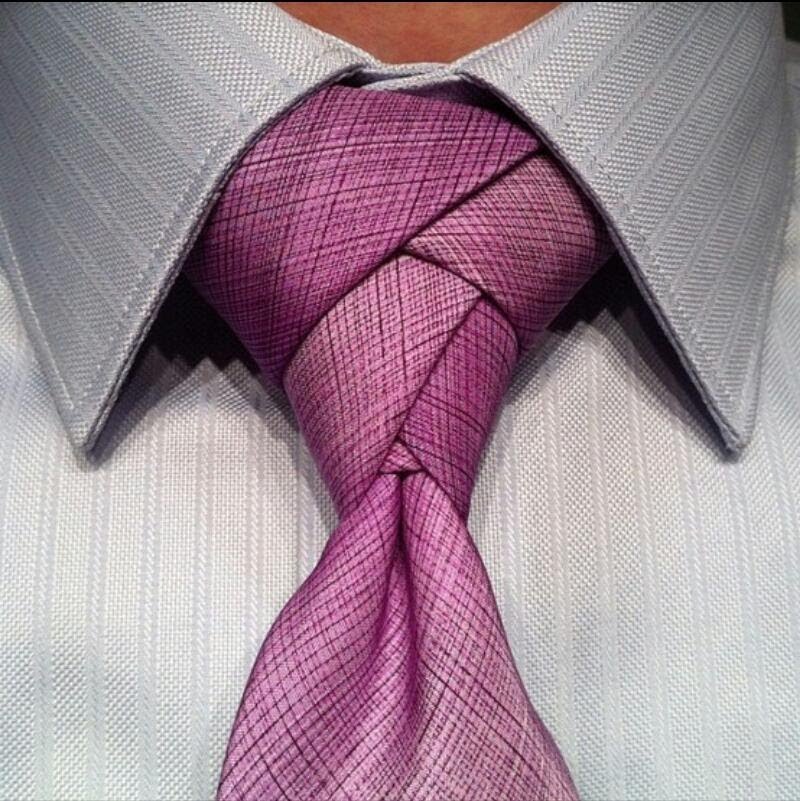
Triple knot
With such a node, you will stand out from the boring crowd.
- A tie at the neck, the wide part at the height of the future finished accessory.
- We cross both ends and wide pass through the loop.
- Cross again and close the loop.
- The thin end goes under the wide and slips through the loop on the other side.
- Its end is retracted to the right.
- We direct the narrow part over the wide, but do not tighten.
- The narrow part passes from above, dividing the main node and the horizontal segment.
- The thin part is retracted and passed through the upper loop upwards.
- The narrow end is hidden under the tie.
Quarter knot
Suitable for standard collars.
- The wide end of the tie goes under the narrow, shorter.
- The wide part is pulled under the narrow to the right side.
- The front part of the wide side is directed to the left and is passed up between the shirt's collar.
- Knot slightly hold and skip the wide end on the outside.
- We stretch the narrow part of the tie and tighten its knot.

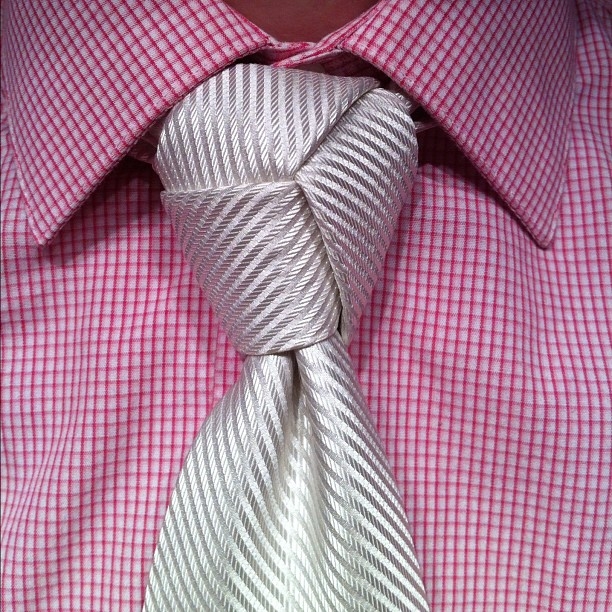
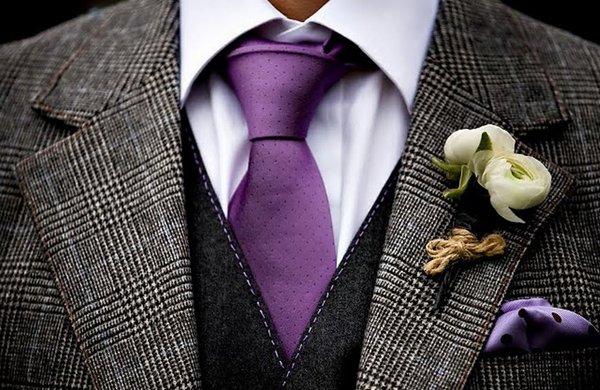
Triangle
Men's suit with a tie-triangle always looks elegant and excites the female imagination.
- Tie at the neck, face up, narrow part of the right and above the left.
- The ends are crossed, they are different in length. Wide end top and right.
- We stretch the wide end under the narrow and to the left.
- We lift a wide part upwards, and it forms in a knot like a circle, from the center of which a narrow part extends.
- Again, we hold a wide side from the neck on the right side to the left (and vice versa) and pull it out.
- The wide side extends to the other side and overlaps the narrow side.
- Now we do the same, but in a different direction, under the narrow side. The wide part winds narrow as a snake.
- Repeat step 6 and get two ringlet.
- From the seamy side from below we stretch the wide side and direct it upwards, do not tighten it.
- The wide part is held down through the ring and the tie is ready. Adjust the knot and tighten to your liking.


Prince albert
This knot is slightly asymmetrical, it is customary to tighten it tightly, which makes it look strictly and businesslike.
- Tie at the neck, face up, wide section on the right, narrow on the left.
- The end of the small part is slightly above the navel.
- Cross the ends, the wider part above.
- From left to right we wrap the narrow edge wide.
- In the horizontal position you need to shift the wide part from the right side to the left.
- Repeat - we wrap the wide section again, but lower than the first wrapping.
- We direct the wide part to the neck and pass under the tie collar.
- We pass through the loop from the front.
- Pull the wide part down and tighten the knot.
Cross knot
You will need an accessory of medium size.
- We throw it around the neck. The narrow part of the right and higher, wide left and lower.
- We intersect both ends, the wide part is on the right and on the top.
- We direct the wide end to the left, while narrow at the top.
- The wide part comes from the bottom, passing the left side of the node, up.
- The wide part extends over the narrow: first to the right, then to the left. This is done from the inside.
- The wide part in the middle part of the loop is dragged through the formed eye.
- We smooth the tie so as to avoid any distortions, and tighten the knot. Accessory ready.


Eldridge
This type of knot has one difference from all the others - it is tied not by the wide part of the tie, but narrow.
- We throw the tie over with the face out and seams inward. We have a wide part on the left side and a narrow one on the right side.
- The end of the wide part of the tie is pulled out approximately to the level of the waist or slightly lower. The working part of the tie is narrow.
- Cross the ends of the tie in such a way that the narrow side is above the wide.
- We wrap the wide side of the accessory in the direction from the left to the right.
- We stretch the narrow side to the neck and pass it over the collar formed on the tie.
- Wrap this collar and pull it out to the left.
- We form the front part of the knot - horizontally shift the wide part from the left side to the right side and pass it under the collar.
- Now you need to pull the narrow side down and to the left and pass through the wide part of the tie.
- We pass the narrow part through the loop from the front side of the knot.
- We overtighten the narrow part of the tie to the left side and tighten a little.
- We throw a narrow side under the collar, which was formed by moving to the right.
- We pass through the narrow part through the loop from the front side of the tie.
- Pull the narrow part to the left side and tighten a little.
- Straighten the knot and remove all the folds. Is done.
How should sit
It is beautiful when the tie knot slightly protrudes from under the collar, while the tie is freely, snug and slightly curving, located on the shirt. This effect is achieved if the tie is well fitted to the neck, and the knot is tucked under the top of the collar.


If you have a light tie and a thin lining, you will not be able to get either decorative folds or dimples. You should not even try to decorate such a tie like this - the folds will not hold, and the “dimple” can last for a few seconds and disappear.
If you are an adherent of decorating a tie, then the best option would be to make it on a tie made of printed material; on them the dimples are obtained both beautiful and fashionable.


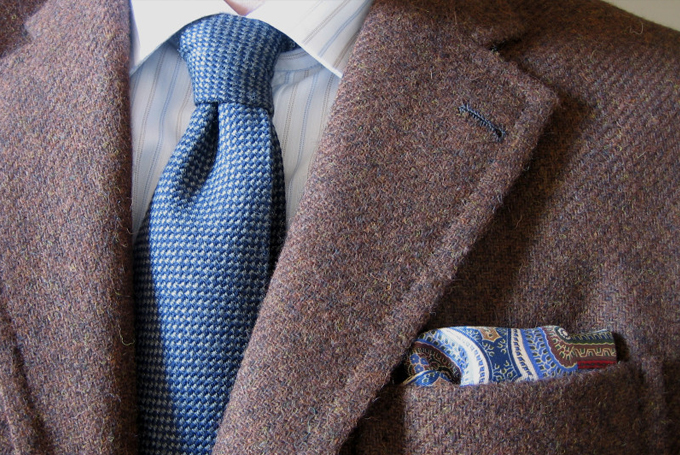
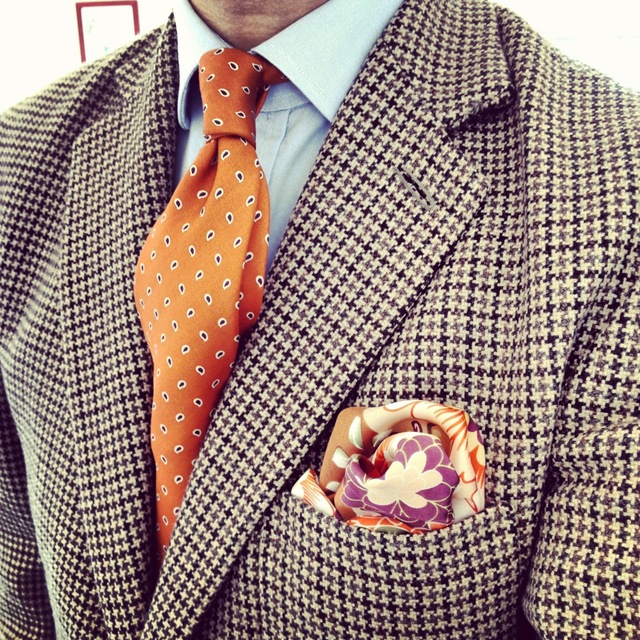
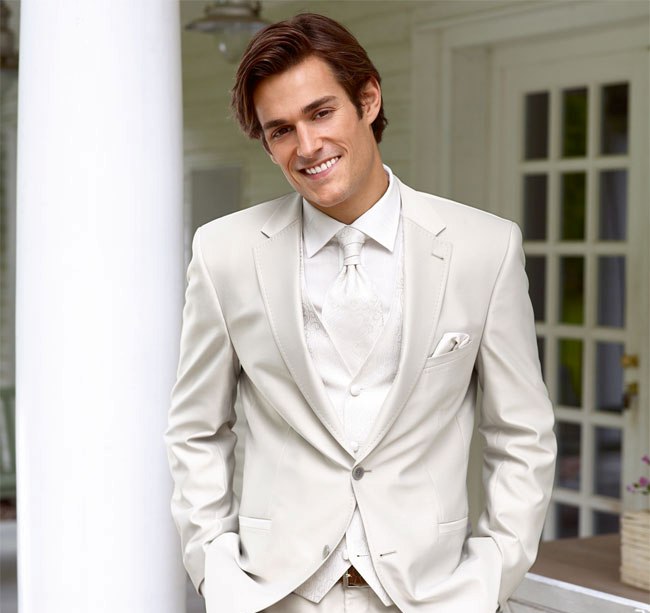
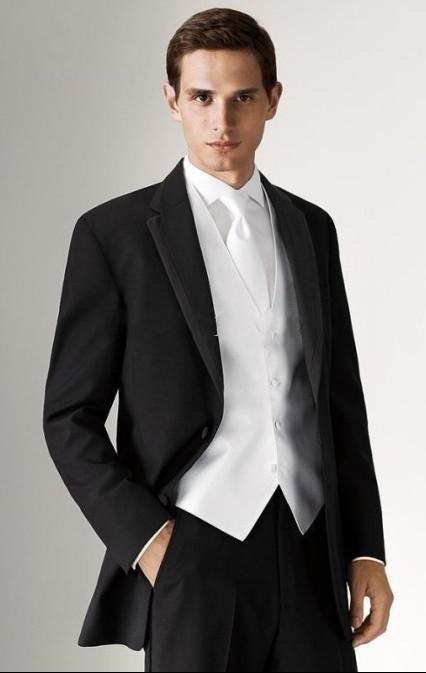
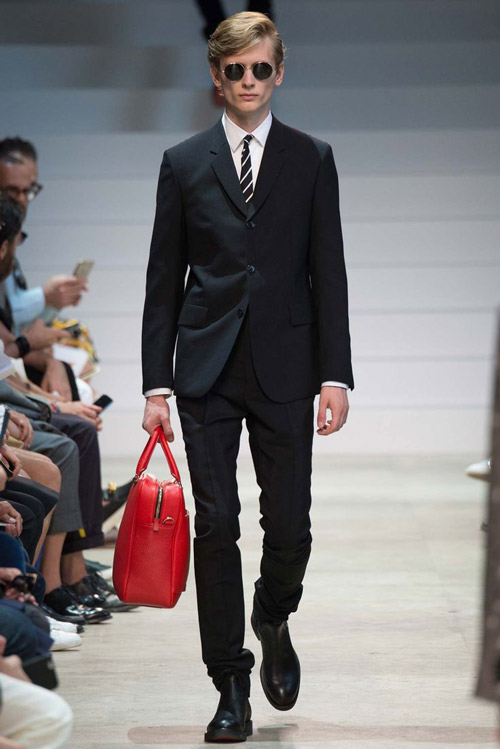
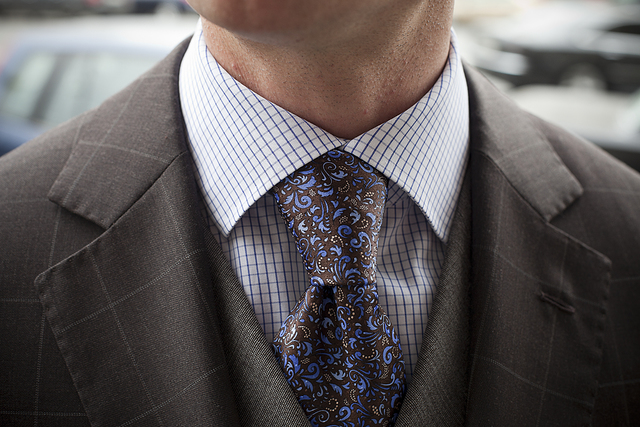
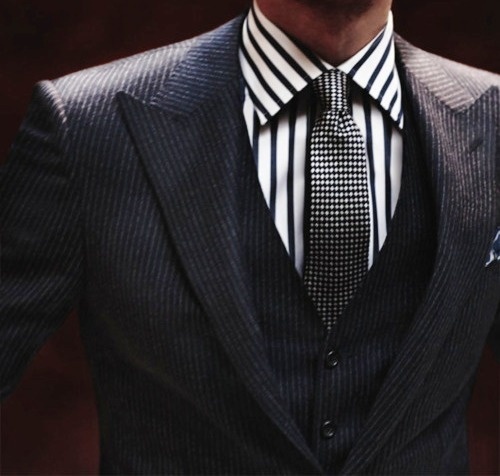
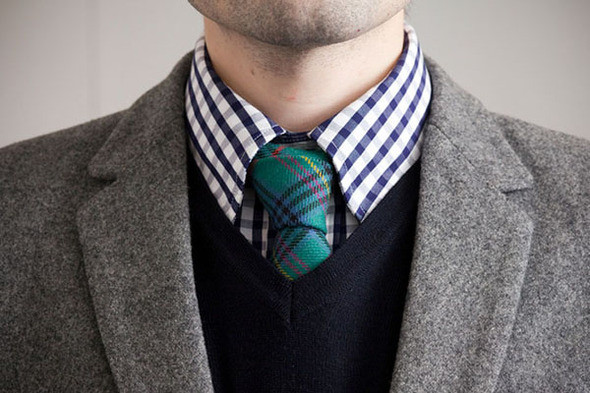
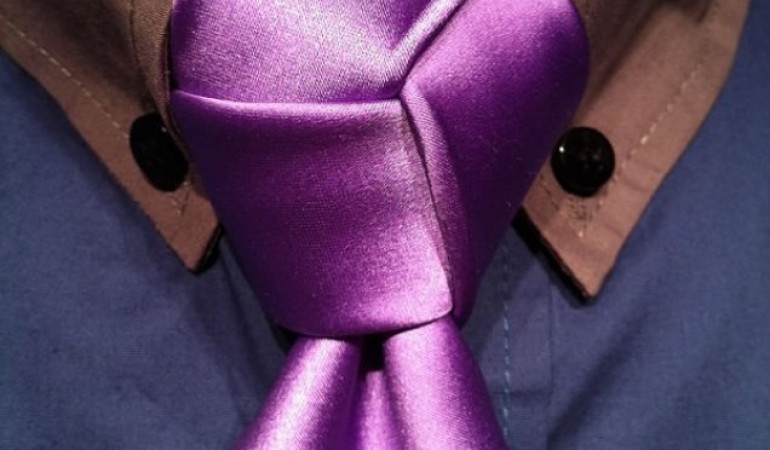
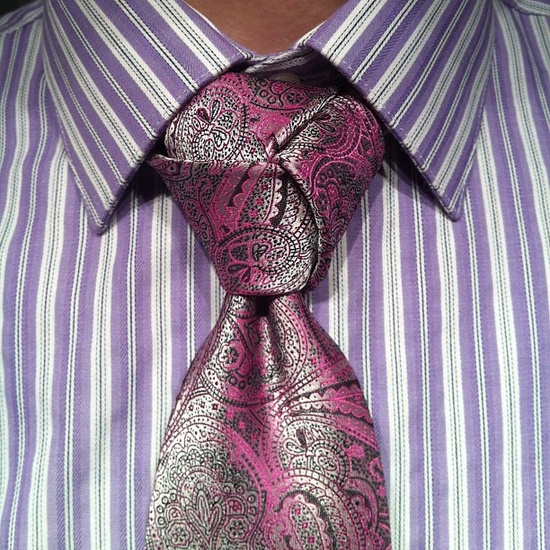
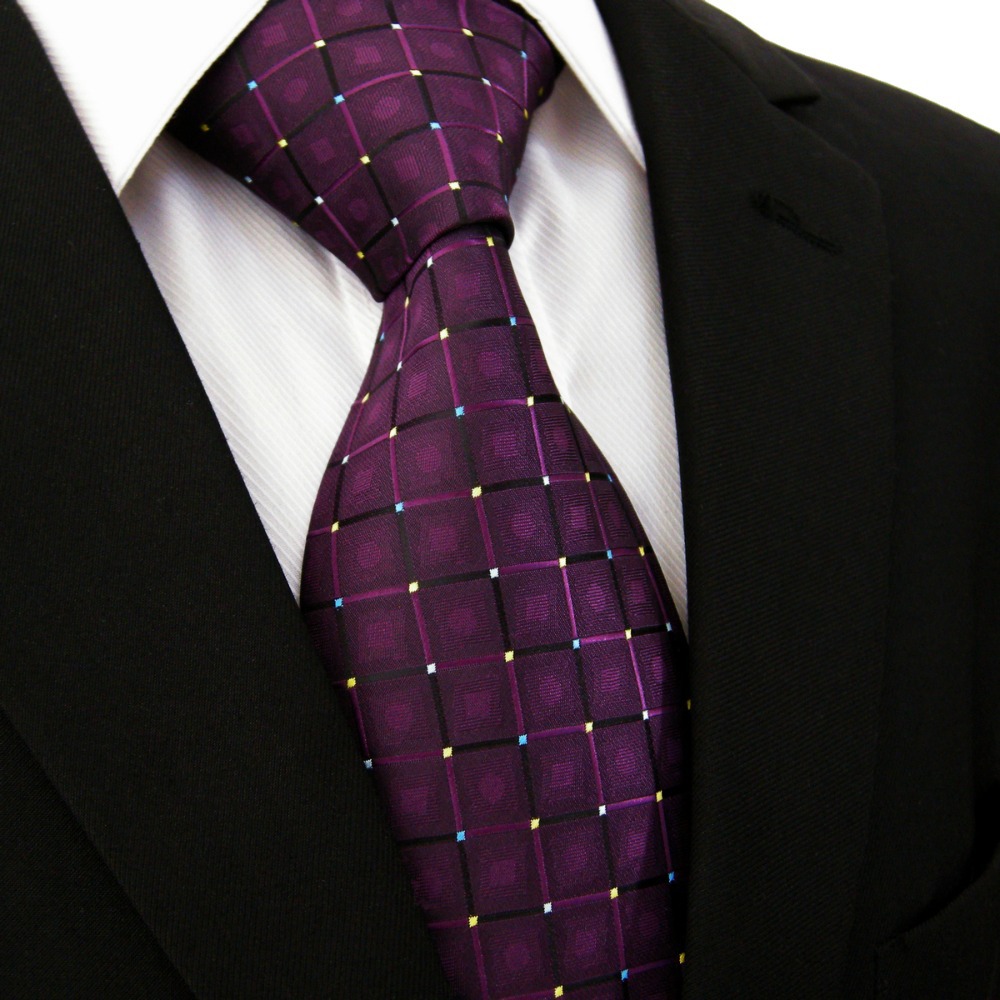
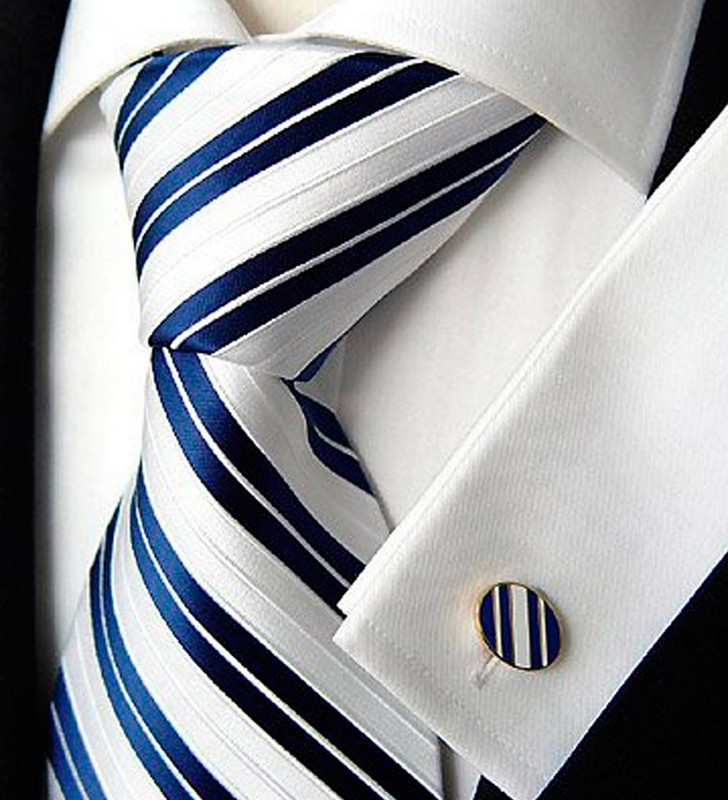
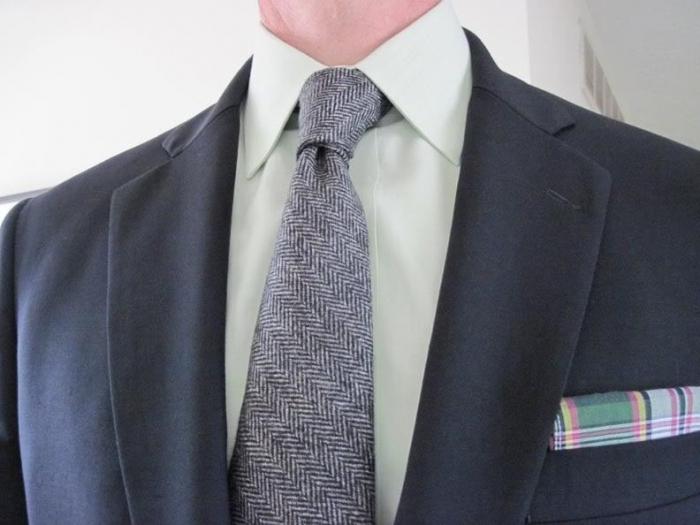
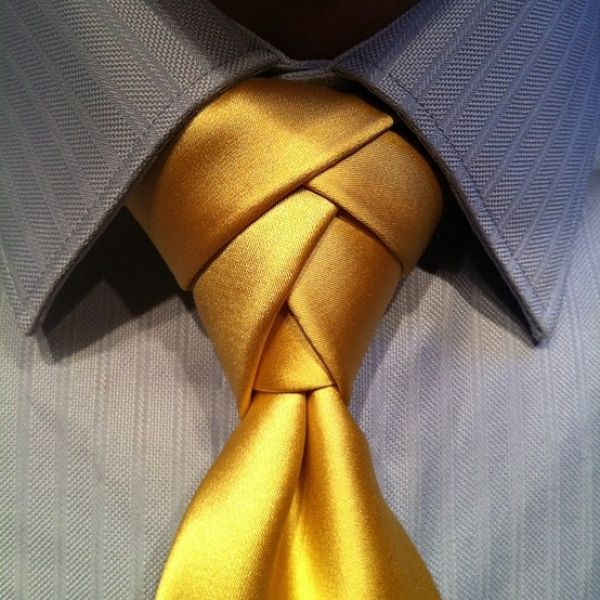
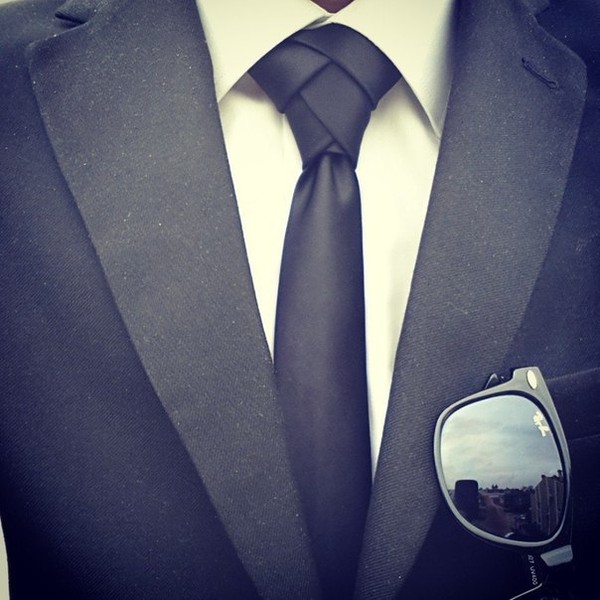
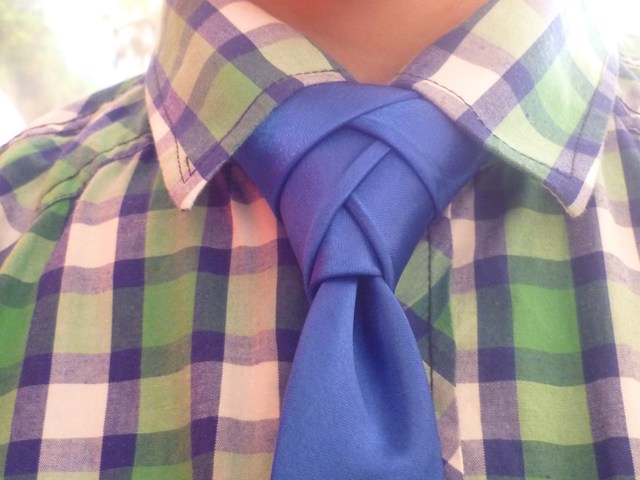
Stylish images
For some men, wearing a tie is a real punishment, and they forcibly force themselves to do it if the case falls well, very solemn or responsible. Others go to this feat at the behest of the dress code set at their work. And in everyday life, seeing a man in a tie is a rarity. Whether business in old times: left the house without a tie - you are not a gentleman.
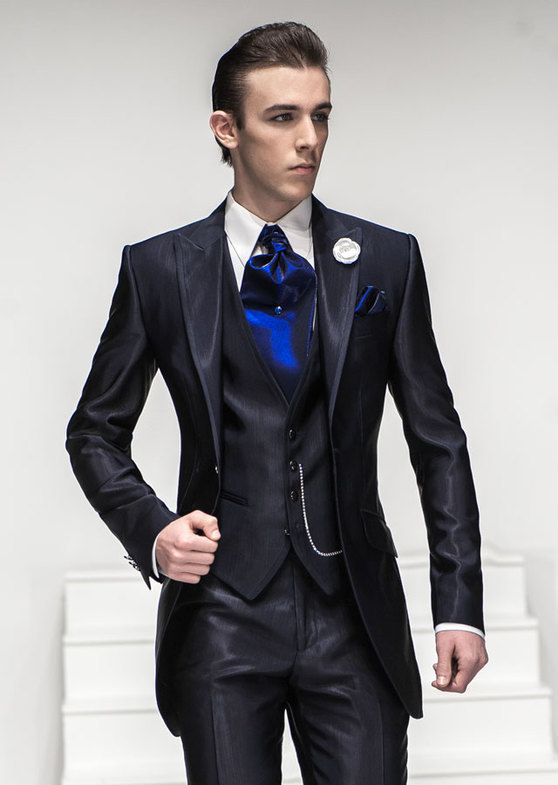
Modern stylish ties, in which - even for a wedding, combine familiar classics and new trends in men's fashion. And if you wear a stylish tie, then you will definitely not be left without attention. This year, as before, the tie remains at a height among other men's accessories, and it will be appropriate everywhere: at a business meeting, at a wedding and even at a simple party.