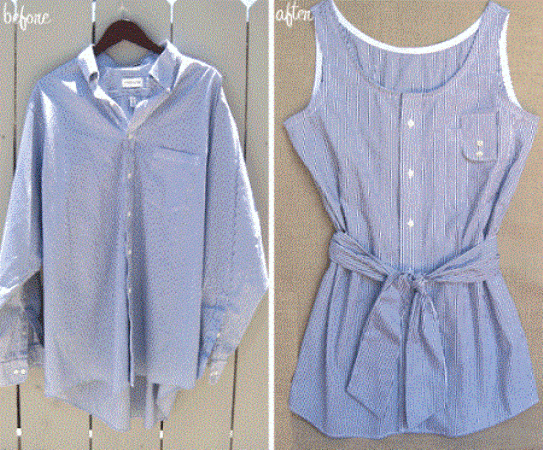
How to make a woman's shirt from a man’s shirt: ideas
If you need to update your wardrobe, and in this case with a new shirt, it is not necessary to run to the store. It is enough to review the wardrobe of her husband, boyfriend or son. We guarantee that there will be at least one shirt that you can customize with your own hands.
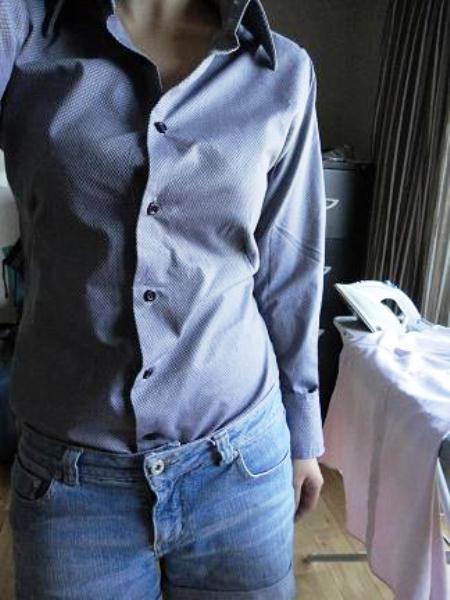
Option number 1
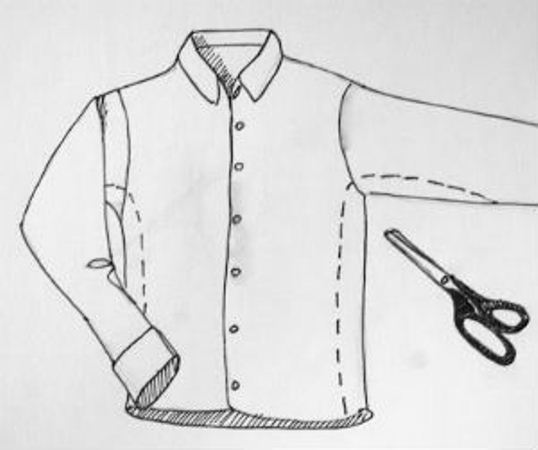
Step one
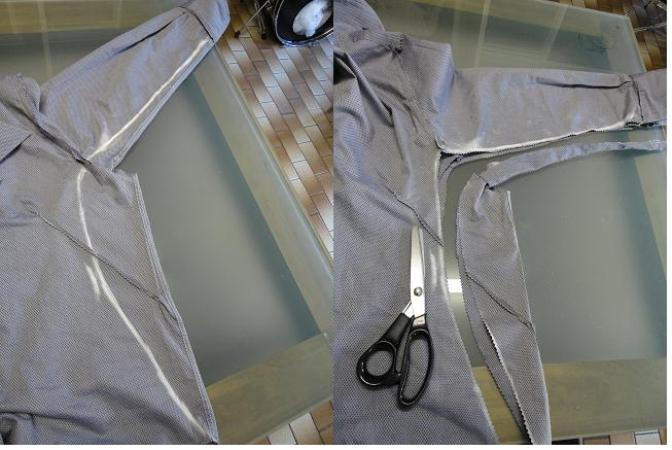
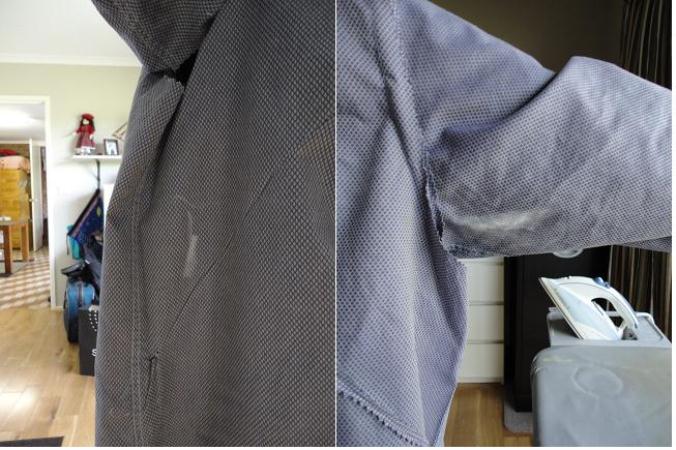
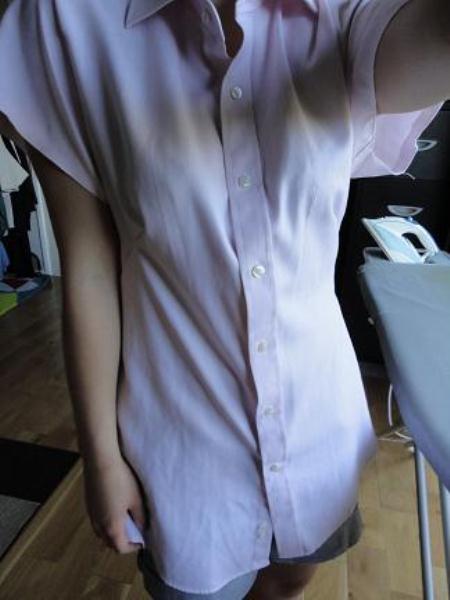
Put on your shirt and mark on it the place where your shoulders end. For this, special chalk will do, or if there is no such house, regular soap will do.

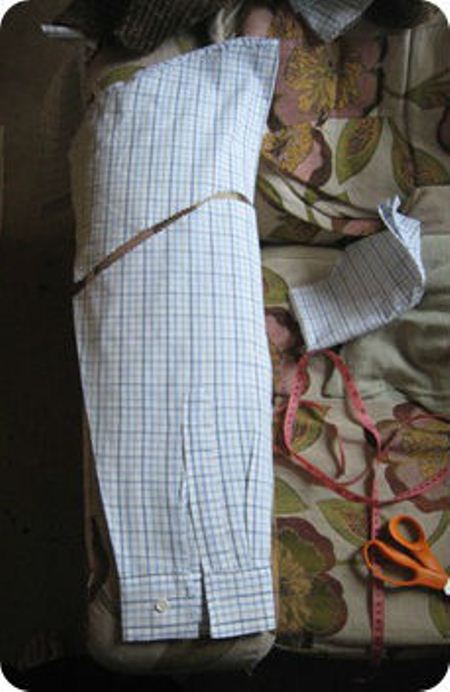
Remove the shirt. Draw the required bend from the shoulder to the armpit. Next, fold the shirt in half and cut along the marked line.
We turn out the shirt, as well as both sleeves inside out. Fold up so that the holes for the buttons on the cuff are at the bottom. Pin the sleeves back, pin with the pins. As a result, you will find a hole in the armpit area, since the neck of the sleeve has become smaller than originally.
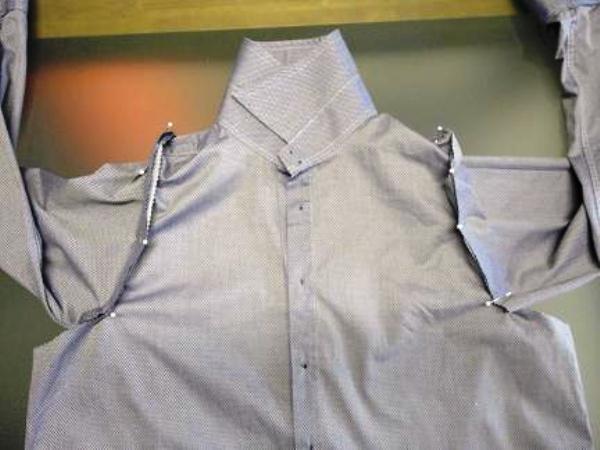
It is important that the hole is minimal. Then sew the sleeves to the shirt.
Step Two
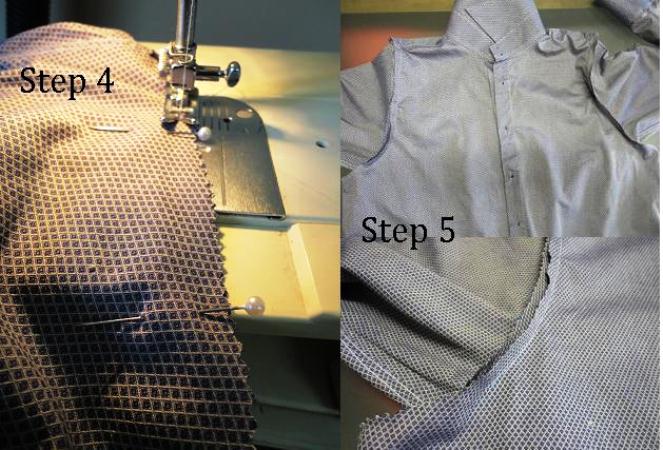
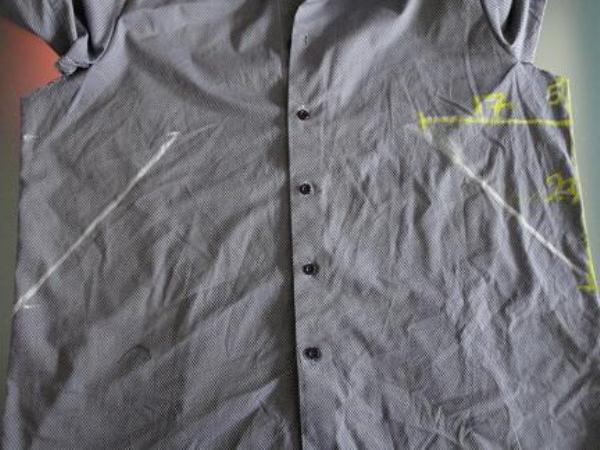
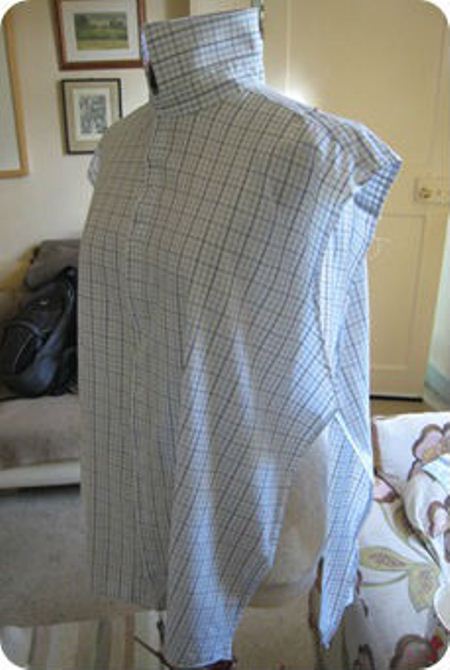
We make chest tucks, since this is what distinguishes a men's shirt from a woman’s shirt. Turn the shirt inside out again. Draw a curved line, starting from the center of the chest and to the side.
It can come out that the intended tuck comes into the shirt pocket, in which case we make it either lower or remove the pocket at all, which we can add at the end. Using a ruler, draw an exact line. We carry tuck on the other side, folding his shirt exactly in half.
Pin up the tuck pins. Stitch right below the drawn line. How much lower - decide for yourself.
There is a little secret, the smaller the breast size, the closer to the line you need to scribble.
We turn out the right side of the shirt, if everything suits, do the same with the left side.
Step Three
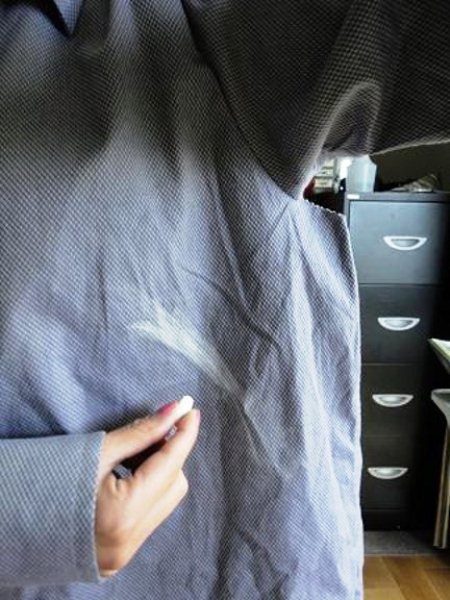
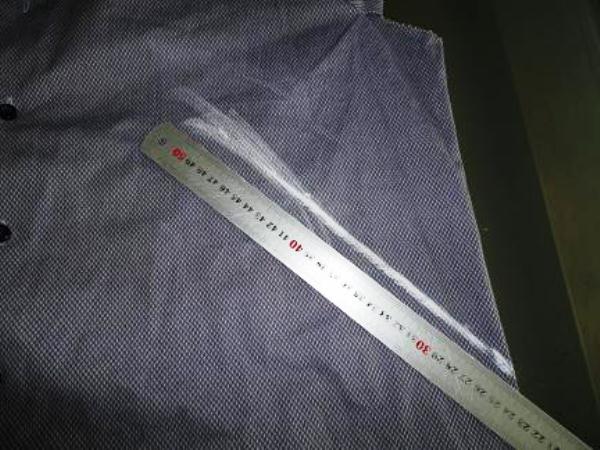
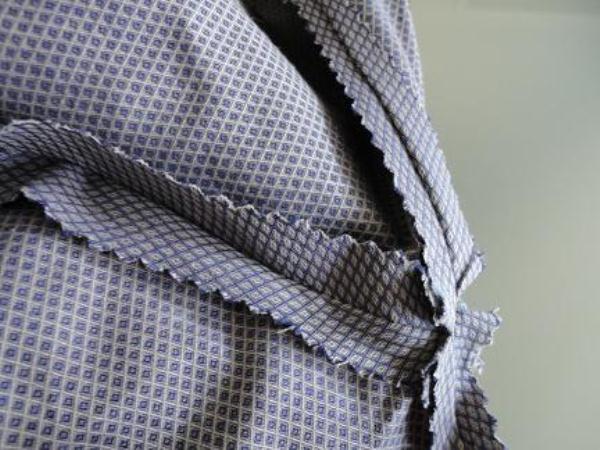
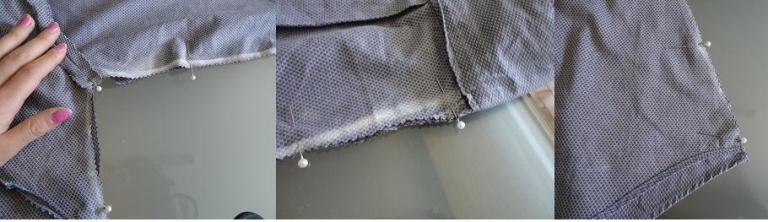
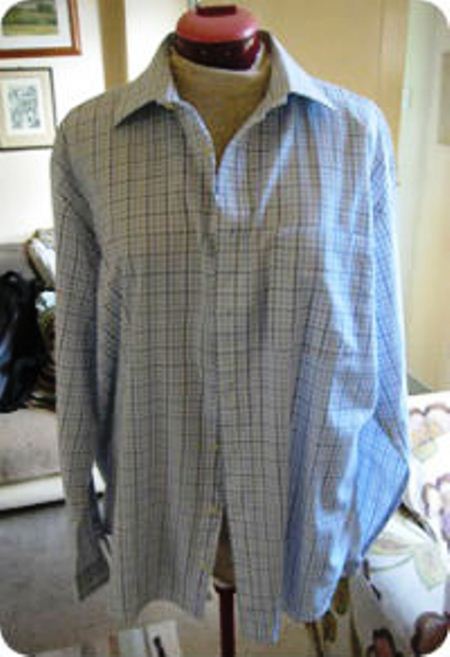
Turning the product, mark the waist line and the back of the hand. We draw a straight, slightly curved line from the armhole to the cuff, the same steps are done from the armhole to the bottom of the shirt. The widest part of the bend will be at the waist level. Cut off the excess.
Do not worry about the fact that the back will be longer than the shelf, you can hem it, or leave this. It all depends on your preferences. We stitch.
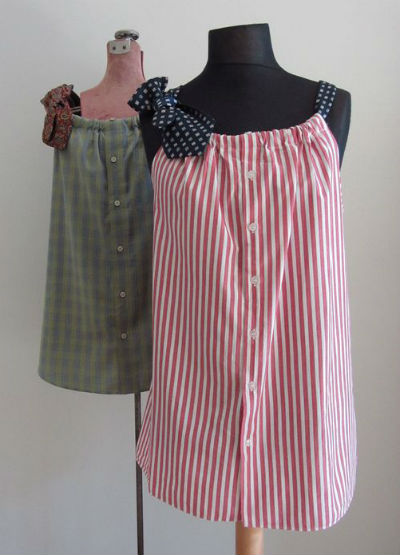
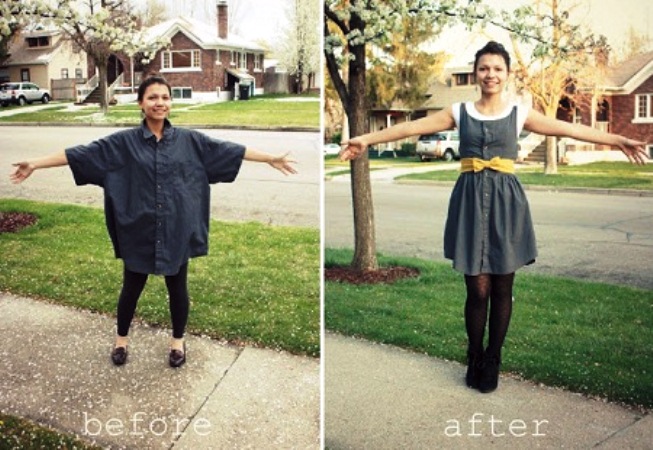
You can also shorten the sleeves, making the summer version, or leave the classic. If you have chosen an initially long or very long shirt, you can easily wear it as a tunic or as a dress.
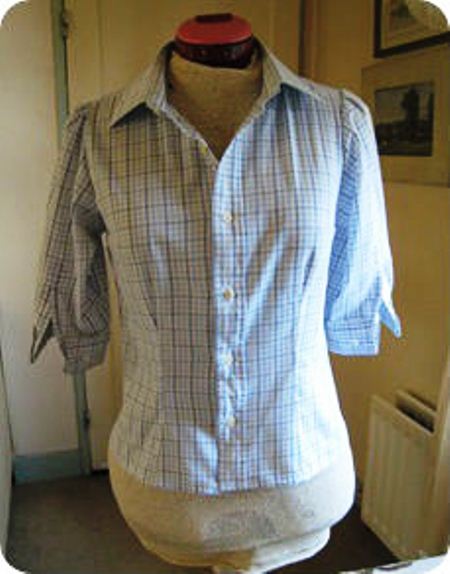
We considered a model of a classic shirt, which can be combined with a jacket and trousers, adhering to a strictly business dress code, and with jeans, for an informal atmosphere.
Option number 2
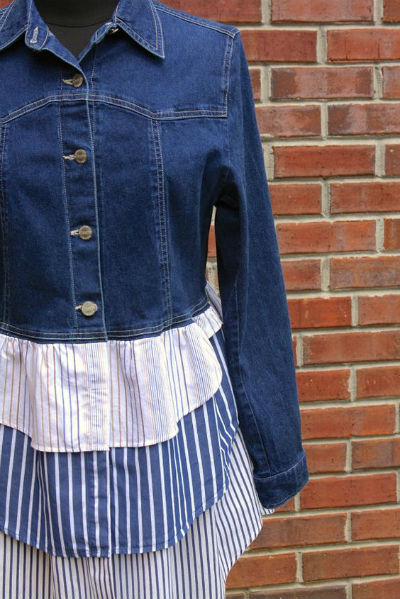
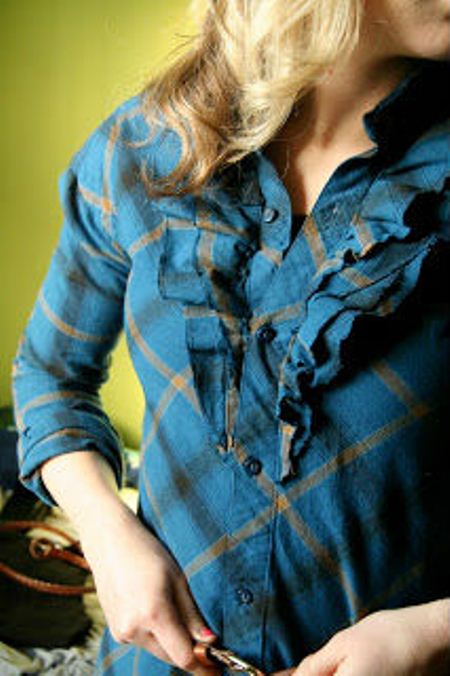
Next, consider the option of creating a summer women's shirt with ruffles, remaking men's flannel.

Initially we find the usual men's flannel shirt. It is necessary that the shirt was several sizes larger. In this case, the more the better, because of the remnants we will make frills.
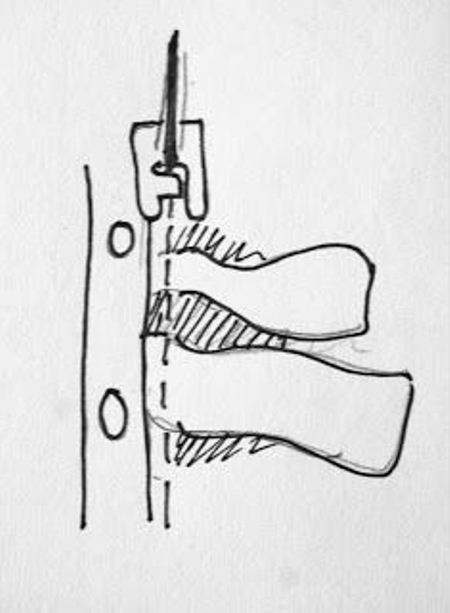
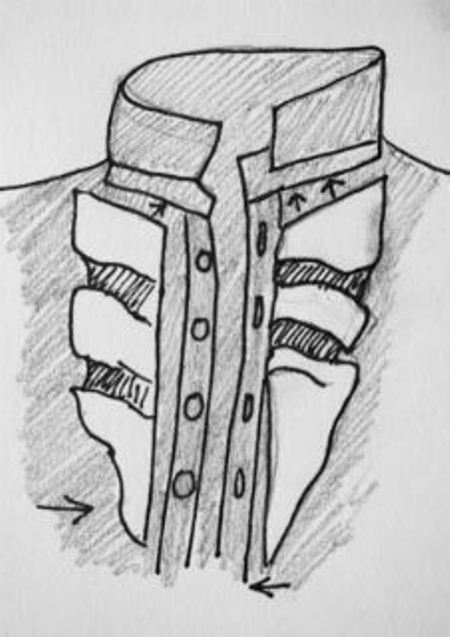
Cut off the excess line, which is marked by the dotted line in the picture. As a result, there are four small pieces of fabric from which we will make frills. They will be located along the rail. Due to the density of the fabric, frills will "stand" and look good.
How to make frills? From the remaining tissue, cut even strips. The volume and length of the frills depends on the amount of fabric remaining, or on your preferences. The classic length should be 1.5 times longer than the grinding line.
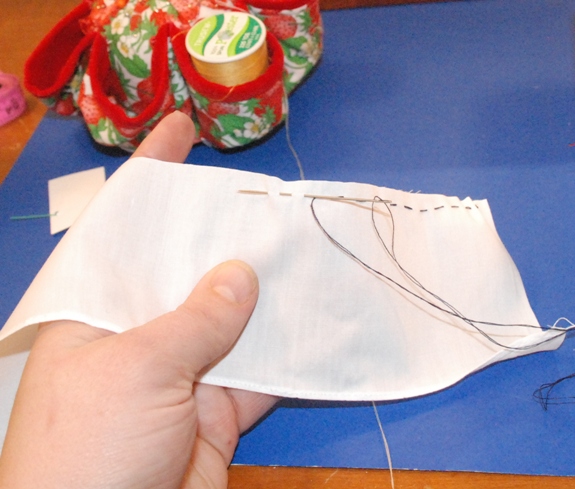
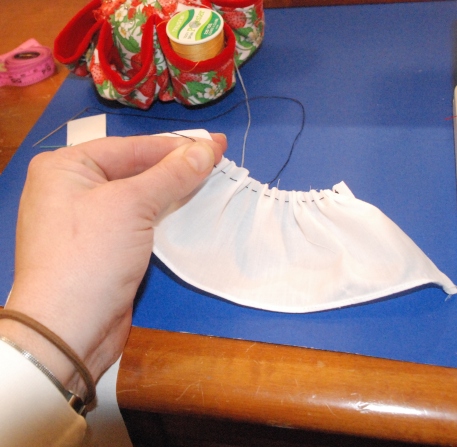
By experience, the easiest way to assemble a frilled fabric evenly and beautifully is as follows: we make the first line near the edge of the fabric, at a distance of about 0.3 mm Next, the second, at a distance of 0.5 mm from the first. It is important that the lines are parallel and in no way intersected, otherwise it will not work.Clip do only at the beginning of both the first and second lines. At the end of the lines we leave threads, we link them.
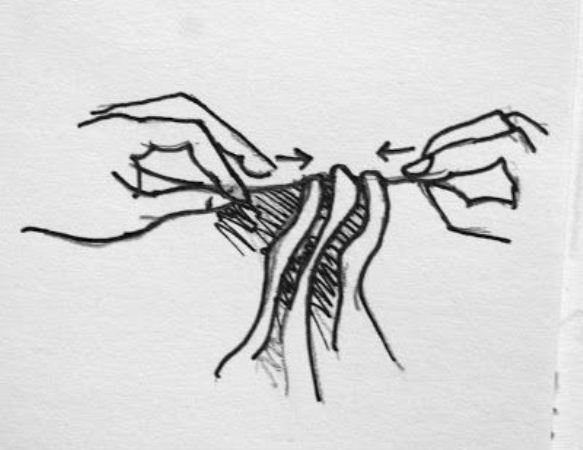
Gently begin to pull on one side of the thread, on the other, “pushing” the fabric along the seams to the knot itself. The closer to the knot, the larger the frill. The main thing to collect uniform beams.
It is advisable to take thick strings for this method of creating frills so that they do not break during tension, otherwise you will have to start all over again. For a frilly shirt to be worn longer, combine it with a double stitching. To evenly distribute the folds, mark the middle on the material. So you will understand better which side has more folds and which one less. When stitching a frill with a shelf, straighten the parts that will be on the side seam so that the fabric fits evenly and all the frills are stitched.
The result is a beautiful summer shirt, decorated with ruffles.
Option number 3
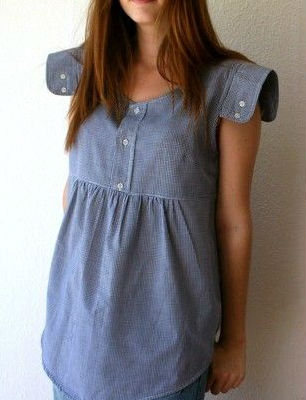
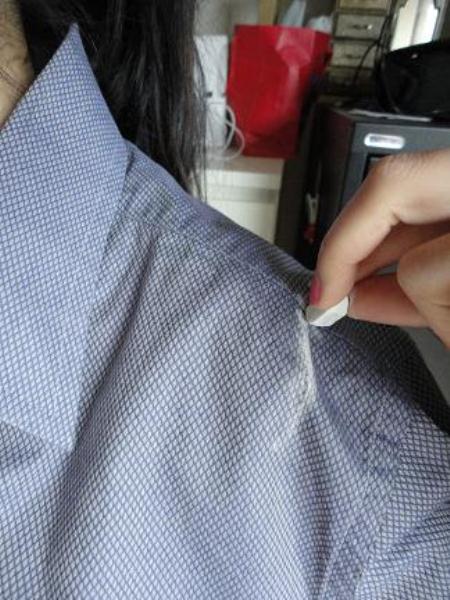
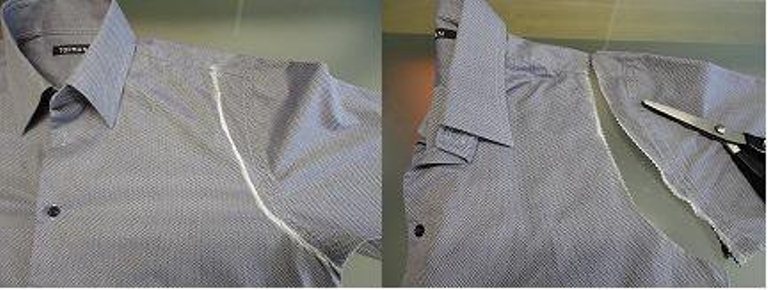
Knowing how to make frills, you can stitch them anywhere. In the previous method, they are located on the shelf together with the bar, and in this case we connect them instead of sleeves. The process of fitting and modification of the shirt itself remains the same. Except for the fact that it is now necessary to unpick the sleeves and redo the collar. Optionally, we make a cutout of any shape you like, or we make a stand collar.
How to cut out a stand-up collar
It is simple to make patterns of a crowberry. To begin, measure the girth of the neck and draw a rectangle ABCG. The length of the segments AB and VG = the length of the neckline.
The height of the rack (AB) we determine ourselves at will, as a rule, is taken from two to four centimeters. From points BV we lay up 1 cm. From point B we put 0.5 cm to the right. We draw a smooth line through points AB and VG, this will be the line of the collar. Important! The inner collar must be reinforced with thermo-woven fabric, otherwise the shape and the collar itself will be imperfect. It is also worth noting that the inner collar is cut without seam allowances.


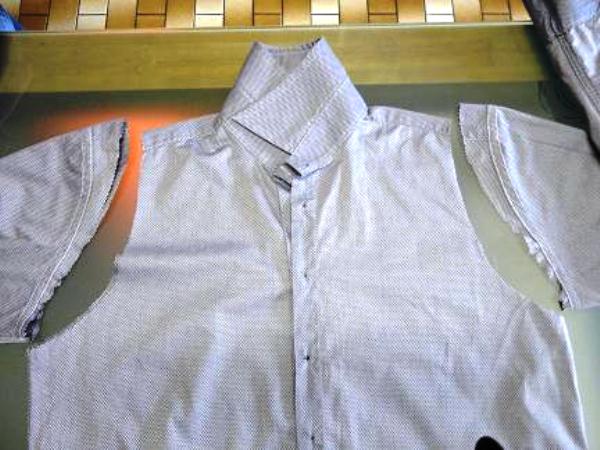
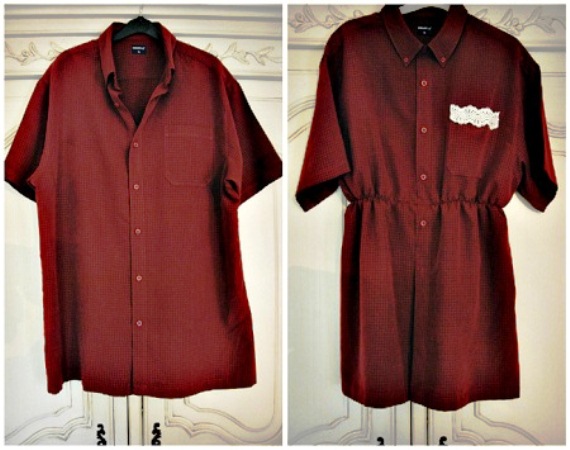
We made a women's blouse from a men's shirt, removing sleeves with a collar, narrowed silhouette and obligatory chest darts.
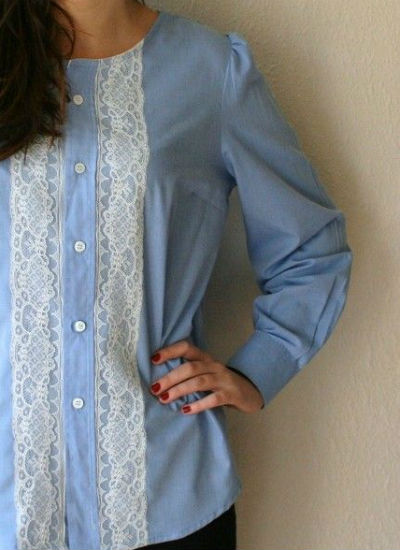
We combine this model of a blouse both with a pencil skirt, and with trousers. Also the bow depends on the fabric that you have taken as a basis.